Your grades get you into the pile. Your photographs get you into the room. A photography portfolio for a university application is the single document that tells an admissions tutor how you see, how you think and whether you can finish a body of work. This article shows you real portfolio examples, the formats universities ask for, a template you can copy tonight, and free tools to build and share it, including a way to turn your PDF into a page-turning digital flipbook with Flipbooks AI.
Search intent here is practical. You are probably a student between 16 and 19, a few weeks or months from a deadline, wondering how many images to include, whether to send prints or a link, and what a "good" portfolio even looks like. Let's answer all of it.
What Admissions Teams Look For
Admissions tutors in photography, fine art and visual communication programs read hundreds of portfolios each cycle. Most spend only a few minutes on a first pass. They are not hunting for perfect gear or flawless retouching. They want evidence of potential.
Technical Skill vs Vision
Technical control matters: exposure, focus, composition, tonal range. But a sharp, well-lit photo of nothing in particular loses to a slightly imperfect image with a clear idea behind it.
Tutors tend to score portfolios on four things:
- Visual awareness: Do your frames show deliberate choices about light, framing and timing?
- Consistency: Can you hold a theme, a mood or a method across several images?
- Curiosity: Does the work show you are looking at the world, not just at other photographers' feeds?
- Reflection: Can you explain why you made it? A short artist statement often decides borderline cases.
💡 Pro tip: A portfolio of 12 strong images with a clear thread beats 30 average ones every time. Cut ruthlessly.
Requirements by Region
Every school publishes its own rules, so always check the admissions page first. The table below shows common patterns, not guarantees.
| Region | Typical submission | Typical image count | Common platform |
|---|
| United Kingdom | Portfolio link or upload, sometimes interview | 10 to 20 images or a single PDF | Portfolio upload portal, PDF, website |
| United States | Arts supplement or portfolio review | 10 to 20 images | Slide-based submission systems |
| Canada | Online portfolio, sometimes statement | 10 to 20 images | Portal upload, PDF |
| Europe | Entrance portfolio, sometimes a live review | Varies by school | PDF, printed folder, in-person review |
| Australia | Portfolio plus statement | 10 to 15 images | Portal upload, online link |
⚠️ Warning: If a school asks for a specific file type, size or order, follow it exactly. Ignoring submission rules is the easiest way to lose points before anyone looks at your photographs.
Format is not decoration. It controls how easily a tutor can view your work, and it signals how seriously you take presentation.
How Many Images to Include
Unless the school states a number, aim for 12 to 20 images. Organize them into one of these structures:
- One strong series of 10 to 15 photographs on a single theme.
- Two or three mini-series of 4 to 6 images each, showing range.
- A mix of a main series and a few standalone images that show technical variety.
Include process if the school asks for it: contact sheets, test shots, notes, sketchbook pages. Many art programs value how you got to the final image as much as the image itself.
Print, PDF or Flipbook
You will usually choose between three delivery methods. Each has trade-offs.
| Format | Best for | Strengths | Weak spots |
|---|
| Printed folder | In-person reviews | Tactile, shows print quality | Costly, hard to share, easily damaged |
| Static PDF | Upload portals | Universal, simple | Plain scrolling, large file sizes, no sense of pacing |
| Digital flipbook | Link-based reviews and interviews | Page-turn pacing, mobile friendly, one clean link, optional password | Needs a link-friendly portal |
| Personal website | Long-term showcase | Always online, easy updates | Hard to control sequence, can look cluttered |
A digital flipbook keeps the control of a printed book (you decide the order and pacing) while giving the reviewer a single link that works on a phone, laptop or lecture-hall projector.
File Specs That Prevent Rejection
Technical slips make reviewers squint. Use these defaults unless your school says otherwise:
- Resolution: Export images at roughly 2000 to 3000 pixels on the long edge.
- Color space: sRGB for screen viewing.
- File size: Keep a final PDF under the school's upload limit, often 10 to 50 MB.
- File names: Use your surname and a number, such as
Garcia_01.jpg.
- Orientation: Mix horizontals and verticals on purpose, not by accident.
- Captions: Short and factual: title, year, medium or camera format.
A Portfolio Template You Can Copy
A template removes the blank-page panic. Below is a layout that works for most undergraduate photography and art applications.
Page-by-Page Layout
| Page | Content | Notes |
|---|
| 1 | Title page: name, applicant number, course | One strong image behind minimal text |
| 2 | Contents or short intro (optional) | Two lines on what the portfolio shows |
| 3 | Artist statement | 150 to 250 words, first person, plain language |
| 4 to 9 | Main series, 6 images | Same visual thread, varied scale and framing |
| 10 to 13 | Second series or experiments | Shows range and risk-taking |
| 14 to 16 | Process pages | Contact sheets, notes, test prints |
| 17 | Single image that sums you up | Your best, saved for last |
| 18 | Contact details | Email and, if allowed, a link |
✅ Best practice: Open with an image that is strong but not your absolute best. Close with the one you would frame on your wall.
Sequencing Your Series
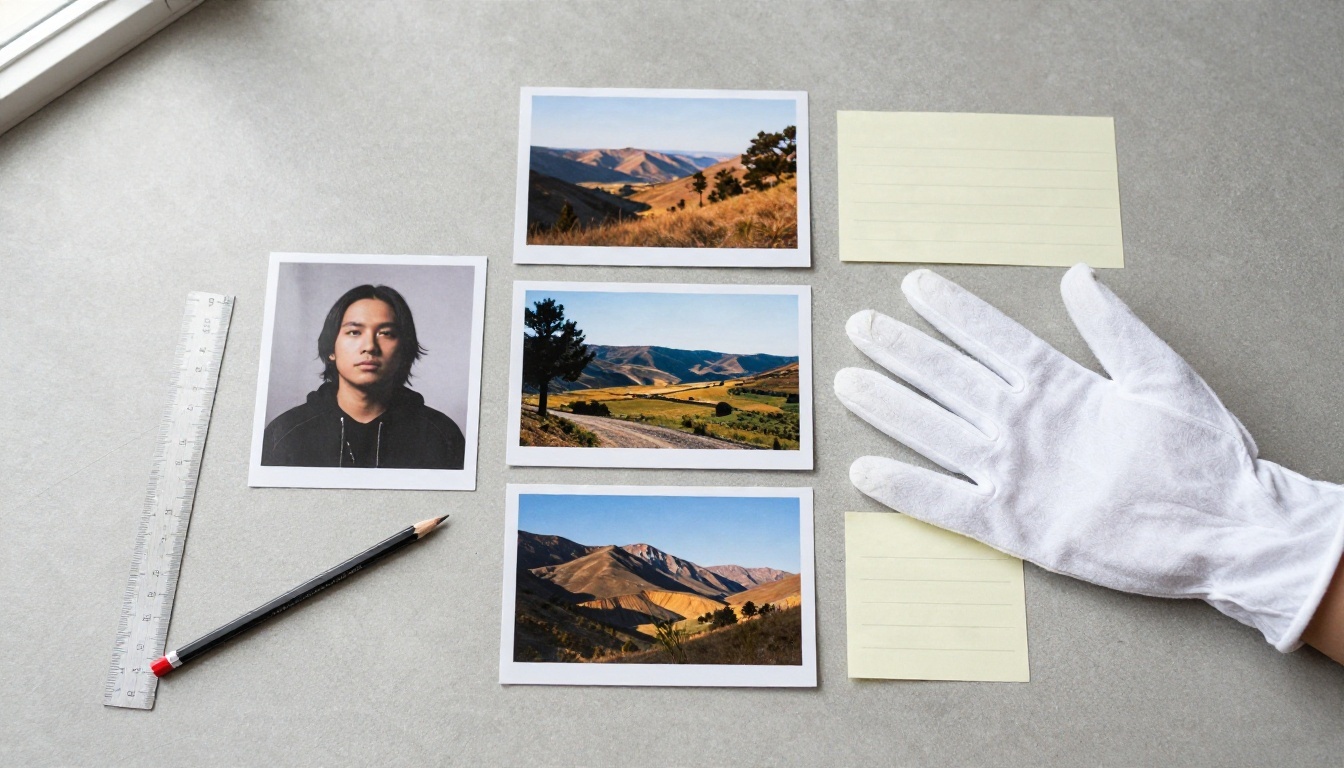
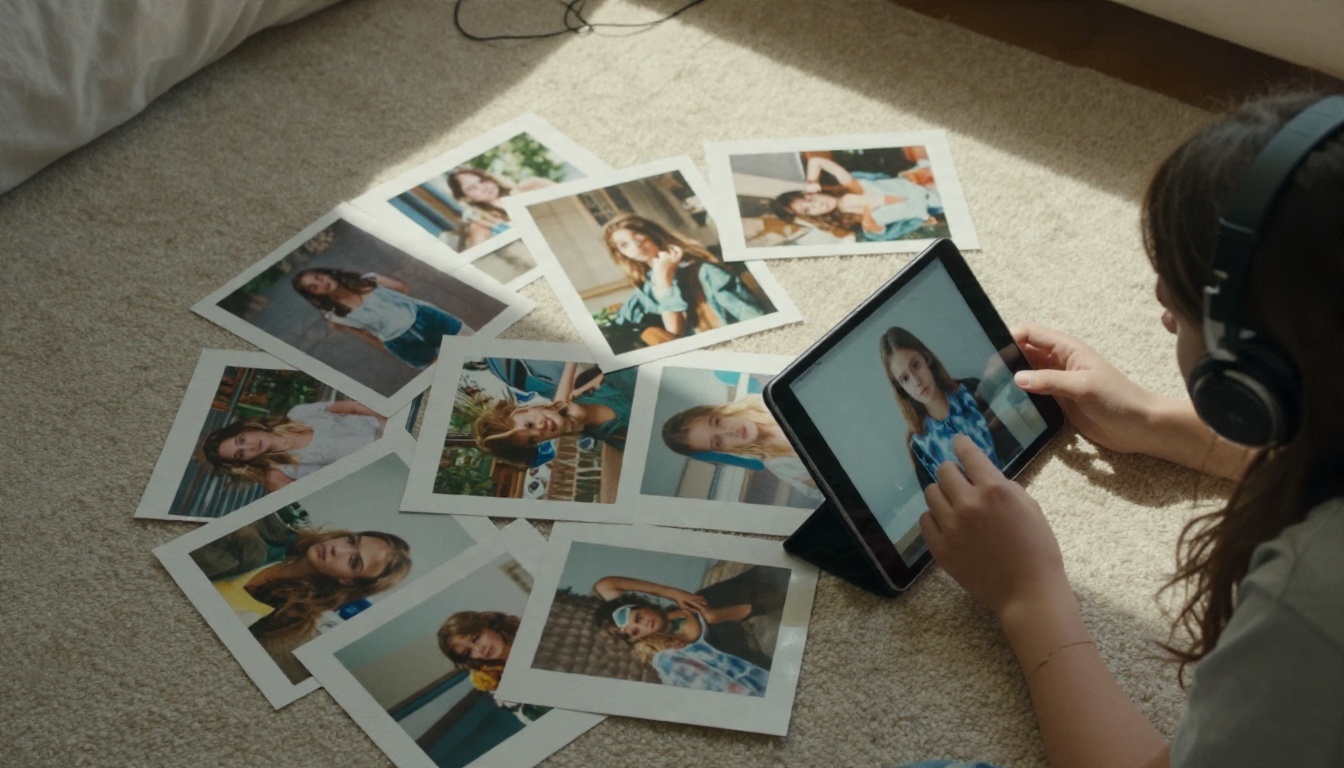
Sequencing is where applicants separate themselves. Lay out your prints on a table or floor, as in the photo above, and walk around them. Look for:
- Rhythm: Alternate wide scenes with close details.
- Color logic: Group warm and cool images, or commit to a single palette.
- Visual rhymes: A diagonal in image three echoing a diagonal in image seven.
- Breathing room: Place a quiet image between two loud ones.
Read the sequence once like a short film. If a frame stalls the pace, replace it.
Photography Portfolio Examples That Work
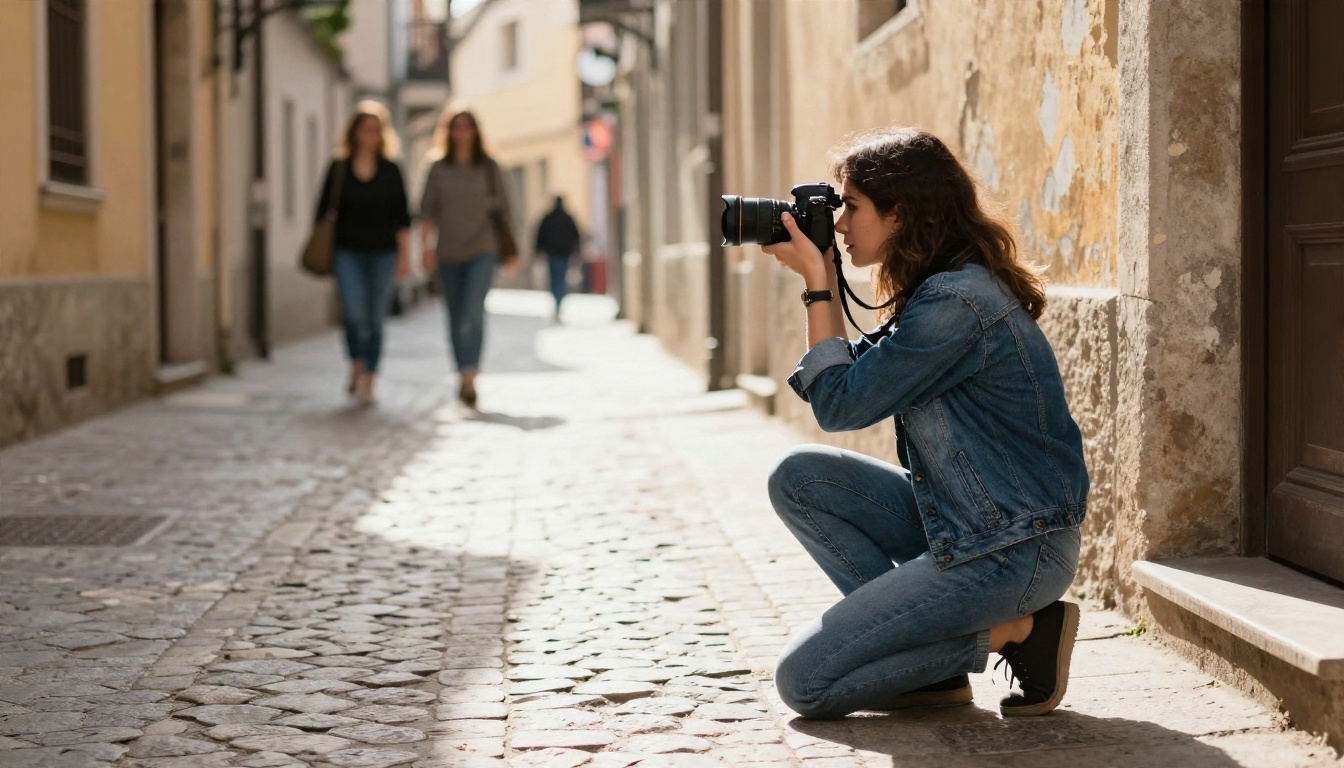
Instead of copying someone's pictures, copy their structure. These three example approaches show how different applicants build convincing portfolios.
Example 1: The Street Series
An applicant spends three months photographing one neighborhood at the same time of day, around late afternoon when light rakes sideways across the buildings. The portfolio includes 14 images: 10 candid street scenes, 2 detail shots of textures such as peeling paint, and 2 environmental portraits of people who live there.
Why it works: The same place, the same light and a clear point of view give the series unity. The applicant also adds contact sheets showing rejected frames, proving that editing was a conscious decision.
Example 2: The Landscape Study
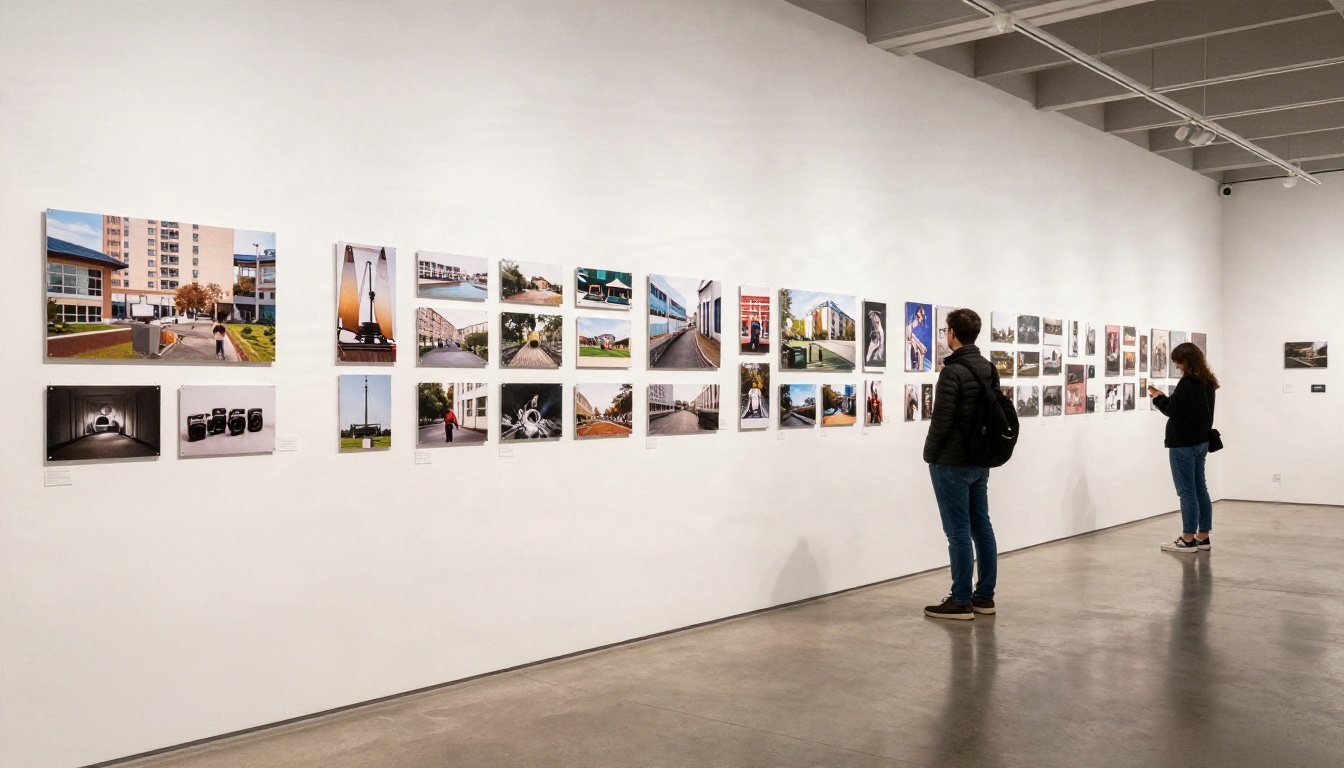
A student photographs the same hillside at dawn across four seasons. Twelve images: three per season, plus a final triptych. Prints are scanned and presented in a clean digital layout with plenty of white space, similar to a gallery wall.
Why it works: Repetition creates a quiet narrative about time and change. The applicant did not travel anywhere exotic; the idea carried the work.
Example 3: The Studio Portrait Project
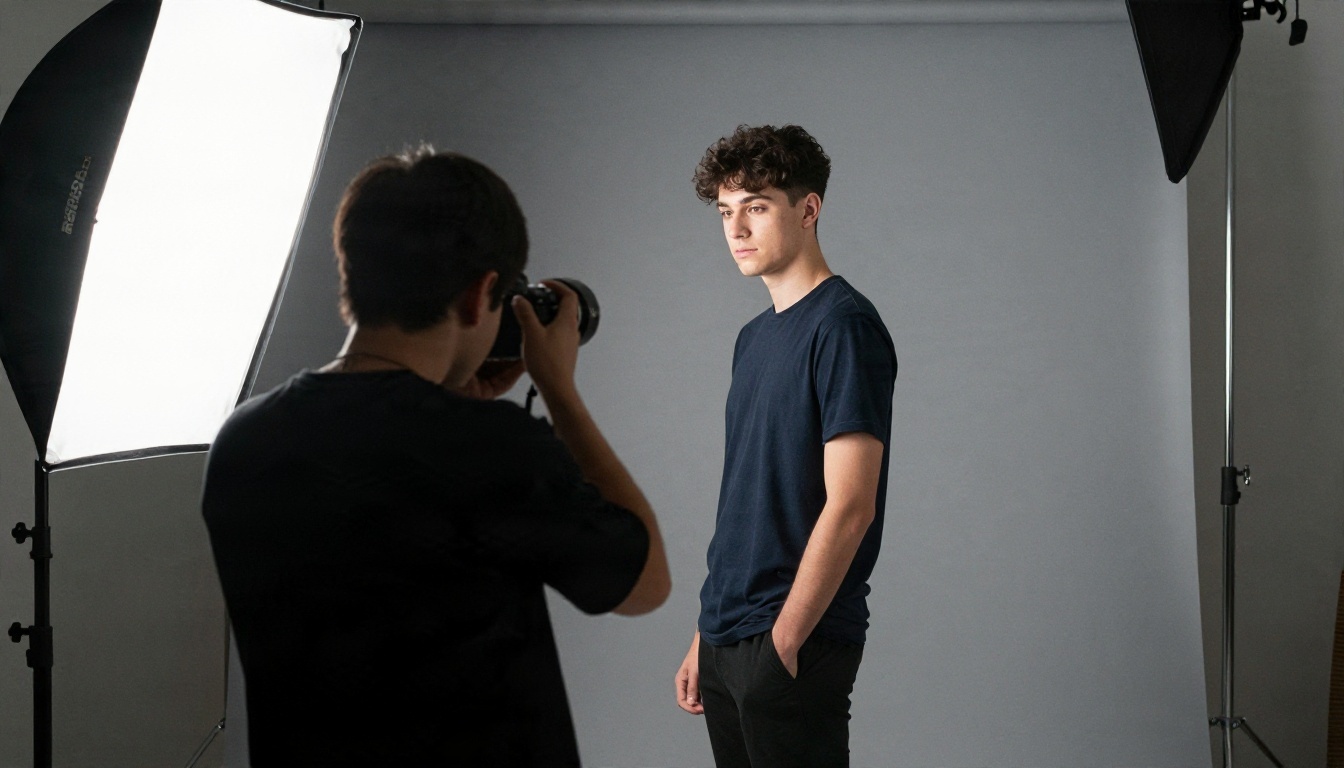
A student photographs ten friends and relatives against a plain grey backdrop using one softbox and one reflector. Each portrait has a short caption quoting something the sitter said during the session.
Why it works: Simple lighting, consistent distance and strong direction of the sitters show control. The captions add personality without needing a long essay.
| Example | Main strength | Equipment needed | Best for programs focused on |
|---|
| Street series | Observation, timing | Any camera, even a phone | Documentary, photojournalism |
| Landscape study | Concept, patience | Camera and tripod | Fine art, visual culture |
| Studio portraits | Lighting control | One light, backdrop | Commercial, portraiture, fashion |
💡 You do not need expensive gear. Tutors repeatedly say that a strong idea shot on a basic camera beats a weak idea on professional equipment.
Write the Artist Statement
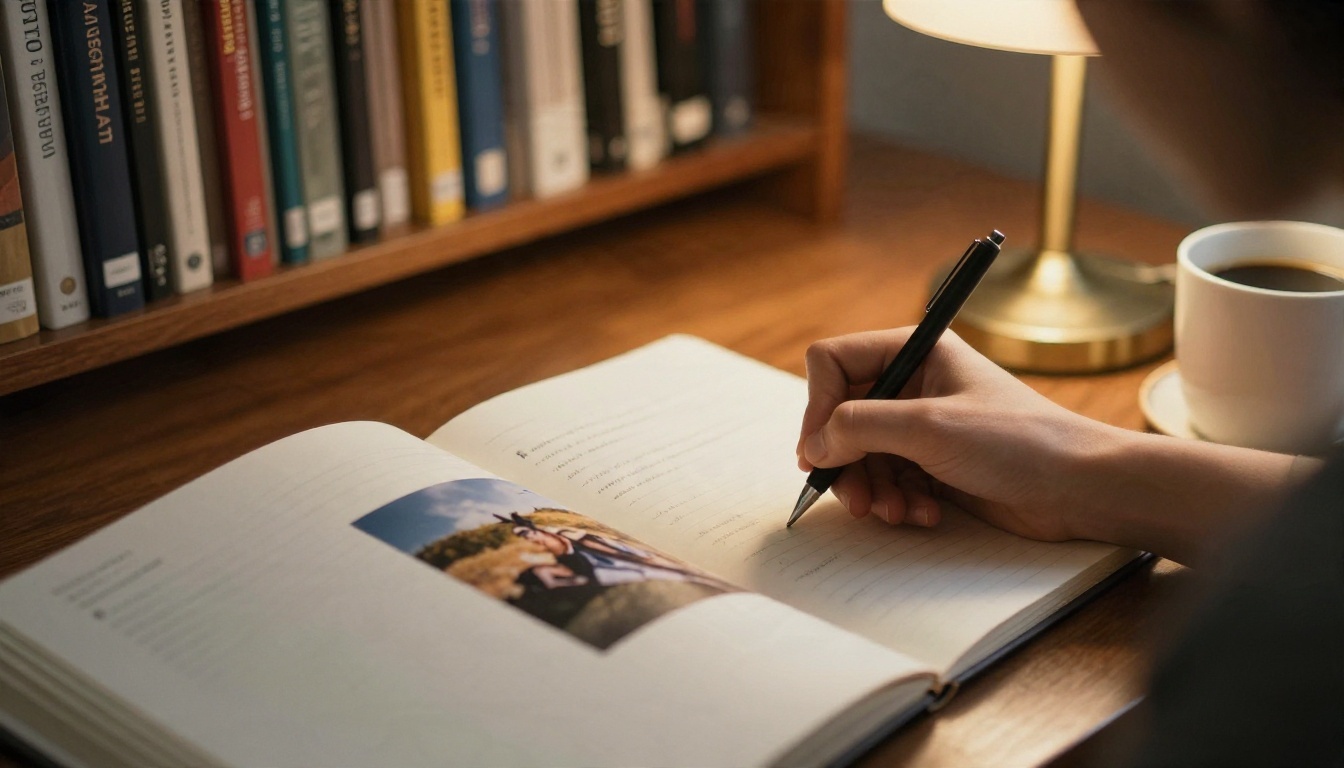
Many applicants treat the statement as an afterthought. That is a mistake. A short, honest statement connects your images and shows that you think about your own practice.
Use this four-part structure in roughly 200 words:
- What: Describe the subject in one or two sentences.
- Why: Explain what drew you to it.
- How: Mention your method, such as film, available light or long exposures.
- Influence: Name one or two photographers or artists who inspired you, and say what you took from them.
Avoid jargon and big claims. "I wanted to show how my grandmother's kitchen changes through the day" is stronger than "my work interrogates the liminal spaces of domestic memory."
You can build a polished portfolio without paying for expensive software. Here is how the common free options compare.
| Tool type | Examples of what it does | Good for | Limitation |
|---|
| Photo editors | Raw development, color and exposure | Preparing final images | No layout or presentation |
| Layout software | Slide or page design | PDF portfolio pages | Can look like a school presentation |
| Free website builders | Gallery pages | Ongoing online presence | Hard to control order and pacing |
| PDF to flipbook converter | Turns a PDF into a page-turning book | Shareable digital portfolio | Needs a finished PDF first |
A sensible free workflow looks like this: edit images in a free editor, lay them out in a free slide or page-design app, export a PDF, then convert that PDF into a flipbook. You can also try the Digital Portfolio Creator or the Portfolio Flipbook Builder for different presentation styles. Browse the full list of flipbook tools to see what fits your project.
How to Create It with Flipbooks AI
Once your PDF is ready, publishing it as a flipbook takes a few minutes. Here is the process using Flipbooks AI.
- Create an account. Go to flipbooksai.com/account and sign up. You can check pricing plans at any point to compare what each tier includes.
- Upload your PDF. Drag your portfolio PDF into the uploader. The platform converts each page into a flip-style spread automatically. Use high-resolution pages so photographs stay crisp when zoomed.
- Customize the look. Choose a background color that complements your images, a neutral grey or off-white usually works best. Add your own branding, such as your name or initials, and adjust page-turn effects so they feel calm rather than flashy.
- Add multimedia if relevant. If your course welcomes moving image or sound, embed a short video or audio clip on a process page.
- Set privacy. Turn on password protection if you want only the admissions team to view your work, then include the password in your application notes.
- Publish and test. Copy the direct link, open it on your phone and a laptop, and check page order and image quality.
- Share or embed. Send the link in your application, or use the Embed Flipbook on Website tool to place it on your personal site.
Sharing and Privacy Options
| Option | Use it when | Notes |
|---|
| Direct link | The portal accepts URLs | Simplest, works on every device |
| Password-protected link | Work is unpublished or personal | Share the password separately |
| Embed code | You have a personal website | Keeps visitors on your page |
| Offline download | A reviewer needs a copy | Useful for interviews with weak Wi-Fi |
Flipbooks AI never adds watermarks to your pages, supports custom branding, and works on mobile. Plans from Standard upward allow unlimited flipbooks, which is handy if you want separate versions for different schools. If you want to see which pages a reviewer opens, the Professional plan adds analytics so you can check whether your link was visited. Review the plans before you choose.
⚠️ Check first: Some schools require a specific upload format or a link to a named platform. Confirm that a flipbook link is accepted, and attach a PDF backup if in doubt.
Common Mistakes to Avoid
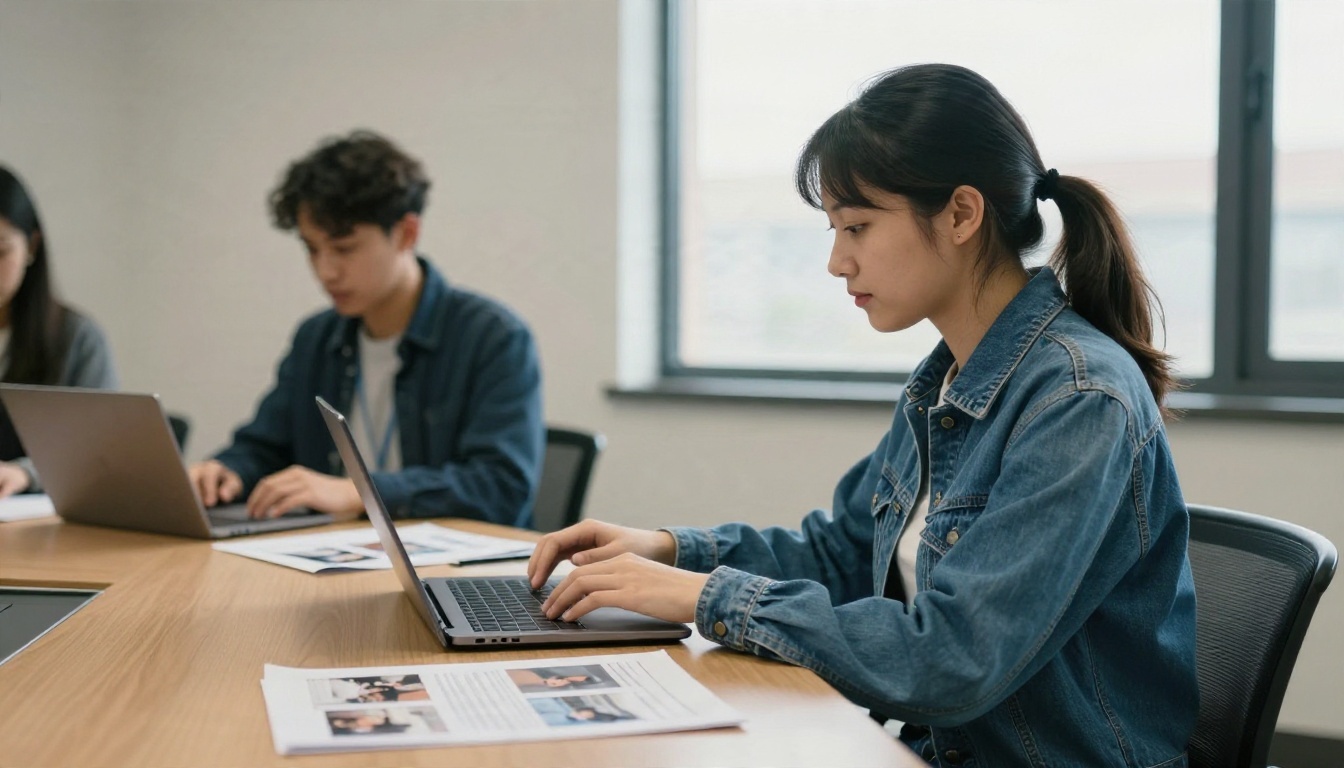
If your portfolio leads to an interview, the way you present and talk about it matters as much as the images. Here are the slips that tutors mention most.
1. Including Everything You Shot
Showing every decent image dilutes the best ones. Select by theme and cut anything that does not belong.
2. Over-Editing
Heavy filters, extreme HDR or identical presets applied to every photo make the work feel generic. Keep edits consistent but restrained.
3. Ignoring Presentation
Blurry thumbnails, inconsistent margins or misaligned captions say you did not care. Print a test version or preview the flipbook on a different screen before submitting.
Use this quick checklist before you send anything:
- ☐ Image count matches the school's request
- ☐ Every image is sharp at full screen
- ☐ Captions and file names are consistent
- ☐ The artist statement is proofread by someone else
- ☐ The link works in a private browser window
- ☐ A backup copy exists on a second device
Ready to Build Yours?
A strong photography portfolio for a university application is not about luck or expensive gear. It is about a clear idea, careful editing and a presentation that lets your work breathe. Pick your best 12 to 20 images, follow the template above, write a short honest statement and publish it as something that looks as good on a phone as it does in a gallery.
Ready to turn your PDF into a page-turning portfolio? Create your free account on Flipbooks AI, try the Photography Portfolio tool, and compare pricing plans when you want extras like analytics and unlimited flipbooks. You can also see all tools and templates to find the layout that fits your style.


