Every home buyer asks the same question within five minutes of walking into a sales office: "What exactly is included?" A builder who answers with a crisp, visual inclusions list wins trust on the spot. A builder who hands over a dense, twelve page spec sheet in small print loses it. This article shows how successful builders organize finishes and upgrades, what to put on each page, and how to publish the result as an interactive flipbook with Flipbooks AI so buyers can browse it on any phone.
Why Inclusions Lists Matter
A builder inclusions list is the document that defines what the base price buys. It names the flooring, the countertops, the cabinet style, the fixtures, the appliances and the exterior materials that come standard in each floor plan. It also shows which choices cost extra.
When it is vague, three problems appear fast:
- Price disputes after contract signing because the buyer assumed quartz and received laminate.
- Long sales cycles since agents spend hours answering the same finish questions.
- Upgrade money left on the table because buyers never saw what was possible.
What Buyers Actually Want
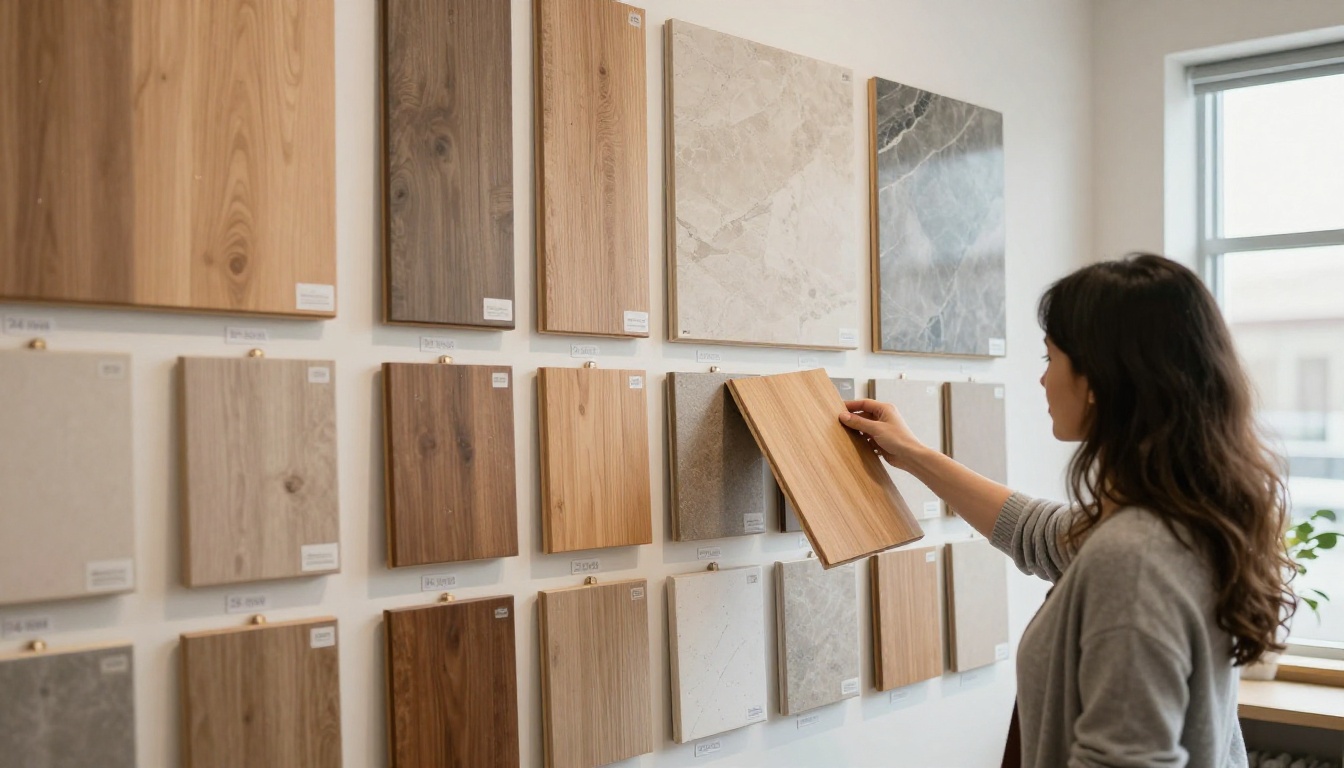
Buyers are not reading for fun. They want to compare your house against the one down the road. They look for three answers: what is standard, what can be upgraded, and what each upgrade costs. If your list answers those three in under two minutes, you are ahead of most competitors.
The Hidden Cost of Unclear Lists
Unclear inclusions create change orders, and change orders create delays. Many builders track a simple signal: how many post contract emails ask "is this included?" Cut that number in half and your project managers get hours back every week.
💡 Pro tip: Ask your sales team for the five finish questions they hear most often. Those questions should be the first five items on your inclusions list.
How Builders Structure Inclusions
The strongest lists follow one predictable pattern. Buyers learn the pattern on page two and then read the rest at speed.
Group by Room, Not by Trade
Internal documents usually list items by trade: framing, electrical, plumbing, drywall. Buyers think in rooms. Organize your public list under Kitchen, Primary Bath, Secondary Baths, Living Areas, Bedrooms, Exterior and Systems.
Use Three Finish Tiers
Most production and semi custom builders offer three levels. Naming them clearly removes confusion.
| Tier | Typical Name | What Buyers Expect | Price Position |
|---|
| 1 | Essential or Classic | Solid, durable standard finishes | Included in base price |
| 2 | Signature or Select | Visible upgrade in look and feel | Moderate package cost |
| 3 | Luxe or Designer | Premium materials and custom details | Highest package cost |
Show Standard Next to Upgrade
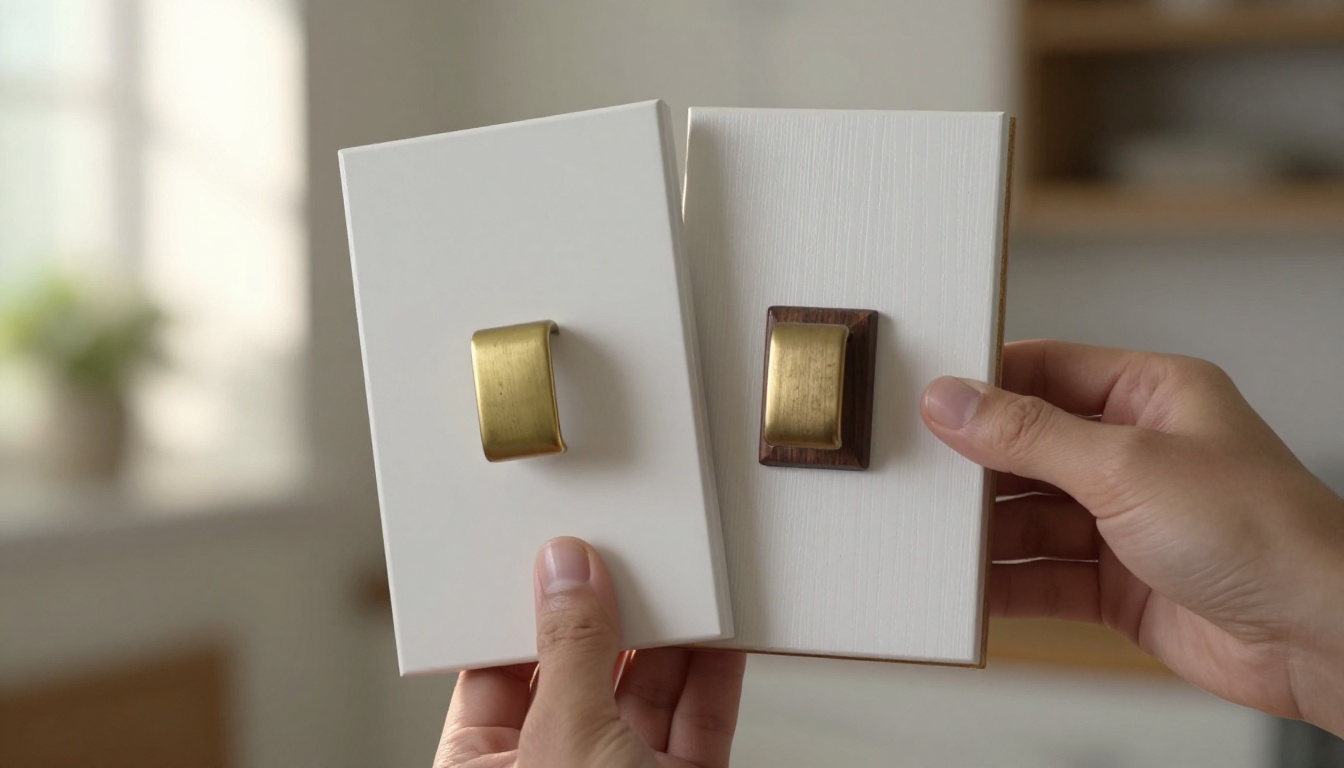
Place the standard item and the upgrade side by side with a photo of each. A buyer who sees white shaker doors next to dark walnut doors with brass pulls understands the difference instantly, with no sales pitch needed.
The Kitchen Page
The kitchen drives more upgrade revenue than any other room, so give it the most space. Buyers expect to see cabinets, countertops, backsplash, sink, faucet, appliances, lighting and flooring.
Countertops and Backsplash
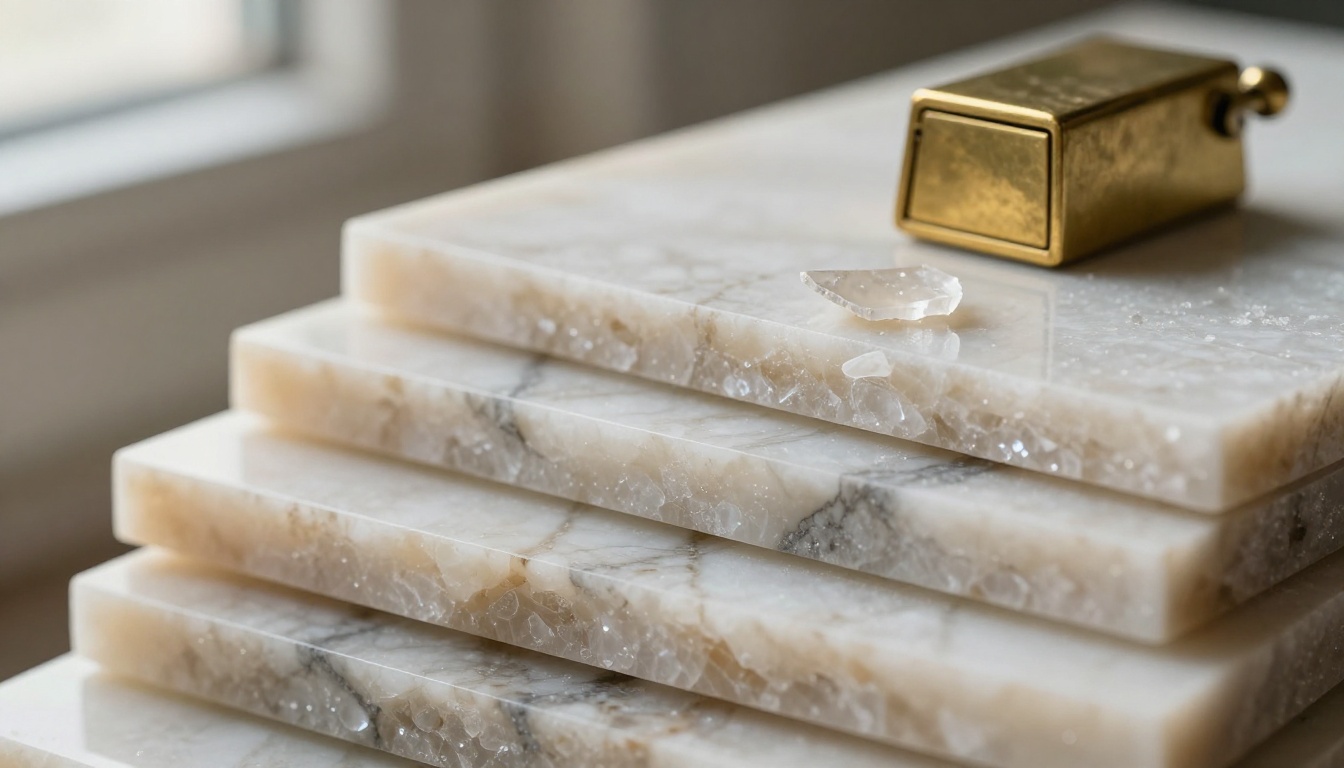
Show real photos of slabs, not catalog squares. Name the material, the edge profile and the color families. If quartz is standard, say so in bold. If granite costs extra, show the price per square foot or the package price.
Cabinets and Hardware
List door style, finish, soft close hardware, crown molding and pull style. Builders often hide soft close drawers deep in the spec sheet when it is a feature buyers love. Put it up front.
Sample Kitchen Inclusions Table
| Item | Standard | Upgrade Option | Typical Upgrade Cost |
|---|
| Cabinets | Painted shaker, soft close | Stained walnut or two tone | $2,500 to $6,000 |
| Countertops | Quartz, eased edge | Waterfall island, premium slab | $1,800 to $5,500 |
| Backsplash | Ceramic subway, to the sill | Full height stone or zellige | $900 to $3,200 |
| Appliances | Stainless steel suite | Gas range, panel ready fridge | $1,500 to $8,000 |
| Lighting | Recessed cans | Pendants over island | $400 to $1,200 |
Cost ranges above are illustrative. Replace them with your own current pricing.
Flooring and Living Areas
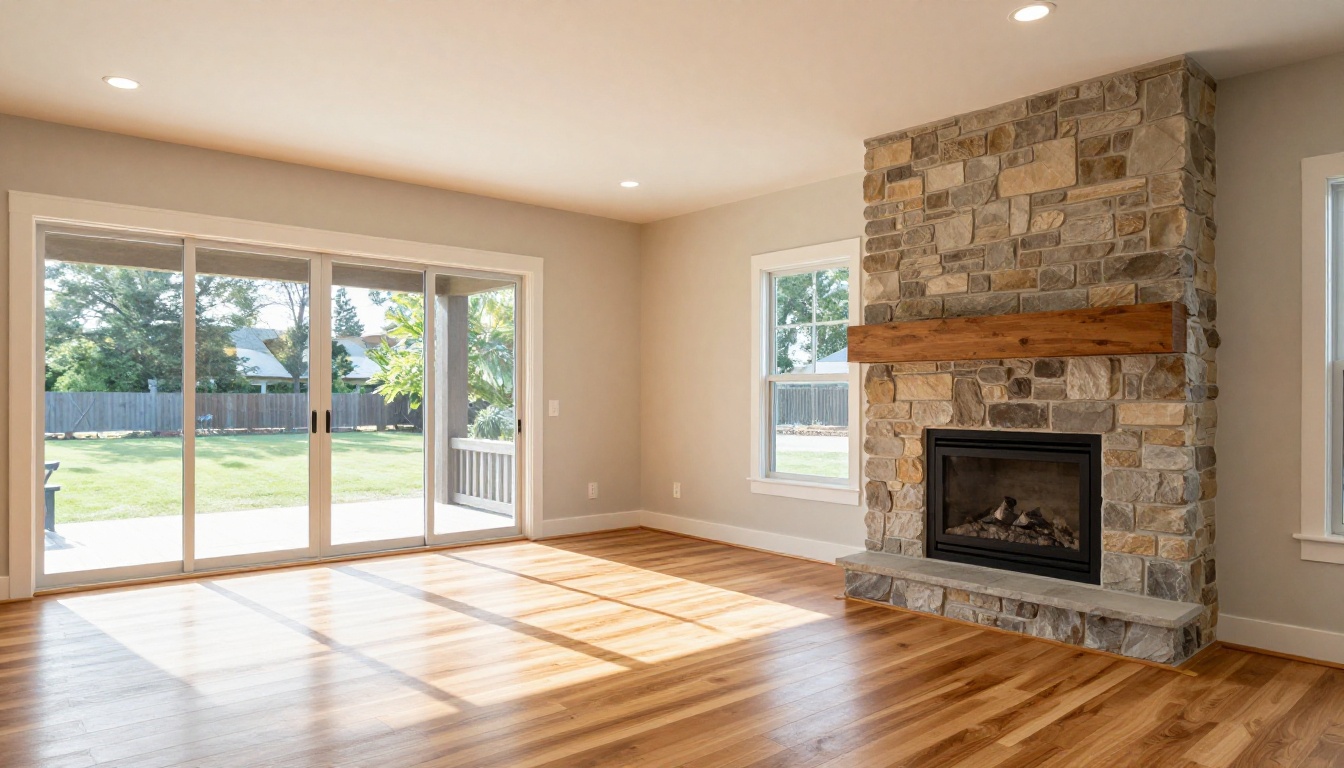
Flooring is the second most photographed finish. Buyers like to picture furniture, walls and daylight with it, so show the material in a staged room, not only as a sample.
Flooring Options by Area
- Entry and main living: luxury vinyl plank standard, engineered hardwood as the upgrade.
- Bedrooms: stain resistant carpet standard, wool blend or hardwood as upgrades.
- Wet areas: porcelain tile in standard sizes, large format tile as an upgrade.
Fireplaces, Lighting and Smart Features
List fireplace type, surround material, ceiling height, recessed lighting count and any pre wired smart home items. Buyers search for these details and often compare them line by line across builders.
✅ Best practice: Write counts, not adjectives. "14 recessed lights" is clear. "Plenty of lighting" is not.
Bathrooms That Sell Upgrades
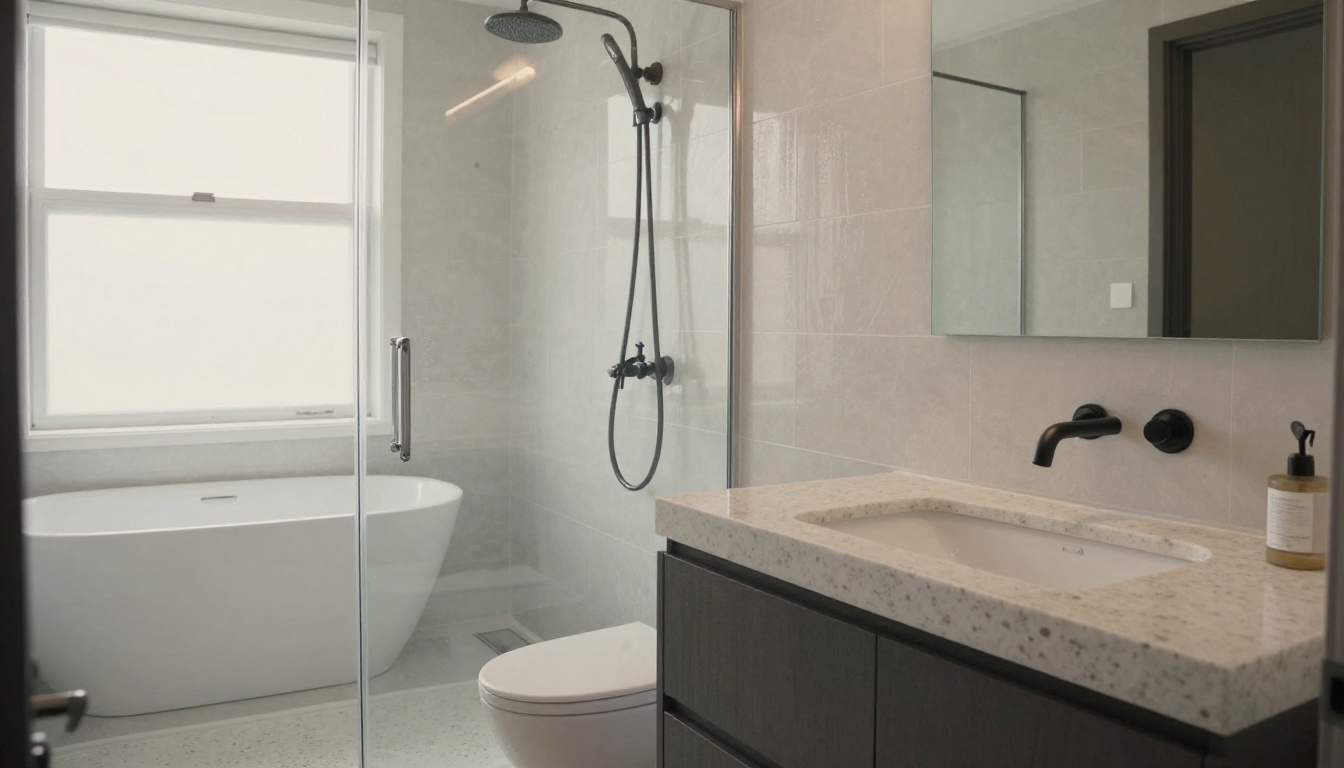
Primary bath upgrades have some of the best margin in a home. Buyers are willing to pay for a walk in shower, a freestanding tub or a double vanity when they can see it.
Showers, Tubs and Vanities
Show three layouts in the same floor plan: the standard tub shower, a walk in shower with glass, and a freestanding tub package. Add tile size, niche options and fixture finish for each.
Fixture Finish Families
Choose three or four finish families, such as chrome, brushed nickel, matte black and brushed brass. Show the same faucet in each so buyers can pick one finish for the entire home.
| Fixture Family | Look | Best Paired With | Included Level |
|---|
| Chrome | Classic and bright | White cabinets, gray tile | Standard |
| Brushed nickel | Soft and neutral | Most palettes | Standard |
| Matte black | Bold contrast | Light wood, white tile | Upgrade |
| Brushed brass | Warm and upscale | Navy, sage, walnut | Upgrade |
Exterior, Structure and Systems
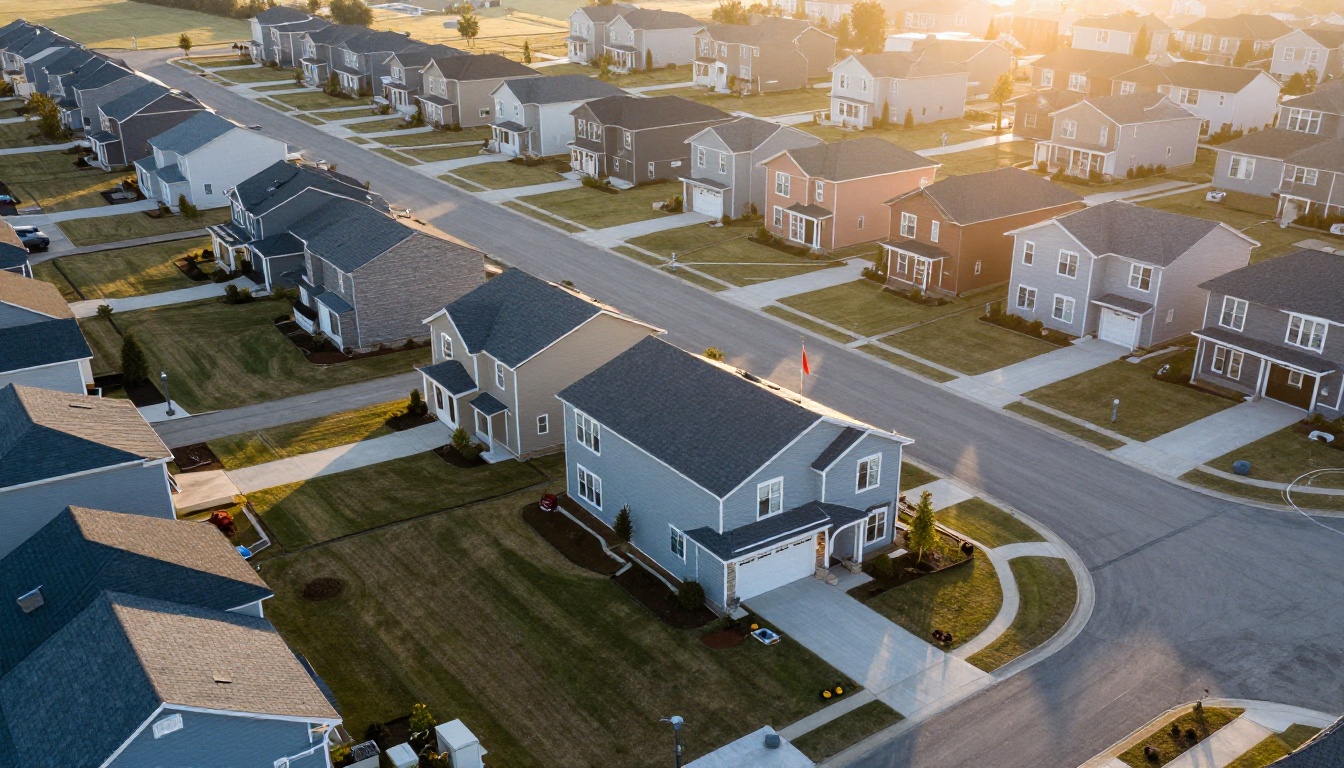
Buyers often skip this section, and builders often rush it. That is a mistake. Structure and systems are where trust is built, and where competitors differ most.
What to List
- Foundation type and wall framing size
- Insulation values and window rating
- Roofing material and warranty length
- Siding or brick options and color palette
- HVAC efficiency rating and water heater type
- Garage door style and opener
- Landscaping package and irrigation
Show the Build Process
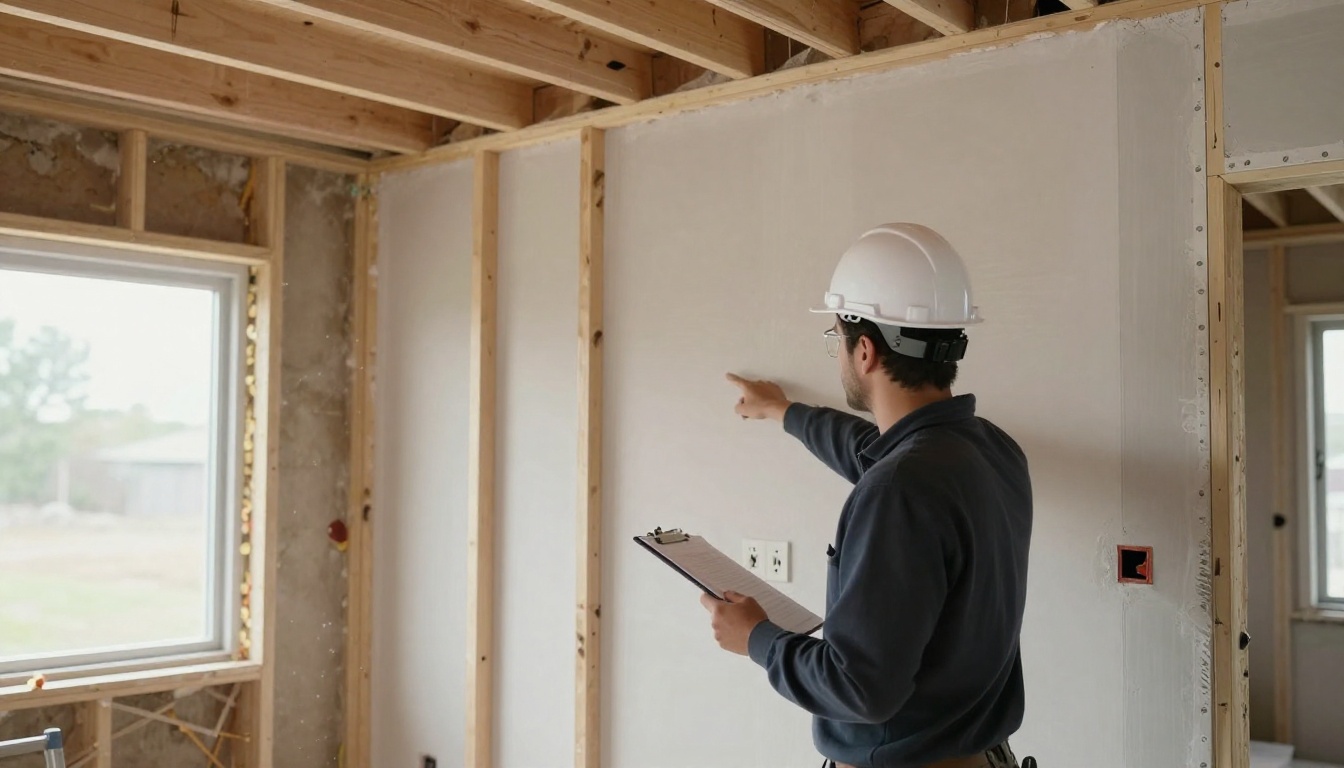
A short photo series of framing, insulation and drywall inspections tells buyers that quality is checked. Use real site photos with captions, such as "Insulation inspection, week 9."
⚠️ Warning: Never list a brand or model that you might not be able to source. If supply changes, state "or equivalent" and keep a dated revision note on the page.
Pricing Upgrades the Smart Way
Upgrade pricing can be shown in three ways. Each has trade offs.
| Method | How It Works | Strength | Weakness |
|---|
| Itemized | Every upgrade has its own price | Maximum clarity | Long lists, harder to compare |
| Packages | Bundled finishes at set prices | Fast decisions, higher average sale | Less flexibility |
| Allowance | Fixed budget per category | Familiar for custom builders | Overages cause disputes |
A Real World Example
A mid size builder with 40 homes a year moved from a 14 page text spec sheet to a visual inclusions book with three packages. Sales agents reported shorter design appointments, and buyers chose a package in the first meeting instead of the third. The builder kept the itemized list as an appendix for buyers who wanted to customize.
Keep Prices Current
Price lists go stale quickly. Add a "last updated" date to every page, and publish revisions in one place so agents never hand out an old version.
Publish It as an Interactive Flipbook
A PDF is a fine start, but it is heavy on mobile, impossible to update after emailing and gives you no data. A flipbook solves all three problems.

How to Create an Inclusions Flipbook
- Prepare your PDF. Export the inclusions list from your design software with one room per page and high resolution photos.
- Open the converter. Go to Flipbooks AI and use the PDF to Flipbook Converter to upload the file.
- Pick a template. The Real Estate Brochure tool and the Digital Catalog Maker both suit inclusions books.
- Add your branding. Set your logo, brand colors and page turning effect so the flipbook matches your sales office.
- Add media. Embed a short walkthrough video or a voice note on the kitchen page.
- Set sharing options. Copy the direct link, use the embed code for your community page, or add a password for buyers under contract.
- Review analytics. On the Professional plan, track which pages buyers spend time on and capture leads. See the pricing plans for details.
Flipbooks have no watermarks, work on phones and let you download an offline copy for model home tablets with weak Wi-Fi.
Update Without Resending
When a tile line is discontinued, edit the source file and republish. The same link now shows the new page, so you never chase down outdated copies. Compare this with email attachments that live forever in inboxes.
A Simple Layout You Can Copy
Use this page order for a typical single family inclusions book of 20 to 28 pages:
- Welcome page and how to read this book
- Package overview (Essential, Signature, Luxe)
- Kitchen standard and upgrades
- Living areas and flooring
- Primary bath
- Secondary baths and laundry
- Bedrooms and closets
- Exterior and landscaping
- Structure, energy and systems
- Warranty and service
- Upgrade price table
- Contact and next steps
Writing Rules That Work
- Keep each page to one room and one idea.
- Use a photo for every finish that costs money.
- Write item names in plain words that a buyer would type into a search box.
- Use the same layout on every page, with standard on the left and upgrades on the right.
- Add short callouts for energy savings, durability and maintenance.
Common Mistakes to Avoid
- Mixing standard and optional items in the same bullet list.
- Using brand names without model numbers.
- Leaving out the date of last revision.
- Hiding prices behind "ask your agent."
- Posting photos of upgraded homes without labeling them as upgrades.
Ready to Publish Yours?
A clear inclusions list shortens sales cycles, reduces disputes and puts upgrade options in front of every buyer. Start with one floor plan, build the room by room pages, and publish the result as a flipbook your whole sales team can share by link.
Get started for free on Flipbooks AI, browse all flipbook tools, and compare pricing plans to find the one that fits your community. If you also sell homes through printed pieces, try the Brochure Flipbook Maker to keep your look consistent from the sales office to the screen.



