You spent three weeks on the plan. The drifts of salvia are balanced, the grasses catch the evening light, and the bloom sequence runs from March to November. Then you email a 40 MB PDF, the client opens it on a phone, pinches and squints, and replies with "Looks nice, can we talk?" That is the moment approvals stall. The fix is not a better drawing. It is a better way to present it, and a flipbook built on Flipbooks AI is one of the simplest ways to do that.
This article walks through how garden designers package planting plans so clients can read them comfortably, ask precise questions and approve online. You will see what to include, how to lay it out, which tools help, and how to build the whole thing in an afternoon.
Why Plans Stall in Email
Most planting plans fail at the delivery stage, not the design stage. A plan is dense. It holds Latin names, quantities, spacing, bloom times and costs. Clients rarely speak that language, so they hesitate rather than say yes to something they only half follow.
Common friction points:
- Huge attachments that bounce, load slowly or get lost in a thread.
- Tiny plan labels that cannot be read on a phone.
- Feedback scattered across emails, texts and voicemails.
- No clear approval moment, so the project drifts without a signed decision.
- Version confusion, where the client reviews last week's file.
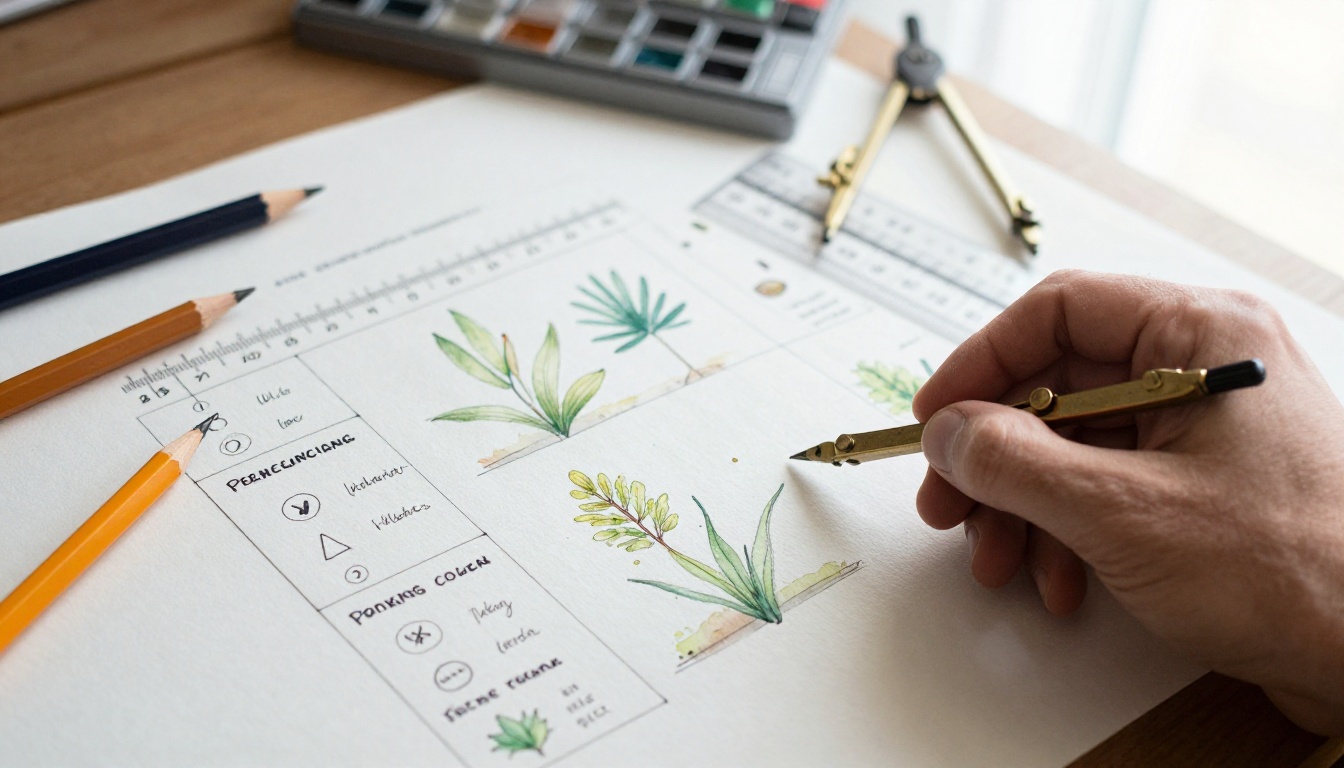
💡 Pro tip: Before you change anything, count how many emails your last three approvals took. That number is your baseline for measuring improvement.
What Clients Actually Want to See
A client does not approve a spreadsheet of plants. They approve a feeling and a fair price. Your presentation needs to answer five quiet questions in order.
- What will my garden look like, and when?
- Why these plants and not others?
- How much work will it be to maintain?
- What does it cost, and what is included?
- What happens if I say yes today?
Build the page order around those questions and the plan feels like a conversation rather than a test.
Start With the Big Picture
Open with one strong image and one sentence describing the mood of the garden. Show a sketch or a visualization of the finished space before any plant names appear. People approve what they can picture.
Show the Plan, Then Zoom In
Give the full layout one page, then break it into zones, each with its own page. A front border, a seating area and a kitchen garden are far easier to review separately than as one crowded drawing.
Explain the Plant Choices
Pair each zone with a short note on why the palette works: soil, sun, wildlife value, seasonal interest. Clients trust a designer who explains the reasoning.

The Anatomy of an Approvable Proposal
Strong proposals share a predictable structure. Here is a page-by-page outline you can reuse for every project.
| Page | Content | Purpose |
|---|
| 1 | Cover image and project name | Set the mood |
| 2 | Site summary and client wishes | Show you listened |
| 3 | Overall planting plan | Give the full picture |
| 4 to 7 | Zone pages with plant lists | Make detail digestible |
| 8 | Seasonal bloom calendar | Prove year-round interest |
| 9 | Maintenance expectations | Remove surprises |
| 10 | Costs and timeline | Build trust |
| 11 | Approval and next steps | Trigger a decision |
Keep it to ten or twelve pages. A shorter document gets read in full, and a read document gets approved faster.
Turning Drawings Into a Flipbook
Your drawings probably already live as a PDF exported from design software or scanned from paper. The jump to an interactive page is short. A PDF to Flipbook Converter turns that file into a page-turning document that opens in any browser, with no download and no app.
Why designers favor this format:
- It feels like a portfolio, not a technical file.
- It loads fast on a phone in a client's kitchen.
- It never carries a watermark, so your branding stays clean.
- It is one link, which means one version of the truth.

Compare the Delivery Options
| Method | Mobile friendly | Single link | Branding control | Tracking |
|---|
| Email PDF | Poor | No | Low | None |
| Cloud folder | Fair | Yes | Low | Limited |
| Slide deck | Fair | Sometimes | Medium | Limited |
| Flipbook | Excellent | Yes | High | Yes on Professional |
How to Create Your Planting Plan Flipbook
Here is the practical workflow. It takes roughly 30 minutes once your drawings are ready.
- Export your plan. Save the layout, zone drawings, plant lists and costs as one PDF, ideally in landscape orientation.
- Create your account. Sign up on Flipbooks AI and open the dashboard.
- Upload the PDF. Drag the file in and the platform converts every page into a flippable spread.
- Customize the look. Add your logo, pick colors that match your studio, and choose a page-turn effect that feels calm rather than flashy.
- Add multimedia. Embed a short walkthrough video of the site, or an audio note explaining your reasoning. See the Digital Portfolio Creator for ideas on layout.
- Set sharing rules. Use a direct link, or an embed code if you want the plan on your own site. Turn on password protection because a client plan is private.
- Send and follow up. Share the link with a short message and a clear date for feedback.
✅ Best practice: Name the flipbook after the client and the project, such as "Henderson Rear Garden Proposal", so it is easy to find later.
Make the Plan Easy to Read
Even a beautiful plan fails if the text is cramped. Treat readability as part of the design.
Use a Legend That Works
Number every plant on the drawing and match the number to a plant table. Avoid putting Latin names directly on the drawing unless there is space to read them.
Show Plants at Mature Size
Include one page that shows how the border looks in year one, year three and year five. Clients are often shocked by a sparse first season. A visible growth timeline prevents that.
Add Real Photographs
Photos of the same varieties in finished gardens do more selling than any botanical description. Use your own project photos wherever possible.
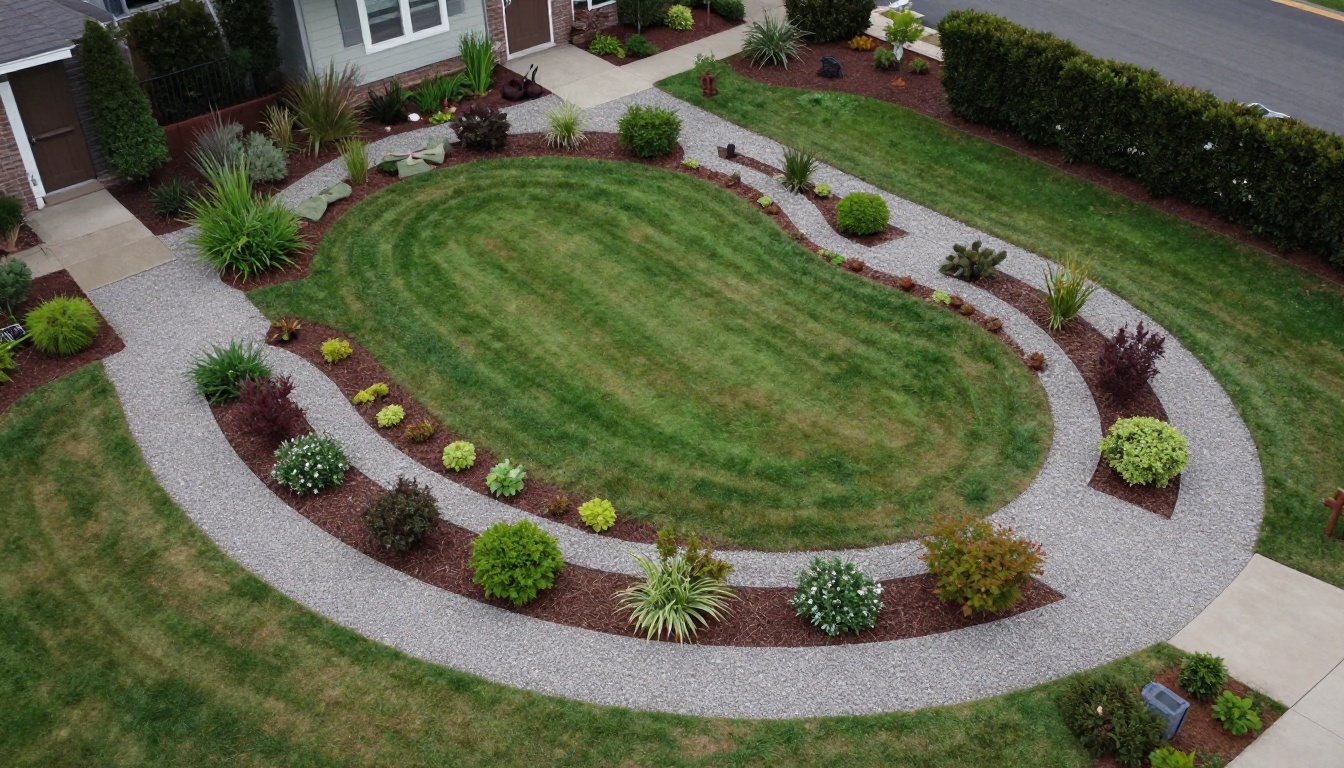
Sample Plant Table
A clear plant table is where most clients make up their minds. Keep columns few and wording plain.
| No. | Plant | Quantity | Height | Bloom |
|---|
| 1 | Lavender | 12 | 60 cm | June to August |
| 2 | Salvia | 9 | 70 cm | May to September |
| 3 | Echinacea | 7 | 90 cm | July to October |
| 4 | Feather reed grass | 5 | 150 cm | June to winter |
| 5 | Sedum | 10 | 50 cm | August to October |
⚠️ Watch out: Never list a quantity without a spacing note somewhere on the page. Clients will count plants on the drawing and wonder why the numbers differ.
Show the Seasons
A planting plan is a story told across twelve months. A seasonal page lets the client see that story at a glance.

Build a Simple Bloom Calendar
Create a grid with months across the top and plant groups down the side. Shade the months in which each group performs. Two or three seasonal photos beside it complete the idea.
Mention Wildlife and Scent
Pollinators, birdsong and fragrance are emotional selling points. A single line such as "Salvia and echinacea feed bees from May to October" gives the client a reason to care.
Costs Without Confusion
Pricing is where hesitation peaks. Present costs as a plain table rather than a paragraph, and split them into logical stages.
| Stage | Includes | Estimate |
|---|
| Ground preparation | Clearing, soil improvement, edging | Itemized |
| Plants | All varieties on the plant table | Itemized |
| Planting labor | Delivery, planting, mulching | Itemized |
| Aftercare visit | Watering check, replacement of failures | Itemized |
If you offer options, such as a phased install over two seasons, show them side by side. Giving the client a choice between two good options moves the conversation from "should I" to "which one".
Collect Approval Online
The final page of your flipbook matters more than the first. It should make the next step obvious and small.
- State what approval means. "Approving this plan lets us order plants and book installation."
- Offer one action. A link to a simple approval form, an e-signature request or a reply button.
- Set a date. Plant availability is real, and a deadline is honest rather than pushy.
- Confirm in writing. Send a short thank-you message that repeats the agreed scope.
If you want to know whether a client has opened the proposal, the Professional plan includes analytics and lead generation features. Check the pricing plans for details. Seeing that a client viewed the cost page three times tells you exactly what to address on your next call.

Handling Feedback Without Chaos
Clients will have questions. The goal is to gather them in one place and answer them quickly.
Ask for Page Numbers
Invite clients to refer to pages when they reply, such as "Page 5, can we swap the grasses?" A numbered flipbook makes this natural.
Keep One Live Version
When you revise the plan, upload the new PDF and share the new link, or update the existing flipbook. Tell the client that older links are retired. One version prevents the most common mistake in the whole process.
Respond Within a Day
Fast replies keep momentum. A short answer within 24 hours often matters more than a perfect answer a week later.
💡 Pro tip: Record a two-minute screen walkthrough of changes and embed it on the revised page. Clients love hearing your voice explain a decision.
Use Your Finished Gardens as Proof
After install, the same flipbook format becomes your best sales tool. A portfolio of completed gardens, with before and after spreads, reassures future clients before they ask.

Photograph at the Right Time
Shoot early morning or late afternoon when light is soft and colors are rich. Take wide shots, detail shots and a few images that show people enjoying the space.

Package a Portfolio
Use the Portfolio Flipbook Builder or the Photography Portfolio template to assemble your best projects. Embed it on your website with the Embed Flipbook on Website tool so prospects can browse without leaving your site.
Real-World Scenarios
A solo designer with small town clients. She sends one flipbook link by text message. Clients review on their phones during lunch, and three of four approve within a week. The shorter loop pays for the subscription in a single project.
A two-person studio with large estates. They publish a password-protected flipbook for every estate, including phase plans and annual maintenance schedules. Owners share the link with spouses and estate managers, all of whom see the same version.
A designer who sells consultations. She offers a lighter flipbook, five pages with a mood image, a planting concept and a fee table, as a first-stage proposal. Clients who like it move to the full plan.

Mistakes to Avoid
- Too many pages. Twenty pages of plant detail will not be read.
- Jargon without translation. Add common names beside Latin names.
- No next step. Always end with one clear action.
- Unprotected links. Use a password for client work.
- Out of date versions. Retire old links as soon as plans change.
Your Next Plan Deserves Better
A planting plan should feel as good to open as the garden feels to walk through. Present it as a clean, branded flipbook and clients stop squinting at attachments and start picturing their own evenings outside.
Ready to try it? Get started for free on Flipbooks AI, browse all flipbook tools to find the right template, or compare pricing plans to choose what works for your studio. When you are ready for analytics and lead capture, upgrade through your account.



