Every photographer, blogger, or content creator has hit the same wall. You shoot a stunning image, it looks perfect on your camera, you transfer it to your laptop, and suddenly you are staring at a 24MB file that no website, email client, or digital publication wants to accept. So you compress it. And then it looks terrible.
Blurry edges. Muddy colors. That telltale pixelated smearing around high-contrast areas. It feels like you are forced to choose between file size and visual integrity. You are not. Compressing photos without making them look bad is absolutely achievable, and it comes down to three things: the format you are saving in, the settings you apply, and the order in which you do things.
Whether you are preparing images for a website, sending photos via email, or building a visual publication on Flipbooks AI, this article walks through what actually works and why most people get it wrong.
Why Your Photos End Up So Large
Modern cameras capture an enormous amount of data. A single RAW file from a mid-range mirrorless camera can hit 50MB or more. Even JPEG exports from smartphones regularly reach 5-12MB per photo. When you multiply that across a photo gallery, a product catalog, or a digital publication, you end up with hundreds of megabytes that are simply impractical for online sharing.
What Lives Inside an Image File
Every pixel in a photo stores color information as a combination of red, green, and blue values. A 12-megapixel image contains 12,000,000 pixels. Multiply each pixel by three color channels at 8 bits per channel, and you have 288 megabits of raw data before any compression is applied. The files on your hard drive have already been compressed once, either by your camera or your phone. What you are trying to do when you "compress a photo" is compress it further, often for a specific delivery target.
The Compression Tradeoff
Further compression requires discarding information. Some algorithms do this intelligently. Others do it brutally. When the algorithm throws away the wrong data, sharpness degrades, colors shift, and visible artifacts appear. This is not inevitable. The right approach minimizes data loss while reducing file size significantly.
Lossy vs Lossless: What Actually Happens
The single most important concept in photo compression is the distinction between lossy and lossless methods.
Lossy Compression
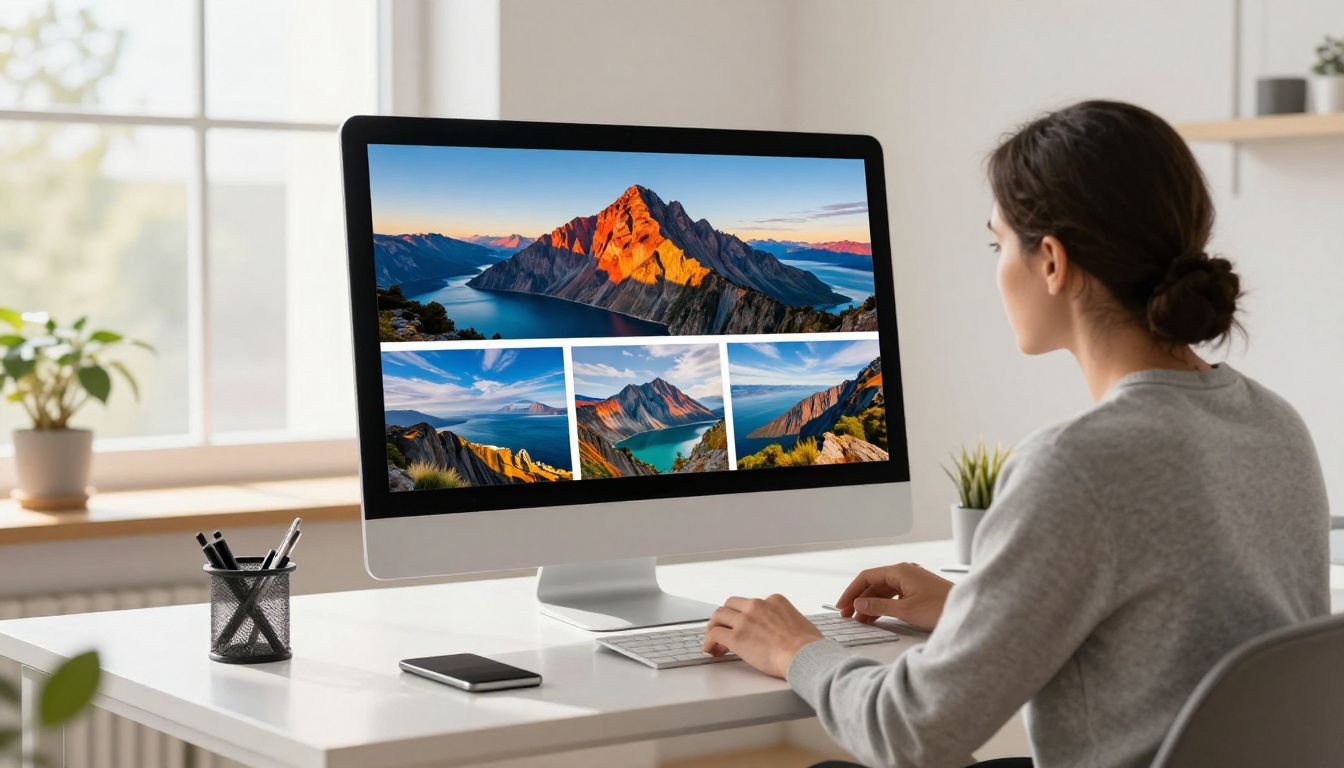
Lossy compression permanently removes pixel data to reduce file size. JPEG is the most common example. When you save a photo as JPEG at a quality setting of 60%, the algorithm analyzes groups of pixels called DCT blocks (8x8 pixel squares), averages similar color values, and discards fine detail. At moderate quality levels (75-85%), the human eye cannot detect the loss. Below 60%, artifacts become visible, particularly in areas with sharp edges or fine texture like hair, grass, or fabric.
Lossless Compression
Lossless compression finds patterns in data and represents them more efficiently without discarding anything. PNG uses this method. You can compress a PNG, decompress it, and get exactly the original pixels back. The tradeoff is that lossless compression typically achieves much smaller reductions in file size for photographic content.
| Feature | Lossy (JPEG) | Lossless (PNG) |
|---|
| File size reduction | 70-90% smaller | 10-30% smaller |
| Quality impact | Moderate at high settings | None |
| Best for | Photos, complex images | Graphics, logos, screenshots |
| Re-save degradation | Yes, compounds | No |
| Transparency support | No | Yes |
| Web load speed | Faster | Slower for photos |
💡 For most photographs, lossy compression at 75-85% quality is the sweet spot. You get dramatic file size reduction with no visible quality loss on screen.
Choosing the wrong file format wastes both quality and storage. Each format handles compression differently, and knowing when to use each one is half the battle.
JPEG: Still the Workhorse
JPEG remains the dominant format for photographs for one simple reason: it compresses photographic content extremely well. At quality 80, a JPEG is typically 70-80% smaller than the original RAW file while looking virtually identical at normal viewing sizes. The most critical rule is to never re-save a JPEG. Every time you open and re-save a JPEG, it compresses again, compounding the quality loss permanently.
PNG: When You Need Precision
PNG is ideal for graphics, logos, screenshots, and any image containing text. It handles flat colors and sharp edges without the blocky artifacts JPEG introduces. For photographs, however, PNG files run 3-5 times larger than equivalent JPEGs, making them impractical for photo-heavy content.
WebP: The Smart Modern Choice
WebP is a format developed by Google that achieves significantly smaller file sizes than JPEG at comparable quality settings. A WebP at quality 80 can be 25-35% smaller than a JPEG at the same setting, with no visible difference. Modern browsers support it fully. If your workflow allows it, WebP should be your default for web-published photography.
| Format | Typical Size (5MP photo) | Transparency | Re-save Safe | Browser Support |
|---|
| JPEG (q.80) | ~800KB | No | No | Universal |
| PNG | ~4.5MB | Yes | Yes | Universal |
| WebP (q.80) | ~600KB | Yes | Yes (lossless mode) | 95%+ modern browsers |
| AVIF | ~450KB | Yes | Yes | Growing (90%+) |
When to Skip WebP
Not every platform accepts WebP. Email clients, older CMS systems, and some print workflows still require JPEG or PNG. Always check your platform's requirements before defaulting to WebP.
5 Settings That Protect Quality When Compressing
These five adjustments will reliably produce well-compressed images that still look sharp and vibrant:
-
Set JPEG quality between 75 and 85. This range sits at the practical limit of human visual perception. Going higher provides minimal visual benefit. Going lower introduces artifacts.
-
Resize before you compress. If your target is a 1200px wide web image, resize the photo to 1200px first, then compress. Compressing an oversized image and letting the browser scale it down wastes bandwidth and compression headroom.
-
Preserve color profiles. Stripping the ICC color profile during export can cause colors to shift noticeably, especially in photos with rich skin tones or saturated skies. Keep sRGB embedded.
-
Use progressive JPEG encoding. Progressive JPEGs load in multiple passes, giving users a low-resolution preview while the full image loads. They also tend to compress slightly better than baseline JPEGs at equivalent visual quality.
-
Export once from your original. Always compress from the highest-quality source file you have. Never compress a compressed file. Each generation of lossy compression removes data that cannot be recovered.
⚠️ The most common mistake is compressing from a file that is already a JPEG. Always go back to your RAW or TIFF original when exporting final compressed versions.
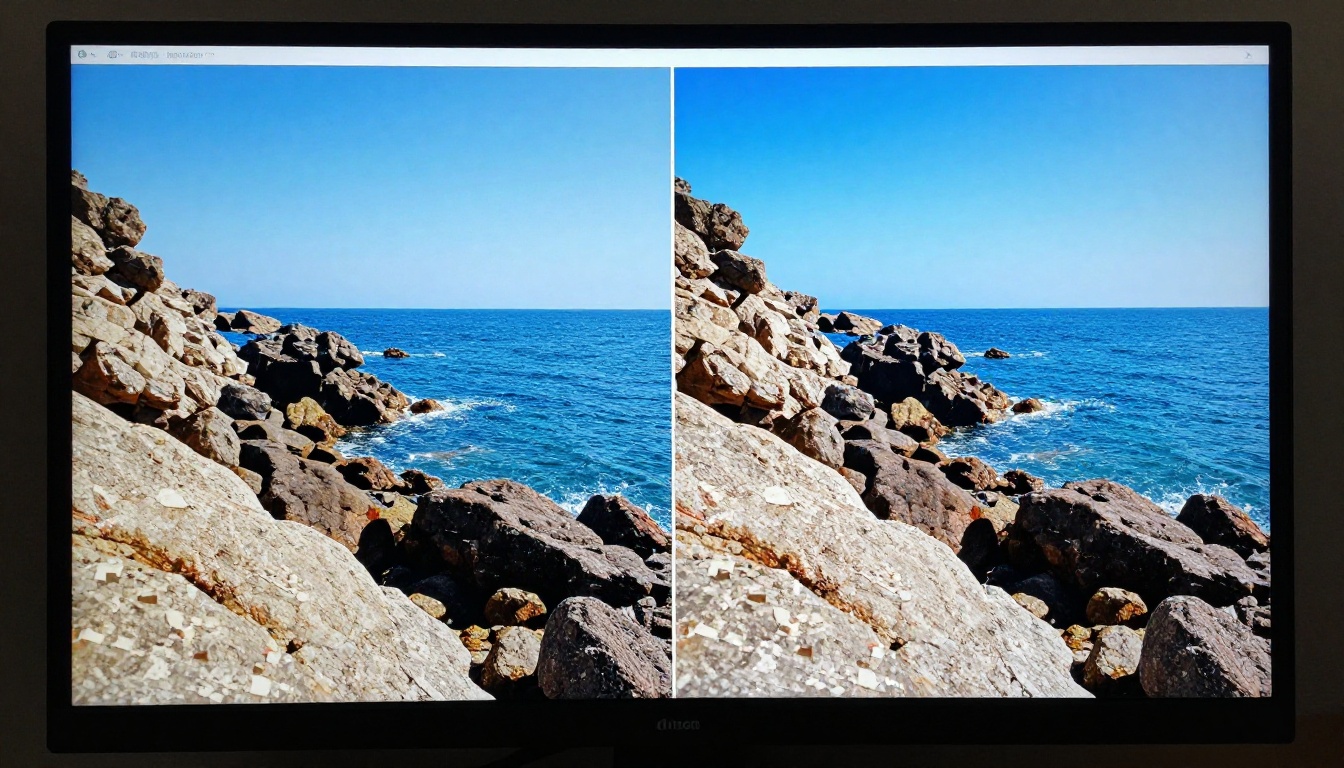
Browser-Based Options
Online tools require no software installation and handle quick jobs well:
- Squoosh (by Google): Lets you compare original and compressed side-by-side in real time. Supports WebP, AVIF, JPEG, and PNG. Completely free.
- TinyPNG / TinyJPEG: Batch compresses up to 20 images at once. Uses smart lossy compression that preserves edges and colors well. Free up to 5MB per file.
- Compressor.io: Offers both lossy and lossless modes with a clean drag-and-drop interface.
Desktop Software Options
For photographers working with large batches, desktop tools offer more control:
- Adobe Lightroom: The "Export" dialog gives precise control over quality, dimensions, format, and color profile. Best-in-class for professional workflows.
- GIMP: Free and open source. The export dialog includes quality sliders and a progressive encoding toggle.
- ImageOptim (Mac): Drag-and-drop batch compressor that strips unnecessary metadata and applies optimized compression. Often achieves 20-40% extra savings over standard JPEG output.
| Tool | Platform | Batch | WebP Support | Cost |
|---|
| Squoosh | Browser | No | Yes | Free |
| TinyPNG | Browser | Yes (20 files) | Yes | Free/Paid |
| ImageOptim | Mac only | Yes | No | Free |
| Lightroom | Desktop | Yes | No (JPEG/PSD) | Subscription |
| GIMP | Desktop | No | Yes | Free |
✅ For most users, Squoosh for individual files and TinyPNG for batches handle 90% of compression needs without spending a cent.
Building a Photography Flipbook with Compressed Images

One of the most visually impressive ways to publish a photo collection is as an interactive flipbook. Flipbooks AI converts your PDF into a page-turning digital publication that works on any device. For photographers, the Photography Portfolio Flipbook tool is purpose-built for showcasing visual work at its best.
Here is how to go from compressed images to published flipbook:
-
Prepare your photos. Export your images at JPEG quality 85, resized to 2000px on the longest side. This produces publication-quality photos at practical file sizes.
-
Build your PDF. Arrange your compressed photos in a layout tool like Canva, InDesign, or Google Slides. Keep each page at a standard ratio like 4:3 or 16:9.
-
Create a free account. Head to Flipbooks AI and sign up. No credit card required to start.
-
Upload your PDF. Drag and drop your photo portfolio PDF. Flipbooks AI converts it automatically into a page-turning digital flipbook with smooth animations.
-
Customize the presentation. Add your brand colors, a custom logo, and choose a background theme that complements your photography style. The Standard plan and above include no watermarks and unlimited flipbooks.
-
Share or embed. Copy the direct link to share your portfolio anywhere. Use the embed code to place it on your website or blog. Full embed options are available here.
-
Track your audience. Professional plan users get analytics showing who viewed which pages and for how long. This is invaluable for knowing which photos land hardest. See pricing plans to compare what each tier includes.
💡 Compress your PDF photos to 150-200 DPI for digital flipbooks. Print resolution (300 DPI) is unnecessary for screen viewing and triples your PDF file size.
What Ruins a Compressed Photo
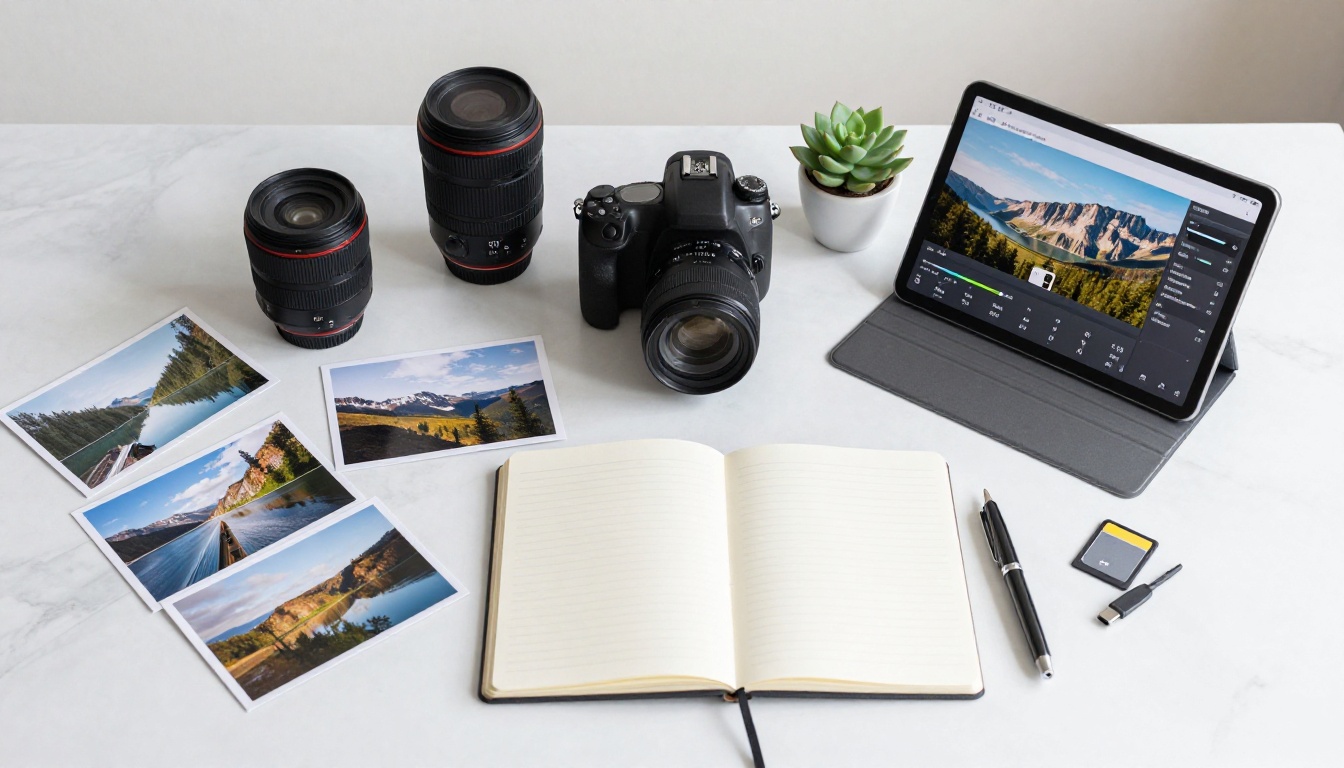
Knowing what breaks quality is just as useful as knowing what preserves it. Three specific errors account for the vast majority of bad-looking compressed photos.
Going Below Quality 60
At JPEG quality 60 and below, DCT block boundaries become visible to the naked eye, especially in areas with gradients like skies or skin. The image takes on a "painted" appearance with smeared textures. This is not a subtle degradation. It is immediately noticeable to anyone looking at the photo for more than a second.
Re-Compressing Already-Compressed Files
If you receive a JPEG, open it, make a crop, and save it as JPEG again, you have compressed it twice. The second pass removes data the first pass left behind. Do this three or four times and quality degrades visibly even at high quality settings. Always keep your master file in a lossless format (RAW, TIFF, or PNG) and export JPEG copies fresh each time.
Compressing Images That Contain Text or Graphics
JPEG was designed for the continuous-tone gradients found in photographs. It handles sharp, flat-color edges poorly. If your image contains white text on a dark background, a logo, or a chart, use PNG or WebP lossless mode instead. JPEG will produce visible ringing artifacts around every edge.
⚠️ Mixing photos and graphics in the same file is common in marketing assets. When this happens, use WebP or PNG rather than JPEG, even for the photographic portions of the image.
When Size Matters More Than Perfection
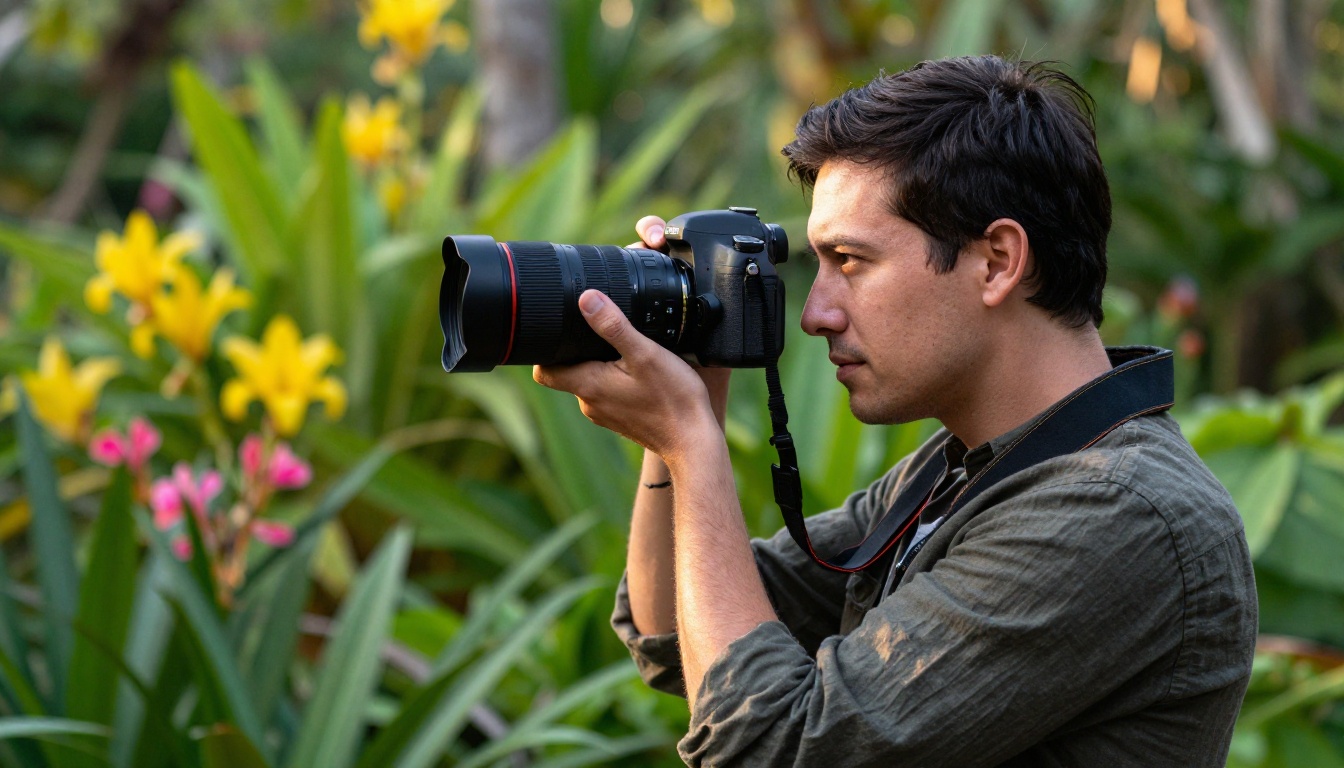
Not every use case requires museum-grade fidelity. Here is a practical breakdown by scenario:
Social media thumbnails: Quality 65-70 is fine. These images are scaled down to display sizes where artifacts are invisible at normal viewing distances.
Email attachments: Resize to 1600px maximum width and use quality 75. Most email clients further compress attachments, so starting lower saves everyone's bandwidth.
Website hero images: Quality 80-85 at 2000px width. These are the images people actually look at carefully. Do not cut corners here.
Digital flipbooks and PDF publications: Quality 80-85 at 150 DPI. Readers flip through pages at speed, so small imperfections are less noticeable than slow load times.
Print: Do not compress at all, or use lossless only. Print at 300 DPI original quality. File size does not matter for files going directly to a printer.
The Real Impact of Photo Optimization on Load Speed
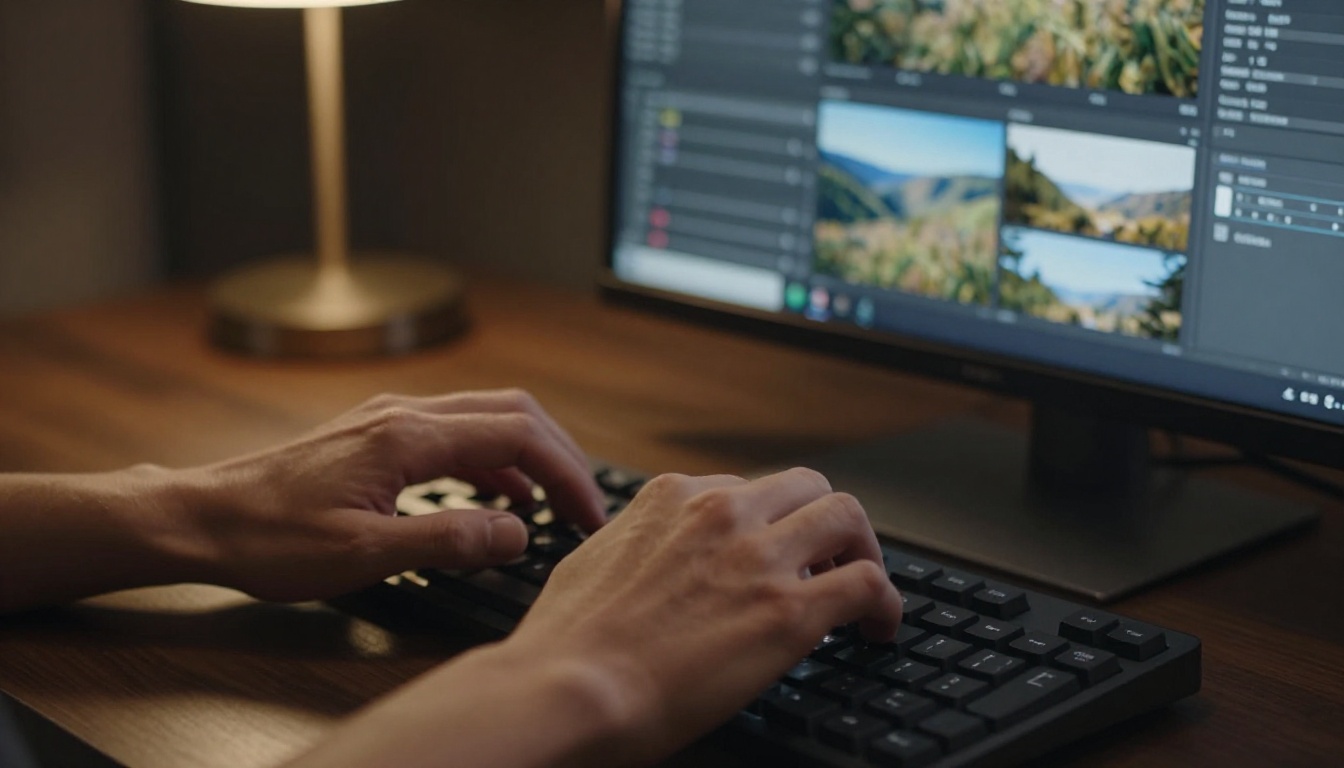
Page load speed is a direct ranking factor in search engines, and images are typically the largest assets on any web page. A single unoptimized hero image at 8MB can push a page load time past 5 seconds on a mobile connection. Compressing that same image to 400KB cuts the load time by over 90% on slower connections.
Google's Core Web Vitals metric LCP (Largest Contentful Paint) measures how fast the largest visible element loads. For most photography-heavy pages, that element is a photo. Compressing it properly is one of the highest-impact optimizations available without touching a single line of code.
Target file sizes by use case:
- Full-width hero image: 200-400KB
- Article body image: 80-150KB
- Thumbnail: 20-50KB
- Product photo (e-commerce): 100-200KB
Compression alone can get you to these targets from a standard camera export. No resolution loss. No visible quality tradeoff. Just leaner, faster, more professional-looking results everywhere your photos appear.
The bottom line: choose the right format, stay between 75-85% quality, always compress from your original, and resize before exporting. Four rules. That is genuinely all it takes to compress photos without making them look bad.
Ready to put those optimized photos into something memorable? Create your first flipbook for free on Flipbooks AI, or browse all photography and portfolio tools to see what is possible. If you want to share visual work at its best, check pricing plans and find the tier that fits your output.



