The first morning at a daycare is loud, emotional and rushed. A parent is juggling a diaper bag, a crying toddler and a hundred small worries, and the last thing they can absorb is a stack of stapled pages. A clear daycare parent handbook checklist fixes that. It tells you exactly what to put in front of families, in what order, and in what format. If you build your handbook with Flipbooks AI, you can also turn it into a mobile-friendly flipbook that parents read at their own pace, long before the first drop-off.
This article walks through every section a new family needs, why each one matters, and how to avoid the gaps that create awkward conversations in week one.
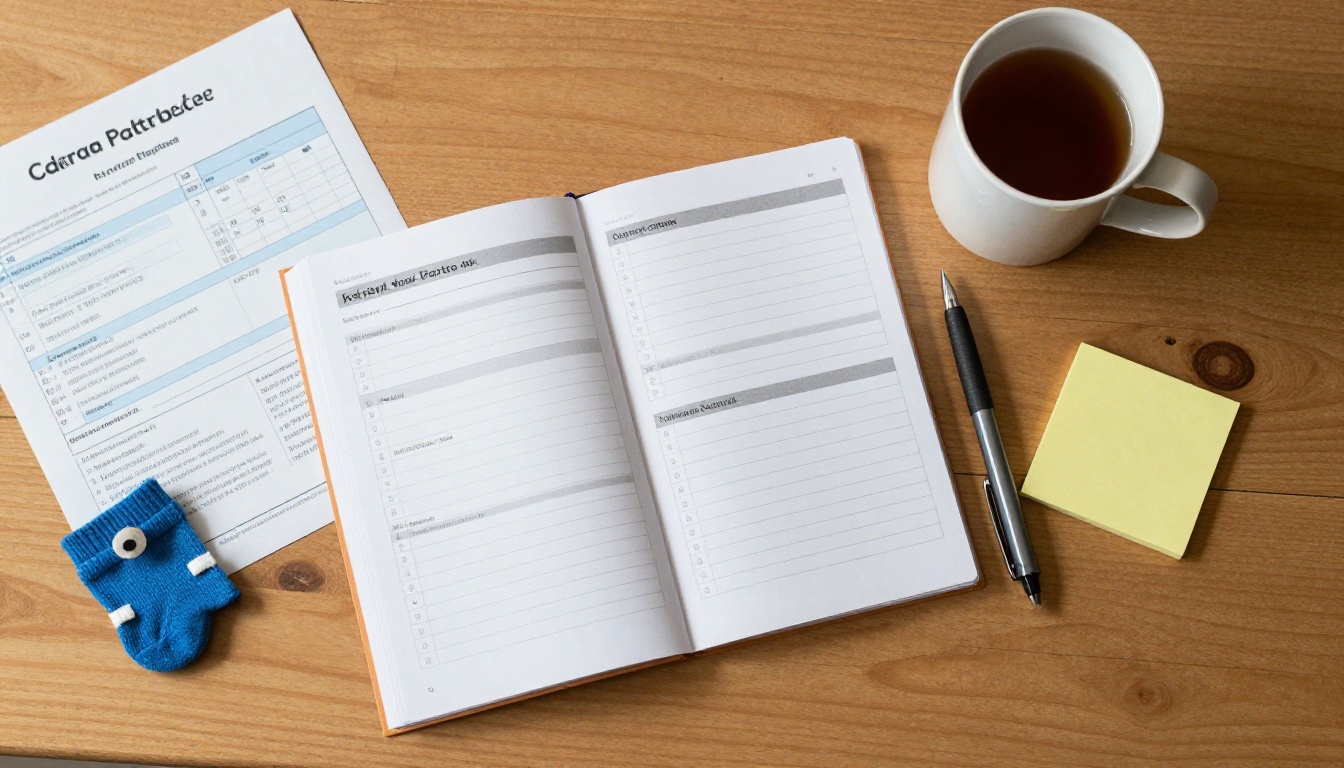
Why Day One Needs a Handbook
Families judge a daycare in the first few minutes. A well-organized handbook signals that the center is licensed, predictable and careful. A messy or missing one signals the opposite, even if the care itself is excellent.
A good handbook does three jobs:
- Sets expectations for hours, fees, behavior and communication.
- Protects the center by documenting policies parents agreed to.
- Calms parents by answering questions before they have to ask.
💡 Pro tip: Send the handbook at least three days before the first day. Parents who read it at home arrive with fewer surprises and better questions.
What Parents Actually Read
Most parents skim. They look for money, health rules, pickup rules and who to call. Put those near the front and keep paragraphs short. Everything else can sit deeper in the document.
What Licensing Usually Expects
Requirements differ by state or country, so check with your licensing office. In most places you must share health, safety, discipline and emergency procedures in writing. Keep a signed acknowledgment page on file for every child.
The Daycare Parent Handbook Checklist
Use the table below as your master list. Tick off each item before you publish.
| Section | What to include | Priority |
|---|
| Welcome and philosophy | Mission, age groups, teaching approach | High |
| Hours and calendar | Open and close times, holidays, closures | High |
| Tuition and fees | Rates, due dates, late fees, deposits | High |
| Health and illness | Exclusion rules, medication, vaccines | High |
| Arrival and pickup | Sign-in, authorized adults, late pickup | High |
| Daily schedule | Meals, naps, outdoor time, activities | Medium |
| Meals and allergies | Menu, allergy plan, outside food rules | High |
| Behavior and discipline | Positive guidance, biting policy | High |
| Emergency plans | Fire, weather, lockdown, evacuation sites | High |
| Communication | Apps, notes, conferences, contact list | Medium |
| Forms and signatures | Enrollment, consent, photo release | High |

Welcome and Philosophy
Open with a warm paragraph, not a rules list. Say who you are, what ages you serve and how you approach learning. Two or three honest sentences beat a page of buzzwords.
Introduce the Team
Add names, roles and a short note for each lead teacher. Parents feel better handing over a child to someone they have already read about. A photo makes it even better.
State Your Approach
Play-based, structured, bilingual, outdoor-focused: name it plainly and give one example. For instance: "Every morning begins with free play in the reading corner, followed by circle time at 9:15."
Hours, Fees and Payments
Money questions cause the most friction, so make this section impossible to misread.
Hours and Closures
List regular hours, holiday closures and teacher training days. Include the late pickup fee and exactly when it begins to apply.
Tuition Details
State what tuition includes (meals, diapers, supplies) and what costs extra. Explain deposits, refunds, vacation credits and what happens after a missed payment.
| Fee type | Example wording | Common mistake |
|---|
| Registration | One-time, non-refundable | Not stating it is non-refundable |
| Weekly tuition | Due Monday by 9 a.m. | Leaving the due date vague |
| Late pickup | Charged per 5 minutes after close | No clear grace period |
| Sibling discount | Percentage off second child | Forgetting to state eligibility |
| Withdrawal notice | Two weeks written notice | Verbal-only notice |
⚠️ Warning: Never rely on a verbal agreement for fees. If it is not in the handbook and signed, it is hard to enforce.
Health, Safety and Illness Rules
This is the section parents read twice. Be specific and kind.
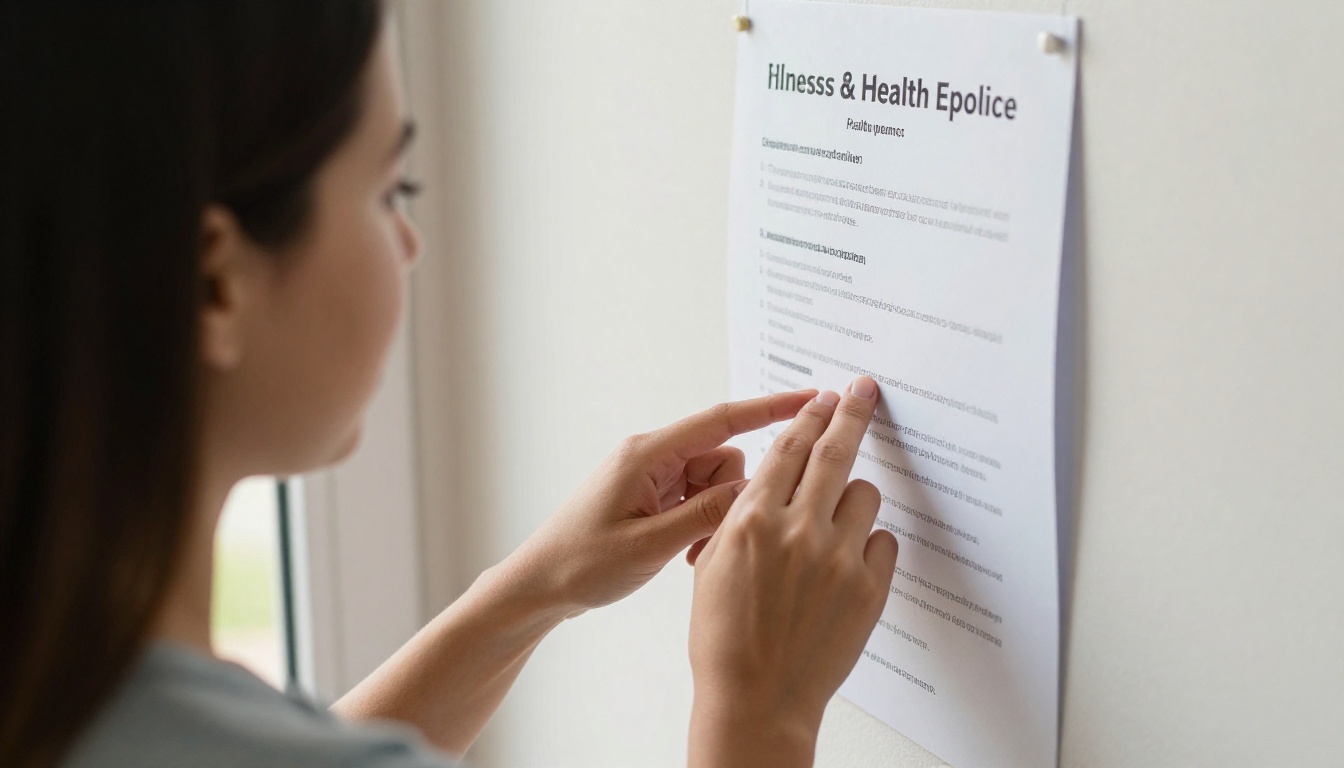
Sick Child Policy
Give concrete thresholds instead of "if your child seems unwell." For example: fever of 100.4°F (38°C) or higher, vomiting, or diarrhea means the child stays home until symptom-free for 24 hours.
Medication and Vaccines
Explain how medication is handed over, labeled and logged. State which vaccine records you need and by what date. Mention who administers emergency medication such as epinephrine.
A Simple Illness Quick Reference
| Symptom | Stay home? | Return when |
|---|
| Fever | Yes | 24 hours fever-free without medicine |
| Vomiting | Yes | 24 hours with no episodes |
| Pink eye | Yes | After treatment starts or doctor clears |
| Mild cold | Usually no | If child can join activities |
| Rash | Check first | Doctor note if cause is unknown |
✅ Best practice: Print the illness table as a one-page tear-out and also keep it inside the digital handbook.
Arrival, Pickup and Authorization

Describe the full routine: where to park, how to sign in, where to leave bags and how long a goodbye should take (shorter is usually kinder).
Authorized Pickup List
Require every parent to list approved adults with phone numbers. State clearly that photo ID will be checked and that no child leaves with anyone not on the list, even a familiar face.
Late and Emergency Pickup
Spell out what happens when no one arrives: the call sequence, the wait time and when the authorities are contacted. Parents appreciate honesty here.
The Daily Schedule and Learning
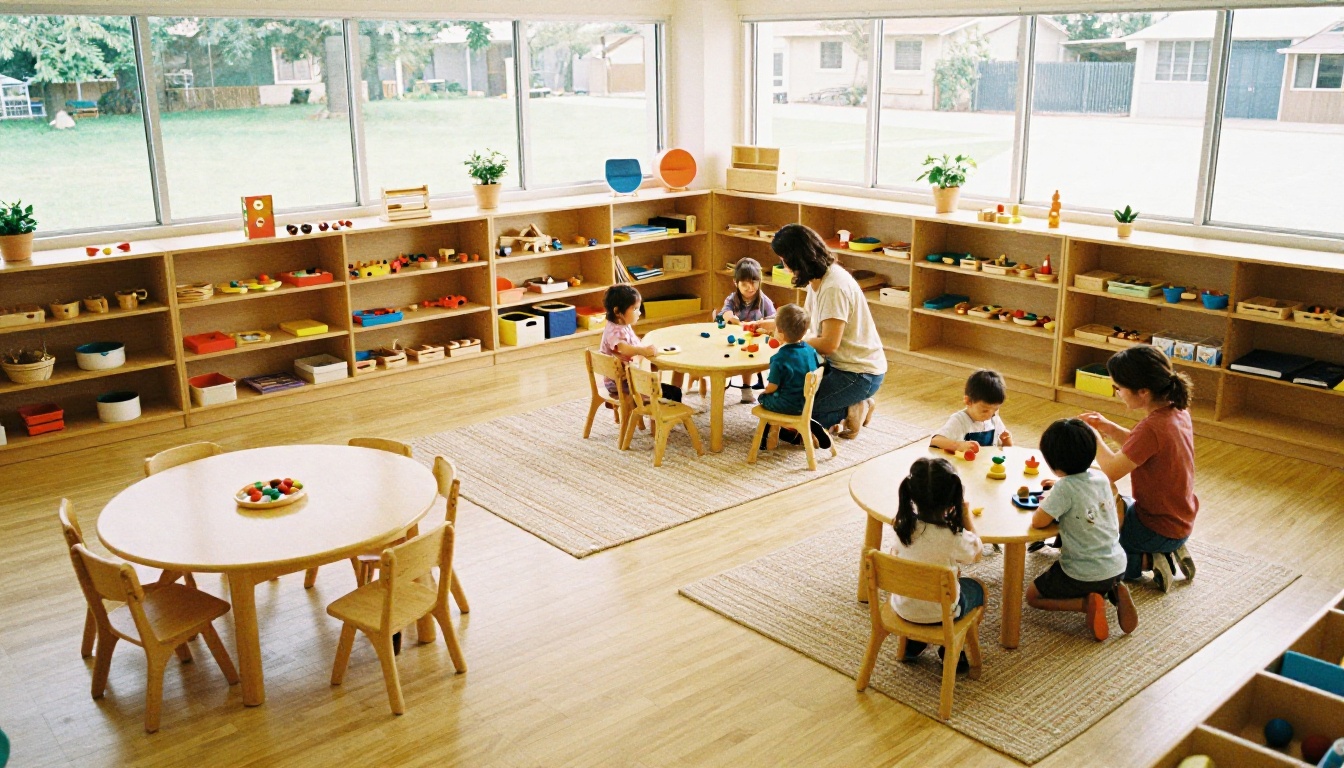
A sample day helps parents picture their child's routine and prepare for it.
| Time | Activity | Why it matters |
|---|
| 7:30 | Arrival and free play | Soft start, easy separation |
| 9:15 | Circle time | Language and routine |
| 10:00 | Snack and outdoor play | Energy and motor skills |
| 12:00 | Lunch | Nutrition and independence |
| 12:45 | Nap or quiet time | Rest and growth |
| 3:00 | Afternoon activity | Creativity and social play |
| 5:00 | Pickup window | Calm transition home |
What to Pack
Give a short packing list: spare clothes, weather gear, a labeled water bottle, diapers and wipes if not provided, and a comfort item for nap. Ask parents to label everything.
Meals, Allergies and Special Needs

Share the weekly menu format, whether you serve nut-free meals and how outside food is handled. Add an allergy action plan form that parents fill out before the first day, and state that allergy information is posted where staff can see it.
Cultural and Dietary Needs
Mention halal, kosher, vegetarian and other preferences. A single sentence like "Tell us what your family eats and we will plan around it" builds a lot of trust.
Support for Different Learners
Describe how you work with children who need extra support, and how you coordinate with therapists or specialists.
Behavior, Safety and Emergencies

Positive Guidance
Explain how staff redirect behavior: calm words, choices, short breaks. State plainly that physical punishment is never used. Include your biting policy, because it will come up with toddlers.
Emergency Procedures
Summarize fire drills, severe weather, lockdowns and medical emergencies. Name the evacuation site and explain how families will be notified by text or app.
💡 Pro tip: Update emergency contacts every term. Outdated phone numbers are the most common failure during a real emergency.
Tell parents how you will reach them and how they can reach you. Name the app, the response time and the best channel for urgent issues versus daily questions.
Forms Families Must Sign
- Enrollment agreement
- Emergency contact and authorized pickup list
- Medical information and allergy plan
- Immunization records
- Photo and media consent
- Handbook acknowledgment page
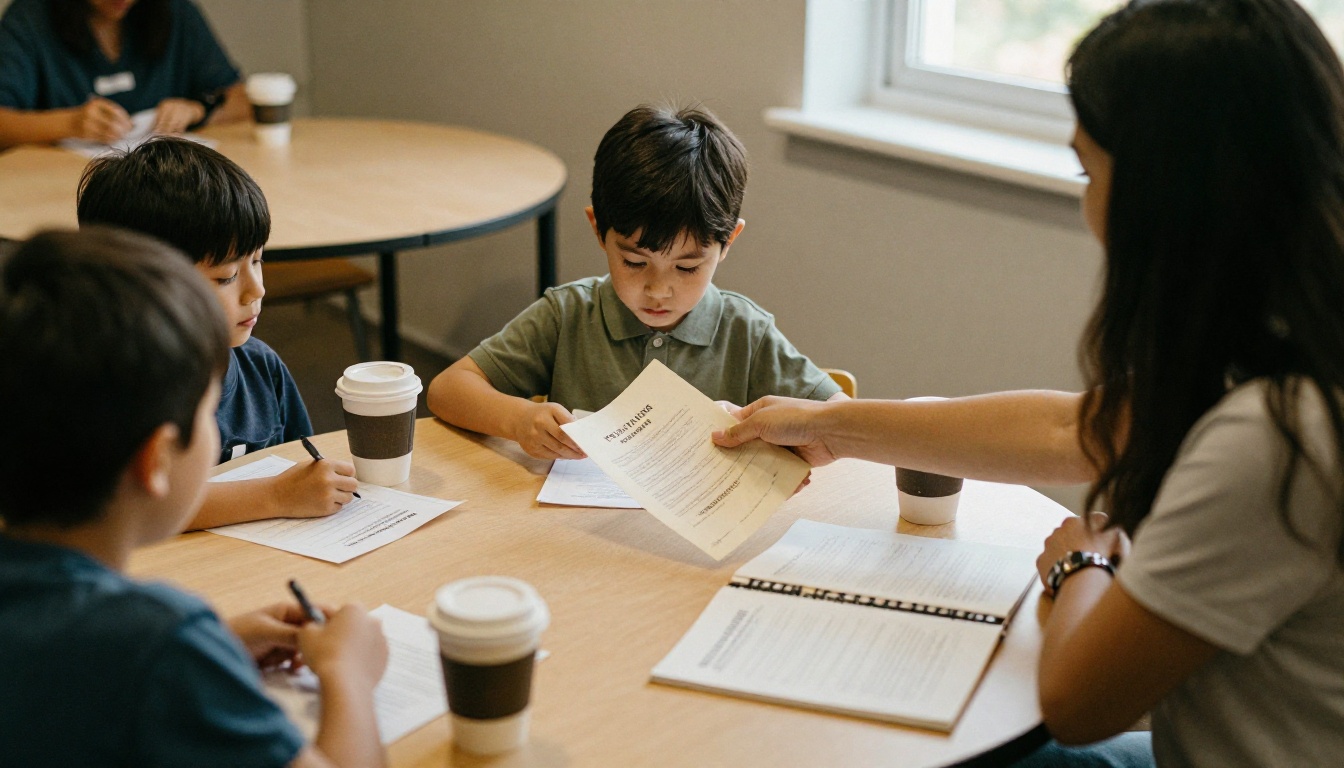
Orientation Visit
Invite families to a short walk-through before day one. Hand over the printed forms checklist, show the cubby, introduce the teacher and let the child explore. This is also the best moment to collect signatures.
How to Build Your Handbook with Flipbooks AI
A PDF handbook that nobody opens does not help anyone. Turning it into an interactive flipbook makes it easier to read on a phone and easier for you to update.

Step-by-Step Tutorial
- Write and design the handbook in your usual editor and export it as a PDF. Use the checklist above as your outline.
- Create an account. Sign up on Flipbooks AI and open your dashboard.
- Upload the PDF. The PDF to Flipbook Converter turns each page into a realistic page-turning flipbook in seconds.
- Customize the look. Add your logo, pick brand colors, choose page effects and embed a short welcome video or audio message from the director. There are no watermarks, ever.
- Choose sharing options. Copy a direct link for text messages, or use the embed option to place the handbook on your enrollment page.
- Protect private content. Use password protection so only enrolled families can open it.
- Download for offline use. Parents can keep a copy for moments without signal, such as at the playground.
For layout ideas, look at the Training Manual Flipbook and the School Newsletter Creator, which suit handbooks and monthly parent updates.
Paper Versus Flipbook
| Feature | Printed handbook | Flipbook handbook |
|---|
| Update cost | Reprint every change | Edit and republish |
| Mobile reading | Not possible | Responsive on any phone |
| Multimedia | None | Video and audio embeds |
| Sharing | Hand out in person | Link, embed or email |
| Privacy | Easy to lose | Password protected |
| Tracking | None | Analytics on Professional plan |
✅ Best practice: Keep one printed copy at the front desk and send the flipbook link to every family. With the Professional plan on Flipbooks AI, analytics show you who opened the handbook, so you can follow up with families who have not.
A Realistic Example
Picture a center with 40 children. Before using a digital handbook, the director answered the same five questions all week: sick rules, late fees, nap items, authorized pickup and holiday closures. After moving to a flipbook with a clear table of contents and a one-page illness chart, those calls dropped sharply, and parents arrived with signed forms in hand.
You can reproduce that result by keeping each page focused, using tables for quick facts and putting contact details on the final page where parents will look for them.
Common Mistakes to Avoid
- Burying fees deep in the document.
- Using vague words like "reasonable" or "as needed."
- Skipping the acknowledgment page, which is your proof parents were informed.
- Forgetting to update after changes in staff, rates or law.
- Writing like a legal notice. Warm, direct language is read more often.
Ready to Publish Yours?
Print this checklist, walk through each section, then turn your finished PDF into a flipbook families will actually open. Get started for free on Flipbooks AI, browse all flipbook tools for more layouts, or compare pricing plans to pick the one that fits your center. A calm, well-prepared first day starts with a handbook that parents can find, read and trust.



