Twelve months go by faster than any parent expects. One day you are holding a sleeping newborn, and suddenly there is a cake, a candle and a baby who has strong opinions about both. A first birthday photo book gives you a way to hold on to the whole year, and the simplest structure is also the best one: a page for every month. This article walks through exactly what to shoot, what to write and how to lay it out, then shows how to turn the finished book into a shareable digital flipbook with Flipbooks AI so grandparents across the world can flip through it on release day.
Why One Page Per Month Works
Most baby albums fail for the same reason: they are a pile of photos with no story. A monthly structure fixes that in one move. It gives you twelve natural chapters, a built-in timeline and a clear deadline for each photo session.
Here is what the monthly format does for you:
- It removes decision fatigue. You never wonder what to shoot, because the month decides.
- It shows growth. Side by side, month one and month twelve tell the story without a single caption.
- It keeps the book finishable. Twelve pages plus a cover and a closing spread is a manageable project.
- It works for any budget. A phone, a window and a blanket are enough.
💡 Pro tip: Take the monthly photo on the same day each month, such as the 14th if your baby was born on the 14th. A fixed date makes the habit stick and keeps the growth comparison honest.

The Month-by-Month Plan
Below is a full year of ideas. Treat them as starting points and swap in whatever fits your baby's personality. Every month gets one hero photo, one small detail shot and one line of text.
Months 1 to 3: The Tiny Chapters
The first quarter is all about how small everything is. These are the pictures you will wish you had taken more of.
Month 1: The newborn page. Photograph your baby asleep on a plain, light surface with a hand or a toy next to them for scale. Add a close shot of the fingers or toes. Write down the birth weight and the first thing everyone said when they saw the baby.
Month 2: The first smile. Social smiles usually arrive around six to eight weeks. Keep your phone ready near the changing table, where baby faces you most. Caption the date of the first real smile.
Month 3: Tummy time. Get down to floor level. A low angle shows the head lift and the determined face. This is also a good month to compare newborn clothes with what fits now.

Months 4 to 6: Hands, Laughs and Food
Babies become interactive here, and the photos get livelier.
Month 4: The hand stare. Babies stare at their own hands as if they were new inventions. A close-up of that moment is pure gold.
Month 5: The first real laugh. Record a short clip and save the best still frame. If you plan a digital version, you can attach the audio later.
Month 6: The first spoonful. Messy faces make the best pages. Shoot from eye level in good window light and do not wipe the cheeks until you have the shot.

Months 7 to 9: Sitting, Crawling, Moving
Movement changes everything about photography. Faster shutter speeds and burst mode become your friends.
Month 7: Sitting up. Prop your baby with cushions, step back and use a longer focal length if your phone has a 2x option.
Month 8: The stranger moment. Many babies develop a serious expression around new faces. A thoughtful, wide-eyed portrait makes a wonderfully honest page.
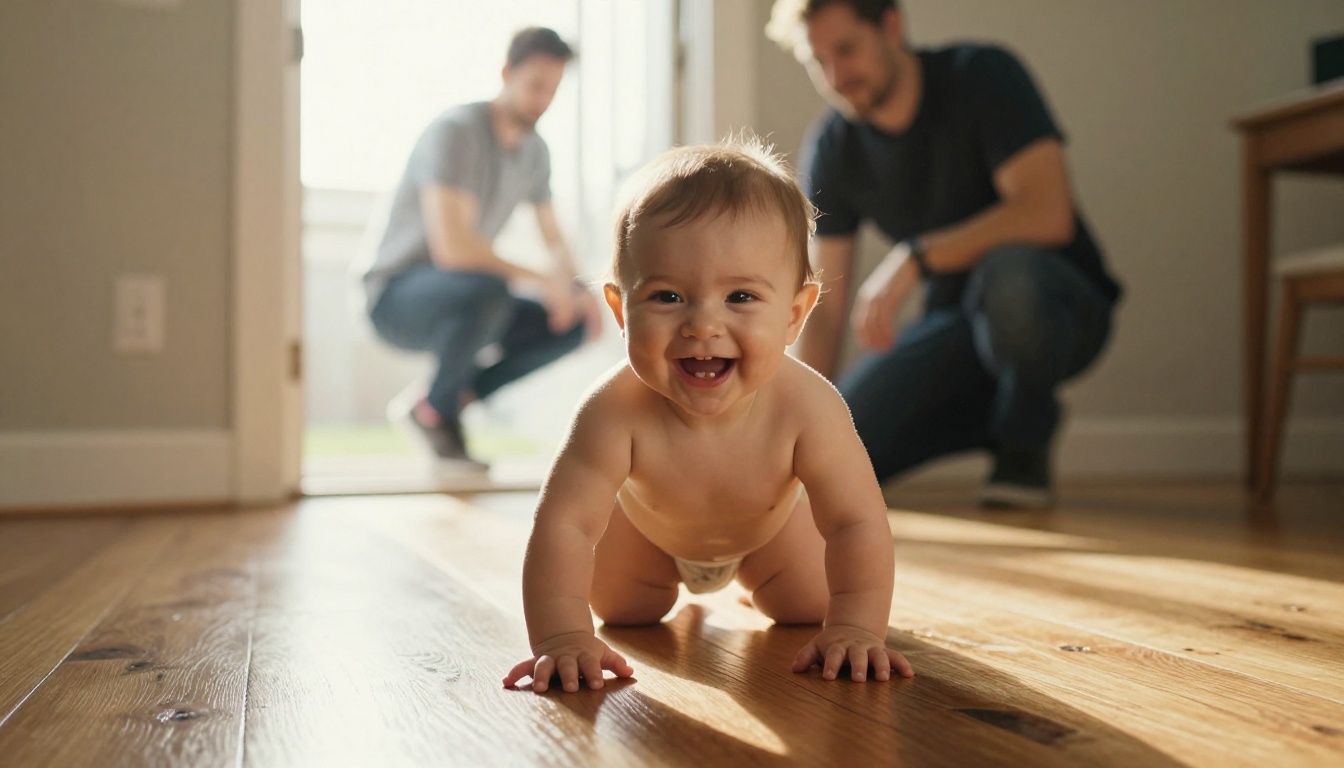
Month 9: Crawling. Lie on the floor and shoot toward the baby as they approach. Backlight from a window gives a lovely glow in the hair.
Months 10 to 12: Standing, Outings and Cake
The final stretch brings personality, outdoor adventures and the big day itself.
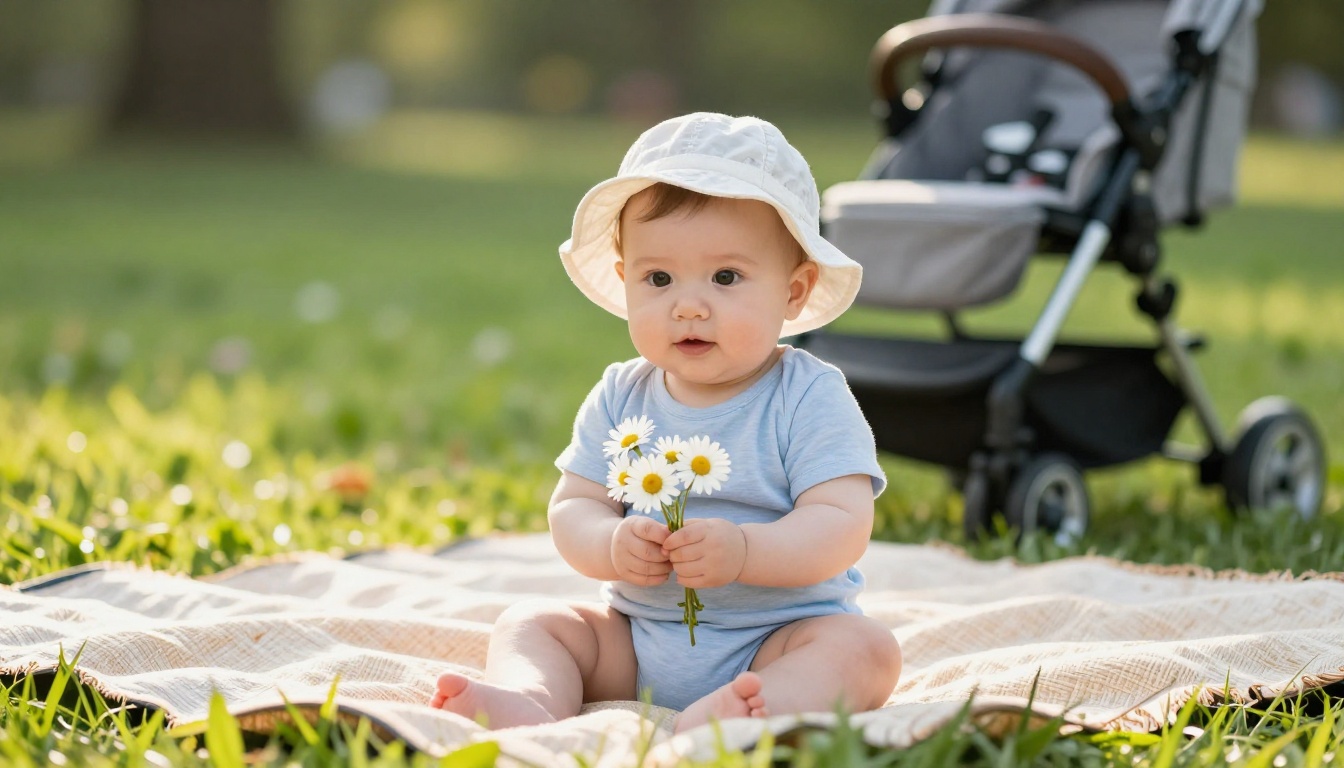
Month 10: The outdoor page. A park blanket, a sun hat, a daisy in a small hand. Shoot in the last hour before sunset.
Month 11: The pulling-up page. Capture the first wobbly stand against a sofa or a coffee table. Add a caption with the exact date if you remember it.
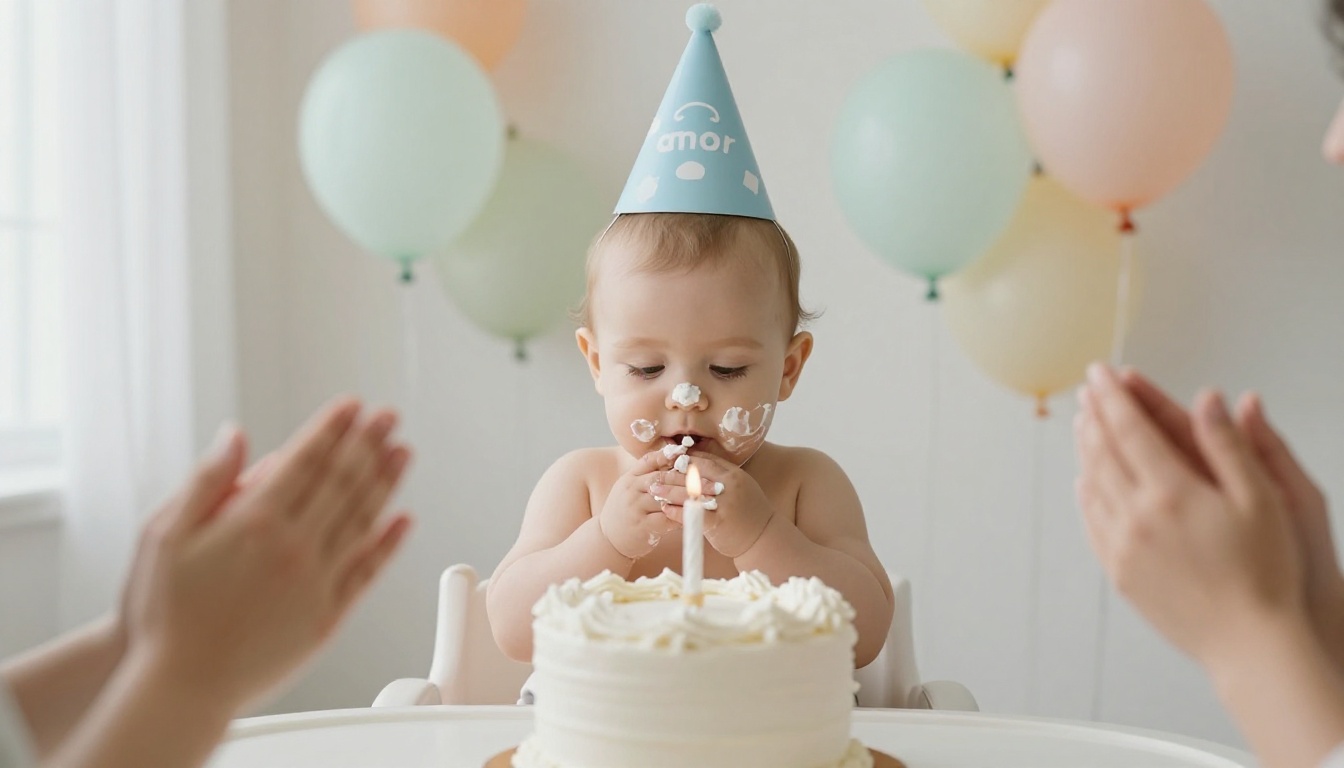
Month 12: The smash cake. Set a plain background, put out a small cake and let things happen. Take a wide shot, a close shot of the hands and one of the proud family clapping.
Quick Reference: Photo and Caption Ideas
Use this table as a checklist on your phone. Print it, stick it on the fridge or screenshot it.
| Month | Hero photo | Detail shot | Caption prompt |
|---|
| 1 | Sleeping newborn | Fingers or toes | Birth weight and first reactions |
| 2 | First smile | Mouth close-up | Date of the first social smile |
| 3 | Tummy time | Rattle or toy | Favorite sound this month |
| 4 | Hands up close | Fists | What they stared at the longest |
| 5 | Laughing | Open mouth, no teeth | What made them laugh first |
| 6 | First food | Messy bib | Reaction to the first taste |
| 7 | Sitting up | Feet in socks | Who they reached for |
| 8 | Serious portrait | Teething toy | A new word or sound |
| 9 | Crawling | Knees on the floor | Where they crawled first |
| 10 | Outdoor portrait | Sun hat | Favorite place to visit |
| 11 | Pulling up | Hand gripping furniture | First wobbly steps or attempts |
| 12 | Smash cake | Frosting hands | One wish for the year ahead |
Choosing a Layout That Fits
You have three real options for building the book, and the right choice depends on how much time and money you want to spend.
| Format | Best for | Cost | Sharing | Edit later? |
|---|
| Printed photo book | Shelf keepsake | Medium to high | One copy at a time | No |
| Digital flipbook | Sharing with far-away family | Low | Link or embed to everyone | Yes |
| Both together | The full experience | Medium | Print plus link | Digital part yes |
Many parents settle on the third option. Order one printed copy for the shelf, and publish a digital version for everyone else. Printing ten copies for ten relatives is expensive, while one link reaches them all at once.
Page Design That Looks Intentional
Good layouts follow a few simple habits:
- One hero photo per page. Resist cramming. A single large image beats six small ones.
- Consistent margins. Equal white space around photos looks polished immediately.
- Two fonts at most. One for headings, one for captions.
- A limited color palette. Pull two or three colors from the photos themselves, such as cream, sage and peach.
- Short captions. One to three lines. Date, milestone, a funny quote.
✅ Best practice: Keep the left page for the hero photo and the right page for the detail shot and caption. The rhythm repeats, so the whole book feels cohesive.
Build the Photo Habit First
The best book comes from steady, relaxed photography, not one giant weekend of panic. Set up a tiny routine and the pages will fill themselves.
Light Beats Equipment
You do not need a camera upgrade. Place the baby near a large window, with the light coming from the side. Avoid overhead lamps and harsh flash. Most phones produce excellent portraits in that kind of light.
Create a Monthly Folder
Make twelve folders on your phone or computer, labeled by month. Drop the best shots in as you go. When it is time to build the book, nothing is scattered across five different apps.
Add Scale and Context
A baby alone in a frame never shows how big they are. Include the same stuffed animal each month, or a hand, or a mark on the wall. By month twelve, the comparison does the storytelling.

⚠️ Warning: Do not wait until month twelve to sort photos. Parents who try to choose 12 favorites from 3,000 images usually give up. Pick the monthly favorite within a week of taking it.
How to Build It as a Digital Flipbook
If you want everyone to see the book without mailing a single copy, a flipbook is the easiest route. It looks like a real book with turning pages, works on phones and needs no app to open. Here is how to create one with Flipbooks AI.
Step 1: Prepare Your Pages
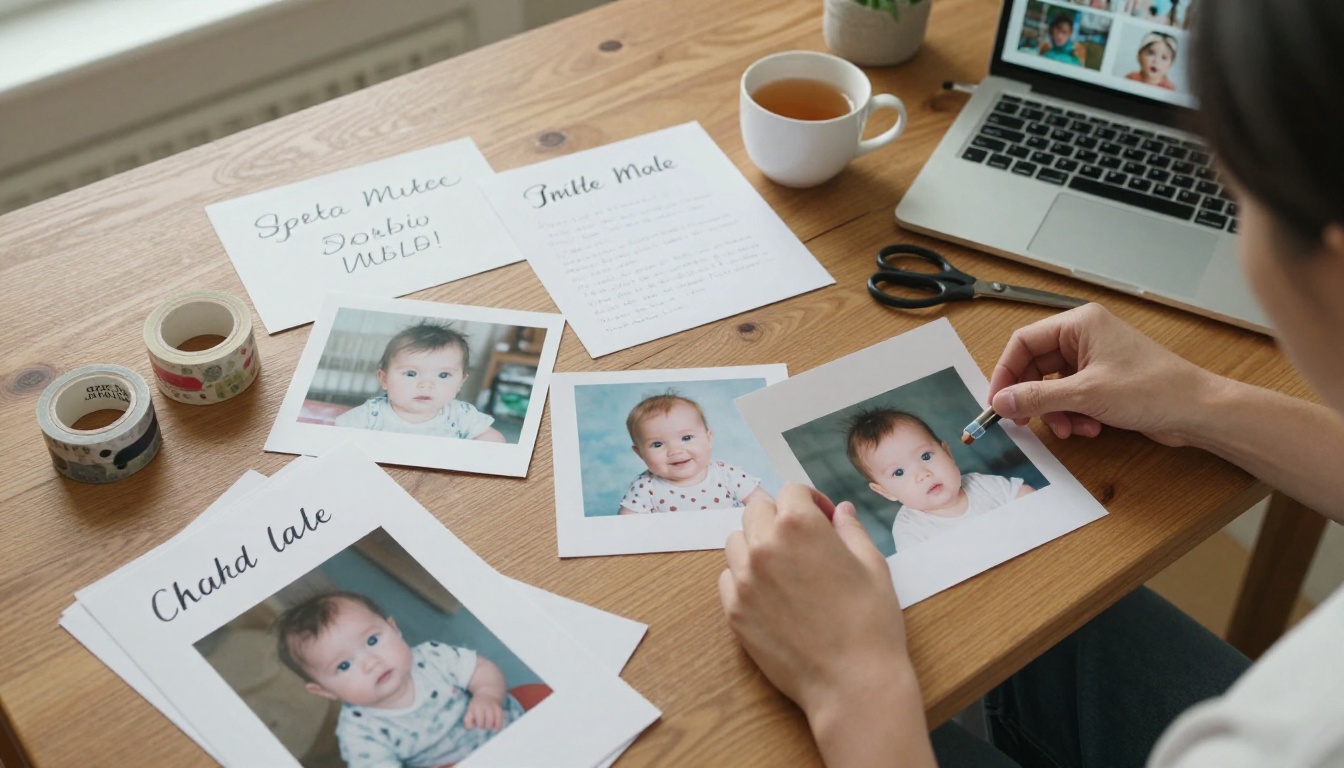
Design your pages in any tool you like: a photo editor, a presentation app or a layout program. Export the whole book as a single PDF, with one page per month plus a title page and a closing page.
Step 2: Upload and Convert
Create a free account and upload your PDF. The PDF to Flipbook Converter turns it into a page-turning flipbook in seconds, with no watermarks.
Step 3: Customize the Look
- Pick a background color that matches your palette, such as soft cream or sage.
- Choose the page-turn effect and sound.
- Add a small logo or a name on the cover if you like.
- Embed a video clip or an audio file on the month-five page so the first laugh plays when someone opens it. Flipbooks AI supports embedded video and audio.
Step 4: Share It Safely
A baby book is personal, so privacy matters. Use password protection so only invited family can open it. Then choose how to share:
- Direct link: Send it in a family group chat.
- Embed code: Place it on a private family site with the Embed Flipbook on Website tool.
- Offline download: Save a copy for places with poor internet.
💡 Pro tip: Mobile-responsive design means grandparents can open the link on a tablet or phone and flip through without zooming or installing anything.
Step 5: Track Who Opened It
Curious whether the aunts have seen the cake page yet? The Professional plan includes analytics. Compare options on the pricing page before you pick.
| Need | Free option | Paid option |
|---|
| Create a flipbook from PDF | Yes | Yes |
| No watermarks | Yes | Yes |
| Unlimited flipbooks | Limited | Standard and above |
| Password protection | Basic | Included |
| Analytics and lead data | No | Professional plan |
You can also browse the full flipbook tools directory for related formats, such as the Wedding Album Flipbook for family events or the Digital Portfolio Creator for sharing a larger photo collection.
Make the Book Feel Personal
Photos tell what happened. Words tell what it felt like. A little text on each page turns a nice album into a treasured keepsake.

Caption Ideas That Work
- "Month 6: Sweet potato. Verdict: delicious. Floor: also wearing it."
- "Month 9: Found the hallway. Nothing is safe."
- A line of dialogue, such as what a sibling said to the baby.
- A tiny stat: weight, length, number of teeth.
Add a Letter on the Last Page
Close the book with a short note to your child. Two or three paragraphs about who they were at one year old: what made them laugh, what they loved, what the family hoped for them. They will read it in twenty years.
Involve the Family
Ask grandparents, aunts and uncles to contribute one photo and one sentence each. Place those on a bonus spread near the end. It makes the book richer and gives relatives a reason to share it.
Common Mistakes to Avoid
Parents who finish their book tend to avoid the same few problems.
| Mistake | Why it hurts | Better approach |
|---|
| Waiting until month 12 | You forget dates and lose photos | Pick one favorite monthly |
| Too many photos per page | Pages feel messy | One hero image per page |
| No captions | You forget the details | Write one line right away |
| Heavy filters | Skin tones look unnatural | Use light, natural edits |
| Only one format | Hard to share widely | Print one, share one link |
| Skipping the parents | The book has no story of family | Include a few shots with you |
⚠️ Warning: Check that every photo is sharp at full size before printing. Blurry images that look fine on a phone often look soft on paper.
A Simple 4-Week Finish Plan
If the birthday is close and you have not started, here is a realistic schedule:
- Week 1: Gather and sort photos into twelve monthly folders. Choose your hero image for each month.
- Week 2: Choose a layout and design all twelve pages, plus a title page.
- Week 3: Write captions, add the closing letter and collect family contributions.
- Week 4: Proofread, export the PDF, order the printed copy and publish the digital flipbook.
Your Next Page Starts Today
A first birthday photo book does not need to be perfect. It needs to exist. Pick one photo from each month, add one honest sentence and let the year tell its own story. When you are ready, create your first flipbook for free, look through all the tools and templates, and compare pricing plans if you want analytics, unlimited flipbooks or password-protected sharing. Your baby only turns one once, and the book will be there long after the cake is gone.



