Blurry, pixelated images inside a flipbook are one of the most frustrating things to encounter after spending hours designing a catalog, portfolio, or brochure. You upload a PDF, hit publish, and suddenly your crisp product shots look like they were taken with a 2005 camera phone. The good news: this is almost always fixable, and it usually comes down to a single root cause you can address in under 10 minutes. Flipbooks AI processes PDFs exactly as they are exported, which means the quality of your flipbook is entirely determined by the quality of your source file. Get that right, and blurry images become a thing of the past.
Why Your Flipbook Images Look Blurry
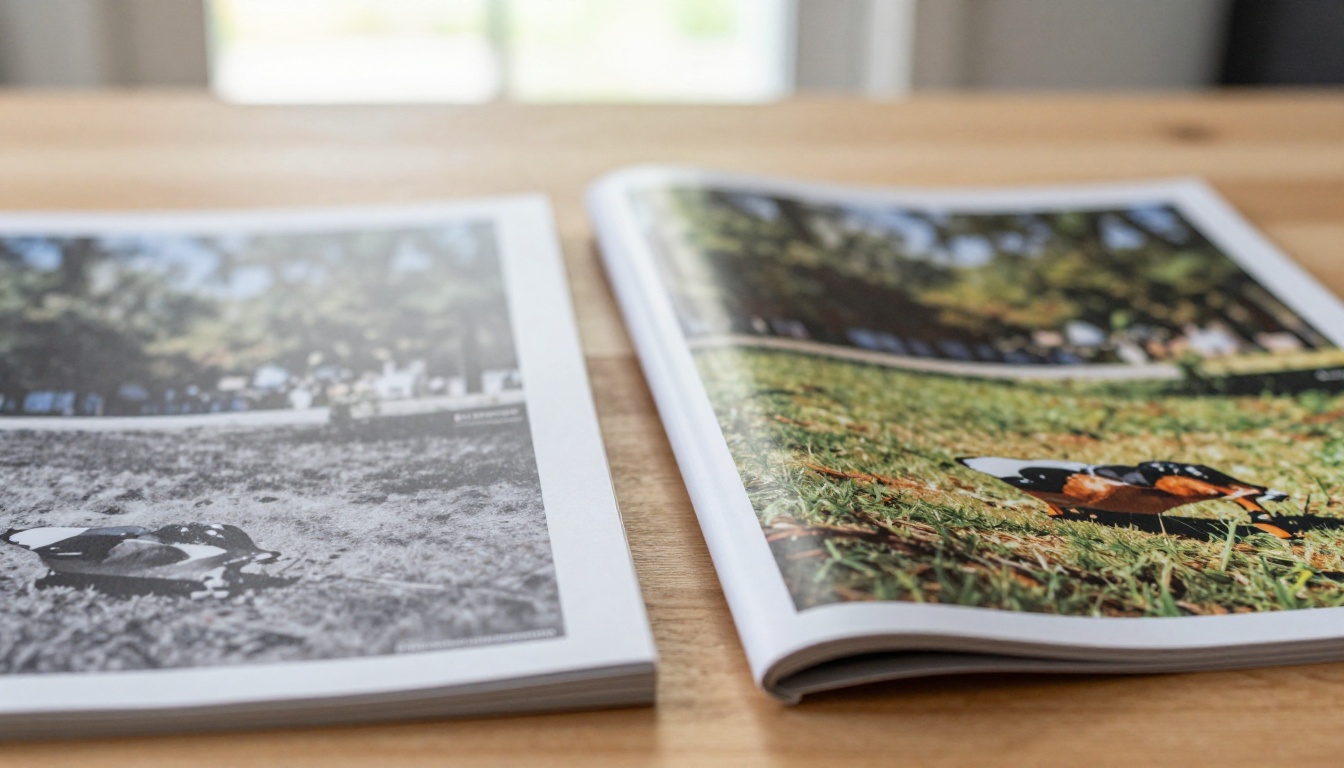
The single biggest culprit behind blurry flipbook images is low PDF resolution. When you export a PDF at a low DPI (dots per inch), the image data in the file is physically smaller than what the screen needs to display it at full size. The flipbook renderer then stretches those pixels to fill the page, producing that telltale soft, muddy look.
There are three main reasons this happens, and understanding all three is the fastest way to fix them.
The PDF Resolution Problem
Every PDF contains embedded images at a specific resolution. If you exported your file at 72 DPI or 96 DPI — common defaults in tools like Google Slides or PowerPoint — the images embedded in the PDF are small. When a flipbook viewer renders that page at full screen width, often 1,200 to 1,920 pixels wide, it has to scale those tiny images up dramatically. The result is the blurriness you see.
The fix: Always export PDFs at a minimum of 150 DPI for web-only flipbooks, and 300 DPI for flipbooks that contain fine-detail photography or will also be printed.
How Compression Destroys Image Quality
PDF compression is another silent killer of image sharpness. Many PDF exporters apply heavy JPEG compression to embedded images to keep file sizes small. Each round of JPEG compression introduces artifacts: blocky squares, color bleeding, and loss of fine edge detail. By the time the image reaches your flipbook, it may have gone through compression twice — once when you saved the original design file, and once during PDF export.
⚠️ Warning: Tools like Google Slides, Canva on default settings, and older versions of PowerPoint apply aggressive image compression automatically unless you override it in the export settings.
Wrong Export Settings in Design Tools
Most design tools default to "screen quality" exports, which prioritize small file size over visual fidelity. This is fine for email attachments, but terrible for flipbooks. Selecting "Print Quality" or "High Quality" in your export settings is often all it takes to go from blurry to beautiful.
What DPI Actually Means for Flipbooks
DPI (dots per inch) is a measure of how much image information is packed into each inch of your document. For digital flipbooks, the number that matters is the effective resolution of the embedded images, not just the document DPI setting.
150 DPI vs 300 DPI: What You Actually Need
Here is a quick breakdown of what each resolution level delivers in practice:
| Resolution | Best For | File Size | Visual Quality |
|---|
| 72 DPI | Thumbnails, icons | Very small | Poor for full-page images |
| 96 DPI | Web screenshots | Small | Acceptable for text-heavy pages only |
| 150 DPI | Web-only flipbooks | Medium | Good for most content types |
| 300 DPI | Photography, print-ready | Large | Excellent, razor-sharp |
| 600 DPI | Technical drawings | Very large | Overkill for most flipbooks |
💡 Pro tip: For most flipbooks, 150 to 300 DPI is the sweet spot. Going above 300 DPI increases file size significantly without a visible quality improvement on screen.
Screen vs Print Resolution
A common misconception is that digital flipbooks need the same 300 DPI as physical print. In reality, screens render at 72 to 144 pixels per inch — standard to Retina displays. This means a 150 DPI PDF already contains roughly twice the pixel data that a standard screen can actually display, which is why 150 DPI is the minimum recommendation, not the target ceiling.
However, if your flipbook contains close-up product photography, technical schematics, or fine text at small sizes, bumping up to 300 DPI ensures those details stay crisp even when readers zoom in on a high-resolution display.
Step-by-Step Fix for Blurry Flipbook Images
Here is a systematic process you can follow to diagnose and fix blurry images in your flipbook. Start from step one and work through each stage until the problem is resolved.

Step 1: Check Your Source File Resolution
Before re-exporting, open your original design file in Canva, Illustrator, InDesign, or PowerPoint, and check the resolution of the images you placed inside it. If the original images are already low-resolution (under 150 DPI at the size they appear in the layout), no amount of re-exporting will fix the problem. You need to replace those source images with higher-resolution versions first.
- In Adobe Photoshop: open the image and go to Image > Image Size to check pixel dimensions relative to document size
- In Canva: download photos directly from the original source, or use Canva's built-in high-resolution photo library
- In InDesign: use Window > Info while clicking an image to see its effective DPI at the placed size
Step 2: Re-Export Your PDF at High Quality
Once you have confirmed your source images are high-resolution, re-export the PDF with the correct settings. The exact steps differ by tool, but the principle is the same: select the highest quality export option available and disable any automatic image downsampling.
✅ Best practice: Always export at 150 DPI minimum. For photography-heavy flipbooks, use 300 DPI. Label and save your export preset so you never have to configure it again.
Step 3: Disable Lossy Compression
In most PDF export dialogs, there is a dedicated option for image compression. Set it to one of the following:
- None (no compression, largest file size, best for archival quality)
- Lossless / ZIP (no quality loss, moderate file size, ideal for illustrations and diagrams)
- JPEG at 90 to 100% (minimal quality loss, good balance for photographic content)
Avoid JPEG at 72% or below. This threshold is where visible compression artifacts, including blocky squares and color banding, start appearing in photographs.
Step 4: Upload the New PDF
Once you have a clean, high-resolution PDF, go to Flipbooks AI and upload the new file. Use the PDF to Flipbook Converter to convert your updated document and preview the result in detail before publishing.
Software-Specific Fixes
Different tools have different hidden settings that control image quality. Here are the exact steps for the most commonly used design applications.
Adobe Acrobat and InDesign
In InDesign, go to File > Export > Adobe PDF (Print). Under the Compression tab:
- Set Color Images to: No Downsampling, Compression: ZIP or JPEG at Maximum
- Set Grayscale Images to the same settings
- Confirm "Do Not Downsample" is selected for all image types
In Acrobat Pro, when optimizing an existing PDF:
- Go to File > Save As > Optimized PDF
- Under "Images", set downsampling to Off or set the target to 150 PPI minimum
- Set JPEG quality to Maximum
Canva
Canva applies compression by default on its free tier. To get a sharper PDF:
- Click Share > Download
- Choose PDF Print rather than PDF Standard
- Check "Crop marks and bleed" if available for your document type
- Canva Pro users can also enable "Flatten PDF" to preserve image fidelity
💡 Pro tip: "PDF Print" in Canva exports at a significantly higher quality than the default "PDF Standard" option, with less compression applied to embedded images. It is the fastest single change you can make in Canva.
Microsoft PowerPoint
PowerPoint compresses images by default when saving, even before you export to PDF. Here is how to turn it off permanently for a file:
- Go to File > Options > Advanced
- Under "Image Size and Quality", check "Do not compress images in file"
- Set "Default resolution" to 220 PPI or higher
- Now when you go to File > Save As > PDF, images will retain their original resolution instead of being downsampled
Google Slides
Google Slides offers limited PDF export quality control. The only built-in option is File > Download > PDF Document, which exports at a fixed, relatively low resolution. The practical workaround:
- Download individual slides as PNG images at the highest resolution available (File > Download > PNG for each slide)
- Reassemble them into a single PDF using Adobe Acrobat, Preview on Mac, or a free tool like Smallpdf or iLovePDF
- This workaround produces significantly sharper results than the native PDF export
This table summarizes what each major design tool offers for high-quality PDF export:
| Tool | Best Export Option | Default Quality | Max DPI Possible |
|---|
| Adobe InDesign | PDF Print, no downsampling | High | Unlimited |
| Adobe Illustrator | PDF with Acrobat 5 compatibility | High | Unlimited |
| Affinity Publisher | PDF (for export) | High | Unlimited |
| Canva Pro | PDF Print | Medium-High | ~300 DPI effective |
| Canva Free | PDF Standard | Low | ~96 DPI effective |
| PowerPoint (adjusted) | Save As PDF | Medium-High | 220 PPI |
| Google Slides (workaround) | PNG > reassemble | Medium | 150 to 200 DPI |

How to Create Sharp Flipbooks with Flipbooks AI
Flipbooks AI is built to handle high-resolution PDFs and render them into interactive flipbooks with no quality loss on the platform side. Once your PDF is exported correctly, everything else is handled automatically.
Upload Your High-Res PDF
Head to Flipbooks AI and create your account. Click "New Flipbook" and upload your optimized PDF. The platform supports PDFs with embedded high-resolution images and multi-page documents of all sizes, from single-page flyers to multi-hundred-page catalogs.
Preview and Zoom-In Test
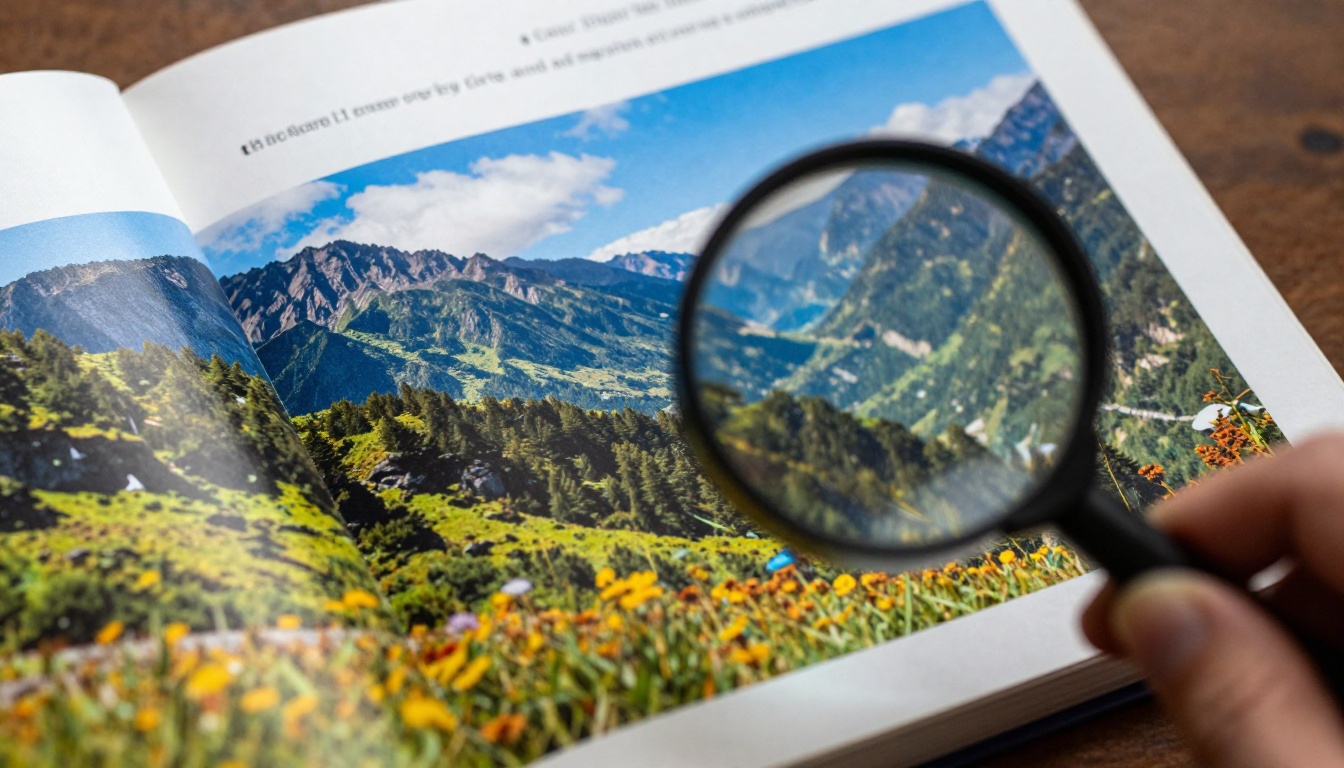
After the flipbook is generated, use the built-in preview to zoom into image-heavy pages. If the images look sharp at full zoom, your PDF was correctly exported. If they still appear soft after following all the steps above, the source images themselves need replacing with higher-resolution originals.
Customize and Brand Your Flipbook
Once image quality is confirmed, Flipbooks AI gives you full control over branding and presentation:
- Custom colors and logo for your flipbook player shell
- Page-turn effects for an authentic print-magazine feel
- Password protection for private, client-facing, or confidential documents
- Embed codes for direct website integration using the Embed Flipbook on Website tool
- Analytics and lead generation on the Professional plan (compare at pricing)
- Offline downloads so readers can access your content without an internet connection
What is included on every plan:
| Feature | Included |
|---|
| No watermarks | Yes, always |
| Mobile-responsive player | Yes |
| Password protection | Yes |
| Custom branding | Yes |
| Embed on website | Yes |
| Unlimited flipbooks | Standard plan and above |
| Analytics and lead gen | Professional plan |
| Offline downloads | Professional plan |
Share and Publish
When your flipbook looks exactly right, publish it and share via a direct link, embed it on your website, or let readers download it for offline use. The flipbook player is fully mobile-responsive, so your crisp images will look sharp on phones, tablets, and desktop browsers without any extra configuration.
5 Common Mistakes That Blur Your Flipbook
Most blurry flipbook problems trace back to a handful of repeated errors. Avoid these and you will rarely encounter the issue again.
- Using web-scraped images: Images downloaded from websites are often 72 DPI screen captures. Always use original high-resolution source files from the photographer, stock library, or your own camera.
- Resaving files repeatedly as JPEG: Every time you save a JPEG, it compresses further and loses data. Work in PNG or TIFF throughout your design process, and convert to JPEG only at final export.
- Placing low-res images and scaling them up: Stretching a 200x200 pixel image to fill a full page in your design tool does not add resolution. It just makes the blur bigger and more obvious.
- Using "email-friendly" PDF presets: These presets aggressively downscale images to reduce file size for email attachments. Never use them for flipbook publishing.
- Not previewing after upload: Always check the flipbook preview after each upload, zooming into image-heavy pages, before sharing with clients or making it public.
Best Practices for Sharp Flipbook Images
Building sharp flipbooks from the start is easier than fixing them after the fact. These habits will keep your flipbooks consistently high quality across every project.
Start with high-resolution assets:
- Use images of at least 2,000 pixels wide for full-page visuals in your layout
- For cover images and hero shots, aim for 3,000 pixels wide or more
- Source photos from high-resolution stock libraries such as Adobe Stock, Getty Images, or Unsplash Pro
Build a clean design workflow:
- Work in Adobe InDesign or Affinity Publisher for maximum PDF quality control
- Place images at 100% of their native size or smaller in your layout. Scaling up inside the layout does not create new pixel data
- Use TIFF or PNG for images with fine details, illustrated diagrams, or transparent elements. Reserve JPEG for photographic content where slight compression is less visible
Export checklist before uploading:
- DPI set to 150 minimum (300 for photography-heavy content)
- Image compression set to ZIP or Lossless, or JPEG quality at 90% or above
- No downsampling applied to any image category
- PDF opened in a viewer and zoomed in on images to verify sharpness before uploading
✅ Best practice: Save your high-quality export settings as a named preset inside InDesign or Illustrator. Label it something like "Flipbook Quality" and reuse it on every project so you never have to reconfigure these settings again.
What to Do If Images Are Still Blurry
If you have followed every step above and images are still blurry, work through this diagnostic table:
| Problem | Likely Cause | Fix |
|---|
| All pages blurry | PDF exported at low DPI | Re-export at 150 to 300 DPI |
| Only some images blurry | Those specific images were low-res in source | Replace with higher-resolution originals |
| Sharp in PDF viewer, blurry in flipbook | Caching or upload issue | Re-upload the PDF, clear browser cache |
| Blurry on mobile only | Device pixel ratio rendering | Test in a different mobile browser and report to support |
| Blurry when zoomed in | Images not high enough resolution for zoom level | Re-export source PDF at 300 DPI |
| Consistent color banding or artifacts | JPEG compression too aggressive | Switch to ZIP or raise JPEG quality to 90%+ |

Ready to Publish Your Sharpest Flipbook Yet?
Blurry images are a solvable problem, and now you have a clear path to fix them. Whether you are publishing a fashion lookbook, a product catalog, a real estate brochure, or a photography portfolio, the process is the same: export at the right DPI, disable lossy compression, and upload a clean file.
Flipbooks AI handles everything on the conversion side once your PDF is properly prepared. No plugins, no complex setup, no watermarks — just upload and share a flipbook that looks exactly like your original design.



