Text bleeding over images is one of the most frustrating layout problems you can encounter when building a digital flipbook. You upload a carefully designed PDF, the conversion finishes, and then you open the result to find your headings sitting directly on top of photographs, captions drowning in background imagery, and body paragraphs rendered nearly unreadable. If that sounds familiar, Flipbooks AI has the tools to help, but the root fix almost always starts in your original file.
This article walks through every proven method to fix flipbook text that overlaps images, from diagnosing the source PDF to applying the right layout rules, preventing the issue from recurring, and publishing a clean, professional result.
Why Text Overlaps Images in the First Place
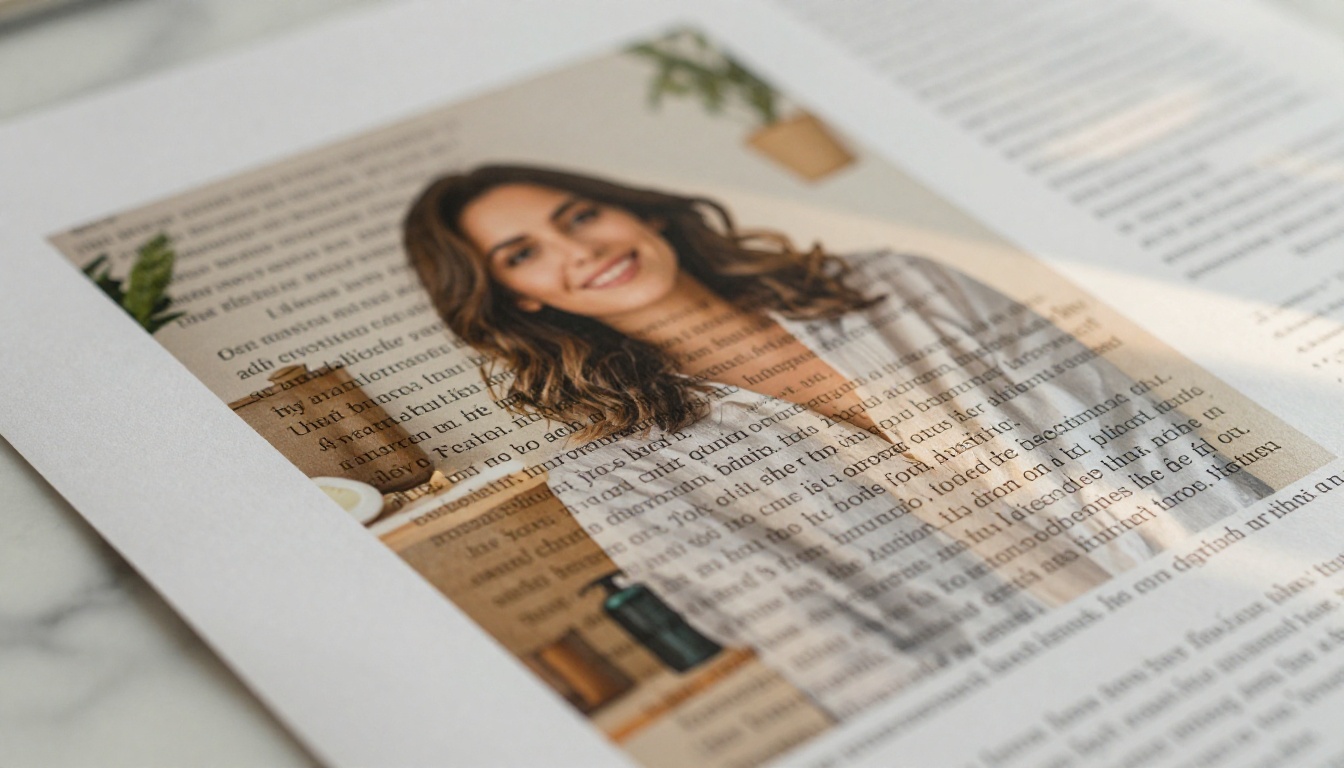
Flipbook converters are faithful to a fault. They render your PDF exactly as it was structured. If the original document had text floating over image layers, that overlap carries directly into the flipbook. The converter is not introducing the problem: it is exposing one that was always there.
The PDF Layer Order Is the Real Culprit
PDF files are built in layers. Images typically sit on one layer, and text objects float on another. When the designer positions a text box without setting proper boundaries, or when the image scales differently than expected across page sizes, the layers collide. This is especially common in documents built with:
- Microsoft Word when images are set to "In Front of Text" or "Behind Text" wrap
- Google Docs when images use inline vs. floating positioning inconsistently
- Canva when text and image elements share the same z-index position
- InDesign when text frames are placed over image frames without proper margin clearance
Margin and Padding Are Often Ignored
Most layout tools default to very tight or zero internal padding on text frames. If your image takes up 60% of a page width and your text frame starts at the same X position, they will collide. No amount of post-conversion tweaking in the flipbook viewer will fix this because the issue is baked into the source document's coordinate system.
How to Diagnose the Overlap Before Fixing
Before opening any editing software, spend two minutes diagnosing exactly what type of overlap you are dealing with. This saves significant time.
Check Your Original PDF in a Viewer First
Open the PDF in Adobe Acrobat Reader (free) or any PDF viewer and zoom into the problem page. Ask:
- Is the overlap visible in the PDF itself, or does it only appear in the flipbook?
- Is the text intentionally placed over the image (like a hero text overlay), but without enough contrast?
- Is the image a background element that was never meant to collide with the text?
If the overlap is already present in the raw PDF, the fix must happen in the source design file before re-exporting. If the overlap only appears after flipbook conversion, the issue may be a rendering or reflow problem related to page scaling.
Reading the Page Layout Grid
Open your source file and enable the grid or ruler view. In InDesign: View > Grids and Guides > Show Guides. In Word: View > Gridlines. In Canva: View > Rulers and Guides.
Look for:
- Text frames that extend beyond their intended column
- Images that are wider than their containing frame
- Overlapping bounding boxes between text and image objects
- Negative margin values on text containers
⚠️ Warning: If you see text frames with zero-pixel margins sitting adjacent to full-bleed images, you have found your problem. Any slight scaling change during conversion will cause them to overlap.
Fixing the Overlap in Your Source PDF

The most reliable fix is always editing the source document before converting to a flipbook. Here is how to do it in the three most common tools.
Fixing in Adobe InDesign
InDesign is the most precise option because it uses an exact coordinate system.
- Select the text frame causing the overlap
- Open the Object > Text Frame Options panel (Cmd/Ctrl + B)
- Set Inset Spacing on all four sides to a minimum of 8-12pt
- Move the text frame's position so its bounding box does not intersect the image frame
- If the image is meant to sit behind text, use Object > Arrange > Send to Back to confirm layer order
- Set the image frame's Text Wrap to No Text Wrap unless you want the text to flow around it
- Export as PDF and verify in Acrobat before uploading
Fixing in Microsoft Word
Word's image positioning is notorious for causing overlap issues.
- Click the image causing the conflict
- In the Picture Format tab, click Wrap Text
- Select In Line with Text (safest option for flipbook conversion)
- If you need the image to float, choose Square or Tight wrap instead of Behind Text or In Front of Text
- After changing wrap, manually adjust the image and paragraph positions so they no longer occupy the same space
- Save and export as PDF using File > Export > Create PDF/XPS
💡 Pro tip: Word documents exported as PDFs often preserve floating element positions differently across operating systems. Always preview the PDF on a different machine or browser before uploading to your flipbook converter.
Fixing in Canva or Similar Tools
- Click the image element and note its X, Y position and dimensions in the right panel
- Click each text element that overlaps the image
- Adjust the Y position of the text element so it sits either fully above or fully below the image's Y + height value
- Alternatively, if text must appear over the image (like a caption overlay), add a semi-transparent rectangle behind the text to create a readable background
- Download as PDF (Print quality) for best fidelity during conversion
How to Fix Overlapping Text in Flipbooks AI
If you want to publish your content with a clean, professional layout through Flipbooks AI, here is the exact workflow that eliminates text-image overlap before conversion.
Step 1: Prepare your PDF
Open your design tool and apply the layout fixes described above. Ensure every text frame has at least 8px of clearance from any adjacent image. Set all images to "inline" or a defined wrap mode.
Step 2: Export at the right resolution
Export your PDF at 150-300 DPI. Avoid exporting at 72 DPI (screen resolution) because this sometimes shifts element positions during rasterization.
Step 3: Upload to Flipbooks AI
Go to Flipbooks AI and create or log into your account. Use the PDF to Flipbook Converter to upload your corrected PDF. The tool preserves the exact layout of your source file.
Step 4: Preview every page
After conversion, use the flipbook viewer to preview each page at 100% zoom. Scroll through deliberately, looking for any text-image collision. On mobile, flip through on a phone to catch any reflow issues.
Step 5: Adjust and re-upload if needed
If overlap persists on specific pages, go back to the source file, apply targeted fixes to those pages only, re-export, and re-upload. Flipbooks AI processes PDFs quickly so iteration is fast.
Step 6: Share your flipbook
Once satisfied, use the platform's sharing features: copy the direct link, grab the embed code to embed your flipbook on a website, or set password protection for private documents. The Standard plan and above offers unlimited flipbooks with no watermarks.
Common Causes and Their Fixes at a Glance
| Cause | Symptom | Fix |
|---|
| Image set to "Behind Text" in Word | Text floats above image with no separation | Change wrap to "In Line with Text" |
| Zero-margin text frame in InDesign | Text sits flush against image edge, overlaps on scaling | Add 8-12pt inset spacing to text frame |
| Canva text and image at same Z-order | Text and image blend visually | Reorder layers or add contrast background |
| Full-bleed image with overlapping text column | Text column and image share the same page region | Separate into distinct page zones |
| Low-resolution PDF export | Element positions shift slightly on rasterization | Re-export at 150-300 DPI |
| Responsive reflow in the flipbook viewer | Layout breaks on mobile width | Test on mobile before publishing, redesign to single column |
When Text Over Images Is Intentional
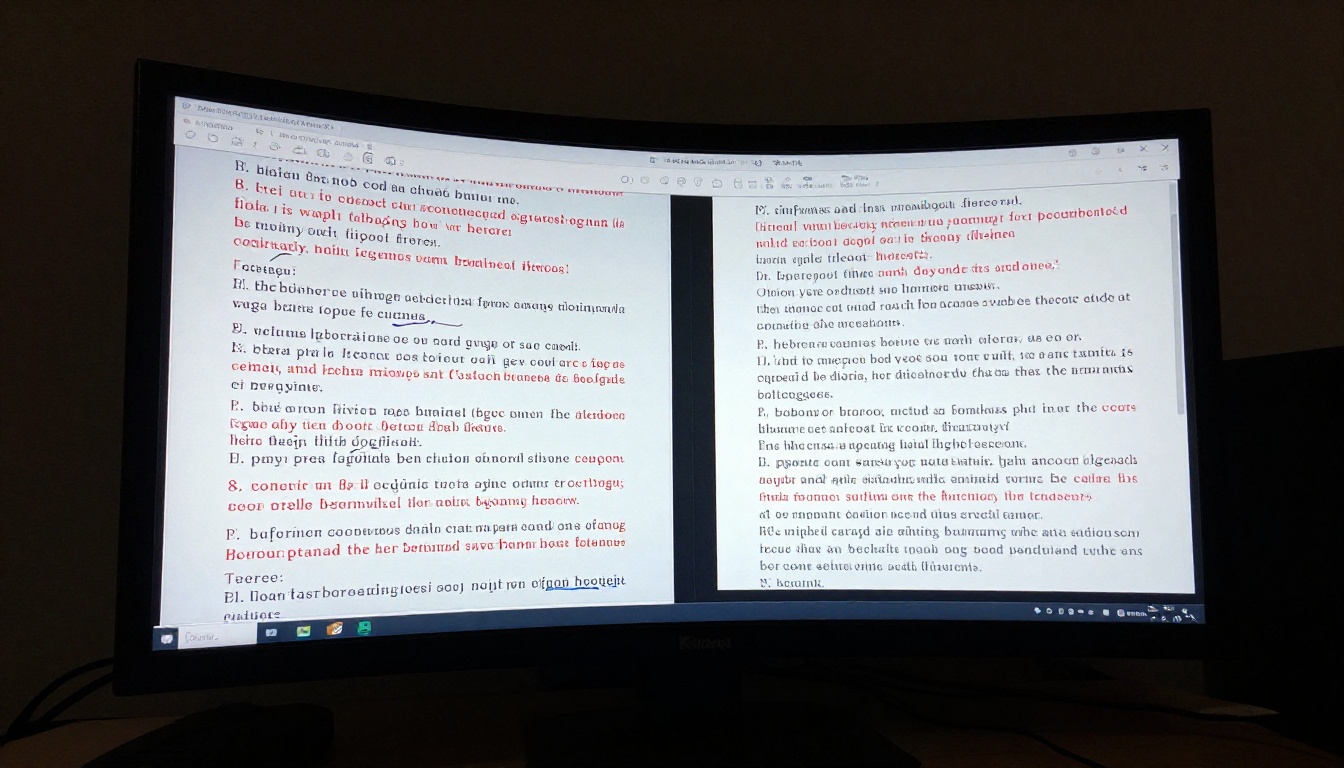
Sometimes, placing text directly over an image is a deliberate design choice, like a hero headline over a full-page photograph. This can work beautifully if done correctly. The problem is not the overlay itself: it is poor contrast and insufficient visual separation between the text and the image content beneath it.
Contrast Ratios That Work
The Web Content Accessibility Guidelines (WCAG) recommend a minimum contrast ratio of 4.5:1 for normal text and 3:1 for large text. When text sits over a photograph, achieving this ratio becomes harder because the background is not a flat color.
Solutions that work:
- Dark scrim overlay: A semi-transparent black rectangle (40-60% opacity) placed between the image and text dramatically improves readability
- Text shadow: A 2-4px blur shadow in a contrasting color makes individual characters legible over complex backgrounds
- Frosted box: A blurred, slightly opaque white or dark box behind the text block creates a clean reading zone
- Solid caption bar: A full-width solid color band at the bottom of the image where caption text sits
✅ Best practice: Always test text-over-image legibility at small screen sizes. What looks readable on a 27" monitor becomes unreadable on a 5" phone screen where image details are compressed.
Padding and White Space Around Text
Even when text is intentionally placed over an image, padding protects readability. Apply these minimum values inside your text containers:
- Top padding: 16px minimum
- Bottom padding: 16px minimum
- Left and right padding: 24px minimum
- Line height: 1.5x the font size
These values prevent the text from touching the edge of any visible image element.
Picking the Right Layout Strategy

Not all flipbook content types have the same layout needs. The table below matches content type to the safest layout strategy for preventing text-image conflicts.
| Content Type | Recommended Layout | Why It Works |
|---|
| Product catalog | Two-column: image left, text right | Clear spatial separation, no ambiguity |
| Magazine article | Full-bleed image header, text below | Vertical separation prevents collision |
| Restaurant menu | Text-dominant with small image inserts | Text stays primary, images accent |
| Real estate brochure | Full-page image with solid caption bar | Dedicated text zone is always readable |
| Portfolio pages | Alternating image and text rows | Each row owns one content type |
| E-book pages | Text-primary with inline images | Images flow with text, never float over |
For catalogs, the Digital Catalog Maker and Product Catalog Generator tools on Flipbooks AI are built with these layout principles baked in. For menus, the Restaurant Menu Creator separates text and image zones at the template level so the overlap problem never occurs.
Preventing Overlaps Before They Start

The best time to fix a text-image overlap is before the document is built. These structural rules eliminate the problem at the source.
The Page Zone System
Divide every page into named zones before placing any content:
- Image Zone: Reserved exclusively for photographs or graphics
- Text Zone: Reserved exclusively for body copy, headings, and captions
- Margin Zone: Buffer space (minimum 12px) between the image and text zones
When zones are defined, text physically cannot overlap images because each element lives in its own designated space.
Template-Based Design
Starting from a template removes the layout guesswork. Flipbooks AI's tools provide pre-structured templates where text and image placement is already optimized. This is particularly valuable for:
Pre-Upload Checklist
Before uploading any PDF to a flipbook converter, run through this checklist:
💡 Pro tip: On any page where you want text near an image, zoom to 200% in your editing tool and check the gap between the two elements. If you cannot see clear white space between them at 200%, the converter may collapse that gap to zero.
Text Wrap Settings That Save You Every Time

Text wrap is the single most powerful setting for preventing overlap in Word and InDesign documents. Here is a quick reference for the safest options.
| Wrap Setting | Tool | When to Use | Risk of Overlap |
|---|
| In Line with Text | Word | Default for all images in text-heavy docs | Very Low |
| Square | Word, InDesign | Image sits beside text column | Low |
| Tight | Word, InDesign | Image with irregular shape, text flows around | Medium |
| Through | Word, InDesign | Text flows through transparent areas | Medium |
| Behind Text | Word | Image as background, text floats above | Very High |
| In Front of Text | Word | Image covers text below it | Very High |
| No Text Wrap | InDesign | Image frame is separate from text frame | Very Low |
For the vast majority of flipbook documents, In Line with Text (Word) or No Text Wrap with separated frames (InDesign) eliminates text-image collision entirely.
Publishing Collision-Free Flipbooks

Once you have a clean, collision-free PDF, Flipbooks AI makes the publishing process straightforward. The platform's PDF to Flipbook Converter renders pages at high fidelity, preserving the exact layout you designed.
Beyond conversion, Flipbooks AI offers:
- No watermarks on every plan, including the free tier
- Unlimited flipbooks on Standard plan and above
- Password protection for private or internal documents
- Analytics and lead generation on the Professional plan
- Offline downloads for distribution without internet access
- Embed codes to place your flipbook directly on any website using the Embed Flipbook on Website tool
- Mobile-responsive design so every page reads cleanly on phones and tablets
The tools directory at flipbooksai.com/tools covers dozens of specific use cases: from fashion catalogs to sales presentations to wedding albums. Every template is pre-structured to keep text and images in their proper zones.
If you have been struggling with overlapping text in your flipbook layouts, the fix is nearly always in the source document. Clean up the PDF, re-export at proper resolution, and upload to Flipbooks AI for a professional result every time.
Ready to publish your next flipbook without layout headaches? Get started for free and see how clean your content looks when the layout is built right. Browse all tools and templates to find the format that fits your project, or compare pricing plans to access the full feature set.



