Your best memories are probably sitting in a Google Photos album right now, and almost nobody scrolls through them. A flipbook changes that. With Flipbooks AI you can take the pictures from an album, put them in a deliberate order and publish a page-turning book that opens with a single link. This article shows the whole route from Google Photos album to flipbook: how to download the pictures, how to arrange them so the story reads well, and how to share the finished book with the people who matter.
💡 Quick answer: download the album as a zip from Google Photos, drop the images into a layout tool, export a PDF, and upload it to a PDF to Flipbook Converter. The whole process takes about 20 minutes for a 60 photo album.
Why Turn an Album Into a Flipbook
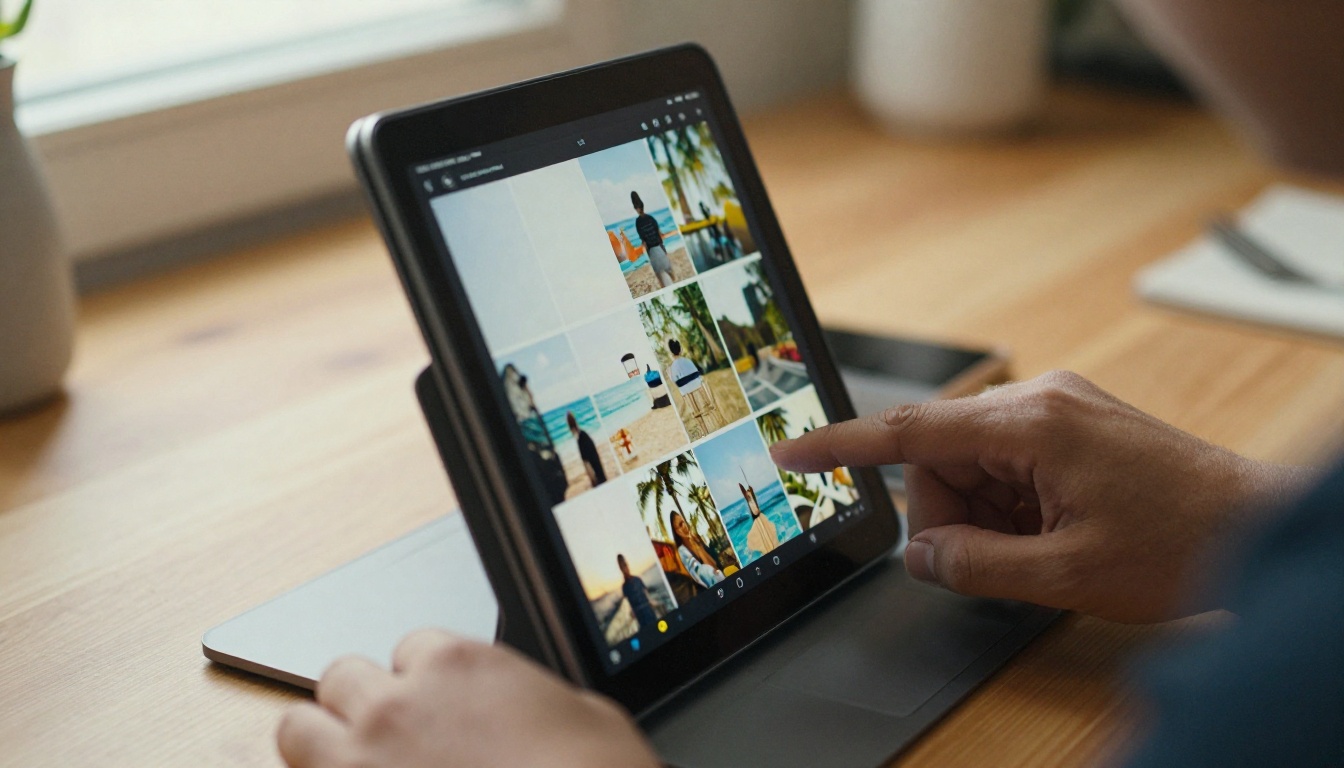
A shared Google Photos album is a grid. Everyone scrolls at their own speed, skips half the pictures and never sees them in the order you intended. A flipbook is a book: one page after another, with a beginning, a middle and an end.
That difference matters for a few reasons:
- Pacing. You decide which photo appears first and which one closes the story.
- Context. Captions, dates and short notes sit right next to the picture.
- Presentation. A page-turning book feels like a gift, not a folder.
- Longevity. A PDF-based flipbook does not depend on one account or one app staying the same.
Think of a wedding, a newborn's first year, a road trip, a graduation or a family reunion. These are the albums people want to hand over, not just link to.
Album Link vs Flipbook
| Feature | Google Photos album link | Flipbook |
|---|
| Viewing order | Grid, scroll freely | Fixed page order |
| Captions beside photos | Limited | Full control on every page |
| Page-turn feel | No | Yes |
| Password protection | Link only | Optional password |
| Embed on a website | Not designed for it | Embed code available |
| Works without a Google account | Mostly | Yes |
| Branding and colors | None | Custom |
Who Gets the Most Value
- Families who want one book for grandparents who dislike apps.
- Couples sharing a wedding or honeymoon story.
- Photographers sending a proof set to a client.
- Teachers and clubs preparing an end-of-year memory book.
Step One: Download the Album
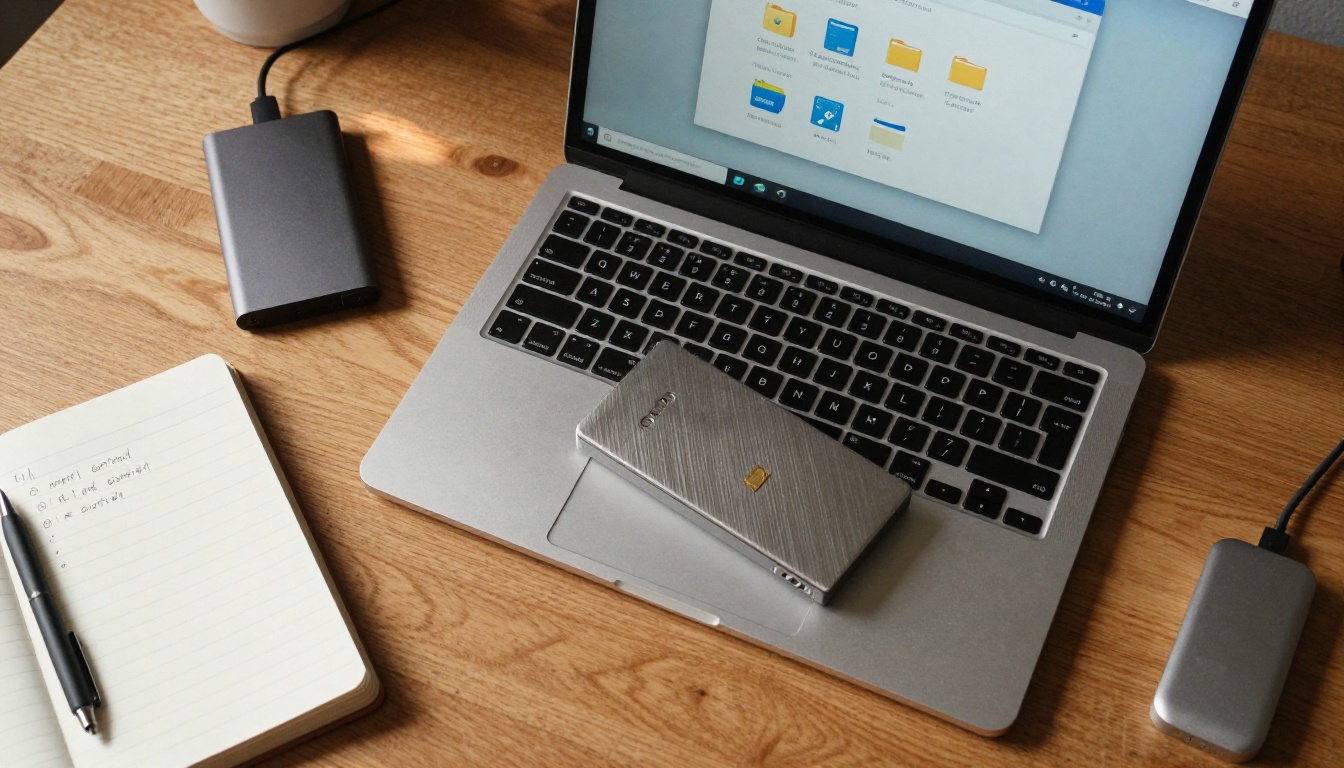
Google Photos does not give you a "make a book" button for external tools, so the first job is to get your pictures onto your computer.
Download a Single Album
- Open photos.google.com and click Albums in the left menu.
- Open the album you want.
- Click the three-dot menu at the top right.
- Choose Download all.
- Google Photos prepares a zip file. Large albums may be split into several zips.
- Unzip the files into a new folder named after the album, for example
Italy-2026.
⚠️ Google Photos may compress very large downloads into multiple zip files. Unzip every part into the same folder so no photo is missed.
Download Only Some Photos
If the album has 400 pictures and you only want 60:
- Open the album and hover over a photo.
- Click the circle at the top left of the thumbnail to select it.
- Keep clicking to select more, or hold Shift to select a range.
- Press Shift + D to download the selection.
Check Quality Before You Continue
Download options affect how sharp your book looks. Use this quick reference.
| Source | Typical size | Print and screen quality |
|---|
| Original quality download | Full resolution | Excellent for screen and print |
| Storage-saver downloads | Compressed | Fine for screen, soft when zoomed |
| Screenshots from a phone | Low | Avoid for main pages |
| Photos shared through chat apps | Very compressed | Use only as a last resort |
✅ Best practice: when possible, work from original quality files. Flipbook pages are viewed full screen, so a sharp source makes every page feel premium.
Step Two: Arrange the Story
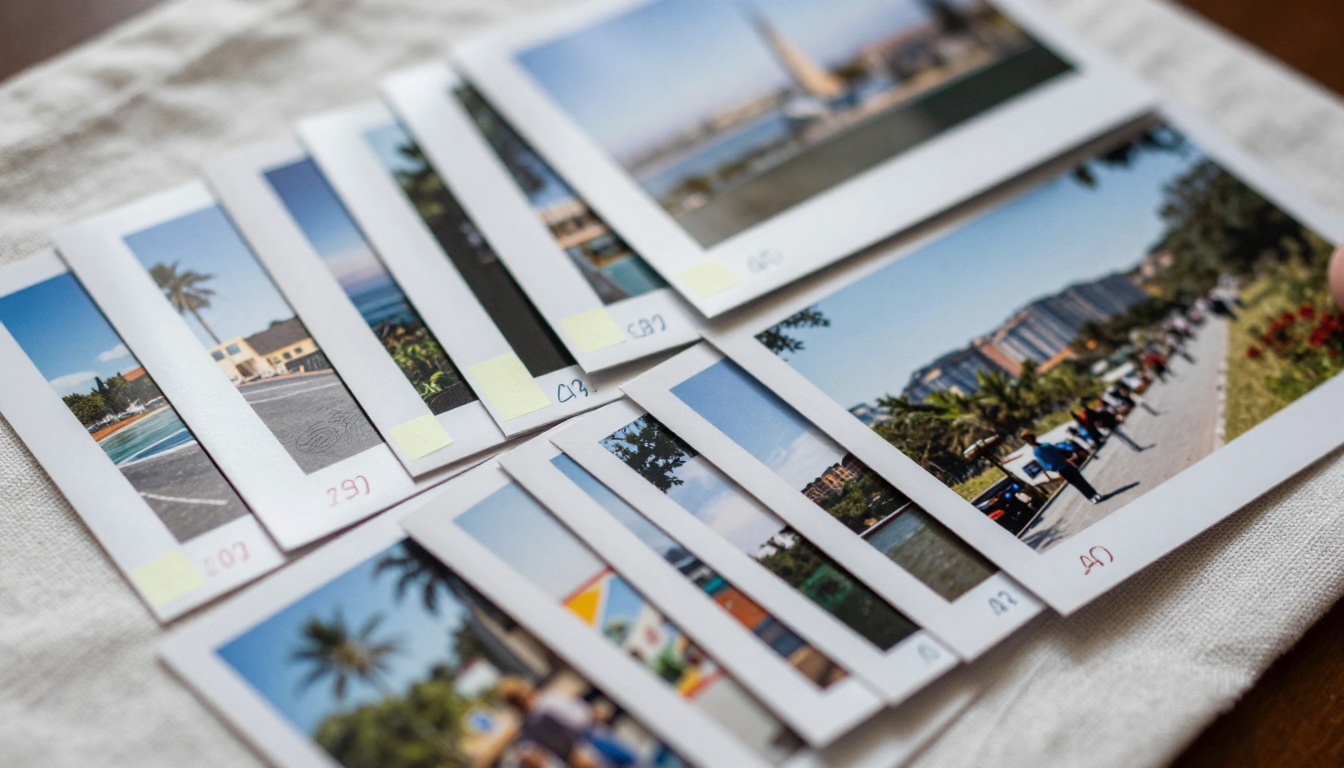
This is the part that separates a forgettable album from a book people finish. Do not rely on the default sort order. Cameras and phones sort by time, but stories do not always follow the clock.
Pick a Structure
| Structure | Best for | How it reads |
|---|
| Chronological | Trips, weddings, baby's first year | Start to finish in time order |
| By place | Multi-city travel | One chapter per location |
| By person | Family reunions | A page spread per family branch |
| By theme | Photographer portfolios | Food, landscapes, people, details |
| Best of | Gifts and anniversaries | Top 30 photos, no filler |
Cut Without Mercy
A 200 photo album becomes a 40 page book once you remove duplicates. Use this checklist:
- Remove near-identical shots and keep the sharpest one.
- Drop blurry frames, even sentimental ones, unless the story needs them.
- Remove photos where someone clearly dislikes how they look.
- Keep a mix of wide scenes, medium shots and close-ups.
- Leave breathing room: one strong photo per page beats four crowded ones.
Build Page Rhythm
A good book has rhythm. Try this pattern for every group of six pages:
- A wide opening scene.
- A medium shot with people.
- A close-up detail.
- A full-page standout photo.
- Two photos side by side.
- A quiet transition page, such as a landscape or a texture.
💡 Rename files with numbers in front, like 01-arrival.jpg, 02-market.jpg. Most layout tools then keep your order automatically.
Add Captions That Sound Human
Short captions are enough. A date, a place and one sentence of context turns a picture into a memory.
- Weak: "Beach."
- Better: "Playa Blanca, July 2026. The water was colder than we expected."
Step Three: Create the PDF
Flipbooks are built from PDFs, so you need a single file that holds your pages in order. You have several free options.

Ways to Build the PDF
| Tool type | Effort | Control over layout | Good for |
|---|
| Slides app (Google Slides, PowerPoint) | Low | High | Captions, collages, custom pages |
| Design app (Canva and similar) | Medium | Very high | Polished books |
| Word processor | Low | Medium | Simple one photo per page |
| Image-to-PDF converter | Very low | Low | Quick albums, no captions |
The Slides Method in Six Steps
- Create a new presentation and set the page size to landscape 16:9, or square for a different feel.
- Add one photo per slide, stretched to fill the page.
- Insert text boxes for captions on selected slides.
- Add a title slide with the album name and date.
- Add a closing slide with a thank-you note or the year.
- Choose File, Download, PDF Document.
⚠️ Keep text inside the page margins. Flipbook viewers sometimes crop a tiny edge on small screens.
Check Your File Size
Large PDFs load slowly. A comfortable target is under 50 MB for a 40 page photo book. If the file is too heavy, resize photos to about 2400 pixels on the long edge before inserting them.
Step Four: Convert It With Flipbooks AI
Now the fun part. This is where your flat PDF becomes a book with page-turn effects.

How to Create a Photo Flipbook With Flipbooks AI
- Get started. Go to Flipbooks AI and create an account.
- Upload your PDF. Drag the file into the uploader. The platform converts every page into a flipbook page, and the process usually takes under a minute.
- Check the page order. Flip through the preview to confirm your arrangement survived the conversion.
- Customize the look. Pick a background color that suits the photos. Dark backgrounds make colorful pictures pop, while soft cream feels like a classic album.
- Set the page effects. Choose the page-turn style, sound and speed.
- Add multimedia. Embed a short video clip or a background music track for key pages, such as the wedding dance.
- Choose a sharing method. Copy the direct link, grab an embed code or turn on password protection.
- Publish. Send the link and watch the first views arrive.
If you want a layout built for personal photo stories, the Wedding Album Flipbook and Photography Portfolio tools are good starting points. For travel albums, try the Travel Guide Flipbook.
What You Get on Every Plan
- ✅ No watermarks, ever. Your photos stay clean.
- ✅ Mobile-responsive design. Pages adapt to phones, tablets and desktops.
- ✅ Custom branding. Colors, logo and layout in your style.
- ✅ Embedded video and audio for pages that need a little motion.
- ✅ Offline downloads so relatives without good internet can still read.
- ✅ Password protection for private family content.
Compare plan details on the pricing page, including unlimited flipbooks on the Standard plan and above.
Plan Features at a Glance
| Need | Where it fits |
|---|
| One family album, occasional use | Starter options on the pricing page |
| Many albums per year | Standard plan, unlimited flipbooks |
| Client proofs and view tracking | Professional plan, analytics |
| Collecting contact details from viewers | Professional plan, lead generation |
Step Five: Share It the Right Way
A finished book is only useful when the right people can open it easily. Choose the sharing method that matches your audience.
Sharing Options Compared
| Method | Best for | Effort | Privacy |
|---|
| Direct link | Family group chats | Very low | Anyone with the link |
| Password-protected link | Private events, children's photos | Low | High |
| Embed on a website | Photographers, blogs, event pages | Medium | Public page |
| Offline download | Relatives with weak internet | Low | Depends on who gets the file |
| QR code on a printed card | Wedding thank-you notes | Low | Same as the link |
For website owners, the Embed Flipbook on Website tool gives you the code to paste into a page.
Protect Private Memories

Photos of kids, homes and personal moments deserve care. A simple routine helps:
- Turn on password protection before you share.
- Send the password in a separate message from the link.
- Use a different password for each album.
- Remove access if a link ends up somewhere unintended.
⚠️ A Google Photos album link works for anyone who has it. A password on the flipbook adds a second gate.
Message Templates That Get Opened
- Family chat: "I turned our Italy trip into a little book. Open it on your phone and turn the pages. Password is in the next message."
- Grandparents: "Here is the book of Lucia's first birthday. Tap the arrow on the right to turn each page."
- Clients: "Your gallery is ready. Flip through the book, and tell me your favorite ten pages."
Real-World Examples
Here are three ways people use this workflow.
The Family Reunion
A cousin collects pictures from six phones in one shared Google Photos album. After downloading, she groups them by family branch, adds one caption per branch and publishes a flipbook with a password. Every relative gets the same book, and nobody needs a Google account.
The Wedding Photographer
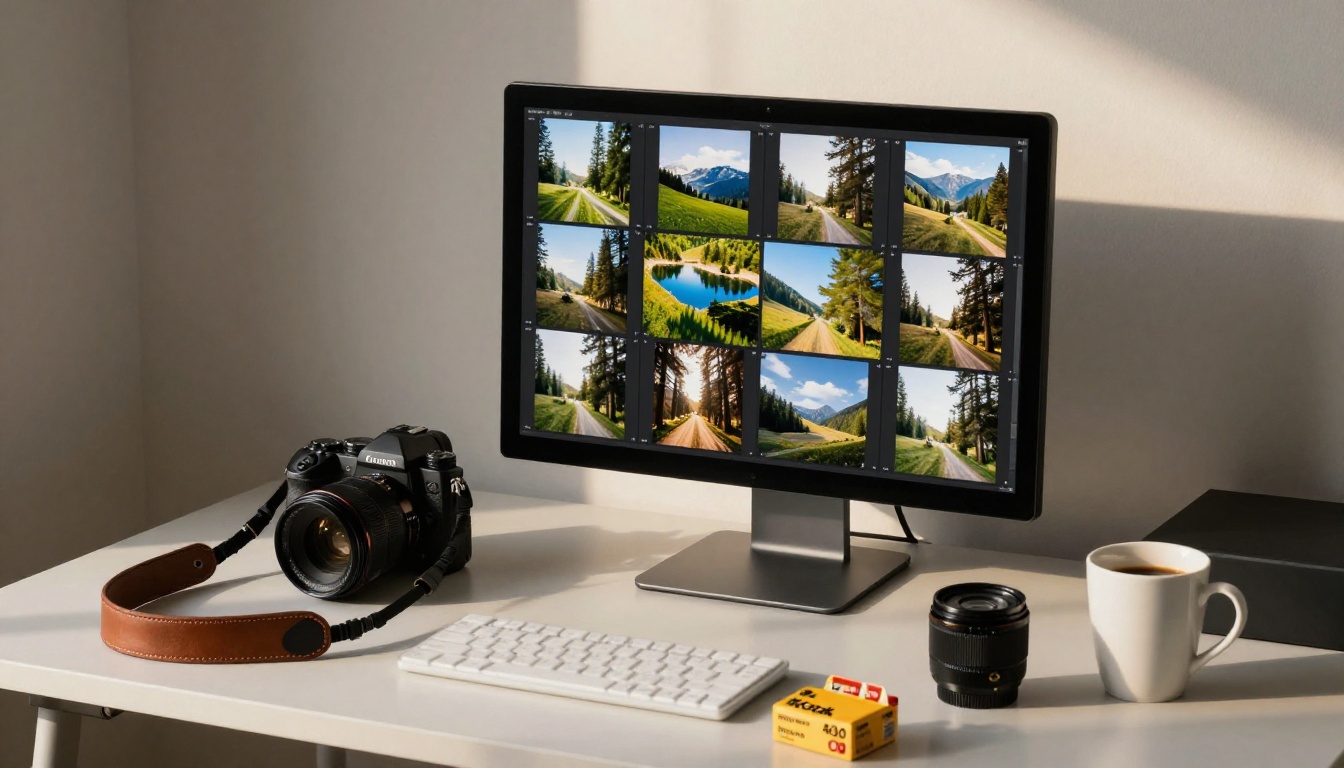
A photographer uploads a proof set into Google Photos, downloads the favorites, and builds a 30 page preview book. The couple flips through it on their phones and picks their top images. With analytics on the Professional plan, the photographer can see which pages got the most attention.
The Travel Blogger
A blogger writes a trip recap and embeds a flipbook of the best 25 photos right inside the article. Visitors can browse the pictures like a magazine without leaving the page.
Common Mistakes to Avoid
- Using every photo. More pages do not mean a better book. Aim for quality.
- Ignoring orientation. Mixing vertical and horizontal photos randomly makes pages feel messy. Group similar orientations together.
- Tiny captions. If a caption is unreadable on a phone, it does not help anyone.
- Forgetting a title page. A clear opening page sets the tone.
- Skipping the preview. Always flip through the whole book once before you send it.
- Sharing without a password. For private family photos, protection takes ten seconds.
Pre-Publish Checklist
Keep the Album Alive
A flipbook does not have to be a one-time project. Many people build a yearly book: one flipbook per year, each created from that year's Google Photos albums. Over time, you end up with a digital shelf of family history.
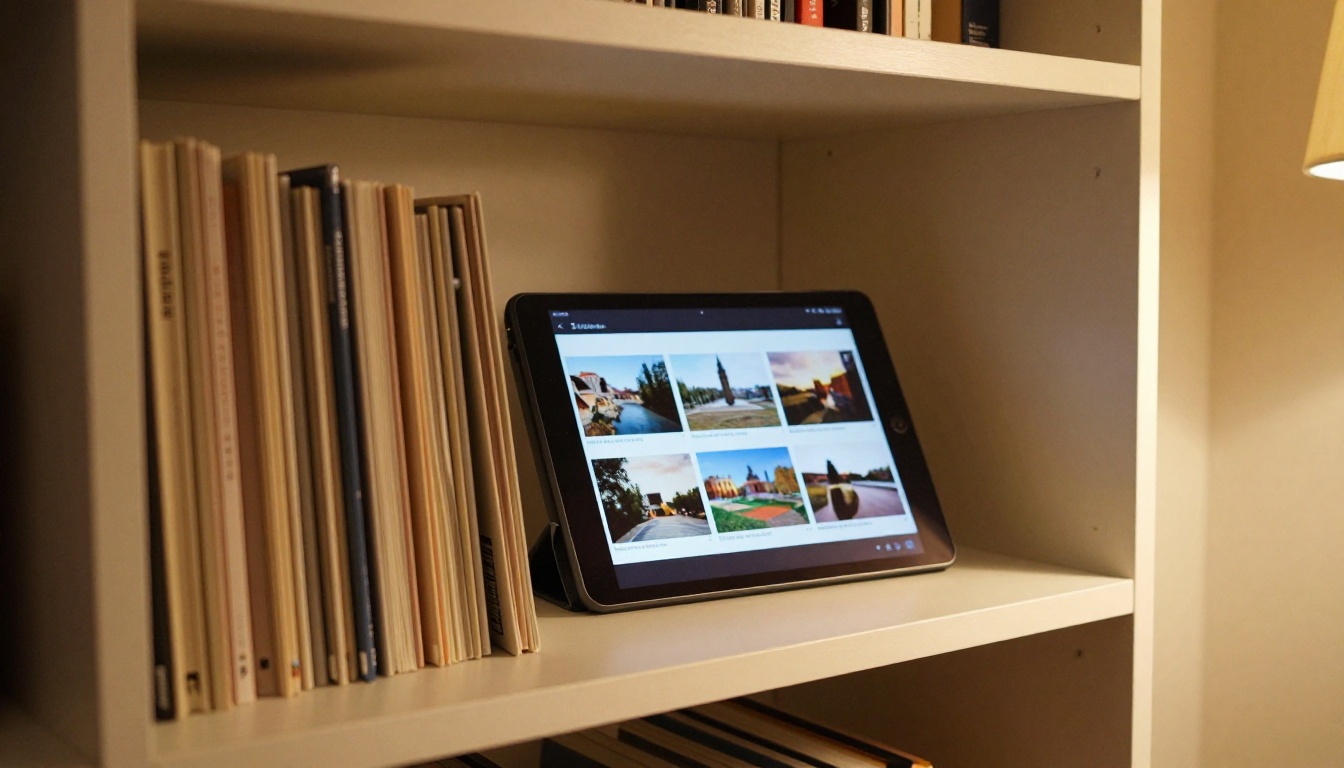
Digital books also sit well next to printed ones. Keep the physical albums for special occasions, and use flipbooks for the many moments that never make it to print.
A Simple Yearly Routine
- In December, review your Google Photos albums for the year.
- Pick the best 40 to 60 photos.
- Arrange them by season or by event.
- Build the PDF and convert it.
- Share it with the family as a holiday present.
Ready to Build Yours?
Your photos already exist. The only missing step is giving them a shape. Get started for free on Flipbooks AI, upload your first PDF and turn the pages of your own story.
Download the album today, spend twenty minutes arranging it, and send a link your family will actually open.



