Google Sites is the fastest way to give a class or a team a home on the web, but it has one weakness: documents. A PDF dropped on a page becomes a download link, and most students and colleagues never open it. A flipbook fixes that. With a Google Sites embed, the document sits right on the page and turns like a real book. This tutorial shows how to build one with Flipbooks AI and place it on your site in about ten minutes.
You do not need to write code. If you can copy and paste, you can finish every step below.
💡 Quick answer: Convert your PDF to a flipbook, copy the embed code or the share link, then in Google Sites choose Insert > Embed and paste it. Resize the box, publish, and you are done.
Why Flipbooks Beat PDF Links

A plain PDF link asks the reader to leave your page, wait for a download, and open another app. Many never bother. An embedded flipbook keeps people on the page they already visited, which means they actually read the syllabus, the lab manual or the onboarding pack.
Here is how the two options compare in daily use:
| Feature | PDF link on Google Sites | Embedded flipbook |
|---|
| Opens inside the page | No, opens a new tab or downloads | Yes, reads in place |
| Page turning | Scroll only | Realistic page flip |
| Mobile reading | Pinch and zoom | Responsive layout |
| Update after publishing | Re-upload and fix the link | Update once, embed stays the same |
| Audio and video inside | No | Yes |
| Password protection | Depends on Drive sharing | Built in |
| Reader analytics | None | Available on the Professional plan |
The Problem With Drive Previews
Google Drive previews work, but they show a gray viewer with small controls. Phones struggle with them, and the preview can break when file permissions change. A flipbook has its own viewer, so the experience stays the same no matter who opens it.
When a Flipbook Is the Right Choice
Not every file needs one. Use a flipbook when the document is read in order and benefits from a book feel:
- Course syllabi and reading packs
- Lab manuals and safety instructions
- Student portfolios and yearbook pages
- Team handbooks and onboarding packs
- Monthly newsletters and project reports
- Product sheets for a sales team
For a one page form that people must fill in, keep using a Google Form instead.
Prepare Your PDF First
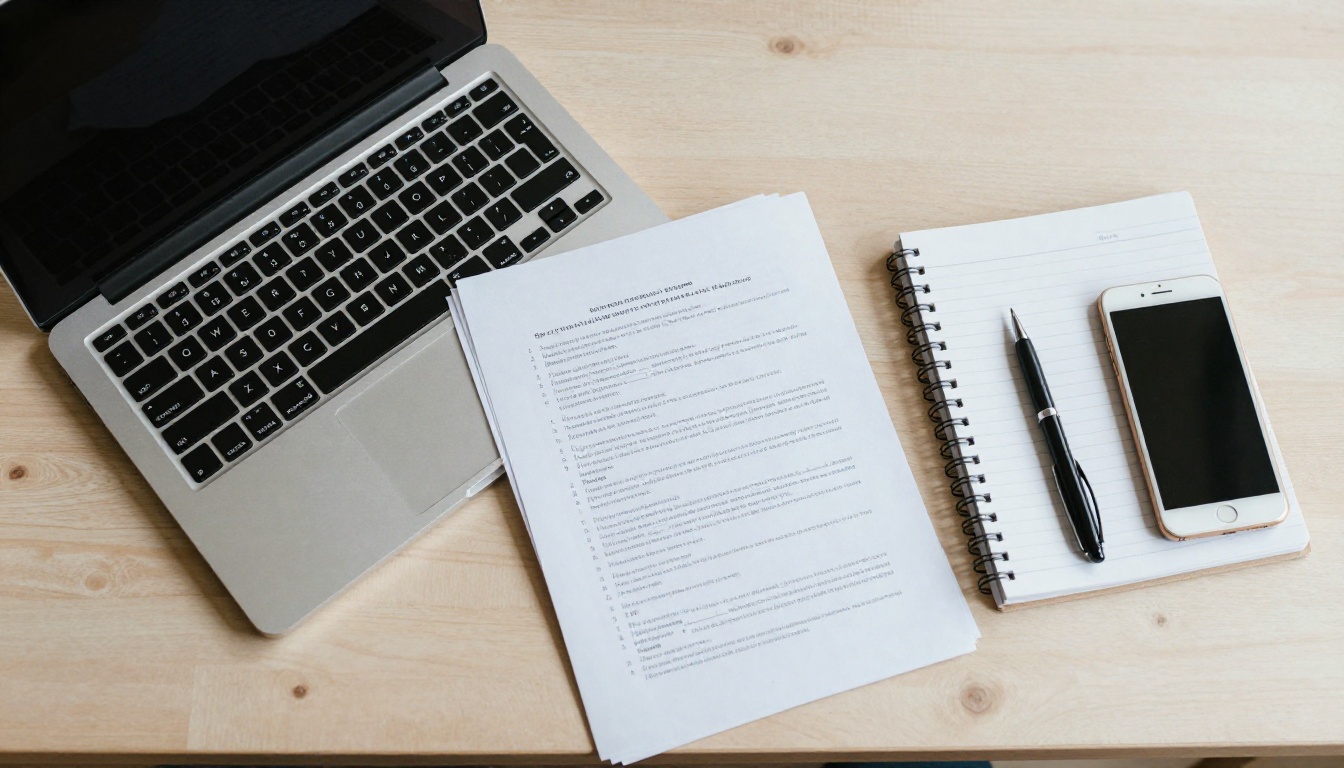
The quality of the flipbook depends on the quality of the PDF. Spend two minutes on preparation and you avoid most problems later.
Export From Google Docs or Slides
If your source is a Google Doc or a Slides deck, open File > Download > PDF Document. Slides exported with one slide per page work well in landscape. Docs work best in portrait.
Check Page Size and Fonts
Keep the page size consistent. A mix of portrait and landscape pages makes the viewer jump around. Embed fonts when you export, so the text looks the same on every device.
Compress Heavy Images
Large scans slow down loading. Aim for a file under 20 MB when possible. Photos at 150 DPI look sharp on screens and keep the file light.
✅ Best practice: Name the file clearly before uploading, for example "Biology Unit 3 Lab Manual". The name helps you find it later when you manage several flipbooks.
Create the Flipbook in Five Steps
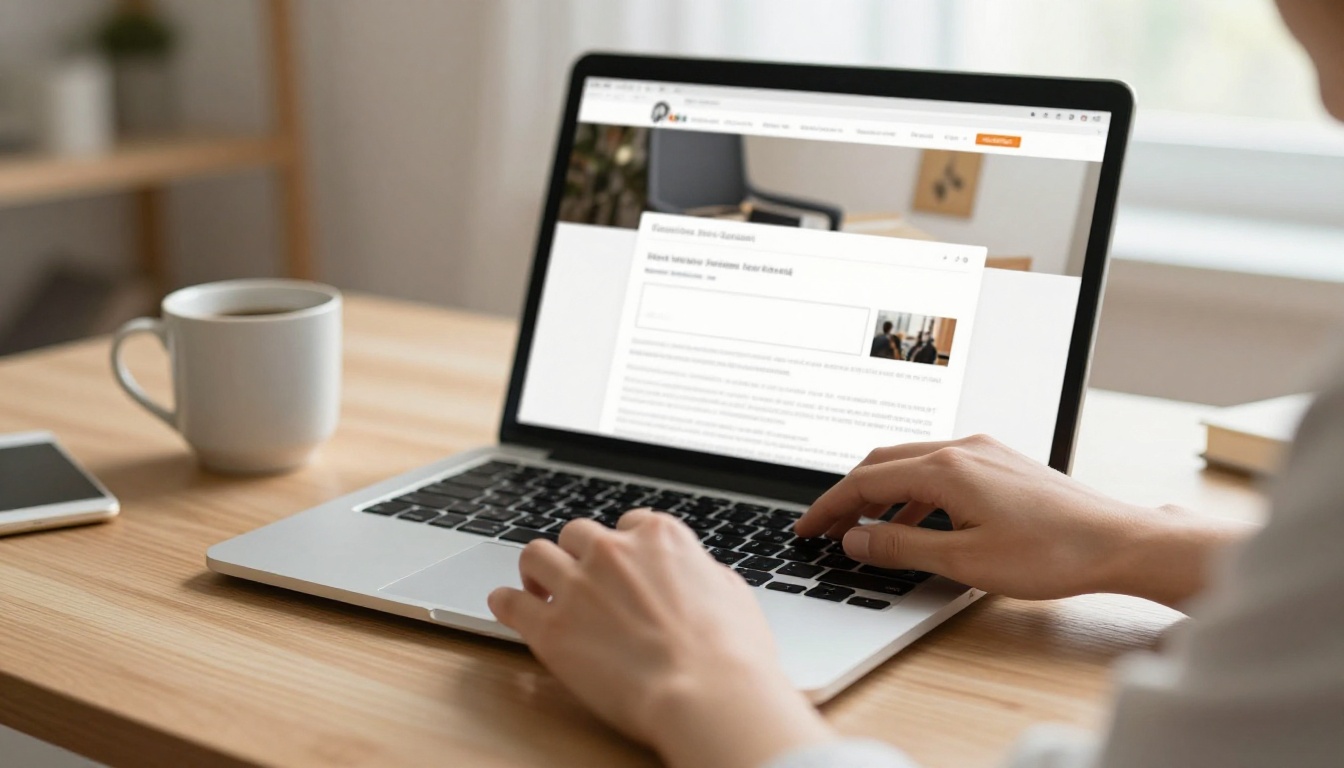
The conversion itself takes a couple of minutes. Open the PDF to Flipbook Converter or create a free account to begin.
Step 1: Upload the PDF
Sign in, choose the option to create a new flipbook, and drag your PDF into the upload area. The platform converts every page and keeps the text sharp. Large files take a little longer, so wait for the preview to appear.
Step 2: Customize the Look
This is where the flipbook starts to feel like yours. Adjust:
- Brand colors: match the school or company palette
- Background: a soft neutral works well inside Google Sites
- Page effects: choose the flip speed and shadow
- Logo: add a school crest or team logo
- Multimedia: drop in a video explainer or an audio note on any page
A flipbook for primary school students can be bright and playful. A flipbook for a finance team should be quiet and clean.
Step 3: Set Privacy
Decide who can read it. A public link suits a class blog or a parent newsletter. A password suits grades, internal plans or anything sensitive. Password protection is available on Flipbooks AI plans and takes seconds to switch on.
Step 4: Publish the Flipbook
Press publish. You now have a share link and an embed code. Keep this tab open, because you need both in a moment.
Step 5: Copy the Embed Code
Open the sharing options and copy the embed code. It looks like a short line of HTML that begins with an iframe tag. If you want a deeper walkthrough of this part, the Embed Flipbook on Website tool explains each option.
Add the Flipbook to Google Sites

Now the main part. Open your site in the new Google Sites editor.
Embed by Code
This is the most reliable method because you control the size.
- Open the page where the flipbook should appear.
- In the right panel, click Insert, then choose Embed.
- Switch to the Embed code tab.
- Paste the iframe code from your flipbook.
- Click Next, check the preview, then click Insert.
- Drag the corners of the box to resize it.
Embed by URL
If you only have the link, use the By URL tab instead. Paste the share link, which must start with https://, and Google Sites loads it in a frame. This method is quicker but gives you less control over the dimensions.
Which Method Should You Choose?
| Situation | Best method | Why |
|---|
| You want exact sizing | Embed code | You set width and height |
| You only have a link | By URL | No code needed |
| You need a full width reader | Embed code | Fits the page section |
| Many flipbooks on one page | Embed code | Easier to label and space |
| Quick test | By URL | Takes ten seconds |
⚠️ Warning: Google Sites only loads embeds from secure addresses. If the preview stays blank, check that the link begins with https:// and not http://.
Place It on the Page Layout
Google Sites uses sections and blocks. Add a one column layout for the flipbook so it can stretch. Put a short heading above it, such as "This Term's Reading Pack", and a line of instruction below it. Readers should know what they are looking at in two seconds.
Sizing That Works on Every Screen

Students open class sites on phones far more often than teachers expect. A box that looks great on your laptop can feel cramped on a small screen.
Use Generous Height
A flipbook shows two pages side by side on a wide screen and one page on a phone. Give the embed at least 500 pixels of height on desktop. On Google Sites the box scales with the page width, so a tall box looks fine on both sizes.
Recommended Dimensions
| Device | Suggested embed width | Suggested embed height | What the reader sees |
|---|
| Large desktop | Full section width | 600 to 700 px | Two page spread |
| Laptop | Full section width | 500 to 600 px | Two page spread |
| Tablet | Full section width | 500 px | One or two pages |
| Phone | Full screen width | 450 px | Single page |
Test Before You Share
Open your published site on a phone. Turn a few pages, zoom into a table, and rotate the device. Five minutes of testing saves a week of messages like "I can't see the page".
Class Ideas That Work

A flipbook is more than a nicer PDF. Here are real scenarios that fit a classroom site.
- A science teacher embeds the lab manual and adds a short video demonstration on the page about safety goggles.
- A language teacher publishes a vocabulary booklet with audio on each page so students hear the pronunciation.
- A homeroom teacher posts the monthly newsletter and links it from the parent page. See the School Newsletter Creator for a ready layout.
- A year group lead collects student work into a showcase, using the Yearbook Flipbook Maker.
- A trainer shares course notes through the Course Material Publisher.
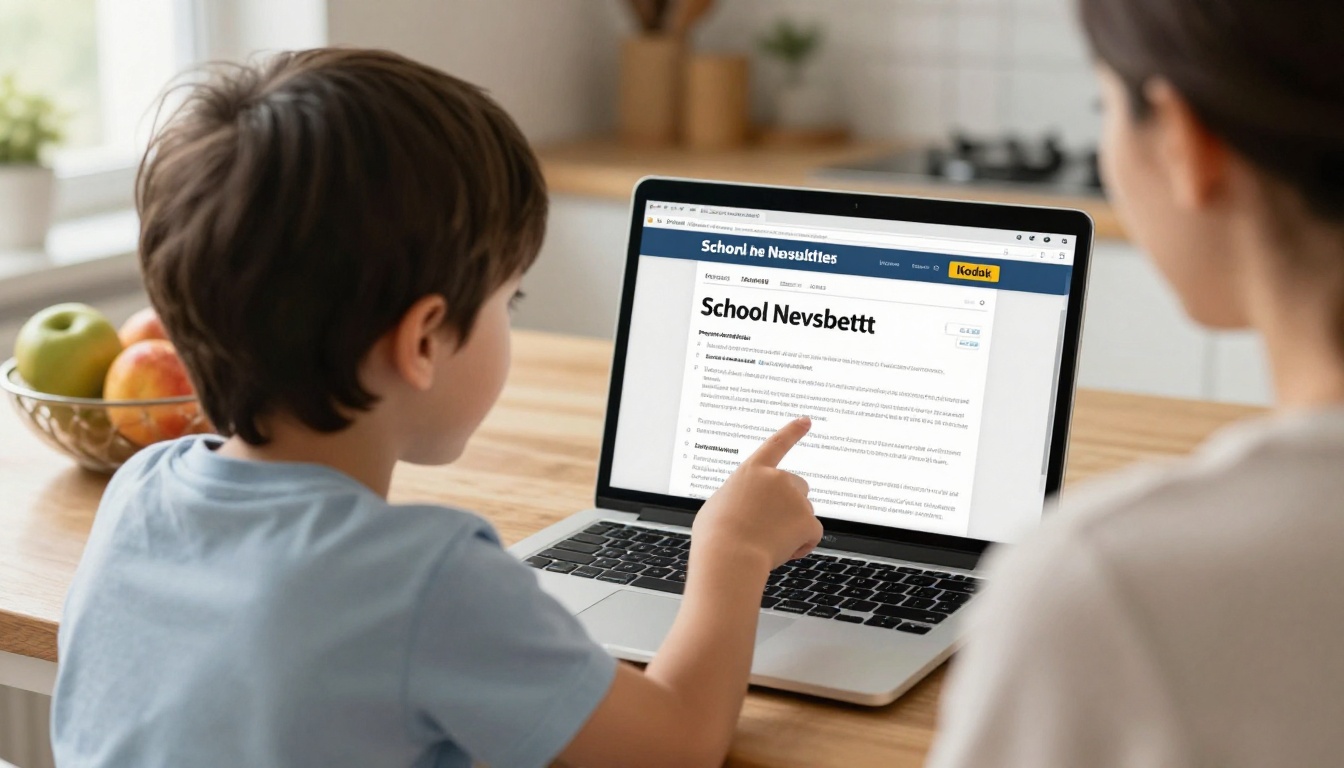
Parents benefit too. They open one link, read the newsletter on the kitchen table, and never need to hunt for an attachment in their email.
💡 Pro tip: Build one flipbook per unit instead of one giant book for the whole year. Shorter books load faster and are easier to update.
Team Site Ideas That Work
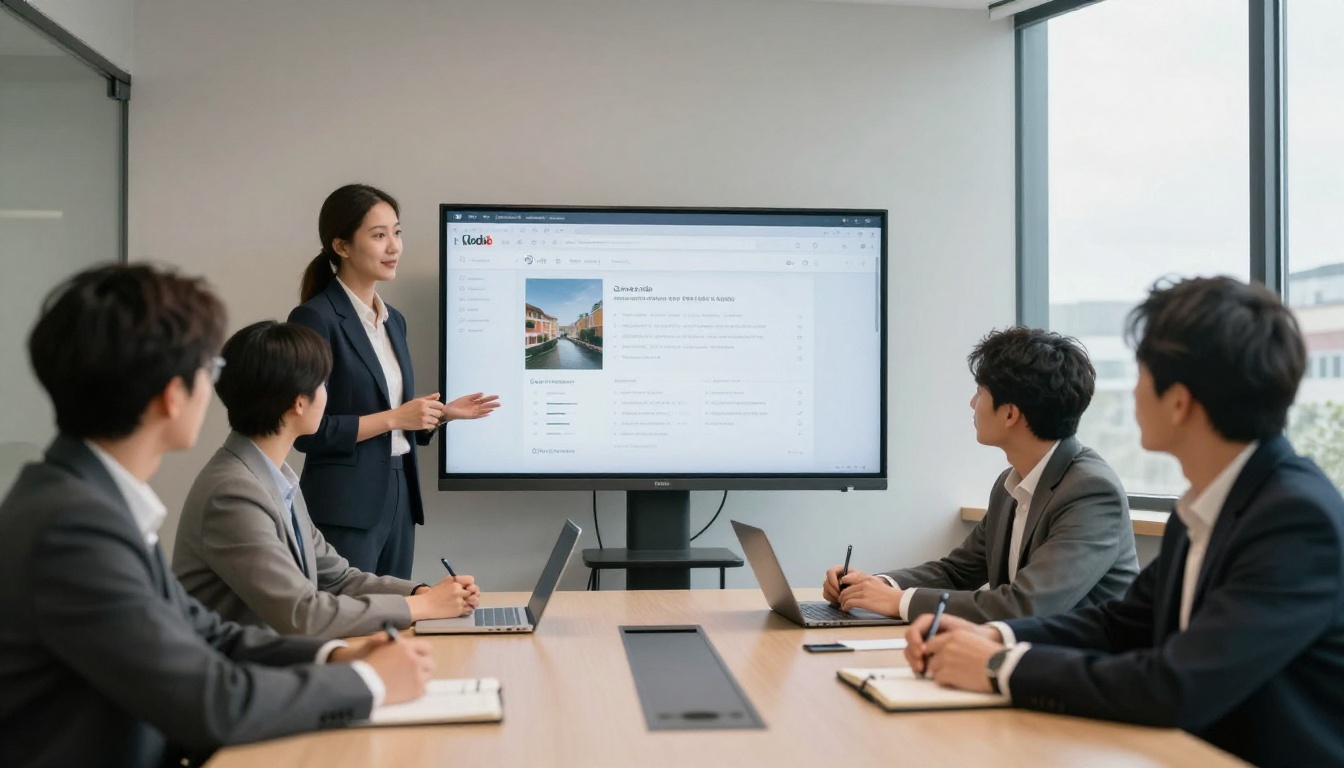
Teams use Google Sites as a light intranet. The same trick improves it.
A practical example: a ten person agency keeps its brand rules in a flipbook on the team site. When the logo changes, the designer updates the flipbook once and every page that embeds it shows the new version. Nobody has to replace a link in six places.
Keep One Source of Truth
Put the flipbook on a single page and link to that page from every menu. This keeps the team from reading an old copy saved in someone's downloads folder.
Privacy and Sharing Settings

Privacy has two layers here, and both matter. Google Sites controls who can open the site. The flipbook controls who can read the document.
Layer One: Google Sites
Click Share with others in the top bar. You can limit the site to named people, a Google Group, or everyone in your organization. Students under a school account can be limited to the school domain.
Layer Two: The Flipbook
Set a password on the flipbook itself for sensitive documents. Even if someone copies the iframe code, they still need the password to read the pages. This is useful for grades, contracts and internal plans. Review the pricing page to see which plan includes it.
Privacy Options Compared
| Setup | Who can read | Best for |
|---|
| Public site, public flipbook | Anyone with the link | Class blogs, public newsletters |
| Public site, password flipbook | People with the password | Parent updates, paid materials |
| Restricted site, public flipbook | Only invited visitors can find it | Staff pages |
| Restricted site, password flipbook | Invited visitors with the password | Confidential reports |
⚠️ Warning: Anyone who has the direct flipbook link can open it even without visiting your site, unless you set a password. Treat the link like the document itself.
Fix Common Embed Problems
Even simple setups hit a snag now and then. Here are the usual causes.
The Preview Is Blank
Check the address starts with https://. Then confirm the flipbook is published and not saved as a draft. If you used the embed code, make sure you pasted the whole line, including the closing tag.
The Flipbook Looks Too Small
Resize the box inside the editor by dragging a corner. If you pasted code, you can also change the width and height values inside it. Use a width of 100% for a flexible layout.
Pages Look Blurry
The source PDF was probably exported at low resolution. Re-export it at a higher quality, upload it again, and replace the old flipbook.
The Book Does Not Load on a School Network
Some school filters block unknown domains. Ask your IT team to allow the flipbook address, or share the direct link as a backup.
Quick Troubleshooting Table
| Symptom | Likely cause | Fast fix |
|---|
| Blank box in editor | Link not secure | Use an https:// address |
| Box shows an error | Flipbook not published | Publish it, then reload |
| Text too small on phone | Pages too dense | Use bigger fonts in the source |
| Slow loading | Heavy PDF | Compress images and re-upload |
| Visitors asked for a password | Privacy set on | Share the password or turn it off |
Track Who Reads It
Once the flipbook is live, you will want to know whether people open it. On the Professional plan, analytics show views and reading behavior, and lead generation lets you collect an email before someone reads. A department can see which handbook sections get attention and which are skipped, then rewrite the weak ones. Compare the options on the pricing page.
Other features worth a look include offline downloads for students with weak internet, mobile friendly layouts, custom branding and embedded videos. There are no watermarks on your flipbooks, and plans from Standard upward allow unlimited flipbooks.
Keep Your Site Fresh
A site that is never updated gets ignored. Build a small habit:
- Weekly: check that links and embeds still load.
- Each term or quarter: replace the old flipbook with a new version.
- After any change: test on a phone.
- Once a year: archive old flipbooks and remove them from the menu.
Because the embed points to the flipbook, you can update the content behind it without touching Google Sites again. That alone saves hours over a school year.
Build Your First One Today
You now have everything needed: a clean PDF, a flipbook with your branding, an embed code, and a Google Site that shows it well. The whole process takes less than a coffee break.
Ready to create your first flipbook? Get started for free on Flipbooks AI. Browse all flipbook tools and templates to find the right layout for your class or team, and compare pricing plans when you need passwords, analytics or unlimited books.



