You spent weeks building a workbook, recorded the lessons, priced the course, and then a single student posts the PDF in a Telegram group. That is how most course creators first meet the problem. Plain files travel freely, and a paid lesson that anyone can forward stops being paid very quickly. A password on the material itself is the simplest fix, and tools like Flipbooks AI make it a two-minute setting instead of a technical project.
This article shows how course creators protect paid lesson materials with passwords, which setup fits which kind of course, and where passwords stop working so you can plan around the gaps.

Why Paid Lessons Leak So Fast
Most leaks are not malicious. A student wants to show a friend one worksheet, so they attach the PDF to a message. The friend forwards it to a study group. Within a week the file lives in places you cannot see or control.
The real cost of a shared PDF
Every forwarded copy is a lost sale only if the recipient would have bought. Many would not, so do not overestimate losses. The bigger damage is subtler:
- Refund pressure: a student downloads everything, then requests a refund.
- Price erosion: if a free copy circulates, your launch price looks inflated.
- Support noise: outdated copies of old lesson versions get shared, and students ask about content you already fixed.
- Lost data: you cannot see who actually opened which lesson.
💡 Before spending on protection, check how much of your catalog is truly premium. Protect the workbooks, templates and answer sheets first. Free teasers can stay open and work as marketing.
Why file attachments fail
An attachment cannot be recalled. Once a PDF is downloaded, your only protection is the PDF's own encryption, which many free tools strip in seconds. A hosted, password-gated page works differently: the content stays on a server, and access is a login moment you control.
Password Protection Methods Compared
Not every method suits every creator. The table below compares the common options course creators use today.
| Method | Setup time | Protection level | Student friction | Best for |
|---|
| Encrypted PDF attachment | 5 minutes | Low, easy to strip | Medium | One-off freebies |
| Shared cloud folder link | 10 minutes | Low, link spreads | Low | Small private groups |
| Course platform login | Hours to days | High | Medium | Large video courses |
| Password-gated flipbook | 3 minutes | Medium to high | Low | Workbooks, guides, lesson packs |
| Membership site plugin | Days | High | Medium | Ongoing subscriptions |
Where password-gated flipbooks fit
A flipbook turns your PDF into a page-turning online booklet. With a password on the link, students see a clean prompt, type the code from their purchase email, and read. There is no file to attach, which removes the easiest way to leak it. You can read more on the PDF to Flipbook Converter page.
Where they fall short
Be honest about limits. A student can still share the password, or photograph pages. Passwords raise the effort and give you a lever, but they are not an unbreakable vault. The fix is to pair them with rotation, which comes up later.
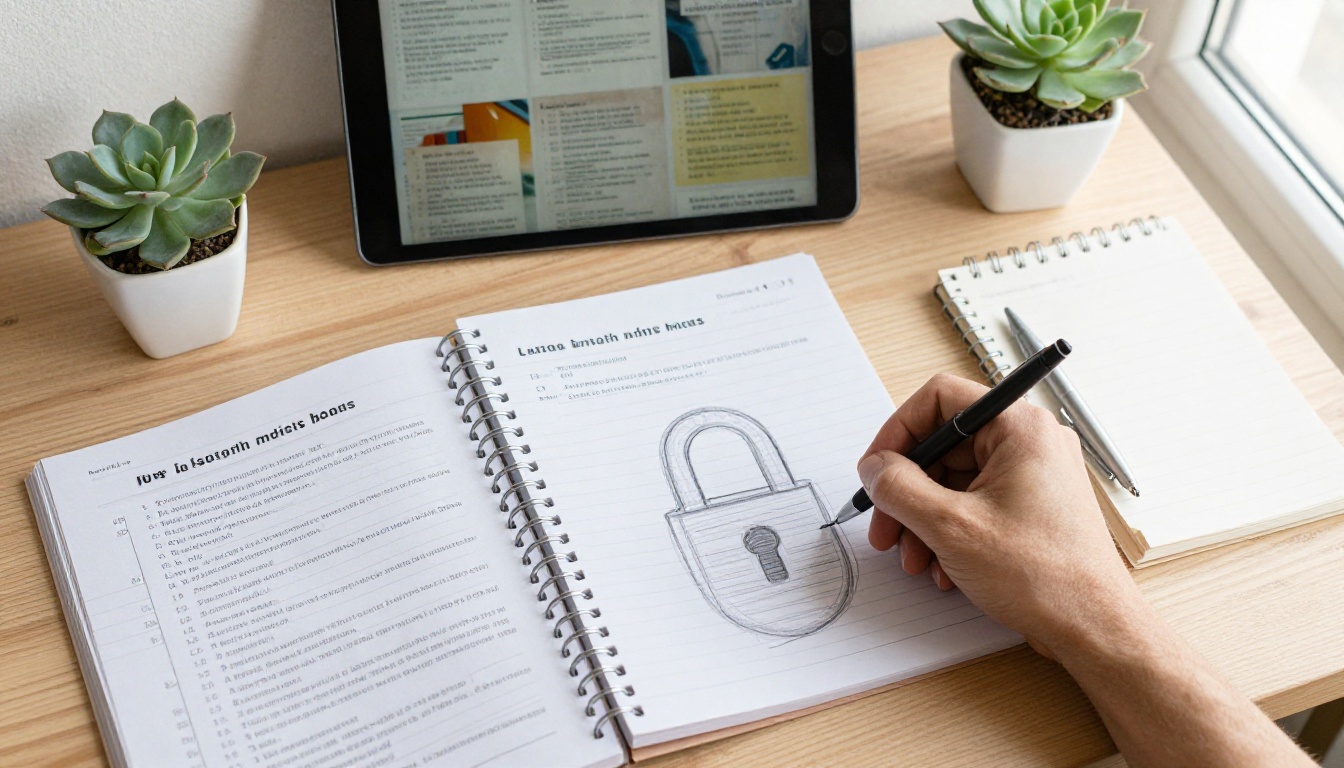
Setting Up Password Protection Step by Step
Here is the full process using Flipbooks AI. It works for workbooks, lesson summaries, templates and printable bundles. If your content fits the Course Material Publisher, start there.
Step 1: Create your account
Go to Flipbooks AI and create an account. Free accounts let you test the flow with one lesson before you commit to a paid plan.
Step 2: Upload and convert the PDF
- Export your lesson as a PDF from Canva, Word, Google Docs or InDesign.
- Upload it to your dashboard.
- Wait for the conversion. A 40-page workbook usually finishes in under a minute.
- Check the page order and zoom in on small text and tables.
⚠️ Compress oversized images before uploading. Heavy files load slowly on student phones and lead to support emails.
Step 3: Customize the look
Add your logo, pick brand colors, choose the page-turn effect and set the background. Students feel they are inside your product, not reading a loose file. You can also embed videos and audio, so a lesson workbook can include a short explainer clip beside the worksheet. That is an easy way to make a PDF feel like part of the course. The result is also mobile-responsive, so it reads well on a phone during a commute.
Step 4: Turn on the password
In the sharing settings, enable password protection and set a code. Pick something readable but not guessable, for example a short phrase plus a number, not the course name alone. Save, then test the link in a private browser window to see exactly what a student sees.
Step 5: Choose how to share
You have three options:
- Direct link: paste it in your welcome email or course platform lesson page.
- Embed code: place the flipbook inside a page on your site. See the Embed Flipbook on Website tool for details.
- Offline download: allow it only where it makes sense, such as a printable bonus pack.

Step 6: Track who opens what
On the Professional plan you get analytics and lead generation. Analytics show which lessons are opened and how long readers stay. Lead capture can ask for a name and email before the first page appears, which builds your mailing list while protecting the content. Compare tiers on the pricing page.
Smart Password Strategies for Creators
A single password reused forever is the weakest setup. Use the approach that fits your sales model.
One password per cohort
If you run live cohorts, give each cohort its own password. When the cohort ends, retire it. A leaked code only exposes one group, and you know roughly where it came from.
One password per lesson
For high-value modules, protect each lesson separately. Release codes weekly as students progress. This also works as a drip schedule, which keeps students on pace instead of binge-downloading and refunding.
Rotation for evergreen courses
For always-open courses, rotate passwords every quarter. Email current students the new code. Anyone who left or shared the old code loses access without any manual unbanning.
| Strategy | Effort for you | Leak impact | Best for |
|---|
| Single permanent password | Very low | Total | Small, low-priced products |
| Per cohort | Low | One group | Live and hybrid programs |
| Per lesson | Medium | One lesson | Premium modules |
| Quarterly rotation | Medium | Limited window | Evergreen courses |
✅ Best practice: store each active password in one spreadsheet with the cohort name, the creation date and the retirement date. It takes five minutes and prevents mix-ups.
Real-World Examples That Work
Abstract advice is easy to nod at, so here are three scenarios.
A language tutor selling workbooks
A Spanish tutor sells a 60-page grammar workbook for a one-time fee. She uploads the PDF, adds a password, and sends the link and code in the purchase confirmation. Students read it in the browser. Since there is no file to attach, forwarding it takes more effort than recommending the tutor's page.
A fitness coach with weekly plans
A coach publishes a new training block every Monday. Each block is its own protected flipbook with its own code. Members get the code by email. Past blocks stay available to people who paid for them, and former members lose access when codes rotate.
A professional training provider
A provider selling corporate training uses a Training Manual Flipbook per client company. Each client has a unique password, and analytics show which departments opened the manual. That data supports renewal conversations.

What Students Expect From Protected Content
Protection should never feel like punishment. Paying students judge your course partly by how easy access is.
Keep the login moment short
One password field, no account creation, no email confirmation loop. If a student needs more than ten seconds to open a lesson, expect support tickets.
Make it work on phones
Most students read on a phone or tablet. Test every protected lesson on a small screen. Text should be readable without pinching, and tables should scroll cleanly.
Say what the password is for
Add a short line in your welcome email: the code is personal to them and tied to their purchase. A clear, friendly message reduces casual sharing more than a legal warning does.
💡 Many students share simply because they do not realize it harms you. A sentence like "this code supports the next lesson I build" works better than a threat.

Common Mistakes to Avoid
Even careful creators repeat a few errors.
- Using the course name as the password. It is the first guess anyone makes.
- Posting the password in a public group. Put it only in the purchase email or inside the member area.
- Never testing as a student. Always open the link in a private window.
- Protecting everything. Free samples are good marketing. Lock only what carries the price.
- Ignoring analytics. If a lesson shows hundreds of opens from a cohort of thirty, a code has probably spread.
Layer your defenses
Passwords work best alongside other habits: watermark-free but branded pages, versioned updates so old copies lose value, and a clear refund policy. Add fresh bonus content to protected lessons so a leaked copy always feels out of date.
Know what passwords cannot do
No online tool stops a determined person from taking screenshots. Focus on reducing casual sharing, which accounts for the large majority of leaks, and treat the rest as a cost of doing business.

Choosing the Right Plan
Feature needs grow with your audience. This table shows how to think about it.
| Need | Starter use | Growing course | Large academy |
|---|
| Password protection | Yes | Yes | Yes |
| Number of flipbooks | A few | Many | Many |
| No watermarks | Yes | Yes | Yes |
| Analytics | Not needed yet | Helpful | Essential |
| Lead generation | Optional | Helpful | Essential |
The platform never adds a watermark to your material, and unlimited flipbooks arrive with the Standard plan and above. Analytics and lead generation sit in the Professional plan. See the exact limits on the pricing page.

Your Next Step
Pick one paid workbook today and protect it. Convert the PDF, add a password, send yourself the link and open it on your phone. If it feels smooth, roll the same setup across the rest of your lessons and plan a rotation date in your calendar.
Ready to protect your first lesson? Get started for free on Flipbooks AI. Browse all flipbook tools for workbooks, manuals and e-books, or look at the E-Book Flipbook Generator if your lessons are longer. When you are ready to track readers and capture leads, compare pricing plans and choose what suits your course.

A protected lesson is not about distrusting students. It is about respecting the work behind your course and making sure the people who paid are the people who read it.



