At 6:40 a.m. on a wedding morning, the florist is texting that she thought the ceremony started at 4:00, the DJ is asking which door to load through, and the photographer wants to know whether the first look moved. Nobody is lazy. Each of them is simply holding a different version of the schedule. Planners who avoid this chaos do one thing consistently: they build one master timeline and send every vendor the same source. Tools like Flipbooks AI make that last step simple, because the schedule becomes a single link that never goes stale in someone's inbox.
This article walks through how experienced planners build that timeline, split it into useful vendor views, share it, and keep it alive on the day itself.
Why One Timeline Beats Five
Most timeline failures are not planning failures. They are version failures. A planner emails a PDF on Monday, the couple asks for a change on Wednesday, and by Friday three vendors are working from the Monday copy.

Here is what a single shared source gives you:
- One truth. When a time changes, it changes everywhere at once.
- Fewer calls. Vendors check the page instead of phoning you at 7 a.m.
- Clear accountability. Everyone can see who owns which task and when it is due.
- Faster onboarding. A new second shooter or a last-minute bartender can read the plan in two minutes.
💡 Pro tip: Put the version date at the top of every timeline. If a vendor quotes a different date, you know in a second that they are working from an old copy.
What Belongs in the Master Timeline
The master timeline is your private, full-detail document. It is longer than any vendor needs, and that is fine. You will trim it later.
Build backward from the ceremony
Start with the moment that cannot move, usually the ceremony or the sunset portrait window, and count backward. Hair and makeup, the first look, family photos, vendor arrival and setup all hang from that anchor.
Add buffers on purpose
Experienced planners add padding in three places: hair and makeup, travel between locations, and family photos. A timeline with zero slack looks tidy on paper and collapses at the first late shuttle.
Name an owner for every line
Every row should answer three questions: what happens, when, and who is responsible. "4:15 p.m., cue string quartet, lead coordinator" is useful. "4:15 p.m., music" is not.
Here is a sample slice of a master timeline:
| Time | Event | Owner | Location |
|---|
| 9:00 a.m. | Florals delivered | Florist | Loading dock |
| 11:30 a.m. | Bridal party photos begin | Photographer | Garden terrace |
| 2:00 p.m. | Sound check | DJ | Ceremony lawn |
| 3:45 p.m. | Guests seated | Lead planner | Ceremony lawn |
| 4:00 p.m. | Ceremony begins | Officiant | Ceremony lawn |
| 5:15 p.m. | Cocktail hour service | Caterer | Courtyard |
| 7:00 p.m. | Grand entrance | DJ | Reception hall |
Split It Into Vendor Views
Here is the step many people skip. Sending the full master timeline to everyone sounds generous, but it buries each vendor's own cues under a wall of unrelated rows. The caterer does not need the bridal suite hair schedule. The florist does not need the toast order.

Planners usually produce a focused view for each group:
- Food and beverage: arrival, kitchen setup, service times, dietary counts, breakdown.
- Florals and decor: delivery window, ceremony install, reception transfer, strike time.
- Photo and video: getting ready, first look, family groupings, golden hour, send-off.
- Music and AV: load in, sound check, cue list, announcements, curfew.
- Transport: pickup points, headcounts, return runs.
What each vendor needs most
| Vendor | Needs on page one | Often forgotten |
|---|
| Caterer | Service windows, guest counts | Power and water access |
| Florist | Delivery and install times | Where to stage buckets |
| Photographer | Light windows, group list | Family names and order |
| DJ or band | Cue list, announcements | Curfew and noise limits |
| Transport | Pickup times, addresses | A backup phone contact |
✅ Best practice: Put the vendor's own section first, then the master overview second. They read their part, then see how it fits the whole day.
Why PDFs and Email Threads Fail
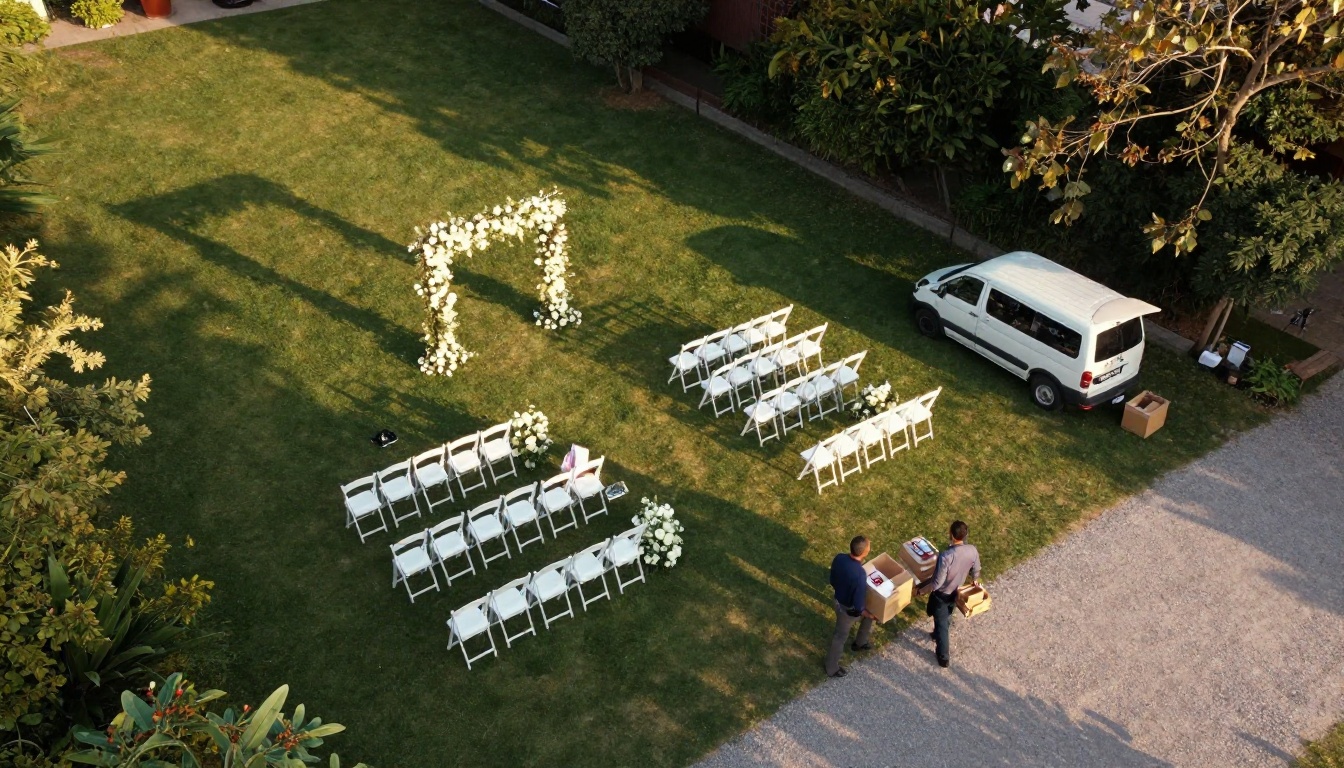
Most planners start with a PDF attached to an email. It works until the first revision. Then comes the confusion of "timeline_FINAL_v3_revised.pdf" and a reply-all thread that nobody can follow.
Compare the common ways to share a schedule:
| Method | Always current | Easy on a phone | Access control | Looks professional |
|---|
| Email attachment | No | Sometimes | None | Basic |
| Shared spreadsheet | Yes | Poor | Limited | Basic |
| Messaging app group | Partly | Yes | None | Informal |
| Hosted flipbook link | Yes | Yes | Password option | Polished |
A flipbook gives you the best of both: the polish of a designed document with the convenience of a link. Vendors open it on a phone in the venue parking lot, flip through it like a booklet, and zoom where they need to.
How to Build the Timeline Flipbook
If you already design your timeline in a word processor, a slide tool or a design app, you are most of the way there. The conversion takes minutes.
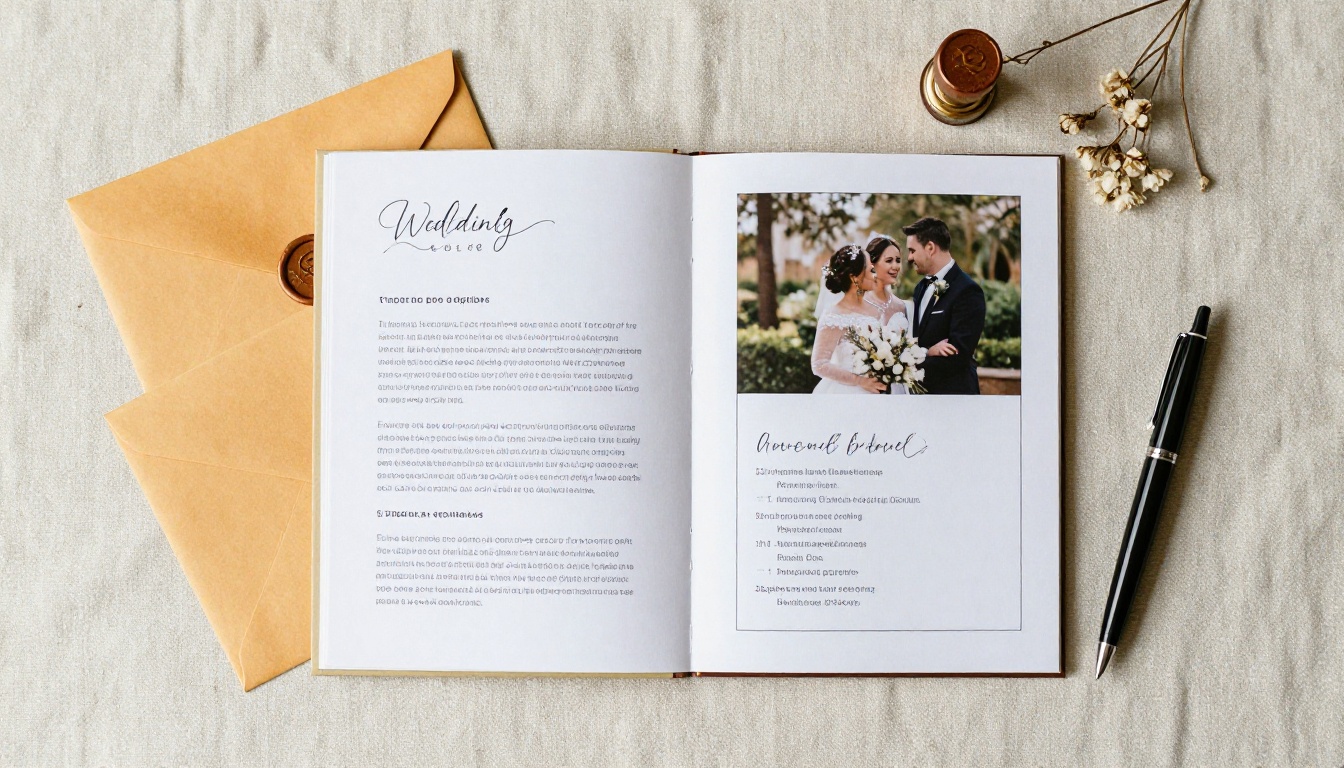
Step by step
- Create your account. Sign up on Flipbooks AI and open your dashboard.
- Export your timeline as a PDF. Include the cover page, the master timeline, and one page per vendor group.
- Upload the PDF. Use the PDF to Flipbook Converter and wait a few seconds while pages become a page-turning booklet.
- Customize the look. Add your studio logo, pick brand colors that match the wedding palette, and choose the page-turn effect. Because there are no watermarks, ever, the result looks like your own work.
- Add extras. Embed a venue walkthrough clip, a ceremony music sample, or a short audio note from the couple. Flipbooks AI supports embedded video and audio.
- Set access. Turn on password protection so the guest list, phone numbers and addresses stay private.
- Share the link. Send the direct link by text and email, or embed it on your website in a private vendor portal.
For couples who also want a keepsake, the same platform offers a Wedding Album Flipbook tool, and the Event Program Maker helps you produce a guest-facing program from the same design.
💡 Pro tip: Name each vendor's page clearly, such as "Florals", "Catering" and "Photo". Then in your text message, point to the page: "Open the link and go to Catering, page 4."
Keeping It Current on the Day
A shared link only works if the content behind it is accurate. Treat the timeline as a living document with simple rules.
Set a freeze point
Many planners declare a freeze 72 hours before the event. After that, changes go through the lead planner only, and each change triggers a short message: "Timeline updated, ceremony now 4:10."
Use a change log
Add a final page called "Updates" with a date, a time and a one line summary for every change. Vendors can scan it in ten seconds instead of re-reading the whole schedule.

Know who has seen it
This is where the Professional plan earns its place. Analytics show how many people opened the flipbook and how long they stayed. If the DJ has not opened it the night before, you know to call. Lead generation features are also useful when you share a public portfolio version with prospective couples.
Real world example
A planner running a 140 guest barn wedding sends the timeline link on Tuesday. By Thursday night, analytics show that the florist and the shuttle driver have not opened it. Two quick calls later, the florist confirms a corrected delivery time. Without the view data, that mistake would have surfaced at 9 a.m. with a van parked at the wrong gate.
Day of Communication Rhythm
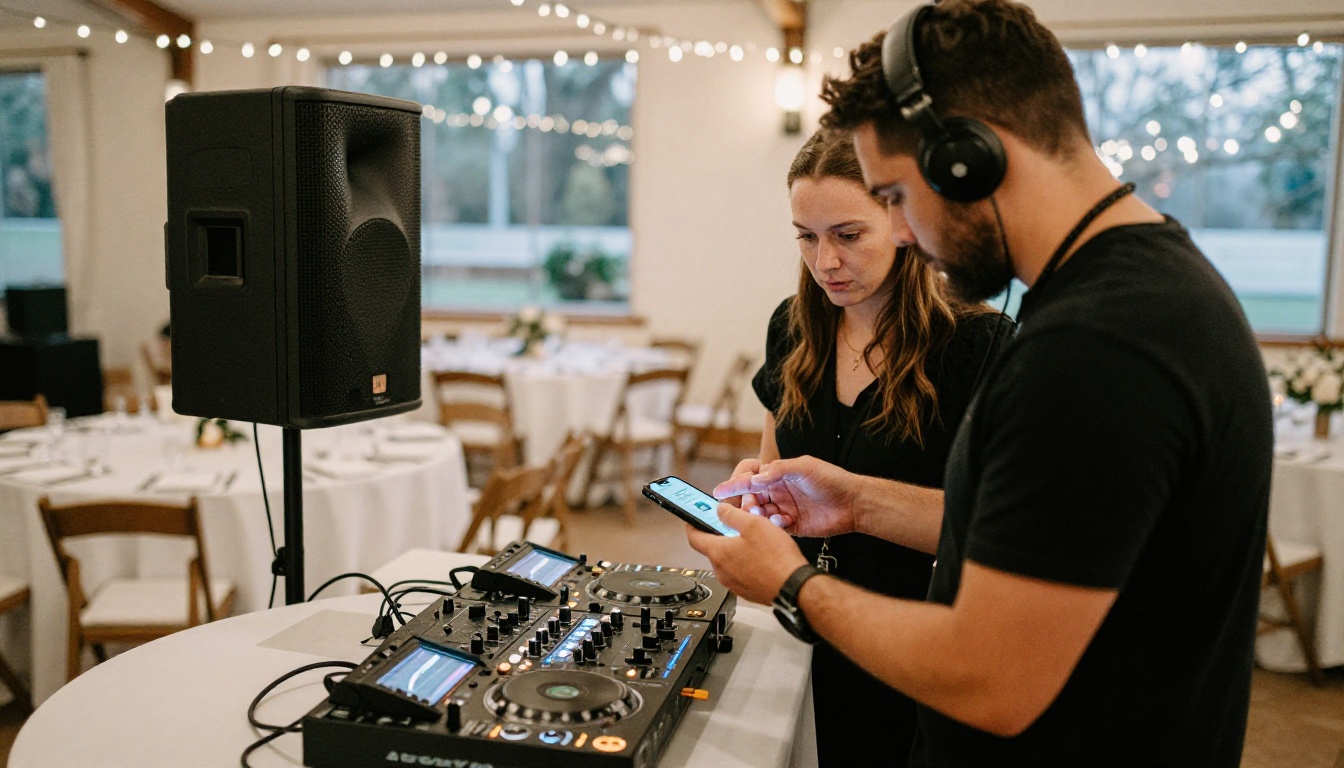
The timeline is the plan. A rhythm of short check-ins is how you keep it alive.
| Moment | Action | Channel |
|---|
| Night before | Send final link and a reminder | Text and email |
| Arrival | Confirm each vendor has opened their page | In person |
| Midday | Quick huddle on any changes | Group message |
| Before reception | Walk DJ and caterer through cues | In person |
| Teardown | Confirm strike times and loadout | Direct message |
Tips that save the day
- Print one copy for the venue manager and one for your own bag, in case Wi-Fi fails.
- Add a one page cheat sheet with every vendor phone number at the back of the flipbook.
- Offline downloads let vendors save the document when the barn has no signal.
- Keep language short. A timeline is not a story.
⚠️ Warning: Never share the master timeline with the couple's extended guests. It often contains addresses, private numbers and family logistics that belong only to the vendor team.
Common Mistakes to Avoid
Even good planners fall into the same traps. Here are the ones that cause the most trouble:
- Too many versions. If you must send an update, replace the source, not the attachment.
- No owner on tasks. "Someone will set up the guestbook" means nobody will.
- Times without places. A 3:00 p.m. cue means little if two lawns look alike.
- Skipping vendor input. Ask your caterer how long service really takes before you write it down.
- Ignoring the last hour. Breakdown and loadout deserve the same detail as the ceremony.
A Template Planners Reuse
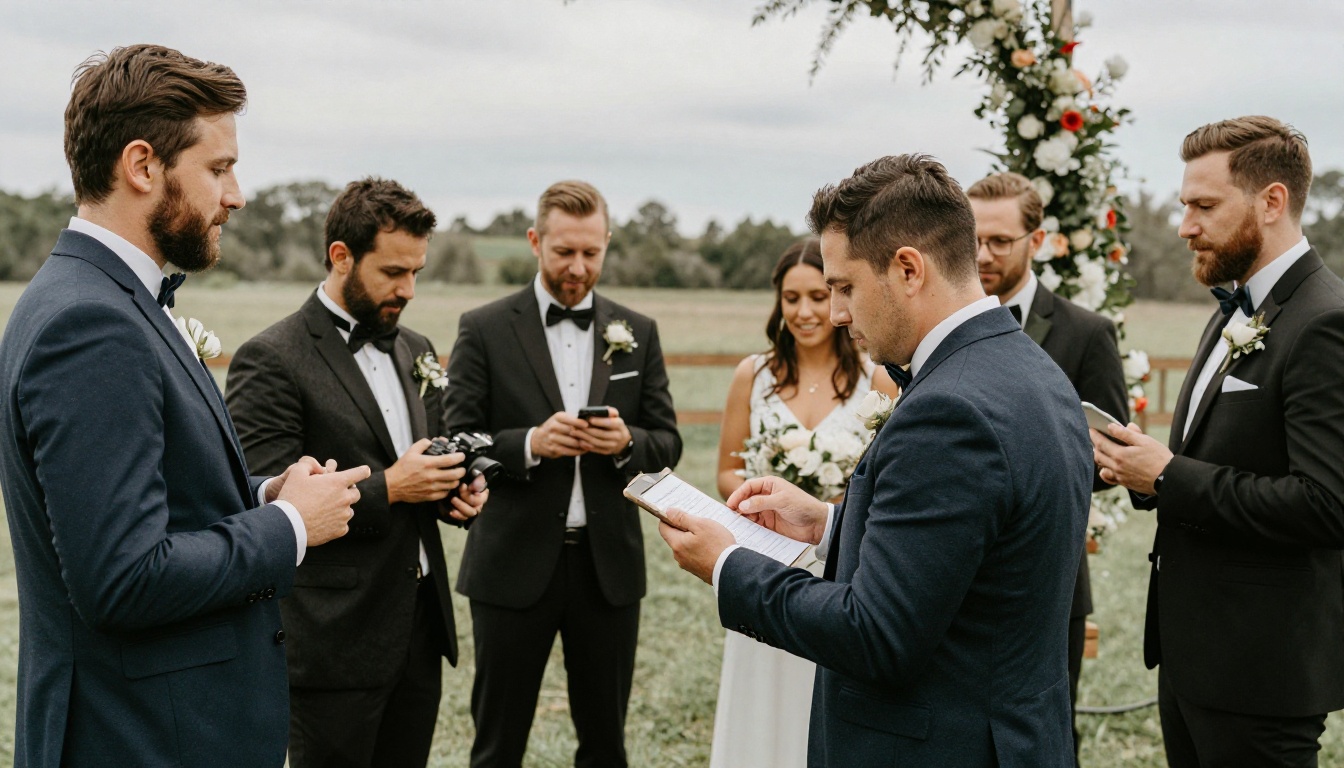
Once you have a good structure, reuse it. Many planners keep a base timeline for each wedding style: a church ceremony with a hall reception, a single venue garden wedding, a destination weekend. Each new couple starts from a proven skeleton.
A reliable page order looks like this:
- Cover page with names, date and version
- Day at a glance, one page
- Master timeline
- Vendor pages, one each
- Venue map and parking notes
- Contact sheet
- Updates log
If you plan many events, browse the full list of flipbook tools to find layouts that suit programs, lookbooks and portfolios as well. Planners who show past weddings often pair the schedule with a Digital Portfolio Creator page to win new clients with the same polished look.
The Payoff on the Wedding Day
When the timeline is shared well, the day feels different. The florist arrives with the right flowers at the right gate. The DJ knows the exact announcement wording. The photographer reaches the terrace just as the light turns golden. You spend your energy on the couple, not on chasing information.
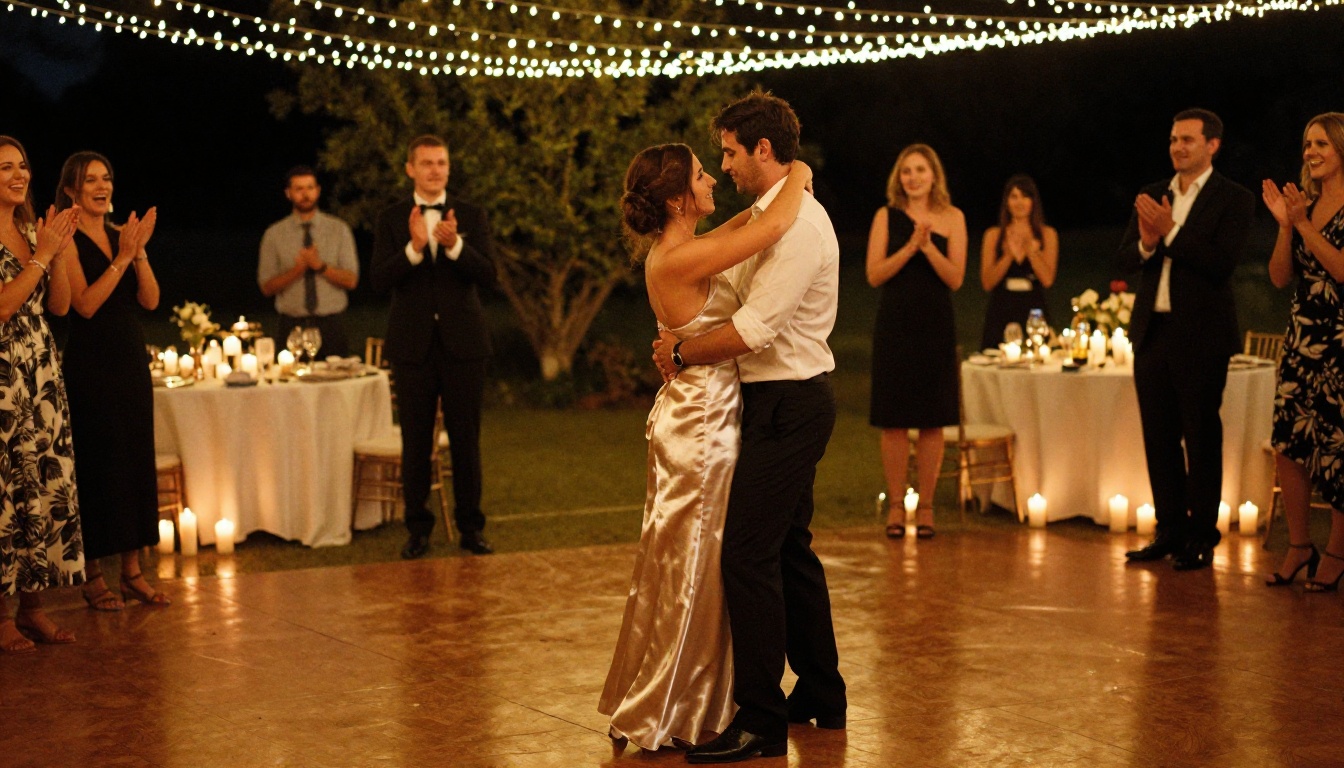
The first dance happens on time because ten small decisions earlier in the day happened on time. That is the real value of a shared timeline.
Ready to Send Yours?
Build your master timeline, split it into vendor pages, and turn it into a link your whole team can trust. Get started for free on Flipbooks AI, open the PDF to Flipbook Converter with your first draft, and see how fast the confusion disappears. When you are ready for analytics and lead tools, compare the pricing plans and pick the one that fits your event calendar. You can also create an account and go straight to pricing in a single step.



