You built a beautiful page in Elementor, but your catalog, brochure, or lookbook is still sitting behind a dull "Download PDF" button. Most visitors never click it. A flipbook fixes that by showing the document right on the page, with real page-turning motion, zoom, and mobile support. With Flipbooks AI, you can convert a PDF and place it inside Elementor in about ten minutes, without installing a single extra WordPress plugin.
This tutorial shows the exact steps: preparing the file, creating the flipbook, copying the embed code, pasting it into Elementor, and sizing it for desktop, tablet, and phone. You will also find a comparison of the three ways to add a flipbook, a troubleshooting table, and real examples for different kinds of businesses.
Why Flipbooks Beat PDF Links
A PDF link sends people away from your page. They wait for a download, open a separate viewer, pinch and scroll on a phone, and often leave. A flipbook keeps the reader on your site and presents the content the way a printed publication feels.

Here is what changes when you switch:
- Visitors stay on the page. The flipbook loads inside your layout, so your header, menu, and calls to action remain visible.
- Mobile reading improves. Pages resize automatically, and readers can swipe or tap to turn them.
- Links stay clickable. Product links, email addresses, and buttons inside the PDF keep working.
- You control access. Add a password to private material such as price lists or internal manuals.
- No watermarks. Flipbooks AI never stamps its logo on your publication.
💡 Pro tip: Place the flipbook above the fold on pages built around a single document, like a catalog landing page. On longer pages, put it after a short intro so the reader knows what they are about to open.
PDF Link vs Flipbook
| Feature | PDF Download Link | Flipbook Embed |
|---|
| Opens on your page | No | Yes |
| Page-turning effect | No | Yes |
| Mobile friendly | Inconsistent | Yes, automatic |
| Password protection | Not natively | Yes |
| Visitor analytics | No | Yes (Professional plan) |
| Custom branding | No | Yes |
What You Need Before You Start
You do not need developer skills. Gather these items first:
- A WordPress site with the Elementor plugin active (the free version works, since the HTML widget is included).
- A finished PDF of your catalog, brochure, menu, report, or magazine.
- A free account on Flipbooks AI.
- Editing access to the page where the flipbook will appear.
Prepare Your PDF
A clean source file gives a clean flipbook. Before uploading, check three things. First, export at a sensible resolution: 150 DPI is plenty for screens and keeps loading fast. Second, make sure pages share one size, because mixed sizes cause odd spacing. Third, keep the file reasonably light. If your PDF is over 50 MB, compress the images before converting.
⚠️ Warning: Avoid uploading a PDF with tiny body text on large pages. On a phone, small text becomes hard to read even with zoom. Aim for body text of at least 10 points.
Step 1: Create the Flipbook

The conversion is the quickest part. The PDF to Flipbook Converter handles it in a few clicks.
- Sign in to your Flipbooks AI account.
- Click the button to create a new flipbook.
- Upload your PDF by dragging it into the upload area.
- Wait while the pages are processed. Most documents finish in under a minute.
- Open the customization panel and adjust the look.
Customize the Look
Spend a few minutes here, because your flipbook will represent your brand on the page.
- Branding: Add your logo and choose a background color that matches your Elementor section.
- Page effects: Pick the flip style and speed. A soft, quick turn feels professional.
- Multimedia: Embed videos and audio where they add value, such as a product demo on page four.
- Navigation: Enable the table of contents, thumbnails, and fullscreen button for longer documents.
✅ Best practice: Match the flipbook background to the background of the Elementor section holding it. The embed then looks like part of the page instead of a box dropped on top.
Set Sharing Options
Before you copy anything, decide who can see the publication. Public flipbooks are ideal for catalogs and menus. For price lists or client proposals, switch on password protection. Direct links remain available too, so you can share the same flipbook in emails and social posts.
Step 2: Copy the Embed Code
Once the flipbook looks right, open the share menu and choose the embed option. You will get a short snippet of HTML, usually an iframe. Copy it in full.
The Embed Flipbook on Website tool explains the options in more detail, including how to pick fixed or fluid sizing.

Choose Fixed or Fluid Size
| Size Option | Best For | Behavior |
|---|
| Fixed width and height | Narrow sidebars, small sections | Stays the same pixel size |
| Fluid width, fixed height | Full-width sections | Stretches to the container |
| Fluid with aspect ratio | Most pages | Scales with the screen, keeps shape |
For almost every Elementor layout, choose the fluid option with a fixed aspect ratio. It resizes smoothly on every device.
Step 3: Add the Flipbook in Elementor
Now move to WordPress. This is where many people expect something complicated, but it is only a drag and a paste.
- Open the target page and click Edit with Elementor.
- Add a new Section (or Container) where the flipbook should appear.
- In the widget panel, search for HTML.
- Drag the HTML widget into your section.
- Paste the embed code into the code box.
- Click Update to save the page.
That is it. The flipbook appears in the editor preview and on the live page.
💡 Pro tip: If your site uses Elementor Pro, you can also drop the same HTML widget into a popup, a template, or a Theme Builder layout. That lets you show the flipbook in a lightbox when someone clicks "View Catalog."
Three Ways to Add a Flipbook
You have options. Here is how they compare.
| Method | Setup Time | Extra Plugin | Control Over Layout | Best For |
|---|
| HTML widget with embed code | 5 minutes | No | High | Nearly every site |
| WordPress shortcode block | 10 minutes | Often | Medium | Sites with a flipbook plugin |
| Direct link button | 2 minutes | No | Low | Quick sharing only |
The HTML widget wins for most people. It keeps your site lean, avoids plugin conflicts, and gives you full control over spacing.
Make It Look Right on Every Device

More than half of web visits come from phones, so test before you publish. Elementor lets you switch between desktop, tablet, and mobile views at the bottom of the editor.
Adjust Spacing and Height
Select the section that holds the HTML widget and set these values:
- Desktop: Content width of 1100 to 1200 pixels, with 40 pixels of padding above and below.
- Tablet: Reduce side padding to 20 pixels so the flipbook has room.
- Mobile: Set side padding to 10 pixels and let the flipbook fill the width.
If the flipbook looks cramped on mobile, increase the minimum height of the section rather than changing the embed code. That keeps the snippet clean and easy to replace later.
Use Full-Width Layouts
For a bold effect, set the section to Full Width and remove its padding. The flipbook then spans the screen, which works especially well for magazines, lookbooks, and annual reports. Add a heading and a short sentence above it so the page still feels guided.
Real Examples You Can Copy
Different businesses use the same method for very different goals.

Restaurants and Cafes
A cafe owner exports the weekly menu as a PDF, uploads it, and embeds it on a single "Menu" page. When prices change, they upload the new PDF and the page updates with no editing in Elementor. The Restaurant Menu Creator is built for exactly this.
Retail and Product Catalogs
A shop publishes a seasonal catalog with clickable product links. Customers flip through, tap an item, and land on the product page. Try the Product Catalog Generator for this setup.
Photographers and Designers
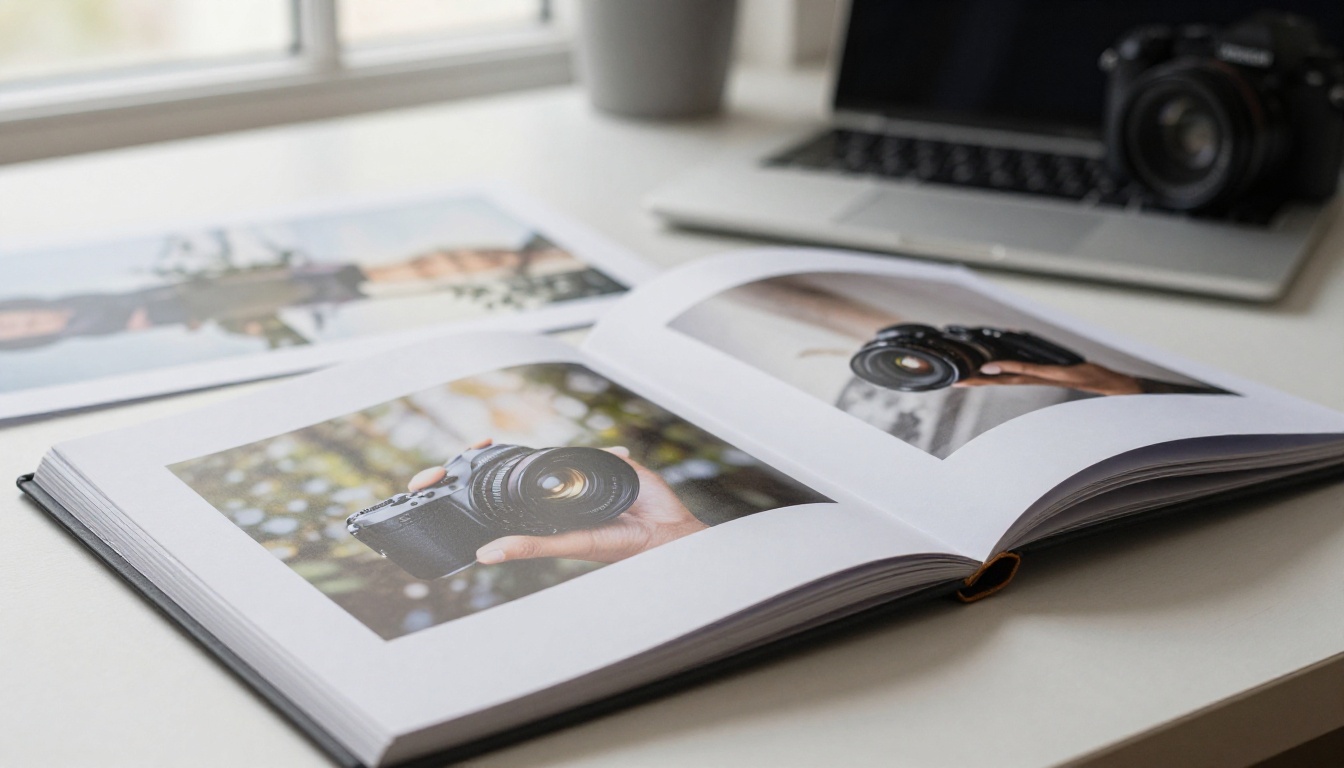
Creatives show a portfolio as a flipbook on their home page instead of a gallery grid. The Photography Portfolio tool keeps large images sharp while pages still load quickly.
Real Estate and Hotels
Agents embed a property brochure on each listing page. Hotels place a seasonal brochure on the booking page. Both can use the Real Estate Brochure Creator or the Hotel Brochure Designer.
Which Tool Fits Which Page
| Page Type | Document | Suggested Tool |
|---|
| Menu | Restaurant or spa menu | Restaurant Menu Creator |
| Shop | Product catalog | Product Catalog Generator |
| About | Annual report | Annual Report Creator |
| Portfolio | Photo or design work | Portfolio Flipbook Builder |
| Blog | Magazine or newsletter | Magazine Flipbook Creator |
Add Protection and Tracking
Public pages are not the only use case. Many sites need to limit who reads a document, and they want to know who actually opens it.
Password Protection
Turn on a password in the flipbook settings before copying the embed code. Visitors will see a password prompt inside the embedded area. This is useful for wholesale price lists, client proposals, and staff handbooks. The rest of your Elementor page stays public, so you can still explain the offer and tell people how to request access.
Analytics and Lead Capture
On the Professional plan, you can see how many people opened your flipbook, which pages they viewed, and how long they stayed. You can also collect contact details before a reader gets past the first pages. Compare options on the pricing page to pick the plan that fits.
| Plan Feature | Free Trial | Standard | Professional |
|---|
| No watermarks | Yes | Yes | Yes |
| Unlimited flipbooks | No | Yes | Yes |
| Password protection | Limited | Yes | Yes |
| Analytics | No | No | Yes |
| Lead generation | No | No | Yes |
| Offline downloads | No | Yes | Yes |
💡 Pro tip: Ask for an email address only on documents with real value, such as a buyer's report. For menus and brochures, keep the reading experience open.
Fix Common Problems

Most issues have simple causes. Use this table first.
| Problem | Likely Cause | Fix |
|---|
| Flipbook shows as blank space | Code pasted into a Text Editor widget | Move it into the HTML widget |
| Embed is cut off | Container width is too small | Set the section to Full Width or raise the content width |
| Page looks too short on mobile | Fixed height in the embed | Switch to fluid sizing with an aspect ratio |
| Old version still shows | Browser or site cache | Clear the WordPress cache and refresh |
| Iframe is stripped on save | Security plugin blocking iframes | Allow the flipbook domain in the plugin settings |
| Slow page load | Several flipbooks on one page | Keep one per page or use a popup |
Clear the Cache
If you changed the flipbook and the page still shows the old one, the cause is almost always caching. Clear the cache in your caching plugin, in Elementor under Tools > Regenerate CSS & Data, and in your browser. Then reload.
Keep Pages Fast
A flipbook is a heavy element compared with plain text. Place it lower on pages that already hold many images, and avoid stacking several embeds. If you need to show multiple documents, create a simple grid of cover images and open each flipbook in its own page or popup.
Quick Checklist Before You Publish
Run through this list one last time:
- The PDF is compressed and uses consistent page sizes.
- Branding and colors match the page section.
- Password protection is set where needed.
- The HTML widget holds the full embed code.
- Desktop, tablet, and mobile previews all look right.
- The page cache has been cleared.
- A heading and a short introduction sit above the flipbook.

Ready to Publish Yours?
Adding a flipbook to Elementor takes one upload, one copied snippet, and one HTML widget. After that, every update is as simple as replacing the PDF.
Ready to create your first flipbook? Get started for free on Flipbooks AI. Browse all available tools and templates to find the right format for your document, or compare pricing plans to pick what works for you. When you are sure about a plan, you can sign in and go straight to pricing.



