Margins that look off in a flipbook are one of the most frustrating formatting problems you can run into, especially after spending hours designing a polished PDF. The good news is that the fix almost always lives in how your source file was prepared, not in the flipbook platform itself. Whether you're dealing with uneven white space, clipped text near the edges, or pages that shift size between spreads, this article walks you through every root cause and every fix, from adjusting PDF settings in your design software to tweaking layout options directly inside Flipbooks AI.
Why Your Flipbook Margins Look Wrong
Most margin problems in flipbooks are inherited from the source PDF. When a PDF is converted into an interactive flipbook, the platform reads the page dimensions exactly as defined in the file. If those dimensions include bleed areas, crop marks, or inconsistent page sizes, the flipbook renderer displays them as-is, which creates the appearance of offset, uneven, or clipped margins. Identifying the source of the problem is the first step to fixing it permanently.
The PDF Carries Hidden Geometry
Every PDF contains structural metadata that describes the visible and non-visible areas of each page. The four main page boxes are:
- MediaBox: The full physical size of the page, including any bleed area
- TrimBox: The final intended size of the page after cutting in print
- BleedBox: The extended area with print bleed added beyond the trim
- CropBox: What most PDF viewers display by default
When a PDF is exported with a BleedBox larger than the TrimBox, the flipbook viewer often displays the entire BleedBox, making your margins look asymmetric or offset on one or more sides.
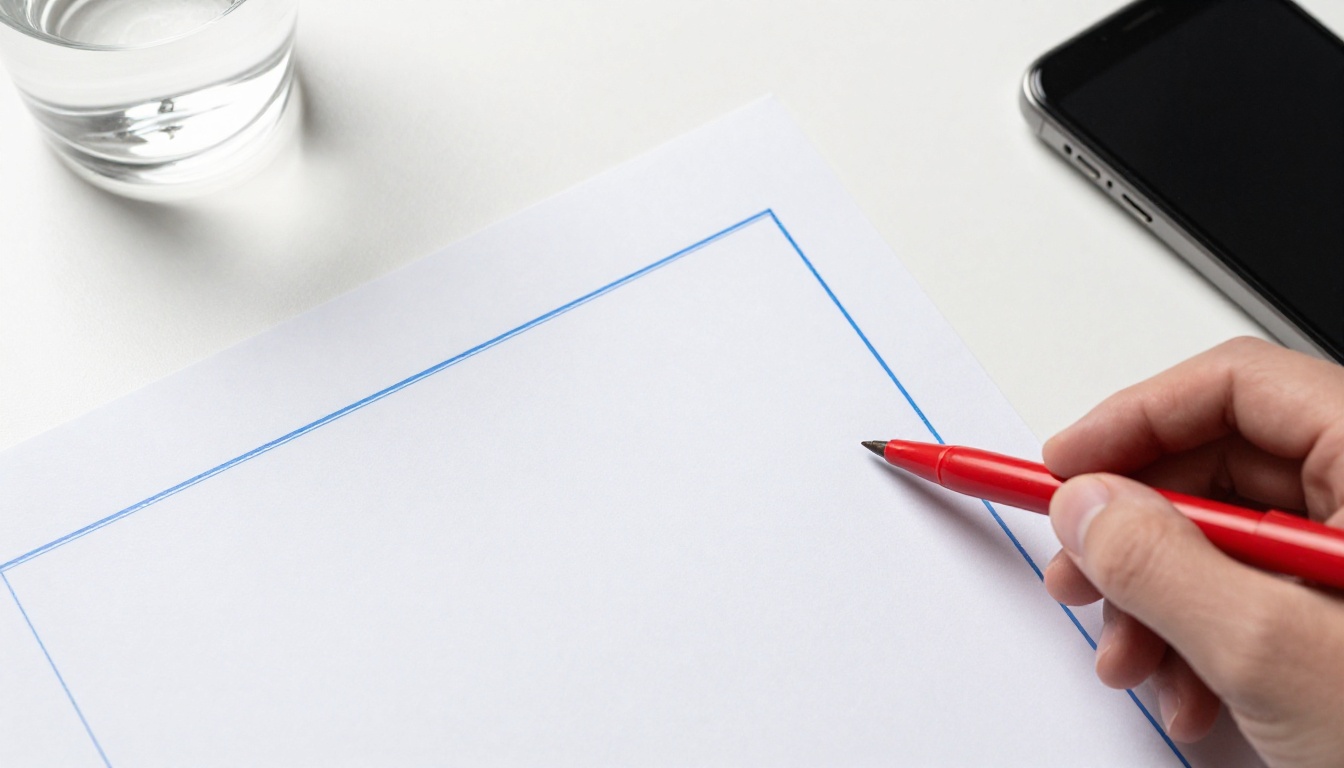
⚠️ Common mistake: Designing for print automatically adds 3mm bleed on all sides. For digital flipbooks, you want zero bleed on all edges.
Bleed Areas and Crop Marks
Bleed is a print production method where content extends slightly beyond the intended trim line so that printed pages cut cleanly without white slivers. For digital publications, bleed does the opposite. It creates white or colored strips that make margins appear uneven or wider on one side than the other.
Crop marks are the small L-shaped lines placed at the corners of print-ready PDFs to show printers where to cut. If these are included in your exported PDF, they show up as small black marks in the corners of your flipbook pages, which looks broken and unprofessional.
Page Size Mismatch
If your document uses mixed page sizes (for instance, a letter-sized front page combined with A4 interior pages), the flipbook viewer tries to reconcile them by centering or stretching content, which throws the margins off on nearly every page. This happens constantly when merging PDFs from different sources, such as a report front from one program and body pages from another.
Common Margin Problems and What Causes Them
Before jumping into fixes, it helps to identify exactly which problem you have. Each symptom points to a different cause, and treating the wrong one wastes time.
| Problem | Most Likely Cause | Fix |
|---|
| White strip on one or two sides only | Bleed area included in export | Remove bleed from PDF export settings |
| Content clipped at page edge | Page margins set to zero or too narrow | Add safe-zone margin to design, re-export |
| Pages appear different sizes | Mixed page dimensions across the document | Standardize all pages to one size |
| Black tick marks in page corners | Crop marks included in print-ready export | Disable crop marks in PDF export dialog |
| Margins shift between odd and even pages | Mirror margins (book layout mode) enabled | Disable mirrored margins for digital output |
| Huge white borders all around | Artwork placed on a larger canvas than the page | Crop or resize the document page |
| Margins fine on desktop but clipped on mobile | Content too close to page edge | Increase all margins to minimum 12mm |
Uneven White Space on Sides
This is the most frequent complaint. It looks like the content sits closer to one edge than the other, often with an obvious white strip on the left or bottom. The cause is almost always a bleed margin added during a print-ready export. The fix is to re-export the PDF with zero bleed on all sides. No other change is needed.
Content Getting Clipped
When text or images appear cut off near the edges of a flipbook page, the content was placed too close to the page edge in the original design. Standard print layouts use a safe zone (sometimes called a live area) of at least 5mm inside the trim edge. For flipbooks, use at least 10-15px padding from any page edge to account for how browsers render scaled content at different screen sizes.
Pages with Different Margin Sizes
If your flipbook has inconsistent margins that change from spread to spread, the underlying PDF almost certainly has pages at slightly different dimensions. This is extremely common when combining PDFs from PowerPoint and InDesign, or when merging older archived pages with newly designed ones. The solution is to normalize all page sizes before merging.

Fix PDF Margins Before Uploading
The single most reliable way to fix margin problems is to correct the source PDF before uploading it to any flipbook platform. Here is the exact sequence to follow.

Set the Right Page Size First
Choose a consistent page size before you start designing and apply it to every single page. The most commonly used dimensions for digital publications are:
- A4 (210 x 297mm): Standard for European reports, catalogs, and brochures
- US Letter (8.5 x 11in): Preferred for North American documents
- Widescreen (1920 x 1080px or 16:9 ratio): Best for screen-first publications and presentations
- Square (1:1): Popular for social-style digital magazines and lookbooks
Once you pick a size, lock it in your document template. Changing page size partway through a project is the single biggest source of margin inconsistencies across pages.
Remove Bleed and Crop Marks
In almost every design tool, the PDF export dialog has a section labeled "Marks and Bleeds." Before exporting for a flipbook:
- Set all bleed values (Top, Bottom, Left, Right) to 0mm or 0px
- Uncheck every mark option: Printer Marks, Crop Marks, Bleed Marks, Registration Marks, Color Bars
- If bleed was already exported, use Adobe Acrobat > Print Production > Crop Pages to trim the file down to the TrimBox
💡 Pro tip: In Adobe InDesign, save two separate export presets, one called "Print Ready" with bleed enabled, and one called "Digital Flipbook" with zero bleed and RGB color. Switch between them based on the output destination.
Check Your PDF Export Settings
The export dialog is where most errors are introduced. Verify all of these before every export:
- Color space: RGB only (not CMYK) for browser-based flipbook viewers
- PDF compatibility: 1.4 or higher
- Image compression: Medium-high quality to avoid visible pixelation
- Bleed: 0mm on all four sides
- Marks: All unchecked and disabled
⚠️ Warning: CMYK PDFs can render with incorrect color shifts in flipbook viewers that expect RGB input. Always export in RGB color space for any digital publication.
Fixing Margins by Design Software
Different tools use different terminology for the same settings. This table maps where to find bleed and margin controls across the most popular applications.
| Software | Where to Find Export Settings | How to Fix Bleed |
|---|
| Adobe InDesign | File > Export > Marks and Bleeds tab | Set all four bleed fields to 0mm |
| Adobe Illustrator | File > Save as PDF > Marks and Bleeds | Uncheck "Use Document Bleed Settings" |
| Adobe Acrobat | Tools > Print Production > Crop Pages | Trim to TrimBox |
| Canva | Download > PDF Print > toggle off "Crop Marks and Bleed" | Disable the bleed toggle before downloading |
| Microsoft Word | No bleed settings, clean by default | Check Layout > Margins for correct values |
| PowerPoint | No bleed settings, clean by default | Verify slide size matches your intended ratio |
| Affinity Publisher | File > Export > PDF > More > Bleed | Set all values to 0mm |
Adobe InDesign Step-by-Step
InDesign gives the most granular control over export settings of any design application. For a clean flipbook PDF:
- Open File > Export and select Adobe PDF (Interactive) for screen output
- In the Marks and Bleeds tab, clear every marks checkbox
- Under "Bleed and Slug," set all four bleed fields to 0mm
- In the Output tab, set Color Conversion to Convert to Destination (RGB)
- Check "View PDF after Exporting" to verify the result before uploading

Canva and Web-Based Tools
Canva is designed for screen output first, which makes it a naturally good starting point for flipbook PDFs. Two things to watch out for:
- Use PDF Standard for most documents to avoid bleed being added automatically
- If you select PDF Print for higher image quality, the download dialog shows a "Crop Marks and Bleed" toggle. Turn it off before downloading
- Double-check that your Canva canvas dimensions match your intended page size exactly, since Canva sometimes defaults to slightly non-standard dimensions
Microsoft Word and PowerPoint
Both Microsoft tools export clean PDFs without bleed by default. The margin problems from these tools usually come from somewhere else:
- Incorrect page size: PowerPoint's default widescreen saves at a non-standard dimension. Define your slide size manually under Design > Slide Size > Custom Slide Size to match A4 or Letter as needed
- Narrow margins in Word: Word documents designed for print often use tight margins. For flipbooks, use at least 1.5cm on all sides so content sits well inside the viewer's safe zone at all screen sizes
- Font embedding: Embed fonts before exporting from Word (File > Options > Save > "Embed fonts in the file") to prevent text reflow that can shift content and affect spacing
Fixing Margins Inside Flipbooks AI
Flipbooks AI gives you several display settings that let you compensate for minor margin issues without going back to the source file.
Upload and Page Fit Options
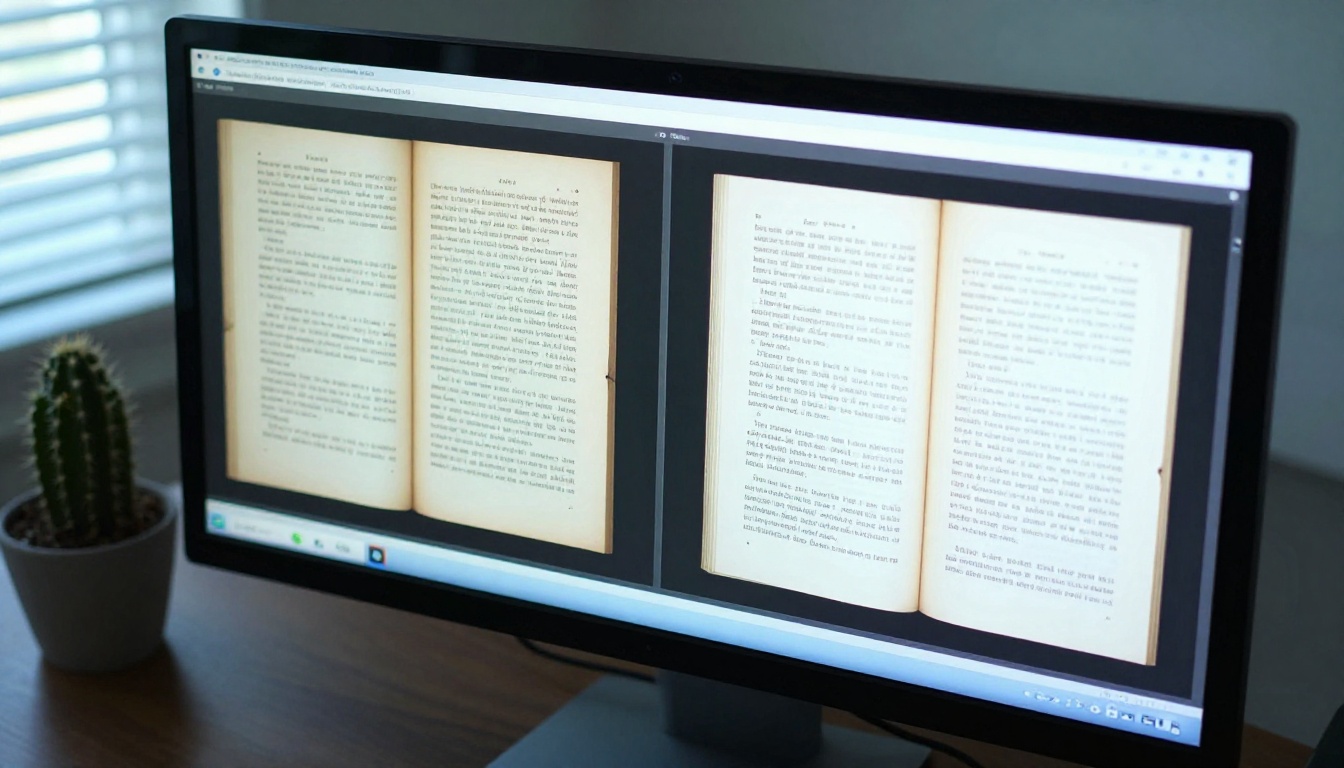
When you upload your PDF to Flipbooks AI, the platform reads the embedded page dimensions directly from the file structure. In the settings panel you can adjust:
- Page fit mode: Switch between "fit to width," "fit to height," or "fit to viewer" depending on your content's dominant direction
- Background color: Matching the viewer background to your page color makes thin margin inconsistencies far less noticeable while you prepare a corrected file
- Page shadow: Disabling the drop-shadow effect around pages can reduce the visual impression of uneven spacing
Viewer Layout and Padding
The flipbook viewer wraps the book in a surrounding frame with configurable padding. If your PDF margins look correct in Acrobat but appear to have extra space in the flipbook, the viewer frame padding may be too wide. This is adjustable in the platform settings under the appearance or viewer layout section.
💡 Pro tip: Preview your flipbook at both 100% zoom and "fit to window" before sharing. Margins often look different at different zoom levels because of how the viewer scales vector content versus rasterized images.
Mobile Margin Considerations
On phones, the flipbook viewer switches to single-page mode and scales content to fill the screen width. If your PDF margins are tighter than 8mm, content near the edges will appear clipped on smaller devices. Recommended safe values:
- Minimum of 12-15mm on all sides for mobile-safe content placement
- Logos and critical text at least 20mm from any page edge
- Test in mobile preview mode before publishing to catch issues early
Recommended Margin Sizes for Flipbooks
Getting margins right from the start prevents every problem described above. Here are the recommended values by document type.
| Document Type | Top / Bottom | Left / Right | Inner Gutter |
|---|
| Standard brochure | 12mm | 12mm | 15mm |
| Catalog with double-page spreads | 15mm | 12mm | 20mm |
| Magazine or e-book | 15mm | 15mm | 20mm |
| Presentation (16:9) | 40px | 60px | N/A |
| Restaurant menu | 12mm | 10mm | 15mm |
| Annual report | 20mm | 20mm | 25mm |
| Portfolio or lookbook | 10mm | 10mm | 15mm |
Standard Margins for Most Flipbooks
For general-purpose flipbooks, symmetric margins of 12-15mm on all sides give a clean, professional appearance. This provides enough breathing room so content doesn't feel cramped while keeping page density high enough for comfortable reading on any screen size.
Double-Page Spread Margins
When designing for two-page spreads where left and right pages display as one wide canvas, the inner margin (the binding gutter) needs extra space. Add at least 5mm more to the inner margin than the outer margin to prevent content from visually disappearing into the fold. For a magazine-style publication this means outer margins of 15mm and an inner gutter of at least 20mm.
Front Page vs. Inner Page Margins
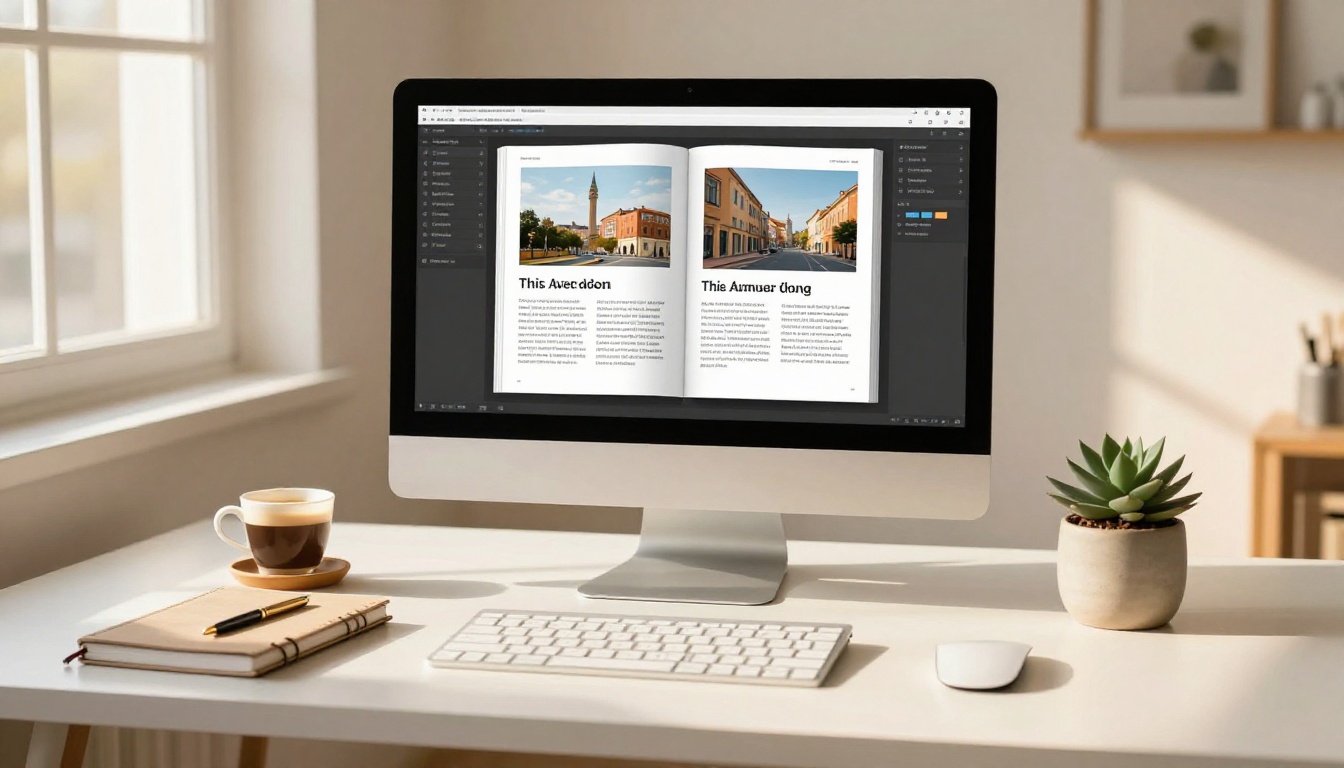
Front pages often use a full-bleed design where a background image or color fills the entire canvas. Inner pages then use generous white margins for text readability. If you're using a full-bleed front page, that is the one situation where zero margin is intentional. Make sure every other page uses consistent margins so the variation looks deliberate rather than broken.
Create a Clean Flipbook with Flipbooks AI
Once your PDF is correctly prepared, Flipbooks AI converts it into a fully interactive, mobile-responsive publication in under a minute. Here is the exact process:

-
Create your account at flipbooksai.com/account. No watermarks on any plan, ever.
-
Upload your corrected PDF using the dashboard upload button. The platform accepts high-resolution PDFs and converts them automatically, typically in under 60 seconds for a standard document.
-
Preview every page in the built-in viewer before publishing. Pay close attention to the first and last pages, where rendering differences show up most commonly.
-
Apply branding: Add your logo, set brand colors for the viewer background and toolbar, and choose a page flip animation style. Custom branding is available on Standard plans and above.
-
Set password protection if the content is confidential. Internal reports, pricing documents, and client proposals all benefit from this one-click feature available on all paid plans.
-
Copy the share link or embed code. The direct link works on any device and browser. The embed code lets you place the flipbook inside any website using the Embed Flipbook on Website tool.
-
Test on mobile by opening the share link on a phone before distributing. Confirm margins are consistent and no content is clipped at smaller screen sizes.
-
Publish and distribute. Professional plan users get automatic analytics tracking with page-by-page reading data and lead capture from viewers.
For specific document types, Flipbooks AI has dedicated creation tools: the PDF to Flipbook Converter for quick uploads, the Digital Catalog Maker for product presentations, and the Interactive E-Book Publisher for long-form reading.
Preventing Margin Issues in Upcoming Documents
The fastest fix is setting things up correctly from the start. A few habits built into your workflow eliminate the most common margin problems entirely.

Build a Reusable Template
Create a master document template in your design tool with everything pre-configured:
- Correct page size applied uniformly (A4 or Letter)
- Zero bleed on all sides
- Margin guides set at 12-15mm on all sides
- Safe zone guides at 10mm inside the margin
- RGB color mode from the start
- Font families embedded in the document
Save this as a named template and start every new project from it. This removes five of the seven most common margin causes before you type a single character.
Test Before Publishing
Before sending out any flipbook link, run this quick verification:
- Open the exported PDF in Adobe Acrobat and check File > Properties > Description to confirm all pages list the same dimensions
- Switch to Two-Page View in Acrobat to see how spreads will appear in the flipbook viewer
- Upload to Flipbooks AI and preview on both desktop and mobile before publishing
- Flip through the first five and last five pages specifically, as these are where rendering quirks appear most often
✅ Best practice: Keep a one-page PDF export checklist saved in your design software's notes or on your team's shared drive. A 60-second review before every upload prevents 90% of margin complaints after publishing.
When Margins Still Look Off
If you've removed bleed, standardized page sizes, and double-checked export settings, and the margins still look wrong in the flipbook, there are a few more things worth checking.
First, some PDF viewers (including browser-built-in readers like Chrome's) add a thin white padding around displayed pages that is not in the actual file. Always verify your PDF in Adobe Acrobat Reader for an accurate representation before concluding there's a file problem.
Second, check for transparent or white-filled background layers that extend beyond the TrimBox. Invisible layers can add apparent white space that doesn't show up in the margin settings panel but affects how the flipbook renderer reads the page boundary.
Third, if the problem appears only in Flipbooks AI and not in Acrobat, send the original file to the support team along with a screenshot of the issue. The team can quickly identify whether a specific PDF feature (such as PDF/X compliance settings or embedded transparency) is interacting unexpectedly with the rendering engine.
A correctly prepared PDF almost always produces perfectly aligned margins in the flipbook. The work is in the setup, and once that's right, every upload after it is clean.
Ready to put this into practice? Create your first flipbook on Flipbooks AI and upload a corrected PDF to see the difference immediately. Browse all available flipbook creation tools to find the right fit for your document type, and compare pricing plans to access analytics, lead generation, and offline downloads.



