A zine costs almost nothing to make, and the software can cost nothing too. Scribus is a free, open source desktop publishing program that handles everything a professional layout tool does: precise margins, linked text frames, color management and print-ready PDF export. The catch is that its interface looks nothing like a word processor, so first-timers often stall on the blank canvas. This tutorial takes you from an empty document to a folded, stapled zine, and then shows how to put a digital copy online with Flipbooks AI so readers beyond your zine fair table can flip through it.

Why Scribus Suits Zines
Most free design tools were built for screens. Scribus was built for paper. It thinks in millimeters, bleeds, spreads and color separations, which is exactly what a printed booklet needs. You also get style sheets, master pages and linked frames, so a 16 page zine stays consistent without you nudging each page by hand.
Here is how it compares with other free options people reach for:
| Tool | Cost | Print-ready PDF | Master pages | Best for |
|---|
| Scribus | Free, open source | Yes, with bleed and crop marks | Yes | Multi-page zines and booklets |
| Canva (free tier) | Free with limits | Basic | No | Single posters and quick covers of social posts |
| Google Docs | Free | Limited | No | Text-heavy drafts |
| LibreOffice Draw | Free | Yes | Partial | Simple one-sheet folds |
💡 Pro tip: If your zine is a single sheet folded into eight small panels, almost any tool works. Reach for Scribus once you pass eight pages or want real typographic control.
Plan Before You Open the App
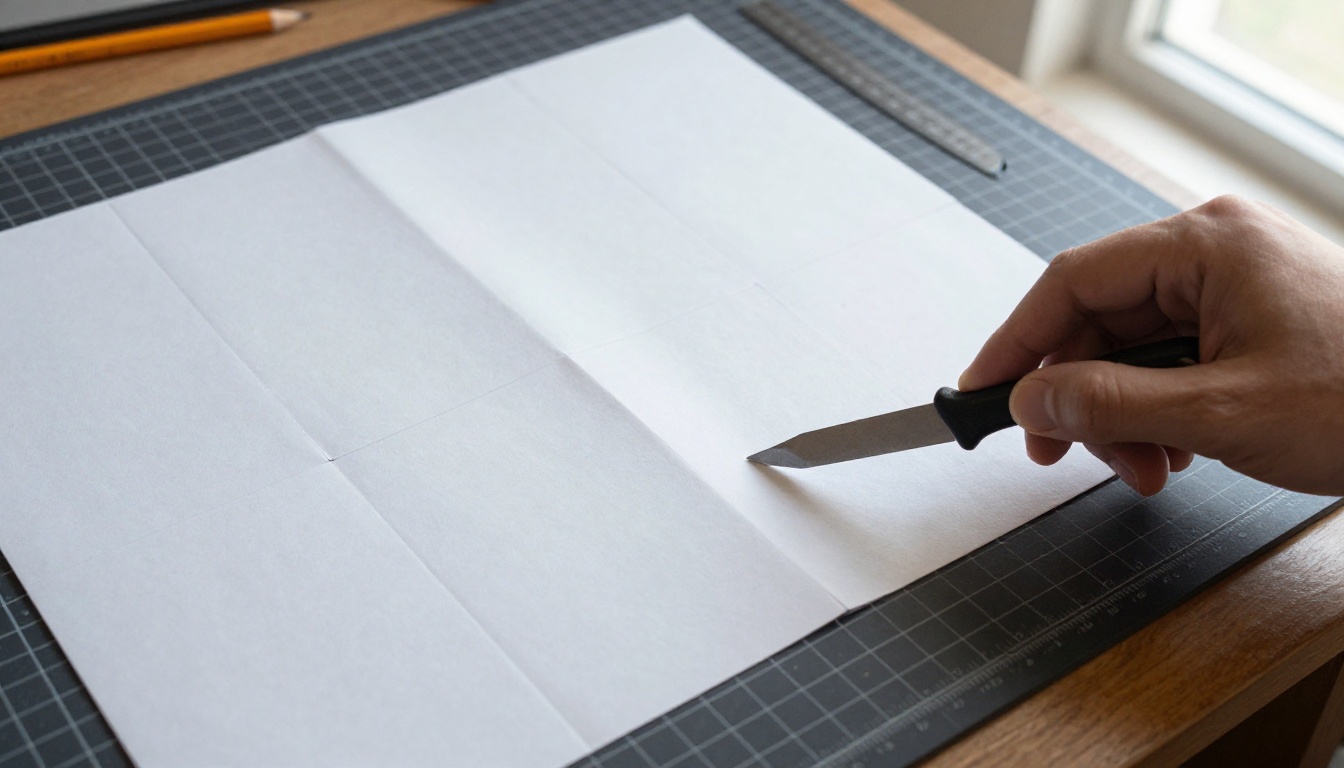
Fifteen minutes with pencil and paper saves hours of dragging frames around. Decide three things first: the page size, the page count, and the printing method.
Pick a Page Size
Common zine formats are easy to produce on a home printer:
- A5 or half letter: an A4 or letter sheet folded once. The classic choice.
- A6 or quarter letter: a sheet folded twice. Pocket sized and quick to print.
- Square or custom: more distinctive, but you may waste paper when trimming.
Choose the Page Count
Folded booklets need page counts in multiples of four. Eight, twelve and sixteen pages are the usual picks. If you land on ten pages, add two blank or filler pages, such as a note from the author or a list of references.
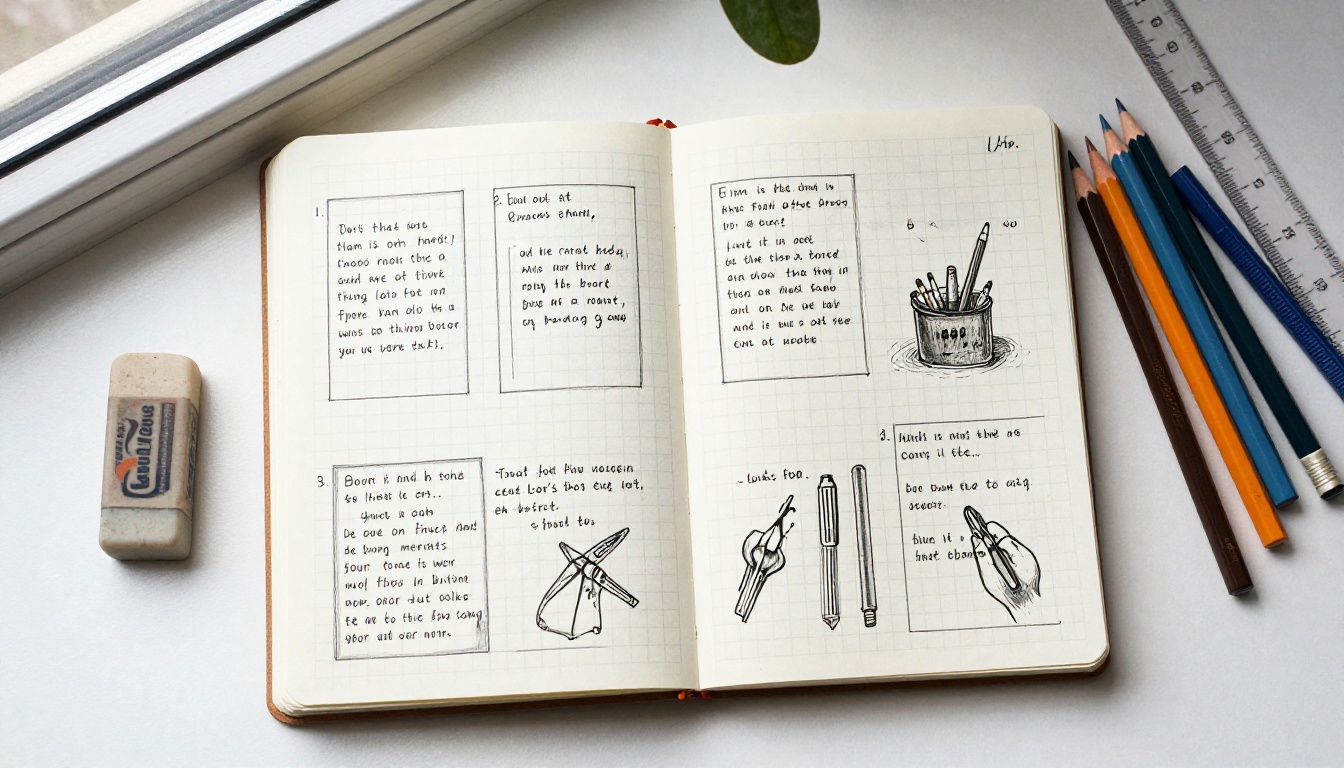
Sketch Thumbnails
Draw tiny boxes for every page and rough in where the title, photos and body text go. Mark which pages are spreads (two pages seen together) and where you want full-bleed images. This sketch becomes your map once you start building master pages.
✅ Best practice: Number your thumbnails by actual page, not by printed sheet. Imposition, the shuffling of pages onto sheets, comes later.
Set Up the Document
Open Scribus and choose File > New. The dialog is where good zines start.
- Under Layout, choose Double Sided for a booklet with facing pages.
- Set Size to your chosen format, for example A5, in portrait.
- Set Margins to around 10 mm for the inner edge and 12 mm for the outer edge. Home printers cannot print to the edge, so generous margins protect your text.
- Set Bleed to 3 mm on all sides if you plan to print images that run to the page edge at a print shop. For home printing, leave bleed at zero.
- Set Default Unit to millimeters.
- Set First Page Number and Number of Pages, then click OK.
Save immediately, and save often. Scribus files use the .sla extension.
Check Document Setup
Open File > Document Setup to confirm guides, grid and color settings. Turn on Snap to Guides so frames lock to the margins. For color, pick RGB if your zine will only be viewed on screens or printed at home, and CMYK if a print shop asks for it.
| Setting | Home printing | Print shop |
|---|
| Color mode | RGB is fine | CMYK as requested |
| Bleed | 0 mm | 3 mm |
| Margins | 10 to 12 mm | 8 to 10 mm |
| Image resolution | 150 dpi minimum | 300 dpi |
| Export format | Standard PDF | PDF/X-3 or PDF/X-1a |
Build Master Pages First
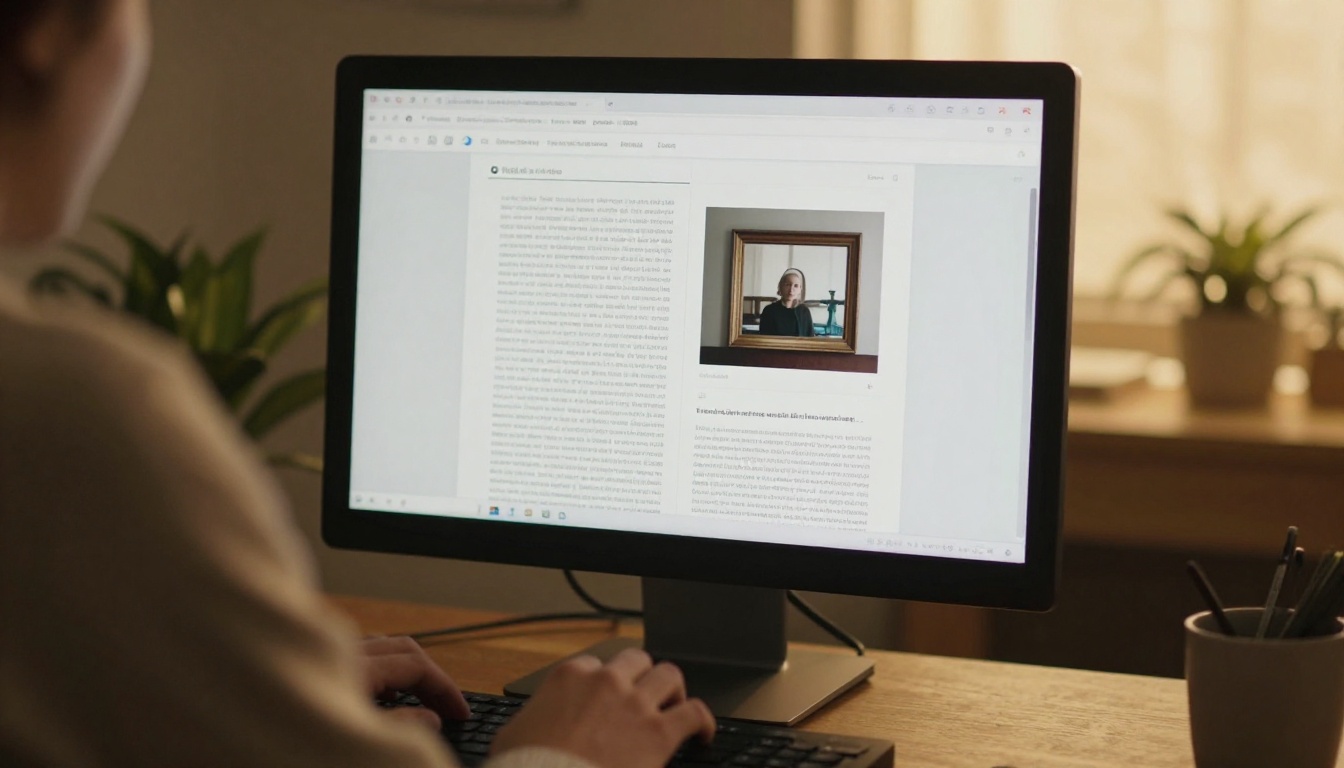
This is the step beginners skip, and it is the one that makes a zine look professional. A master page holds anything that repeats: page numbers, a running header, a thin rule above the footer.
Create the Master
Go to Edit > Master Pages, and edit the default Normal master, or create one named something like Body. On it:
- Draw a small text frame at the bottom outer corner of each page.
- Choose Insert > Character > Page Number inside that frame, so numbers update on their own.
- Add a running title in the top margin in a small, light weight type.
- Add guide lines for columns by dragging from the rulers, or use Page > Manage Guides.
Make a Second Master for Special Pages
Your title page and any full-bleed photo pages should not carry page numbers. Create a second master called Clean that has nothing on it, then apply it to those pages using Page > Apply Master Page.
⚠️ Warning: If you edit a page element that came from a master, you will not see the change on the page itself. Always go back to Edit > Master Pages to fix repeated elements.
Place Text the Smart Way
Scribus does not let you simply type on the page. Every piece of text lives in a text frame.
Draw and Fill Frames
- Press T to select the text frame tool, then drag a rectangle inside the margins.
- Double click the frame to enter edit mode and type, or right click and choose Get Text to import a
.txt or .odt file.
- Open the Properties palette with F2 to set the number of columns, the gap between them, and the inner padding.
For longer pieces, use the Story Editor (right click the frame and choose Edit Text). It gives you a plain, distraction-free view while the page shows live formatting.
Link Frames Across Pages
When an article runs onto the next page, link the frames. Select the first frame, click the Link Text Frames tool, then click the next frame. A small red cross at the bottom of a frame means overflow text is hidden, so check for it before you export.
Use Paragraph Styles
Open Edit > Styles and define these at minimum:
| Style | Typical setting | Used for |
|---|
| Body | 9 to 10 pt serif, 1.3 line spacing | Main text |
| Headline | 24 to 36 pt bold sans | Article titles |
| Subhead | 12 pt bold, small caps | Section breaks |
| Caption | 7 to 8 pt italic | Photo credits |
| Pull Quote | 14 pt, indented | Highlights |
Changing a style updates every paragraph that uses it. That alone is worth the trouble of learning Scribus.

Choose Type That Prints Well
Stick to two typefaces, one for headlines and one for body text. Small zine pages punish thin, fancy fonts, especially on home laser printers that fill in fine strokes. Check that your fonts are free to use. Many open fonts on public font libraries allow embedding in PDFs, which Scribus needs for export.
Add Photos and Graphics
Press I to draw an image frame, then double click it (or choose File > Import > Get Image) to load a file.
- Use Image > Adjust Frame to Image to match the frame to the photo, or Scale Image to Frame Size to fill it.
- Set the Image Effects if you want grayscale for a cheap and cohesive photocopied look.
- Open Extras > Manage Images to see resolution warnings. Anything under 150 effective dpi will look soft.
Pick a Visual Rhythm
Mix the size of images on purpose. A full page photo, then a text spread with one small image, then a collage page keeps the pace lively. Repeat the pattern every four or six pages so the zine feels designed rather than random.
💡 Pro tip: Convert photos to high contrast black and white when you are printing on a home inkjet. Color photos on cheap paper often look muddy, while strong contrast survives photocopying.
Prepare for Print
You have two practical routes: print at home and fold, or send to a print shop.
Export a PDF
Choose File > Export > Save as PDF. Under the settings:
- General: pick the page range and set compatibility to PDF 1.4 or higher.
- Fonts: embed all fonts.
- Pre-Press: turn on crop marks and bleed marks only if your printer asks for them.
- Color: choose Printer for output and the profile your shop gives you, or Screen/Web for a digital copy.
Impose the Pages
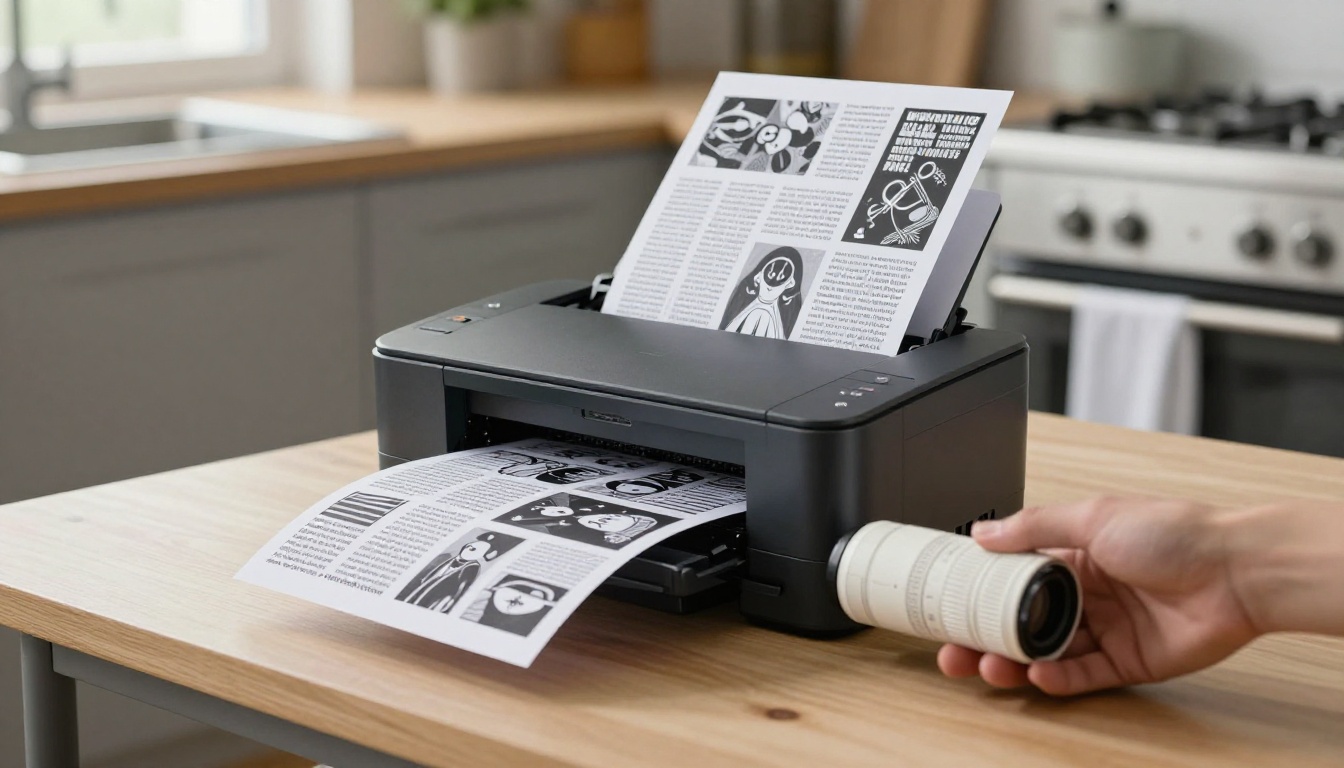
Scribus exports pages in reading order, but a folded booklet needs them rearranged so page 1 sits next to the last page on the same sheet. This is called imposition. You can rearrange by hand using the Page > Move command, or let a free booklet tool handle it. Many PDF utilities offer a "booklet" mode that reorders and rotates pages, and a lot of operating system print dialogs include one too.
| Method | Effort | Result |
|---|
| Manual page moves in Scribus | High | Total control, easy to make mistakes |
| PDF booklet utility | Low | Fast and accurate |
| Print shop does it | None | Needs a reading-order PDF |
Test With a Dummy
Before you print fifty copies, print one on plain paper, fold it and staple it. Check these things:
- Does the page order read correctly?
- Is any text trapped in the gutter, the fold in the middle?
- Do full-bleed images reach the trimmed edge?
- Is body text legible at actual size?
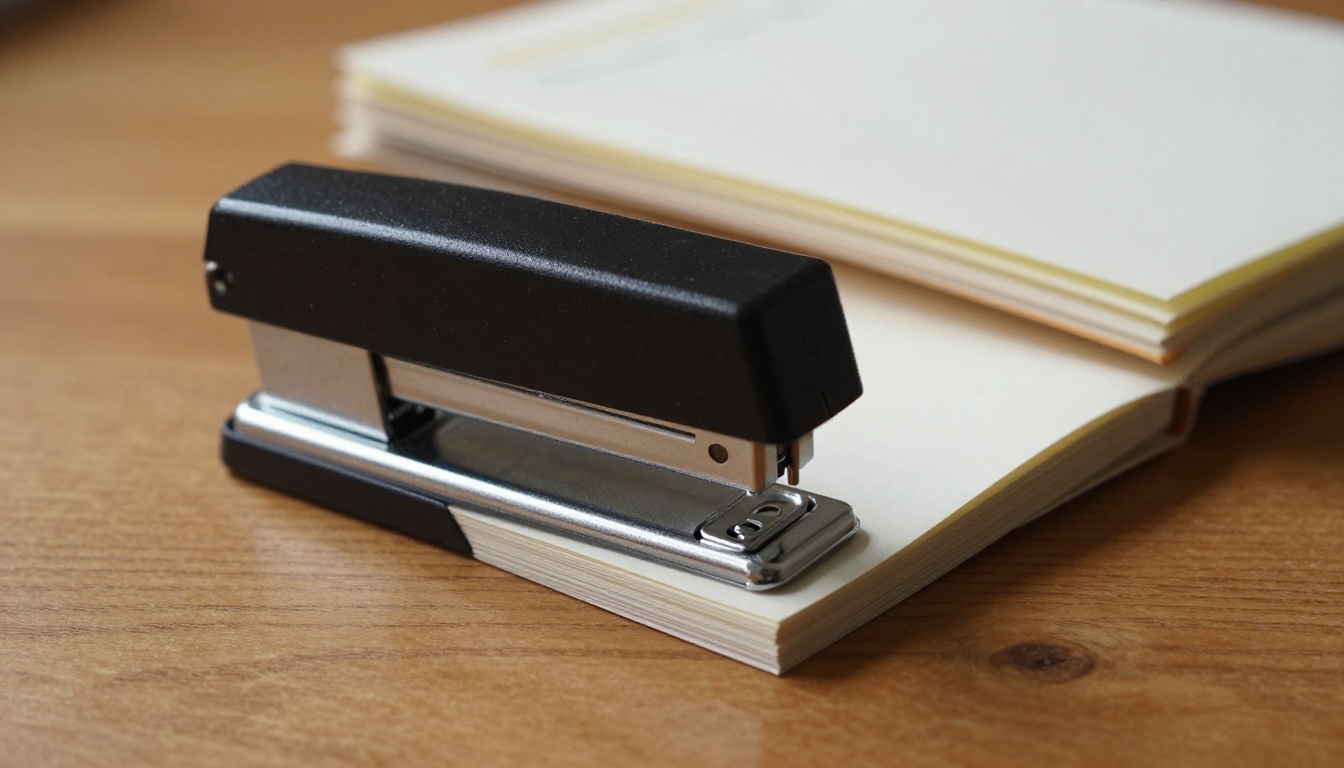
Then bind. A long-arm stapler, or a regular stapler opened flat, works well for the spine. Staples about a third of the way in from each end hold a thin booklet firmly.
Put Your Zine Online
A printed zine reaches whoever stands at your table. A digital copy reaches everyone else, and it costs you nothing to print. The PDF you exported from Scribus is already the raw material.
How to Publish It With Flipbooks AI
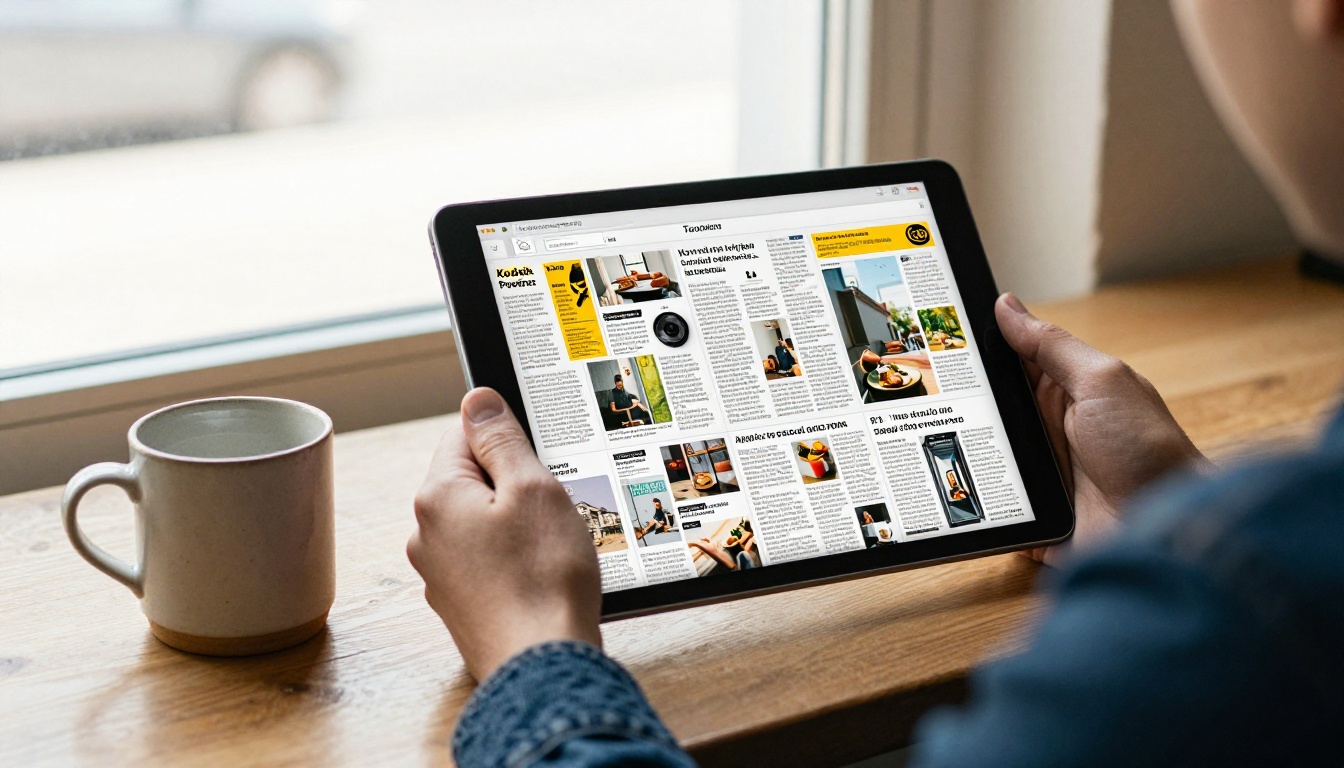
Turn the same PDF into a page-turning online edition with the PDF to Flipbook Converter:
- Export a Screen/Web PDF from Scribus in reading order, not the imposed print version.
- Go to Flipbooks AI and create a free account.
- Upload the PDF. Conversion takes moments, and your pages keep their layout.
- Customize the background color, logo and page effects so the flipbook matches your zine's mood. Check the Magazine Flipbook Creator for ideas on styling.
- Share the link, or paste the code from the Embed Flipbook on Website tool into your own page.
The platform leaves no watermarks, supports mobile-responsive reading, and lets you add password protection if your zine is for a small group. Heavier users can look at pricing plans for analytics and lead generation, which show how many people opened each issue.
Print and Digital Side by Side
| Feature | Printed zine | Digital flipbook |
|---|
| Cost per copy | Paper and toner | Zero |
| Reach | Local events, trades | Anywhere with a link |
| Updates | Reprint needed | Replace the PDF |
| Tracking readers | Not possible | Analytics on paid plans |
| Tactile appeal | High | Low |
✅ Best practice: Put a short link or a simple QR code on the back page of your printed zine that points to the flipbook. Readers can then share the issue with friends.
Common Mistakes to Avoid
Almost every first zine hits at least one of these:
- Ignoring the gutter. Text pushed too close to the fold disappears into the staples. Add extra inner margin.
- Too many fonts. Three or four typefaces look chaotic on a small page.
- Low-resolution images. A photo that looks fine on screen can print as a blur.
- Forgetting to embed fonts. The PDF then swaps in a default, and your careful layout breaks.
- Skipping the dummy. Always print and fold a test copy.
- Overflowing text. The red cross on a frame means words are missing from the page.
Sell or Share Your Finished Zine
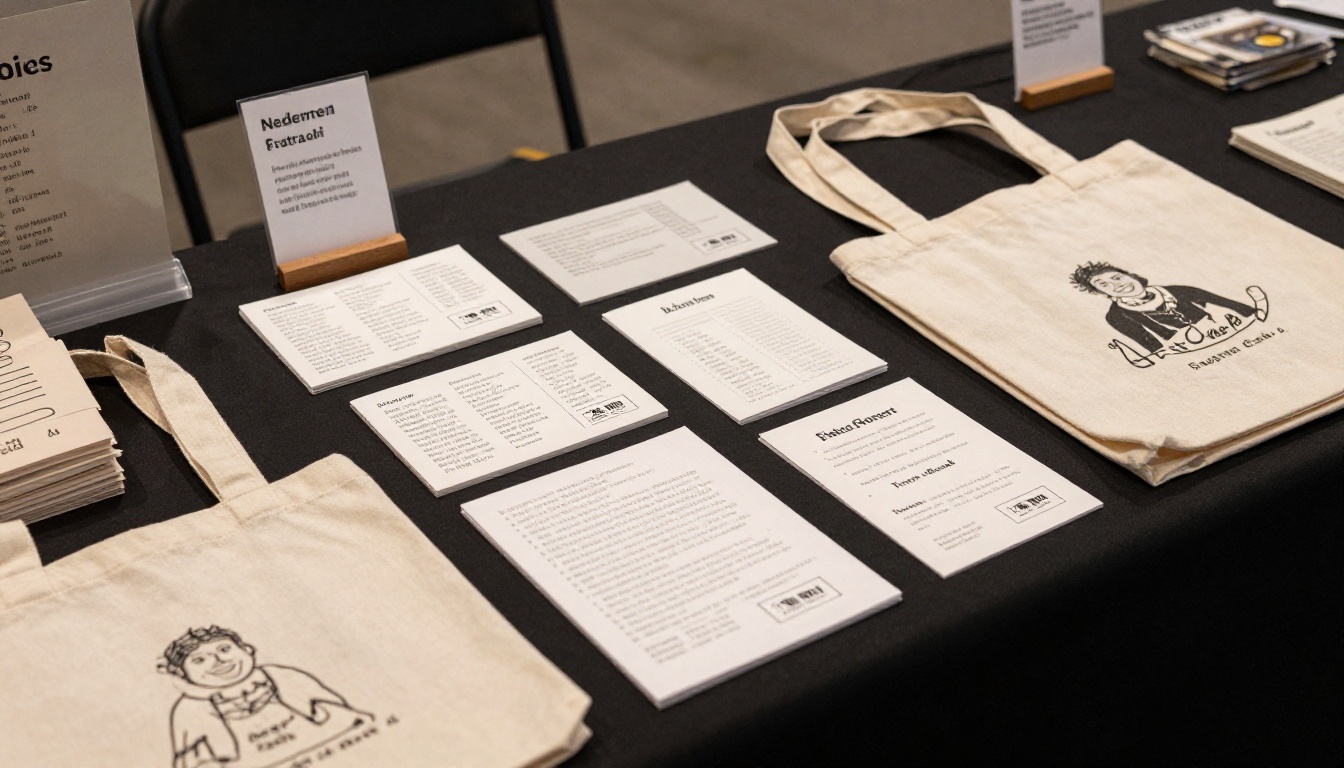
Once the staples are in, the work shifts to getting it into hands. Local zine fairs, comic shops, record stores and independent bookshops welcome small-run publications. A neat table, clear prices and a tote bag or two go a long way.
Some ideas that work for small publishers:
- Trade copies with other zine makers.
- Offer a pay what you want digital edition through your flipbook link.
- Bundle two issues into one back catalog collection, hosted as separate flipbooks.
- Submit to library zine collections, which often accept free donations.
If you publish several issues, a hub page helps. A Digital Portfolio Creator lets you gather past issues, and the E-Magazine Publishing Tool suits ongoing series.
Make Your First Issue Today
Open Scribus, set up an eight page A5 document, build one master page, and drop in a headline and a single photo. That small start is enough to see how the pieces fit together. Once your print copy is stapled and your PDF is ready, get started for free on Flipbooks AI to publish the online edition, browse all flipbook tools for other formats, or compare pricing plans when you need analytics and unlimited issues.



