You can write a booklet in Google Docs in an afternoon, but the moment you share it, it becomes a flat file that people scroll past. The good news: a few extra minutes turns that same document into a booklet with real page-turning motion. This tutorial walks through the whole process, from page setup to a live link, using Google Docs for the writing and Flipbooks AI for the flipping.
If you have ever sent a PDF and wondered whether anyone opened it, this is for you. Students, teachers, freelancers, and small teams all use this workflow because it costs nothing to start and needs no design software.
Why a Flipping Booklet Beats a Plain PDF
A standard PDF is fine for printing. On screen, it is a long vertical scroll with no sense of pages. A flipping booklet keeps the page-by-page rhythm, so readers move through your content the way they would with a printed copy.

What Readers Actually Notice
Readers notice three things right away: how fast the file opens, whether it works on a phone, and whether it feels like a real publication. A flipbook wins on all three. It loads in a browser, adapts to small screens, and animates each page turn.
Where This Format Works Best
| Use case | Typical page count | Why flipping helps |
|---|
| Class project or study booklet | 8 to 20 | Teachers open one link, no attachments |
| Event program | 6 to 12 | Guests read it on their phones |
| Product price list | 10 to 30 | Easy to update and re-share |
| Client proposal | 8 to 16 | Looks polished, tracks opens |
| Personal portfolio | 10 to 24 | Feels like a printed lookbook |
💡 Pro tip: If your booklet is mostly images, flipping matters even more, because each spread becomes a visual moment instead of a scroll stop.
Set Up Your Google Docs Page Layout
Good flipbooks start with good pages. Spend two minutes on setup and every later step gets easier.

Choose Page Size and Orientation
Open a new document, then go to File > Page setup. For a booklet that reads well on screens, pick one of these:
- Portrait, Letter or A4: the safe default, works for almost everything.
- Portrait, A5 style (custom 5.8 x 8.3 inches): feels like a real pocket booklet.
- Landscape: ideal for slide-style booklets, portfolios, and photo-heavy pages.
Set margins to 0.5 to 0.75 inches so text never feels cramped when the page is shrunk on a phone.
Set Fonts and Spacing Once
Pick one heading font and one body font. Keep body text at 11 to 12 pt with line spacing of 1.15. Use the Styles menu (Heading 1, Heading 2, Normal text) so every page stays consistent. Update the style once, and it changes everywhere.
✅ Best practice: Use no more than two fonts and three colors. Simple booklets look more professional and load faster.
Plan the Page Order Before Writing
Sketch your structure first. A short booklet usually follows this order:
- Front page with title and one strong image
- Short welcome or summary page
- Three to six content pages
- A page with a clear next step or contact details
- Back page with a simple closing image
Build the Booklet Content Page by Page
Now fill the pages. Think of each page as one idea, not a wall of text.
Force Clean Page Breaks
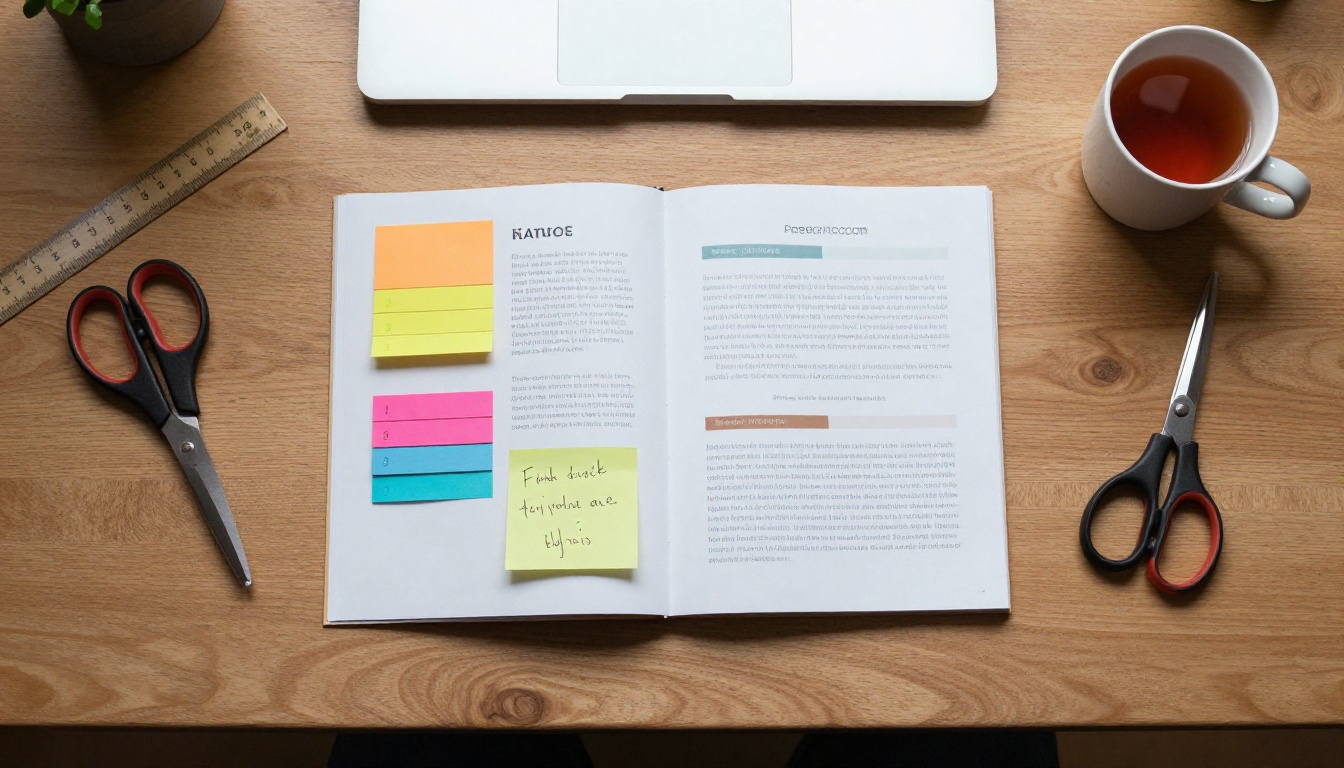
In Google Docs, press Ctrl + Enter (or Cmd + Enter on Mac) to insert a page break. Do this after every page instead of pressing Enter repeatedly. Manual spacing breaks the moment fonts change, but real page breaks hold.
Add Images That Fit the Page
Use Insert > Image and choose Wrap text or Break text from the image toolbar. For full-width pictures, Break text keeps things tidy. Compress large photos before uploading, because heavy images make the final PDF slow to open.
Use Tables for Structured Information
Tables keep prices, schedules, and comparisons readable. Here is a quick comparison of common booklet elements and how to build them in Docs:
| Element | How to build it in Google Docs | Tip |
|---|
| Table of contents | Insert > Table of contents | Links work inside the PDF |
| Pull quote | One-cell table with shaded background | Great for testimonials |
| Price list | Two-column table, no borders | Right-align the numbers |
| Schedule | Three-column table with bold header row | Keep rows short |
| Photo grid | 2 x 2 table, images in each cell | Equal image heights |
Add Clickable Links
Highlight text and press Ctrl + K to add a link. These links stay clickable in the exported PDF and in the flipbook, so use them for sign-up pages, maps, and contact buttons.
⚠️ Warning: Avoid putting important text inside images. It cannot be searched or resized, and it gets blurry on small screens.
Export Your Booklet as a PDF
A flipbook is built from a PDF, so this step is the bridge between Docs and the web.
The Export Steps
- Open your finished document.
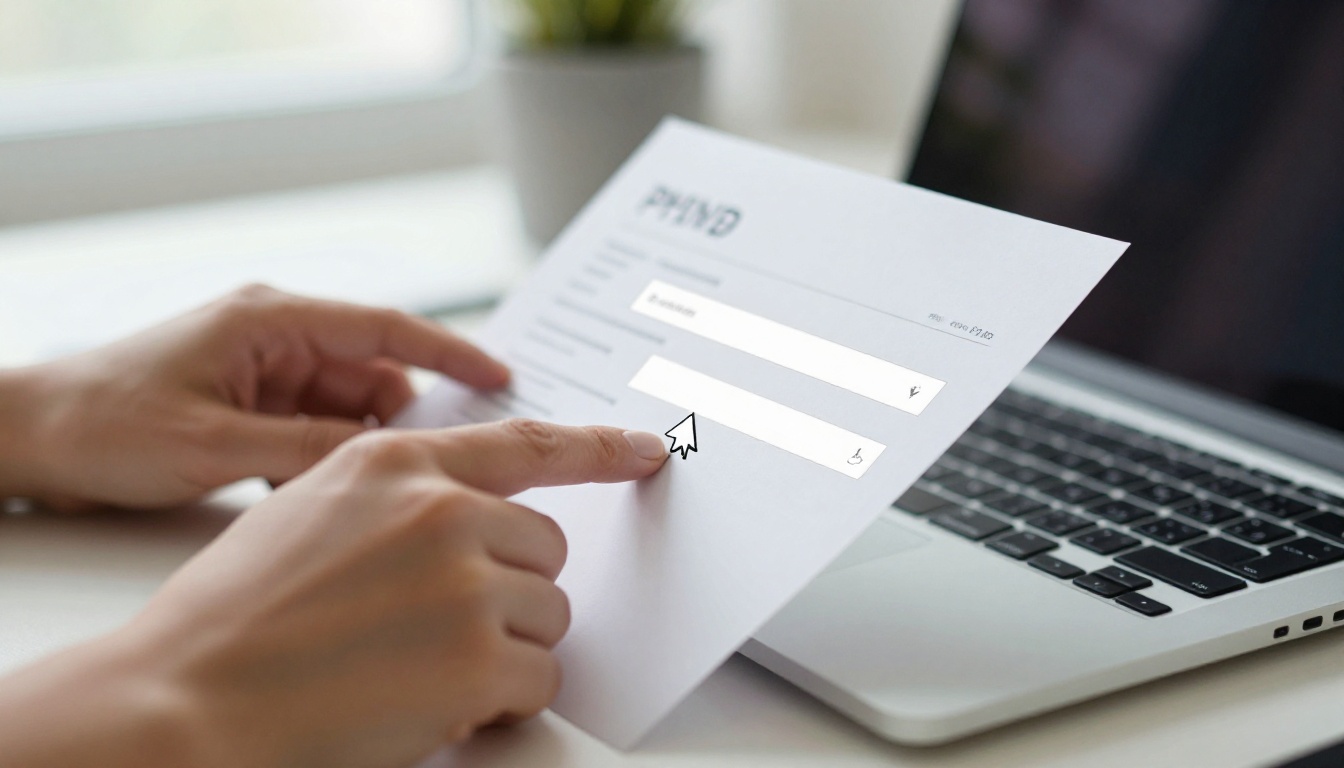
- Click File > Download > PDF Document (.pdf).
- Save the file somewhere easy to find, such as your desktop.
- Open the PDF once to confirm that every page, link, and image looks right.
Check These Items Before Moving On
- Fonts look the same as in Docs
- No page has a lonely single line at the top
- Images are sharp, not pixelated
- Links are blue or underlined, so readers know to click
- File size is under 25 MB for the fastest conversion
If something looks off, fix it in Docs and export again. Always fix the source, never the PDF.
Turn the PDF Into a Flipbook
This is the step that adds the page-turning motion. You will use a PDF-to-flipbook tool, and the process takes about two minutes.

Convert With Flipbooks AI
Here is the full process using the PDF to Flipbook Converter:
- Go to Flipbooks AI and create an account. The free start takes under a minute.
- Click the upload button and select your exported PDF.
- Wait a few seconds while the pages convert into a flipbook.
- Preview it by clicking through the pages and checking the turn animation.
- Click Publish to get a shareable link.
Your booklet is now live. No code, no design tools, and no watermarks.
Customize the Look
Once the flipbook is open in the editor, you can make it feel like your own brand:
- Branding: add your logo and choose a background color that matches your booklet.
- Page effects: pick the turn style and speed you like best.
- Multimedia: add a video or audio clip on any page, such as a welcome message.
- Mobile view: check the phone preview to make sure text stays readable.
💡 Pro tip: Use a soft background color that contrasts with your page color. White pages on a pale gray backdrop look crisp and professional.
What You Get on Each Plan
| Feature | Free start | Standard | Professional |
|---|
| Page-turning flipbooks | Yes | Yes | Yes |
| No watermarks | Yes | Yes | Yes |
| Unlimited flipbooks | Limited | Yes | Yes |
| Password protection | No | Yes | Yes |
| Custom branding | Basic | Yes | Yes |
| Analytics and lead capture | No | No | Yes |
| Offline downloads | No | Yes | Yes |
Plans change over time, so check the current pricing page before you decide.
Share Your Flipping Booklet Online
A booklet only works if people see it. Flipbooks give you several ways to share.
Send a Direct Link
The simplest option. Copy the link and paste it into an email, a chat message, a social post, or a class portal. Anyone can open it with a click, on any device.
Embed It on Your Website
If you run a site or a blog, embed the flipbook so readers never leave your page. The Embed Flipbook on Website tool gives you a short code snippet to paste into your page editor. It resizes to fit any screen.
Protect Private Booklets
Sending a client proposal or internal document? Turn on password protection so only people with the password can read it. This is available on paid plans, and you can see the details on the pricing page.
Share Option Comparison
| Method | Best for | Effort |
|---|
| Direct link | Email, chat, social | Lowest |
| Embed code | Websites and blogs | Low |
| Password link | Private or paid content | Low |
| Offline download | Events with weak internet | Medium |
Real Examples You Can Copy
Seeing how others use this workflow makes it easier to start your own.
A Student Study Booklet
A college student writes a twelve-page revision booklet in Google Docs, with one topic per page and a table of key dates. After exporting to PDF and converting it, they share a single link with their study group. Classmates open it on their phones during commutes.
A Teacher's Course Booklet
A teacher builds a syllabus with weekly reading lists and assignment tables. Instead of emailing a PDF each term, they update the Doc, export again, and share the new link. Students always see the latest version. For bigger projects, the Course Material Publisher is a handy next step.

A Small Business Price List
A shop owner lists products and prices in a two-column table, adds three product photos, and publishes a flipbook. Customers open it from a QR code at the counter. When prices change, the owner edits the Doc and re-uploads. The Digital Price List Generator is built for exactly this.
Common Mistakes to Avoid
- Too much text per page. Aim for under 200 words on most pages.
- Huge image files. Resize photos to around 1600 pixels wide before inserting.
- No clear next step. End with one link, one button, or one contact line.
- Skipping the mobile preview. Always test on a phone before you share.
- Forgetting to re-export. Edits in Docs do not appear in the flipbook until you export and upload again.
Quick Fixes for Common Problems
| Problem | Likely cause | Fix |
|---|
| Pages look cut off | Margins too tight | Set margins to 0.5 inches or more |
| Blurry images | Low resolution source | Use images of 1200 pixels or wider |
| Links not clickable | Pasted as plain text | Select text and press Ctrl + K |
| Slow loading | PDF too large | Compress images before export |
| Odd page order | Missing page breaks | Use Ctrl + Enter between pages |
✅ Best practice: Keep a master Google Doc and treat the flipbook as an output. Edit the Doc, export, upload, and republish. It takes minutes and keeps everything consistent.
Start Your First Flipping Booklet Today
You already have the hardest part: your content. The rest is a short sequence of setup, export, and upload. Open a Google Doc, set your page size, write one idea per page, and export a PDF.
Ready to see it flip? Get started for free on Flipbooks AI and publish your first booklet in minutes. Want more ideas? Browse all flipbook tools to find templates for menus, portfolios, catalogs, and more, or try the E-Book Flipbook Generator for longer projects. When you are ready for password protection and analytics, compare the pricing plans and pick what fits.



