You shot the trip, culled the frames, and edited them in Lightroom. Now they sit in a catalog where nobody but you will ever see them. A photo book fixes that, and sharing it online means your family, clients, or followers can flip through it without waiting on a printer or a courier. This tutorial walks through the whole path: pick the photos, build the layout in Lightroom's Book module, export a clean PDF, and publish it as a page-turning flipbook with Flipbooks AI.
💡 Quick answer: Build the book in Lightroom Classic's Book module, export it as a PDF, upload that PDF to a flipbook tool, and copy the link. The whole thing takes an evening for a 30 page book.
Why Make a Photo Book Online
A printed book is lovely, but it reaches one coffee table. A digital book reaches everyone with a link. Photographers use online books for very different reasons:
- Clients get a proof they can approve from their phone before anything is printed.
- Families receive a vacation or wedding story without downloading a folder of 400 files.
- Portfolios get a polished leave-behind that looks better than a gallery grid.
- Travelers share a trip while it is still fresh.
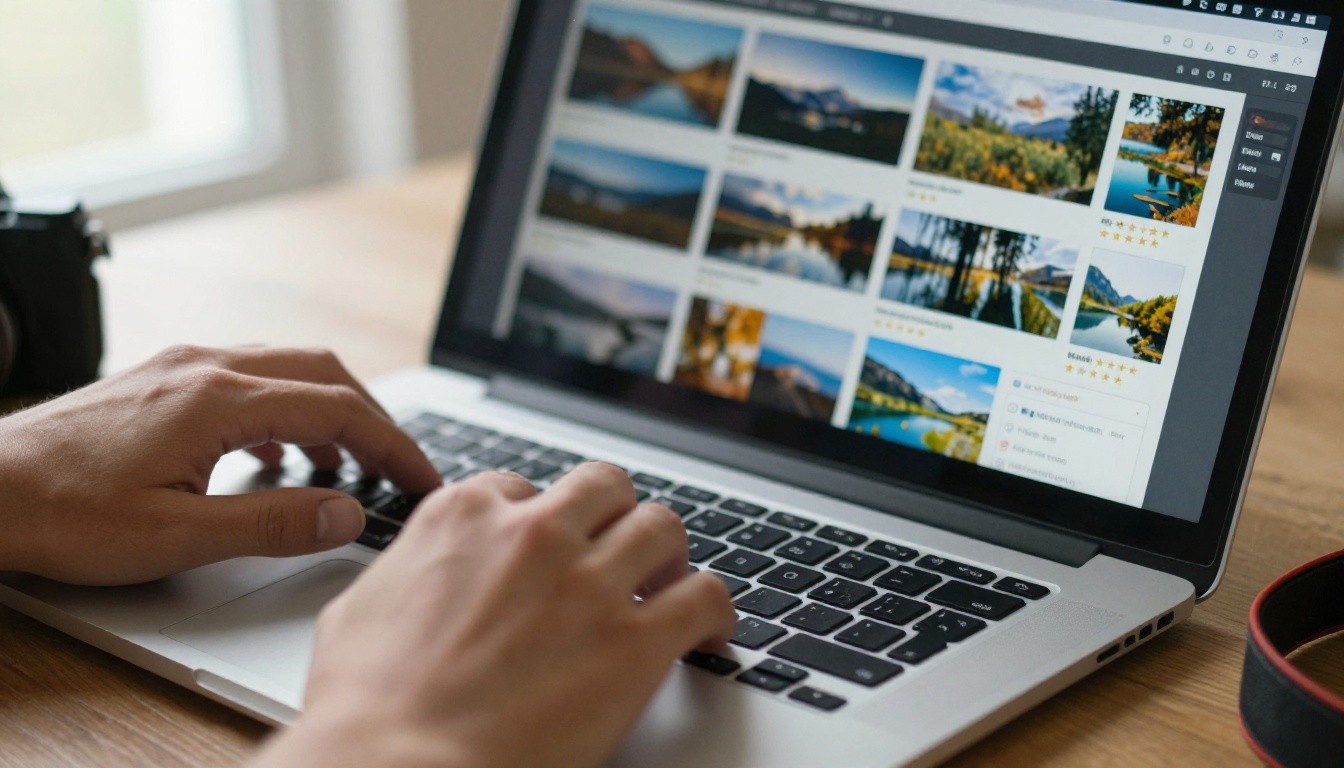
Lightroom is a strong starting point because your edits, color work, and metadata already live there. You do not need to re-import anything into a design app.
What You Need Before You Start
Gather these items first so the process runs without interruptions:
- Lightroom Classic (the desktop version has the Book module; the cloud-based Lightroom app does not).
- A collection of edited photos, ideally 30 to 80 images.
- A rough idea of the story: chronological, by location, or by theme.
- A free or paid account on a flipbook platform for the sharing step.
Lightroom Classic vs. Lightroom Cloud
| Feature | Lightroom Classic | Lightroom (Cloud) |
|---|
| Book module | Yes | No |
| Export book as PDF | Yes | No |
| Auto layout presets | Yes | No |
| Works fully offline | Yes | Partly |
| Best for | Photo books and print workflows | Quick edits and mobile sync |
If you only use the cloud version, export your edited photos as JPEGs and build the PDF in another layout tool. The sharing steps later in this article stay the same.
Choose the Right Photos
The best books are edited twice: once in Develop, and once in the selection stage. Be ruthless.
Build a Dedicated Collection
Create a new Collection called something like "Iceland Book." Add only the images you would be proud to see full page. Rate your picks with stars and filter by 4 stars and up to see a shortlist.
Mix Shot Types
A book that is all wide landscapes feels flat. Aim for rhythm:
- Establishing shots that set the scene
- Medium frames that show people or places in context
- Details like textures, hands, signs, and food
- One or two showpiece images for full bleed spreads
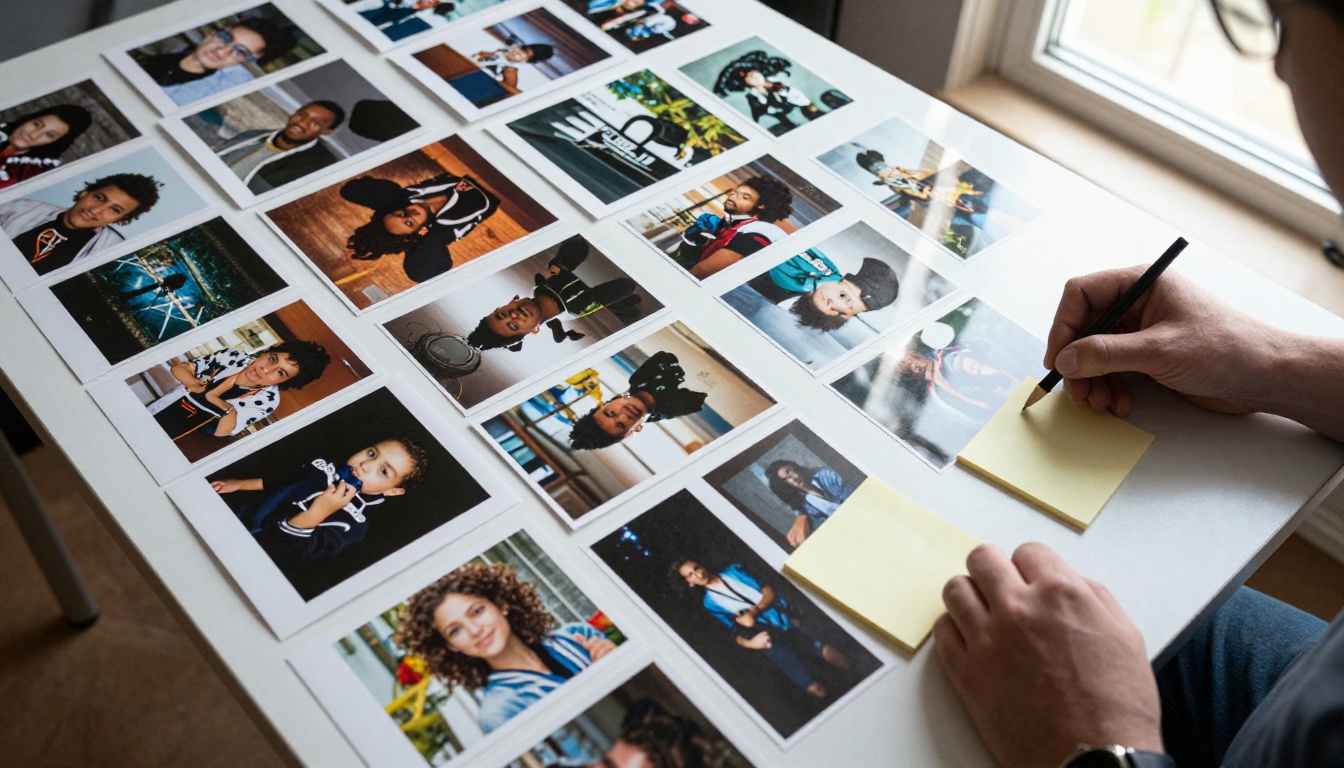
💡 Pro tip: Print your shortlist as small thumbnails or lay them out in Lightroom's Survey view. Sequencing on a table or screen exposes weak images fast.
Set Up the Book Module
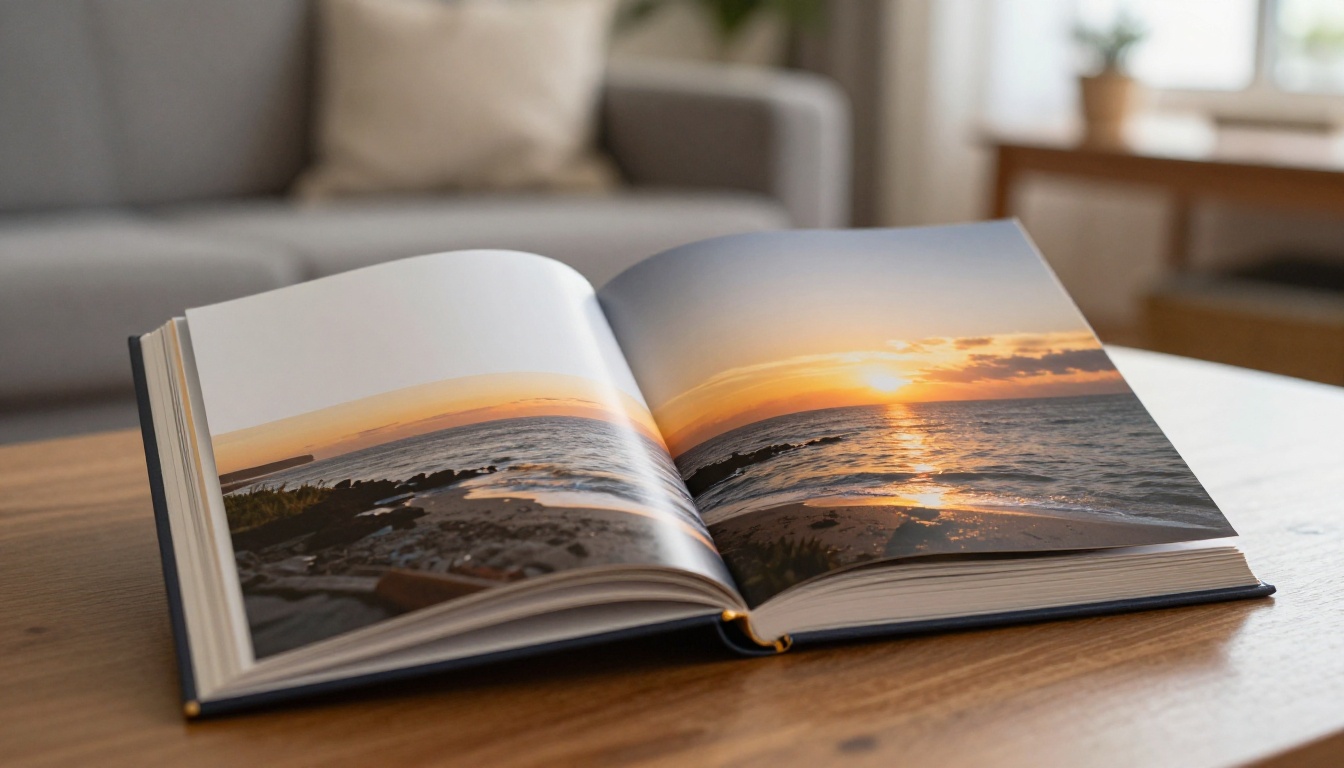
Open your collection, then click Book at the top of the screen. The Book module is where Lightroom turns a collection into pages.
Book Settings
In the right panel, open Book Settings. You will see the main output choice:
| Setting | Options | When to choose it |
|---|
| Book type | Blurb, PDF, JPEG | Choose PDF for online sharing |
| Size | Small square, standard landscape, large landscape and others | Landscape suits wide photos |
| Cover | Hardcover, softcover | Matters only for printing |
| Quality | Standard, high | Choose high for sharp screens |
Pick PDF as the book type. This removes print-specific limits and gives you full control over the file you will upload later.
Choose Page Size and Orientation
Landscape pages work best on laptops and tablets. Square pages look good on phones and in social previews. If most of your audience will read on a phone, a square book is a smart choice.
Design the Layout
Lightroom offers Auto Layout, which fills pages instantly. It is a fine first pass, but you will refine it by hand.
Use Auto Layout as a Draft
Open Auto Layout in the panel, pick a preset such as "Left Blank, Right Photo," and click Auto Layout. Lightroom places your images in collection order. Now scroll through and adjust.
Adjust Page by Page
- Drag photos between cells to change the order.
- Change page layouts with the small arrow on each page to pick 1, 2, 3, or 4 photo templates.
- Use Cell padding to add breathing room around images.
- Switch a page to full bleed for your strongest photos.
Add Text Sparingly
Photo books work best with short captions. Use the Text panel to add a title page and a few place or date lines. Keep fonts simple and consistent.
Layout Choices Compared
| Layout | Best for | Watch out for |
|---|
| One photo per page | Portfolios, showpiece images | Can feel slow if overused |
| Two photos per spread | Before and after, pairs | Match tones and crop ratios |
| Grid of four | Event recaps, details | Images shrink fast on phones |
| Full bleed spread | Panoramas, big moments | Keep the subject out of the center fold |
⚠️ Warning: Do not place faces or critical details across the center gutter of a spread. Even in a digital book, the page turn animation can distort them.
Fix Color and Sharpness
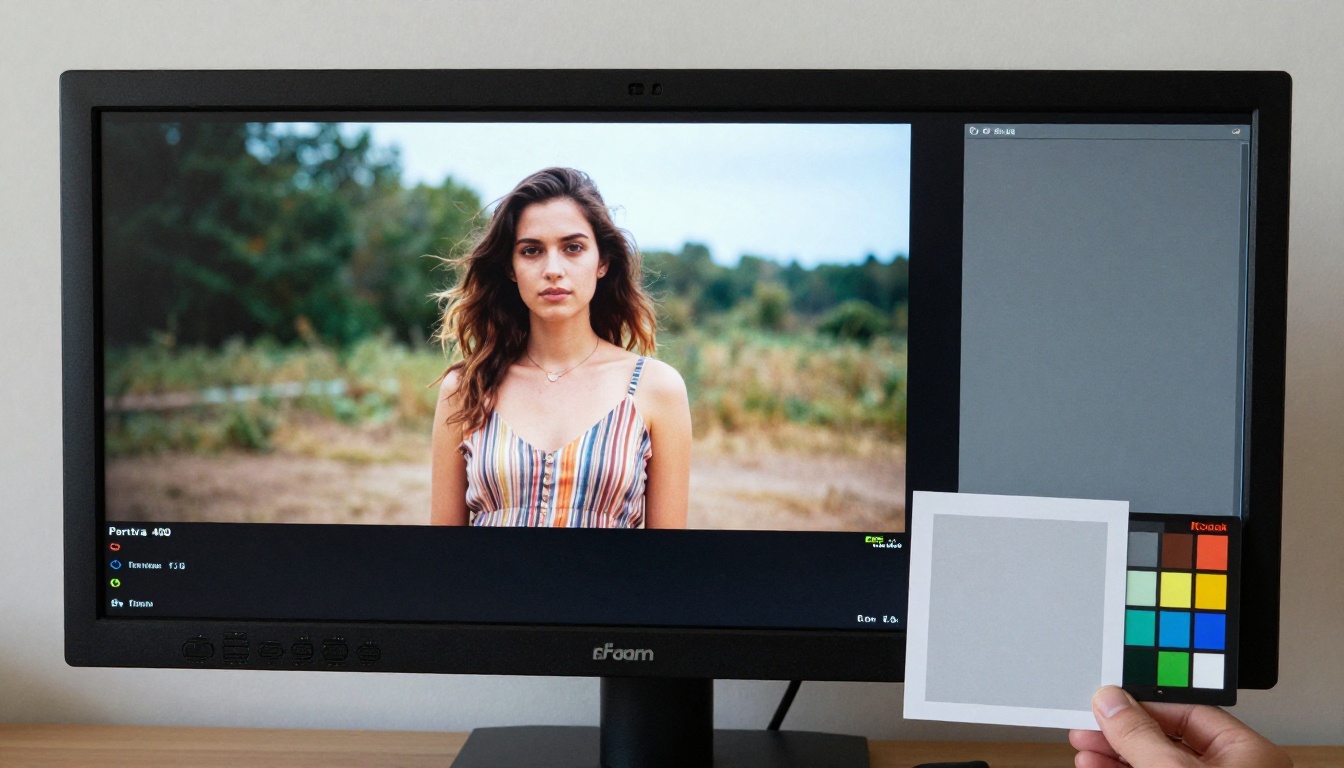
A book exported from Lightroom inherits your color profile, so what you see on a calibrated monitor is what viewers will get on theirs, within reason.
- Calibrate your monitor with a hardware tool if you can.
- Use sRGB for anything that will be read on screens. It displays consistently across phones, laptops, and browsers.
- Check skin tones and skies on a second device before exporting.
Recommended Export Settings
| Setting | Recommended value | Reason |
|---|
| JPEG quality | 80 to 90 | Sharp images, manageable file size |
| Color profile | sRGB | Consistent screen colors |
| File resolution | 150 to 200 ppi | Crisp on retina screens, small enough to load fast |
| Sharpening | Screen, standard | Matches on-screen viewing |
| Maximum file size | Under 100 MB | Faster upload and conversion |
The resolution setting is where many people go wrong. A 300 ppi book looks great in print, but it can reach several hundred megabytes. For online reading, 150 to 200 ppi is plenty.
Export the Book as a PDF
At the bottom right of the Book module, click Export Book to PDF. Choose a name and a location, and wait for Lightroom to render the pages. A 40 page book usually takes a minute or two.
Open the PDF and flip through it before going further. Check that:
- Every page is present and in the right order.
- No image looks soft or oversharpened.
- Captions are not cut off.
- The file size is reasonable.
✅ Best practice: Name the file clearly, like iceland-photo-book-2026.pdf. A clean file name makes the final link easier to manage later.

Share the Book Online
A raw PDF is hard to share. Email attachments bounce at 25 MB, and a PDF viewer scrolls pages like a document, not a book. A flipbook solves both problems.
Sharing Options Compared
| Method | Page flip feel | File size limit | Works on phones | Tracks views |
|---|
| Email attachment | No | About 25 MB | Sometimes | No |
| Cloud drive link | No | Large | Yes, but plain | Limited |
| Social post | No | Small | Yes | Basic |
| Flipbook link | Yes | Large | Yes | Yes |
How to Publish with Flipbooks AI
This is the fastest route from a Lightroom PDF to a book people can actually flip through. Create your first flipbook on Flipbooks AI in a few steps:
- Sign in or create an account. Setup takes less than a minute.
- Upload your PDF. Drag the Lightroom file into the uploader. The PDF to Flipbook Converter turns each page into a flippable spread, and all image quality is kept.
- Customize the look. Choose a background color that complements your photos, add your logo or studio name, and pick a page turn effect. A dark neutral background makes photos pop.
- Add extras. Embed a short video clip or background audio if you want the book to feel alive.
- Set privacy. Use password protection for client proofs and wedding albums. Leave it open for public portfolios.
- Publish and copy the link. You can send a direct link or use the embed code to place the book on your website.
Flipbooks AI never adds watermarks, so your photography stays front and center.
💡 Pro tip: If you are building a portfolio, try the Photography Portfolio tool or the Digital Portfolio Creator for layouts tuned to image-heavy work.

Share It Where People Will See It
Publishing is only half the job. Think about where your audience already is.
Embed on Your Website
Copy the embed code and paste it into a page on your site. The Embed Flipbook on Website tool explains how to do this for common site builders. An embedded book keeps visitors on your page longer than a link to a PDF.
Send a Direct Link
For clients and family, a plain link in an email or message is enough. Add a short note, like "Tap the corner to turn the page."
Post a Teaser
Share two or three pages as images on social media and link to the full book in your bio or caption.
Mobile Reading
Most people will open your link on a phone, so test it there before you share it. Pinch to zoom should work, and text captions should stay readable.
Real World Examples
A Wedding Photographer
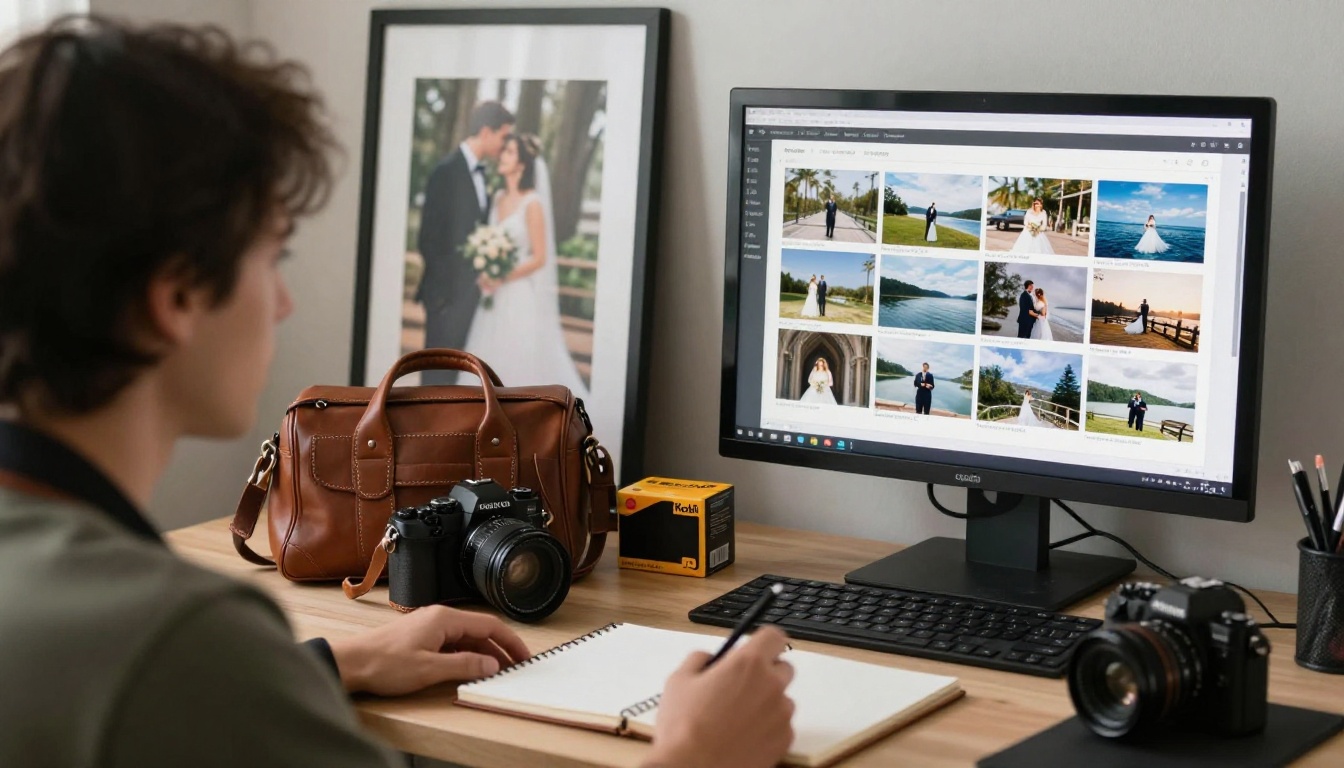
A wedding photographer exports a 60 page album proof from Lightroom, uploads it, adds a password, and emails the link to the couple. The couple flips through on their phones and sends back page numbers for changes. No printing happens until the book is approved, which saves time and reprint costs. See the Wedding Album Flipbook tool for a layout made for this scenario.
A Travel Blogger
A travel blogger builds a square 30 page book from a two week trip, publishes it, and embeds it at the bottom of the trip post. Readers get a visual summary, and the blogger sees how many people opened it.
A Hobbyist
A hobbyist makes a 20 page book of their best images of the year and sends the link to friends. It is the easiest way to get a real reaction to your work without posting to a feed.
Which Use Case Needs What
| Use case | Page count | Privacy | Best format |
|---|
| Client proof | 40 to 80 | Password protected | Landscape |
| Portfolio | 20 to 40 | Public | Landscape or square |
| Travel story | 25 to 50 | Public or link only | Square |
| Family album | 30 to 60 | Link only | Landscape |
Common Mistakes to Avoid
Photographers hit the same problems over and over. Here is how to skip them.
Exporting at Print Resolution
A 300 ppi export makes a heavy PDF that loads slowly on mobile data. Drop to 150 to 200 ppi for online reading.
Too Many Photos per Page
Grids of six or more shrink each image until the detail disappears on a phone. Keep pages to four photos at most.
Forgetting a Cover
The first page is your thumbnail. Choose a strong, simple image and a short title.
Skipping the Phone Test
Open the final link on an actual phone. Fix anything that is hard to read before you share.
Weak Sequencing
Order matters more than any template. Alternate wide and tight shots, quiet pages and loud ones.
Quick Checklist
Before you hit publish, run through this list:

Pick the Right Plan
You can start for free, and the paid plans add more as your needs grow. The Standard plan and above includes unlimited flipbooks, while the Professional plan adds analytics and lead generation, which helps if you want to know who opened your portfolio. Compare options on the pricing page.
| Need | What helps |
|---|
| A single book to share | Free account |
| Many books for many clients | Unlimited flipbooks on Standard and above |
| Know who opened it | Analytics on the Professional plan |
| Offline copies | Offline downloads |
Your Next Step
Your photos deserve more than a folder. Build the book in Lightroom, export it as a PDF, and give people a link they will actually open.
Ready to publish? Get started for free on Flipbooks AI, browse all flipbook tools for more formats, or compare pricing plans to pick what works for you.



