You already own the tool. Microsoft Word is installed on most business computers, and with a little structure it can produce a catalog that looks like it came from a design agency. This tutorial shows exactly how to make a product catalog in Microsoft Word, from the first blank page to a print-ready PDF. At the end, you will also see how to turn that file into an interactive flipbook with Flipbooks AI, so customers can browse it on any phone.
Whether you sell handmade candles, wholesale hardware, or boutique clothing, the process is the same: plan the content, build a consistent layout, drop in products, and export. Let's build it.
Why Word Works for Catalogs
Word is not a professional layout program, and it does not pretend to be. Still, for catalogs under 40 pages it is a practical choice, especially for small teams.
- Zero extra cost. You probably have it already.
- Easy edits. Anyone on your team can update a price or a product name.
- Reusable templates. Save the layout once and reuse it every season.
- Solid export. Word produces clean PDFs that print well.
💡 Pro tip: Treat Word as a layout tool, not a typewriter. Styles, tables, and sections do the heavy lifting. Manual spacing and the space bar create most catalog problems.
What Word Does Well
Text-heavy product lists, price tables, and consistent headers are all easy. If your catalog is mostly photos with short descriptions, Word handles that fine too.
Where Word Struggles
Free-form image placement, complex wrapping, and interactive features are the weak spots. We will address each one later in this tutorial.
Plan Before You Open Word
Spend 20 minutes planning and you will save hours of rework. A catalog fails when the structure changes halfway through.

Define Your Audience
A retail buyer wants wholesale pricing, minimum order quantities, and SKU numbers. A consumer wants lifestyle photos and short benefits. Decide who reads this catalog first.
Pick Your Product Grouping
Group items the way customers think about them. Most catalogs use one of these structures:
| Structure | Best For | Example |
|---|
| By category | Stores with varied products | Mugs, plates, vases |
| By collection | Seasonal or fashion lines | Spring 2027 line |
| By price tier | Wholesale and B2B | Starter, Standard, Premium |
| By use case | Technical or service products | Home kitchen, cafe, restaurant |
Gather Your Assets
Before building, collect everything in one folder:
- Product photos at 1500 pixels wide or more
- Product names, SKUs, and descriptions
- Prices and available variants
- Logo file (PNG with transparent background)
- Contact details and ordering instructions
Prepare Your Product Photos
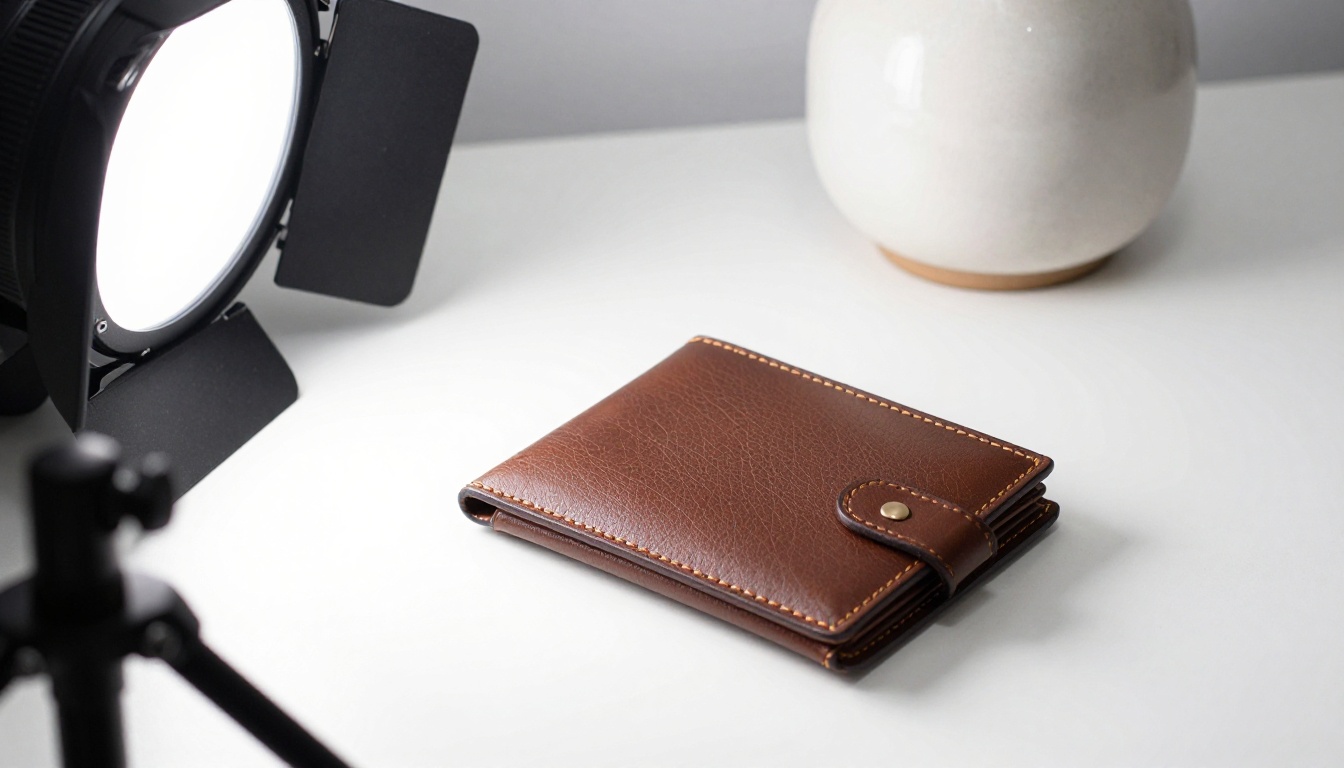
Photos sell products. A great layout cannot rescue blurry pictures.
Shoot or Collect Consistent Images
Use the same background, the same light direction, and the same crop for every product. Consistency matters more than perfection. A white or light grey backdrop near a window is enough for most small items.
Resize Before Inserting
Large camera files make Word slow and create heavy PDFs. Resize each photo to about 1600 pixels on the long side. In Word, you can also select a picture, open Picture Format, and choose Compress Pictures to reduce file size.
⚠️ Warning: Do not stretch images by dragging a side handle. Drag a corner handle to keep proportions, or you will get distorted products.
Set Up the Page and Styles
This is where most people rush, and where the best catalogs are won.

Step 1: Choose Page Size and Margins
- Open a blank document.
- Go to Layout > Size and pick Letter or A4. For a more modern look, choose More Paper Sizes and set 8.5 x 8.5 inches for a square catalog.
- Go to Layout > Margins and choose Moderate or set 0.6 inches on all sides.
- Turn on Layout > Breaks > Section Break (Next Page) when you need different headers in different sections.
Step 2: Define Styles Once
Open the Home tab and modify these styles by right-clicking each and choosing Modify:
- Heading 1: category titles, 28 pt, brand color
- Heading 2: product names, 16 pt, bold
- Normal: descriptions, 10.5 pt, 1.15 line spacing
- Caption: prices and SKUs, 9 pt, grey
When you change a style later, every product updates instantly. That is the difference between a catalog you can maintain and one you dread editing.
Step 3: Add a Header and Footer
Double-click the top of any page to open the header. Add your logo on the left and the category name on the right. In the footer, insert page numbers using Insert > Page Number. Use Different First Page so the cover stays clean.
Brand Colors and Fonts

Create a Custom Color Palette
Go to Design > Colors > Customize Colors and enter your brand colors using hex codes. Name the set after your company. Every color picker in Word now shows your palette first.
Limit Yourself to Two Fonts
Use one font for headings and one for body text. A serif heading with a clean sans-serif body works almost everywhere. Set them in Design > Fonts > Customize Fonts.
| Element | Suggested Font Style | Size |
|---|
| Cover title | Bold serif | 44 pt |
| Category heading | Bold serif | 28 pt |
| Product name | Semi-bold sans-serif | 16 pt |
| Description | Regular sans-serif | 10.5 pt |
| Price | Bold sans-serif | 12 pt |
Design the Cover and Intro Page
The cover decides whether someone keeps reading.
- Insert a full-width photo with Insert > Pictures.
- Right-click the image and choose Wrap Text > Behind Text.
- Stretch it to the page edges. Set margins to zero for this section only.
- Add a text box with the catalog title, season, and year.
- Place your logo in a corner with plenty of white space around it.
On page two, add a short welcome paragraph, your contact details, and a simple table of contents. Use References > Table of Contents so page numbers update automatically.
✅ Best practice: Keep the cover to one image, one title, and one logo. Anything more looks crowded.
Build the Product Grid with Tables
This is the single most useful trick for making a product catalog in Microsoft Word. Tables keep photos and text aligned, even when you edit.

Step 4: Insert a Two-Column Product Table
- Go to Insert > Table and create a table with 2 columns and 2 rows.
- Right-click the table, choose Table Properties, and under the Table tab set text wrapping to None.
- Under Borders and Shading, set borders to None. The grid becomes invisible but keeps everything aligned.
- Set cell padding to 0.1 inches in Options.
Step 5: Fill Each Cell as a Product Card
Each cell holds one product. Use this repeatable order:
- Photo at the top (width 3 inches)
- Product name in Heading 2
- One-sentence description
- SKU and price on one line
Once you build the first card, copy the whole table and swap the content. Your catalog stays consistent without manual measuring.
Step 6: Add a Price List Table
For wholesale or detailed specs, a standard table works best. Here is a layout many B2B catalogs use:
| SKU | Product | Size | Unit Price | Min. Order |
|---|
| MG-101 | Stoneware mug | 12 oz | $14.00 | 12 |
| MG-102 | Stoneware mug, large | 16 oz | $17.50 | 12 |
| PL-210 | Dinner plate | 10 in | $19.00 | 6 |
| VS-305 | Table vase | 8 in | $32.00 | 4 |
Select the table, open Table Design, and pick a banded style so rows are easy to scan. Use Repeat Header Rows under Table Layout when a table runs across pages.
💡 Pro tip: Right-align price columns. Numbers with different decimal positions look messy when left-aligned.
Real Examples You Can Copy
Different businesses need different catalog shapes.

- A candle maker can use a 2x2 grid with scent notes in the caption and a seasonal collection section.
- A hardware wholesaler can use full price tables with SKUs and bulk discount columns, with one hero photo per category.
- A clothing boutique can use one large photo per page with a size and color chart below.
- A food supplier can combine product photos with pack sizes and shelf life in a compact table.
| Business Type | Layout | Photos Per Page | Best Table Style |
|---|
| Handmade goods | 2x2 product cards | 4 | Borderless |
| Wholesale | Price list plus hero photo | 1 | Banded rows |
| Fashion | Full-page image | 1 to 2 | Size chart grid |
| Food and drink | Compact cards | 6 | Light borders |
Proof, Export, and Print
Step 7: Run a Final Proof Check
Before exporting, work through this list:
- Run Review > Spelling & Grammar.
- Check every price against your master spreadsheet.
- Confirm every SKU appears once.
- Look for orphaned headings at the bottom of a page.
- Open View > Multiple Pages to see the whole spread at once.
Step 8: Export as PDF
Go to File > Save As, choose PDF, and click Options. Select ISO 19005-1 compliant (PDF/A) only if needed. For emailing, choose Standard quality. For printing, choose Standard as well, but make sure photos are at least 150 dpi in the source.
⚠️ Warning: Always open the exported PDF and scroll through every page. Fonts and table breaks occasionally shift during export.
Word Limits and What Comes Next
A PDF catalog works, but it has real drawbacks. Large files get blocked by email. Phones show tiny text. You cannot see who opened it, and you cannot update prices after sending.

| Feature | PDF From Word | Flipbooks AI Flipbook |
|---|
| Page turn effect | No | Yes |
| Mobile friendly | Pinch and zoom | Responsive layout |
| Share with one link | Large attachment | Short link |
| Password protection | Limited | Yes |
| Embed on website | Difficult | One embed code |
| Analytics | None | Yes, on Professional |
| Watermarks | None | None, ever |
How to Create a Flipbook From Your Word Catalog
Your Word file is already 90 percent of the work. Here is how to publish it:
- Visit Flipbooks AI and create an account.
- Upload your exported PDF using the PDF to Flipbook Converter. Conversion takes moments, and your pages keep their layout.
- Customize branding: add your logo, pick background colors, and choose the page turn effect.
- Add multimedia such as product videos or audio where useful.
- Share: copy a direct link, grab an embed code for your site with the Embed Flipbook on Website tool, or add a password for private wholesale catalogs.
- On the Professional plan, switch on analytics and lead capture to see which pages get the most attention. See all pricing plans.
Prefer to start from a purpose-built tool? The Product Catalog generator and Digital Catalog Maker are made for exactly this job. If you sell price-driven items, the Digital Price List Generator is also worth a look.
✅ Best practice: Keep your Word file as the master source. Edit prices there, export a new PDF, and replace the flipbook content. Your share link stays the same.
Common Mistakes to Avoid

Using the Space Bar for Layout
Pressing the space bar or Enter repeatedly to position things breaks the moment text changes. Use tables, indents, and spacing settings instead.
Mixing Image Styles
One bright studio photo next to a dim phone snapshot makes the whole catalog look amateur. Reshoot weak images or leave them out.
Skipping the Table of Contents
Buyers want to jump straight to a category. A linked table of contents saves them time and makes the catalog feel professional.
Forgetting Ordering Instructions
Tell readers exactly how to buy. Include a phone number, email, website, minimum order, and payment terms on the last page.
Tiny Fonts
Anything under 9 pt becomes unreadable on a phone. Test your PDF on a mobile screen before sharing.
Quick Checklist Before You Send
- Cover has one image, one title, and one logo
- Styles are applied to every heading and paragraph
- Every product uses the same card layout
- Prices match your master list
- Table of contents is updated
- PDF opens correctly on desktop and phone
- Contact and ordering details appear on the last page
Your Next Move
You now have a repeatable system: plan the structure, set styles, build product cards with tables, proof carefully, and export. Do it once and every future update takes minutes.
Ready to make your catalog easier to share and more impressive on a phone? Get started for free on Flipbooks AI and upload your PDF today. Browse all flipbook tools to find the right template, or compare pricing plans to pick what fits your catalog.



