You finished the pencils, the inks, the screentones and the lettering. Forty pages sit in a folder, and the only way to show them is to send a pile of PNG files or a clunky download. There is a better route. With Flipbooks AI, you can turn a Clip Studio Paint project into a flipbook that opens in any browser, turns pages like a real book, and loads on a phone without an app.
This tutorial walks through the whole path: setting up your canvas so the pages look right online, exporting from Clip Studio Paint, converting the file, polishing the reading experience, and sharing it with readers, clients or an editor.
Why Flipbooks Suit Comics
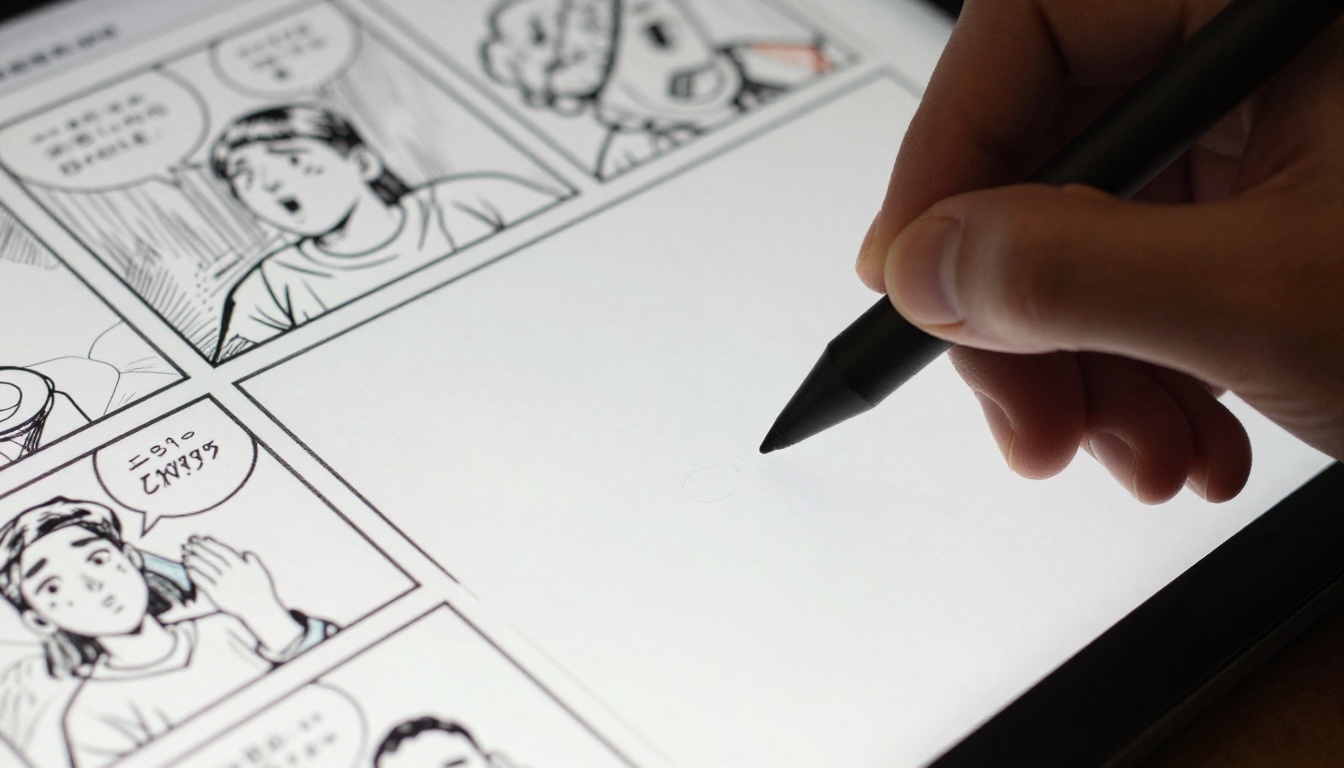
A comic is a sequence. Panels build rhythm, and the page turn is where a reveal lands. A scrolling web gallery of loose images breaks that rhythm, because the reader never gets the surprise of a turned page. A flipbook keeps it.
Here is how the common ways of sharing a comic compare:
| Format | Page-turn feel | Works on phones | Easy to share | Looks professional |
|---|
| Folder of PNG files | None | Poor | Low | Low |
| Raw PDF attachment | Basic | Mixed | Medium | Medium |
| Image gallery on a blog | None | Good | Medium | Medium |
| Flipbook from a PDF | Realistic | Good | High | High |
💡 Pro tip: Editors and publishers often prefer a single link they can open in a meeting. A flipbook link beats a 200 MB attachment every time.
Who Benefits Most
- Webcomic creators who want a polished reading copy of each chapter.
- Manga and graphic novel artists pitching to editors.
- Self-publishers selling digital volumes.
- Teachers and students sharing a visual narrative project.
- Studios collecting feedback from a client before print.
Prepare Your Clip Studio Paint Canvas
Good output starts at the canvas. Most problems readers see online (blurry lines, uneven margins, huge files) come from decisions made at the start of the project.

Resolution and Page Size
If you drew at print resolution (600 dpi for black and white, 350 dpi for color), your pages are far larger than any screen needs. You do not have to redraw anything. You only need a lighter export copy.
| Use case | Suggested export size | Color mode | Notes |
|---|
| Webcomic reading copy | 1600 to 2000 px tall | RGB | Fast loading, crisp on phones |
| Pitch to an editor | 2000 to 2800 px tall | RGB | More detail when zooming |
| Digital volume for sale | 2400 to 3200 px tall | RGB | Balance of quality and size |
| Print proof | Original resolution | CMYK or grayscale | Do not use for the web |
Check Bleed and Margins
Trim marks and bleed areas look odd in a reading copy. Before exporting, make sure each page shows only the final trimmed area. In Clip Studio Paint, you can hide the bleed through the export settings or crop the canvas copy.
Layer Hygiene
- Merge reference sketches into a hidden folder so they never appear in output.
- Keep lettering on its own layers so you can fix a typo and re-export in seconds.
- Name your pages in order (page_001, page_002) so the sequence stays correct.
⚠️ Warning: Exported files sort alphabetically. Without zero-padded numbers, page 10 can land before page 2.
Export Your Pages From Clip Studio Paint
Clip Studio Paint offers several ways to export. The right one depends on whether you work in a single-page file or a multi-page story project, and on which edition you own.
Option 1: Export Multiple Pages
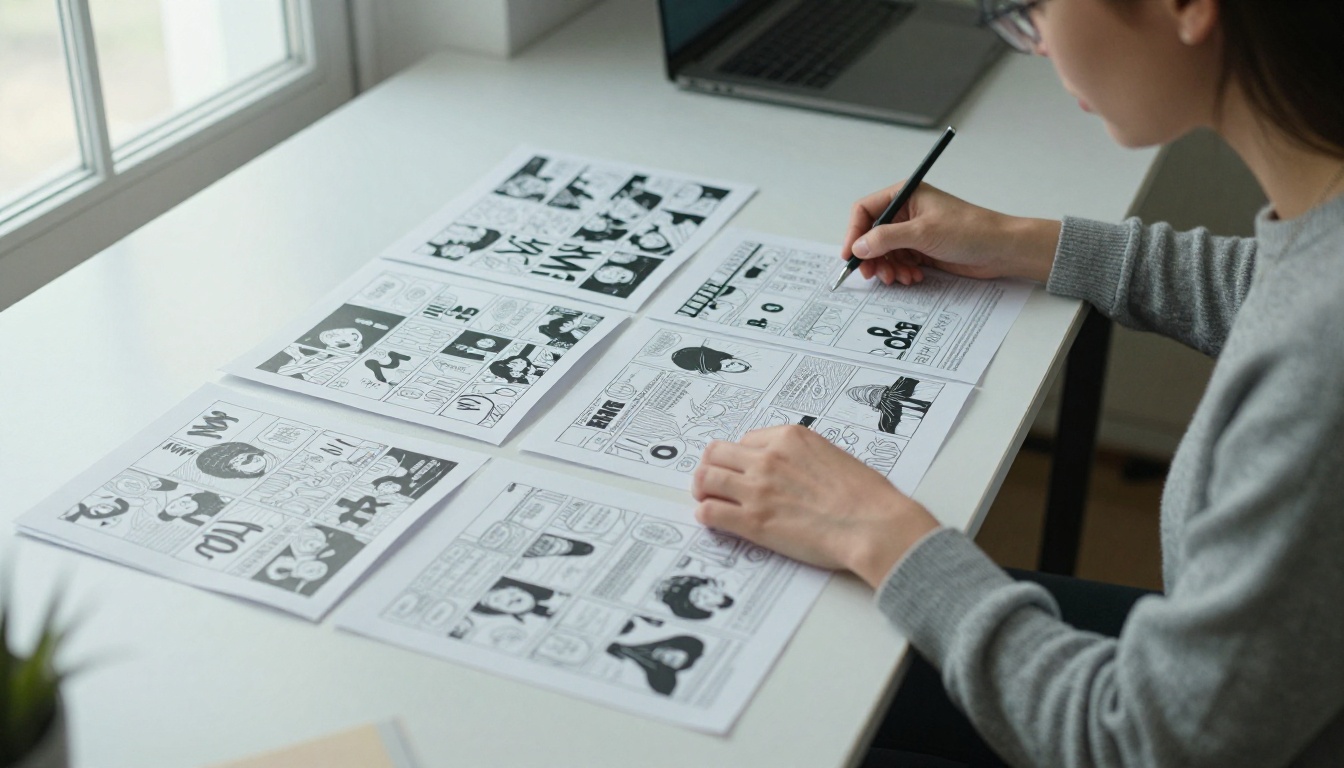
For a multi-page project, look under the File menu for the export options that handle multiple pages. This writes every page in one pass with consistent naming. Choose a file type that suits your plan:
- Open your multi-page project.
- Go to File, then Export Multiple Pages, and pick the format your edition supports.
- Set the output size to match your table above.
- Pick a folder and confirm the numbering.
- Run the export and check the first and last pages.
Menu names can differ slightly between versions, so check the manual for your edition if an option is missing.
Option 2: Export Each Page as an Image
If you keep one file per page, export each page as PNG or JPG through File, then Export Single Layer or the standard flattened export. PNG keeps flat colors and line art sharp. JPG gives a smaller file, which helps with long chapters in color.
| Format | Best for | Quality | File size |
|---|
| PNG | Black and white, flat color | Lossless | Larger |
| JPG at high quality | Painted color pages | Very good | Smaller |
| PDF | Final reading copy | Depends on source | Medium |
Option 3: Build the PDF After Export
If your version does not write a PDF directly, export images and combine them into one PDF with any tool you trust. The free PDF to Flipbook Converter page explains the supported input, so check it before you spend time combining files.
✅ Best practice: Always check page order in the final PDF before uploading. It takes one minute and saves a re-upload.
Decide Page Order and Reading Direction
Comics read in different directions. Western comics go left to right. Manga goes right to left. A flipbook is a book, so the first page and the spread logic matter.
Single Pages vs Spreads
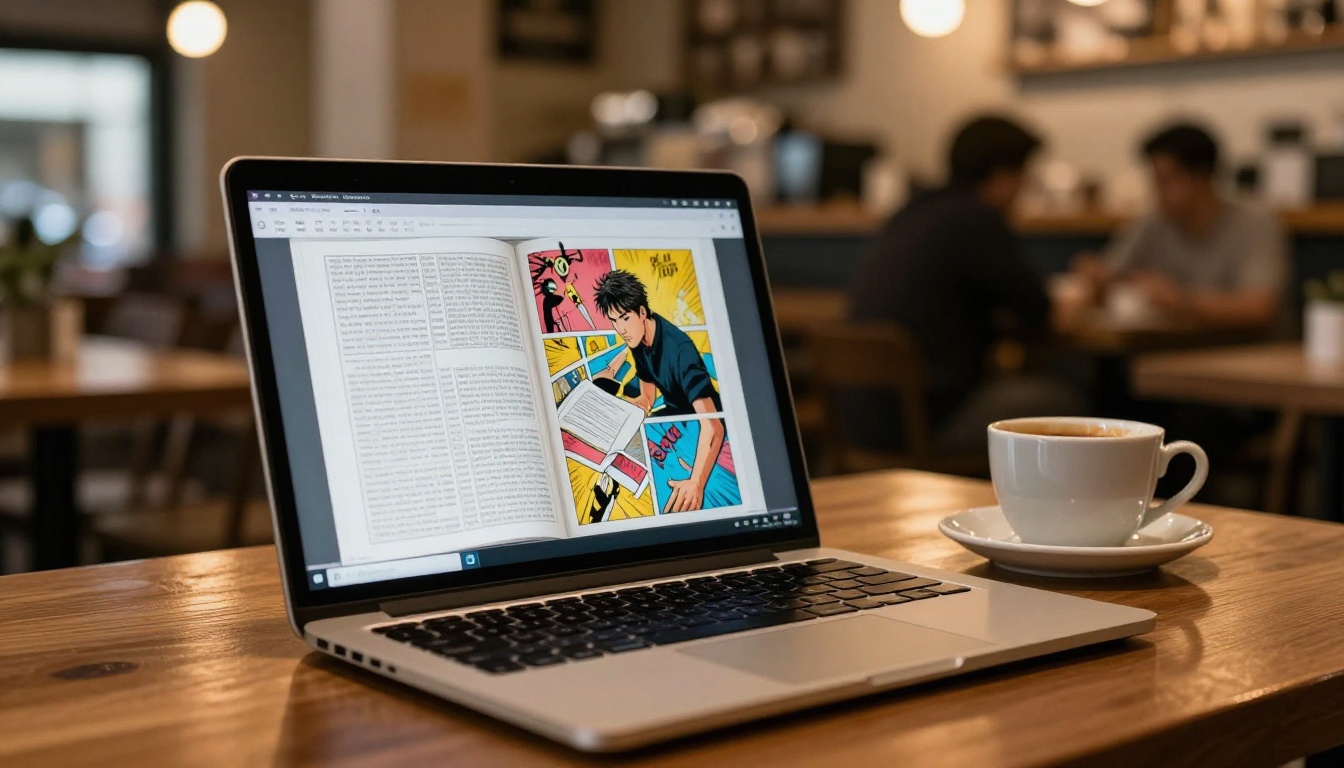
- Single pages work for webcomics with a vertical page format and for phone reading.
- Two-page spreads work for graphic novels where a splash image runs across the gutter.
- If your story depends on a double-page reveal, export the spread as one wide image so it does not break at the fold.
Cover and Back Page
Put a clean cover as page one. A title page, an optional credits page, then chapter pages. End with a back page that points readers to your next chapter, shop or social profile.
Convert the PDF Into a Flipbook
Here is the hands-on part. The steps below assume you have a PDF of your comic.
How to Create a Comic Flipbook with Flipbooks AI
- Open Flipbooks AI and create an account. You can start without a credit card.
- Click the upload button and choose your comic PDF.
- Wait for the conversion. Every page becomes a flipbook page with a page-turn effect.
- Open the editor and set the title, cover and background.
- Preview on desktop and phone.
- Publish and copy your link.
Behind the scenes the platform handles conversion for you, so you do not need to code anything or install a plugin. If you want the broader picture first, browse the flipbook tools directory.
Customize the Reading Experience
Once your comic is converted, spend ten minutes on the details. These choices make a comic feel like a finished product.
| Setting | Recommendation for comics |
|---|
| Background color | Dark gray or off-white to match your art |
| Page effect | Realistic turn for print-like feel |
| Branding | Add your logo and a link to your shop |
| Sound | Optional page-turn sound, off by default for webcomics |
| Navigation | Show page numbers and a thumbnail strip |
Flipbooks AI never adds a watermark, so your pages stay clean. You can also embed videos and audio, which is useful for a short animated teaser or a soundtrack on a special chapter.
💡 Pro tip: Match the viewer background to the paper tone in your art. A cream page on a white background looks muddy. A cream page on charcoal looks intentional.
Share Your Comic With Readers
A flipbook is only useful if people can open it. You have several options, and most creators use at least two.
Direct Link
Paste the link in a social post, a newsletter or a message to your editor. It opens in the browser with no download.
Embed on Your Website
If you run a portfolio or webcomic site, use the embed flipbook on website option to paste a short snippet into your page. The flipbook then lives right next to your bio and shop links.
QR Code for Events
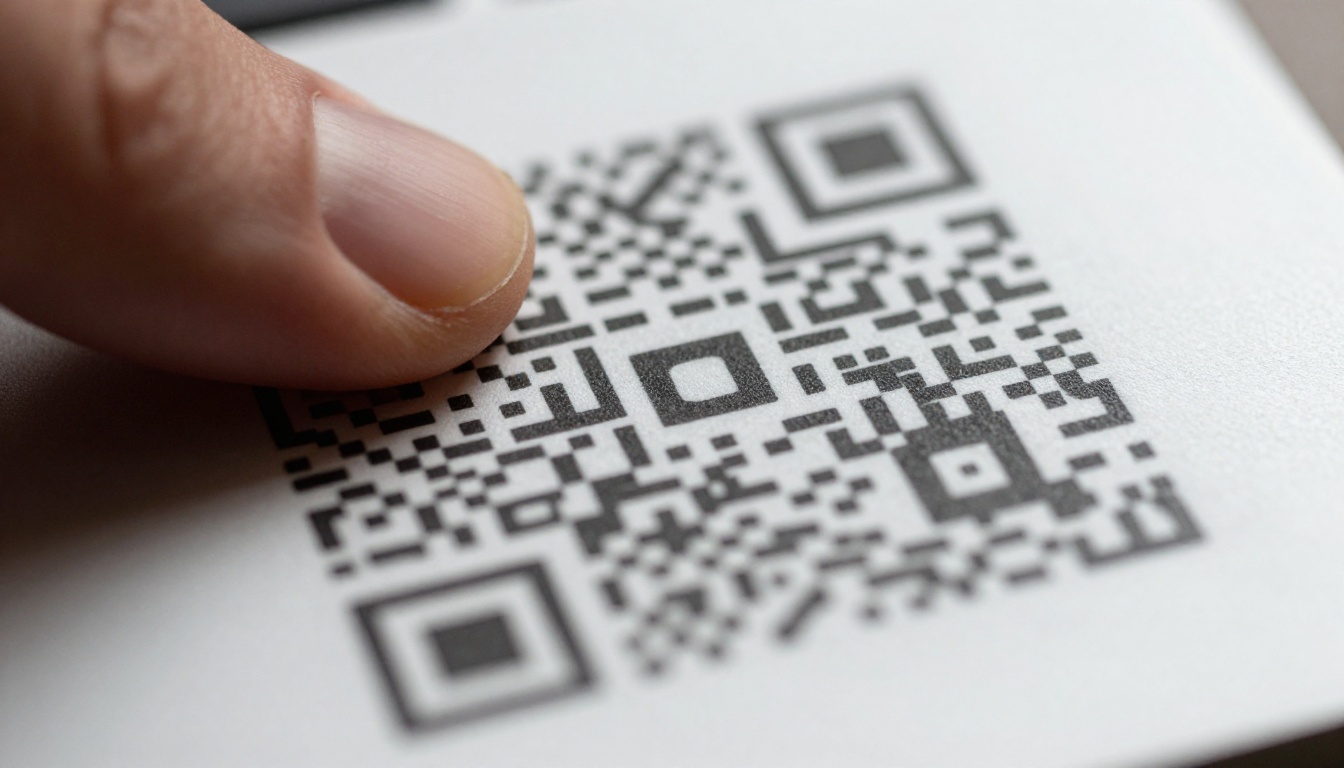
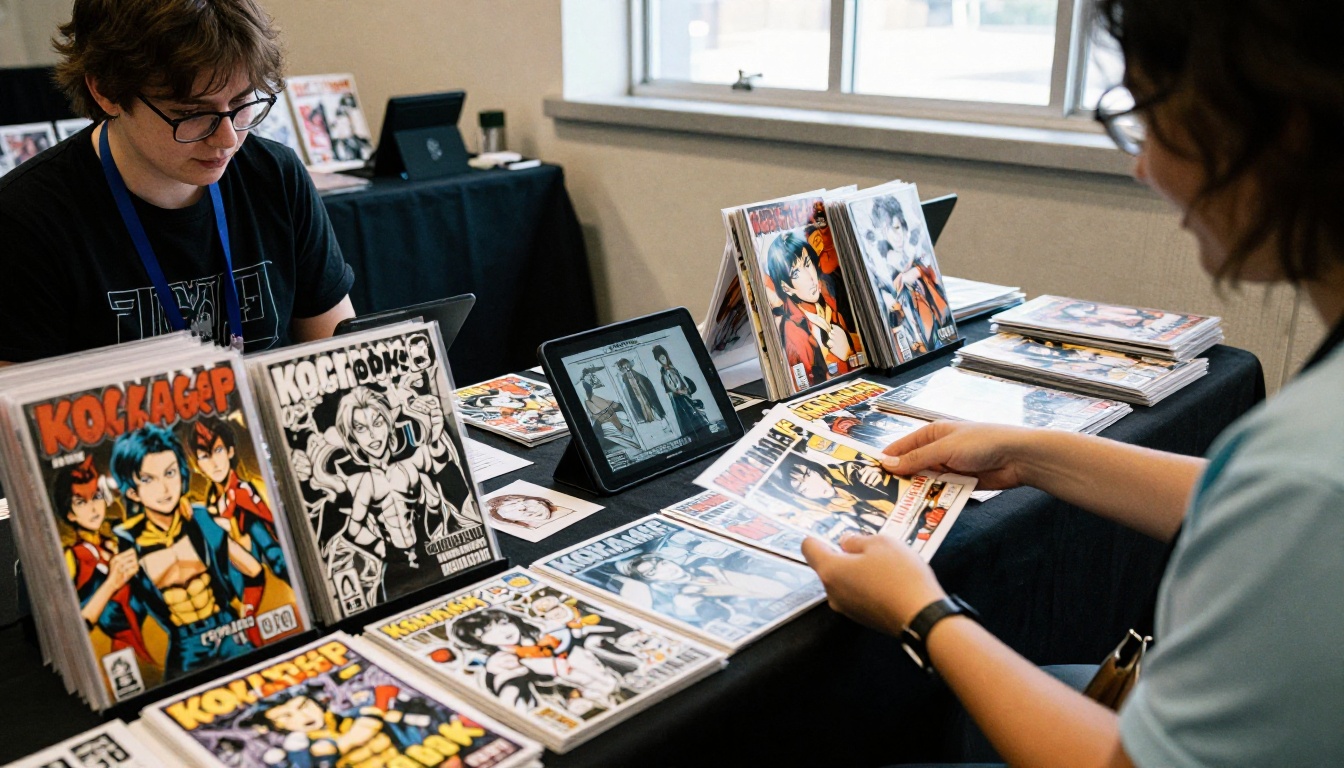
At a convention table, print a QR code on a small card. A visitor scans it and reads your first chapter on their phone while standing in line. It is a low-cost way to turn a passing glance into a reader.
Password Protection
Not every comic is ready for the public. Use password protection when you share:
- A pitch with a publisher.
- A paid chapter for supporters.
- A client review of a commissioned story.
| Sharing method | Best for | Audience size | Control |
|---|
| Public link | Webcomic chapters | Large | Low |
| Embed | Portfolio or webcomic site | Large | Medium |
| QR code | Events and print | Medium | Low |
| Password link | Pitches, paid chapters | Small | High |
Real-World Examples
A webcomic creator posts each chapter as a flipbook and links it from every social post. Readers land on one page, not a scattered thread of images.
A manga artist sends a 24-page pitch to an editor. The editor opens it on a tablet during a commute, turns pages naturally, and replies with notes by evening.
A self-publisher sells a digital volume. Buyers receive a password-protected link after purchase, and the artist updates the file when a typo is fixed, without sending a new download to everyone.
A teacher collects student comics for a literature unit. Each student exports a PDF, and the class reads the gallery together on a projector.
If your comic belongs to a wider project, similar tools exist for other formats. The Portfolio Flipbook Builder suits an artist showcase, and the Interactive E-Book Publisher fits a longer graphic novel with chapters.

Track Readers and Collect Leads
If you want to know whether chapters get read, the Professional plan adds analytics and lead generation. You can see how many people opened a chapter and where they stopped. A lead form can ask for an email before page one, which builds a mailing list for your next release.
| Feature | Standard plan | Professional plan |
|---|
| Unlimited flipbooks | Yes | Yes |
| No watermark | Yes | Yes |
| Password protection | Yes | Yes |
| Analytics | No | Yes |
| Lead generation | No | Yes |
| Offline downloads | Yes | Yes |
Check the pricing page for current plan details, since offerings can change.
Using Reader Data Wisely
- If readers drop off at page 5, review your opening pages.
- If most readers come from phones, check that lettering stays readable at small sizes.
- If one chapter gets far more opens, link it from your homepage.
Common Mistakes to Avoid
1. Uploading Print Resolution Files
A 600 dpi page can reach tens of megabytes. A 40-page chapter becomes a slow download. Export a lighter copy.
2. Tiny Lettering
Text that reads fine on a printed page can be too small on a phone. Test your lettering on a real phone before publishing. If you have to squint, enlarge the balloons in your next batch.
3. Wrong Color Mode
CMYK files can look dull on screen. Export an RGB copy for the web.
4. Forgetting a Cover
Page one is your thumbnail everywhere the link is shared. Use the best image you have.
5. Skipping the Phone Preview
Most readers will arrive on a phone. Always preview there.
Quick Pre-Publish Checklist
- Pages are in the right order and numbered.
- Bleed and trim marks are removed.
- Export size matches the table above.
- File size stays reasonable for your chapter length.
- Cover, title and credits pages are in place.
- Viewer background matches your art.
- Link tested on desktop and phone.
- Password set if the comic is private.
✅ Best practice: Keep your layered Clip Studio Paint files untouched. When you spot an error, fix it in the source, re-export, and upload the new PDF. The flipbook stays current without any extra rework.
Publish Your Comic Today
Your pages are finished. The only step left is getting them in front of readers in a format that respects the work you put in. Get started for free on Flipbooks AI, upload your PDF, and have a shareable flipbook in minutes.
When you are ready to go further, browse all tools and templates, or compare pricing plans to pick the one that fits your release schedule.



