You built the course, recorded the videos, and then attached a PDF workbook that most students never open. A flipbook fixes that. Instead of a file download, your student sees a real page-turning book right inside the lesson, on any device, with no extra tabs. With Flipbooks AI you can convert a PDF into an embeddable flipbook and paste it into Teachable in about ten minutes. This tutorial shows every step, plus the settings that keep it looking sharp.
💡 Quick answer: Upload your PDF, copy the embed code from the share panel, then paste it into a Teachable lesson using the code or HTML option in the lesson editor. Save, publish, and preview as a student.
Why Flipbooks Beat Attached PDFs

Teachable handles video and text lessons well. A PDF attachment, though, is a blunt tool. Students have to download it, open it in another app, and then switch back to the lesson. Many just skip it.
The Problem With Downloads
A download breaks the flow of the lesson. On a phone it is worse: tiny pages, pinch zooming, and a file that lands in a folder nobody checks. You also lose all visibility. You cannot tell who opened the file or how far they got.
What a Flipbook Changes
A flipbook sits inside the lesson page itself. Pages turn with a swipe or click, text stays crisp, and the layout adapts to the screen. Your brand colors and logo stay visible, and there is no watermark on your content.
| Feature | Attached PDF | Embedded Flipbook |
|---|
| Opens inside the lesson | No | Yes |
| Page-turn experience | No | Yes |
| Mobile friendly | Often poor | Responsive |
| Custom branding | Limited | Colors, logo, background |
| Reading analytics | None | Available on Professional |
| Updates after publishing | Re-upload file | Update once, embed stays |
What You Need Before You Start

The setup is light. Check these items first so you do not stop halfway.
- A finished PDF. Workbook, ebook, cheat sheet, lesson transcript, slide handout, or template pack.
- A Teachable school with at least one course and an editable lesson.
- A Flipbooks AI account. Create a free account to follow along.
- Brand assets. A logo file and two or three brand colors.
Prepare the PDF
Export your PDF at a normal screen resolution. Files between 5 and 40 MB convert smoothly. Use readable font sizes, at least 11 pt for body text, because students will often read on a phone. If your document is landscape slides, that works too, but portrait pages suit most workbooks.
Pick the Right Document Type
Not every document needs the same treatment. If you are building a student workbook, the Course Material Publisher is a good starting point. For step-by-step handouts used by staff or coaches, try the Training Manual Flipbook. Selling a longer title alongside your course? The Interactive E-Book Publisher fits well.
Step by Step: Create the Flipbook
This is the How to Create a Course Flipbook with Flipbooks AI part. It takes about five minutes.
- Sign in. Go to Flipbooks AI and log in or create an account.
- Upload your PDF. Drag the file into the upload area. The PDF to Flipbook Converter turns each page into a flipbook page automatically.
- Wait for conversion. Most documents finish in under a minute. A progress bar shows the status.
- Open the editor. You will see a live preview of the book with page controls.
- Customize the look. Set the background color, add your logo, and choose the page-turn effect.
- Add media. Drop in a video or audio clip on any page, for example a short walkthrough on the exercise page.
- Open the share panel. This is where the embed code lives.
Customize Branding and Effects
Match the flipbook to your school. Use the same background color as your Teachable theme so the book feels native to the page. A soft shadow and a gentle page curl look polished without distracting. Keep the toolbar simple: page numbers, zoom, and full screen are enough for most lessons.
Add Video and Audio Inside Pages
Flipbooks AI lets you embed videos and audio directly in pages. That is handy for courses. Put a two-minute demo next to the worksheet it explains, or add a voice note on the answer page. Students stay in one place and keep their rhythm.
Embed It in Your Teachable Lesson
Now the main event. Teachable's editor changes occasionally, and menu names can differ slightly between the legacy and current course builders. The idea stays the same: add a block that accepts custom HTML or code, then paste the embed.
Copy the Embed Code
In the share panel of your flipbook, choose Embed. Copy the iframe snippet. It looks like a short block of HTML with a source address, a width, and a height. For a full walkthrough of this part, see the Embed Flipbook on Website tool page.
Paste It Into the Lesson
- Open your Teachable course and choose the Curriculum page.
- Click the lesson where the flipbook should appear, or create a new lesson.
- Add a Code or Embed element. In some editors you will switch the text block to HTML or source view instead.
- Paste the iframe snippet.
- Click Save, then Preview the lesson as a student.
⚠️ Watch out: If the preview shows an empty box, check that you pasted the whole snippet, including the closing tag. Partial pastes are the most common cause of a blank embed.
Where to Place It in the Lesson
Placement changes how students use it. Here is a quick comparison.
| Placement | Best For | Tip |
|---|
| Below the lesson video | Workbooks and exercises | Add a short text line: "Open the book and complete page 3" |
| Above the video | Pre-reading, briefs | Keep it under 10 pages |
| Standalone lesson | Reference books, bonus ebooks | Title it clearly in the curriculum |
| Final lesson | Summary sheets, checklists | Offer a download link next to it |
Size and Mobile Settings That Work
A well-sized embed makes the difference between a pleasant lesson and a cramped one.
Choose Width and Height
Set the width to 100% so the flipbook fills the lesson column. For height, start around 600 to 700 pixels on desktop. A two-page spread needs more width than height, so a 16:10 ratio works well for most books. Portrait documents like worksheets look best a little taller.
Check the Phone View
Most Teachable students watch on a phone at least sometimes. Open your lesson on one. Flipbooks AI is mobile responsive, so a spread usually becomes a single page on small screens. Make sure the toolbar buttons are easy to tap and the text is readable without zooming.
| Screen | Recommended Height | What Students See |
|---|
| Desktop | 650 to 750 px | Two-page spread |
| Tablet | 600 px | Spread or single page |
| Phone | 500 to 560 px | Single page, swipe to turn |
✅ Best practice: Always test on a real phone, not just a narrowed browser window. Touch behavior is different.
Protect Paid Content
If your workbook is part of a paid course, you do not want the embed address passed around. Teachable already limits lesson access to enrolled students, but the flipbook link itself is separate.
Use Password Protection
Flipbooks AI supports password protection for private content. Set a password on the flipbook and mention it in the lesson text, for example: "The password is in the video above." Students who share the link still hit the password wall.
Keep Downloads Under Control
Decide whether students should get an offline download. For a printable worksheet, yes. For a premium template pack, you may prefer view-only. You can set this per flipbook, so the same account can serve both kinds of material.
💡 Tip: Offer the offline copy as a bonus in a later lesson. Students then see it as a reward instead of skipping the embedded version.
Track What Students Actually Read
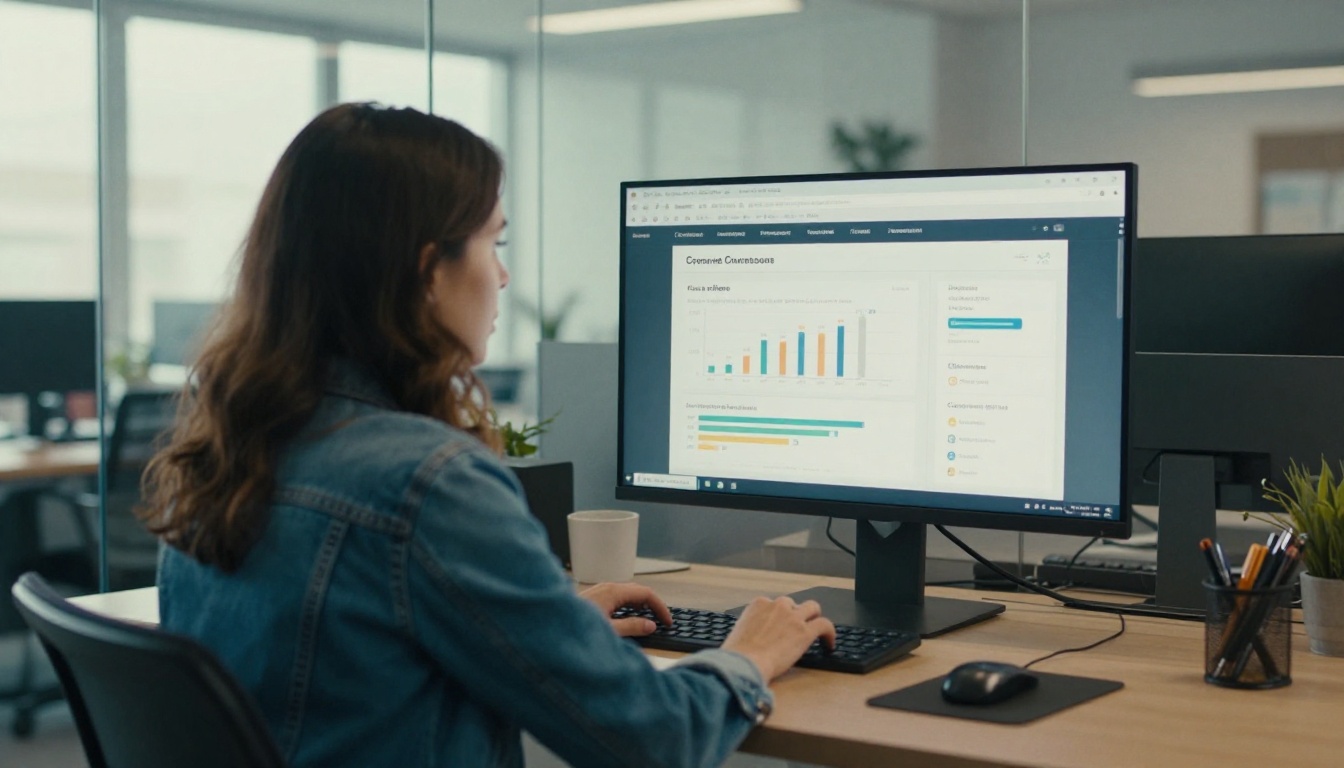
This is where flipbooks pay for themselves. With the Professional plan, you get reading analytics and lead generation. See the pricing plans for the full feature list.
Metrics Worth Watching
- Views per flipbook. Shows whether students open the material at all.
- Pages read. Reveals where people stop.
- Time on page. Long time on one page can mean confusion.
- Return visits. Students who reopen the book are the most active.
Use the Data to Improve the Course
If most readers stop at page 6, the exercise there may be too heavy. Split it, add a video hint, or move it later. Small changes like that raise finish rates without recording anything new.
Capture Leads From Free Lessons
Offering a free preview lesson? Use lead generation on a sample chapter so interested visitors leave an email address before reading on. It turns a freebie into a list. See the Sales Presentation tool if you also pitch the course with a deck.
Real Examples You Can Copy

Seeing it in context helps. Here are four setups that work.
- A fitness coach adds a 30-day meal plan flipbook under each weekly video. Students flip through recipes while watching the prep video.
- A photography teacher embeds a lookbook of sample edits, using the Photography Portfolio layout, so students compare before and after shots at full size.
- A language tutor places a vocabulary booklet with audio on each page, so pronunciation sits next to the word.
- A business trainer shares a policy manual and a quarterly corporate report as embedded books for an internal Teachable academy.
Match the Format to the Goal
| Course Type | Flipbook Content | Suggested Length |
|---|
| Skill course | Exercise workbook | 15 to 30 pages |
| Certification | Study manual | 40 to 100 pages |
| Creative course | Lookbook or gallery | 10 to 20 pages |
| Coaching program | Weekly planner | 8 to 12 pages |
| Free lead magnet | Sample chapter | 5 to 10 pages |
Update Without Re-Embedding
When you fix a typo or add a new exercise, replace the content in Flipbooks AI. The embed in Teachable keeps pointing to the same flipbook, so you do not have to edit every lesson again. Check the result after each update and refresh the preview.
Fix Common Problems
Most issues have a quick fix.
The Flipbook Shows Blank
Re-copy the snippet and paste it again. Confirm that your editor block accepts HTML. If you are using a plain text block, switch to a code or embed block. Also check that the flipbook is not set to private without a password prompt.
The Book Looks Too Small
Raise the height value and keep the width at 100%. If the lesson column is narrow, choose a single-page view so text stays big.
Pages Look Blurry
The source PDF is usually the cause. Re-export at a higher quality and upload it again. Avoid screenshots of text pasted into a document, because they lose sharpness when scaled.
Students Cannot Find It
Name the lesson clearly, such as "Workbook: Week 2 Exercises", and mention it in the video intro. A flipbook nobody notices does not help anyone.
⚠️ Warning: Do not stack three or four large flipbooks in one lesson. Pages load slower and students scroll past them. One book per lesson works best.
Ready to Add Your First Flipbook?
You now have everything you need: a clean PDF, a branded flipbook, a pasted embed, mobile checks, and a plan for protection and tracking. Start with one workbook and watch how students respond.
Your next Teachable lesson can look like a real book, not a file link. Build it today and send your students something they will actually open.



