Your quarterly newsletter lives in an old Publisher file that only one person knows how to open, and that person just gave notice. Sound familiar? Microsoft is retiring Publisher, and many nonprofits are being pushed to move their layouts into Word. The good news: Word can reproduce a three-column newsletter with photos, sidebars and a branded header, and the result is easier for volunteers to edit. This tutorial shows the whole rebuild, from auditing the old file to exporting a PDF you can publish as an interactive flipbook with Flipbooks AI.
Why Publisher Files Become a Problem
Publisher was built for desktop layout in an era when every newsletter was printed and mailed. Today your readers open email on phones, and your staff changes every couple of years. A file format that few people can edit is a risk to your communications calendar.
The Real Cost of Waiting
An unsupported file means no updates, no help articles and no safe way to share edits with a volunteer on a Mac. Every issue you build on the old tool adds more content you will have to move later. Moving one issue now is far cheaper than moving ten issues in a panic.
What Word Does Well
Word handles columns, text boxes, styles, tables and image wrapping. It also opens on nearly every computer your board members own. For a newsletter of four to eight pages, it is more than enough.
What Word Does Not Do
Word is not a page-layout program. Overlapping objects can shift when you add text, and fine typographic control is limited. Plan around these limits instead of fighting them.
💡 Pro tip: Word rewards simple layouts. If your Publisher design relied on twelve overlapping shapes, simplify it during the rebuild. Readers will not miss them.
Audit the Old Newsletter First
Do not open Word yet. Print the latest issue, or export it to PDF, and mark it up with a pencil. This ten-minute step prevents most of the rework later.
List Every Recurring Element
Circle everything that appears in each issue. Typical items include:
- The masthead with logo, issue date and volume number
- A letter from the director
- Two to four short news stories
- A donor or volunteer spotlight
- An event calendar sidebar
- A donation call to action with a QR code
- Contact details and a mailing address footer
Note the Fonts and Colors
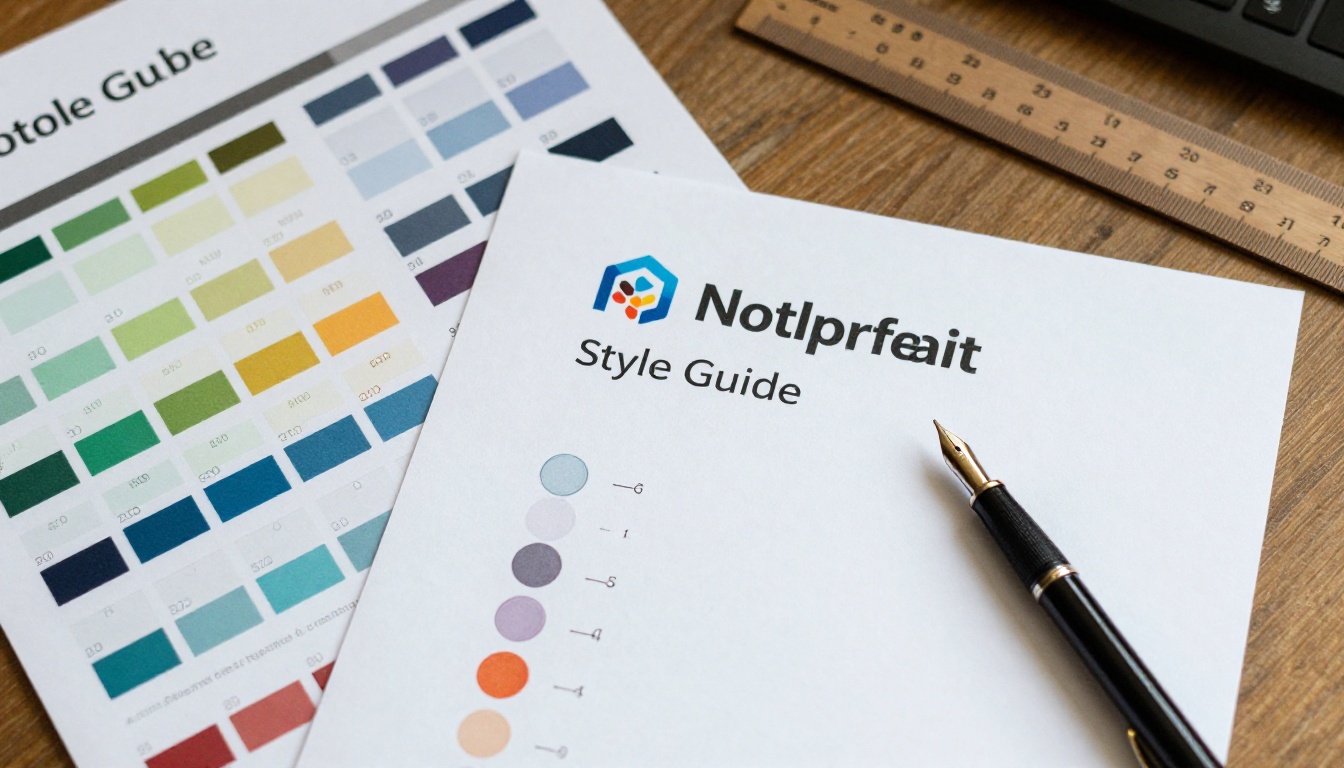
Write down every font name and each color value. Publisher stores colors in its own swatches, so open the file and read the hex or RGB codes from the fill dialog. You will need them when you build styles in Word.
Rate Each Element
Mark each item as keep, simplify or drop. A newsletter that tried to do too much in Publisher should not carry the same clutter into Word.
Set Up the Word Document Structure
A strong foundation keeps the layout stable when volunteers edit it next spring. Build the page skeleton before you paste a single paragraph.
Choose Page Size and Margins
Open a blank document, go to Layout, and set the page size. US Letter works for most nonprofits. Set margins to 0.6 inches on all sides so the page feels full without risking printer clipping.
Build Columns with Section Breaks
The masthead should sit in a one-column section, and the body in a three-column section. Insert a Continuous Section Break between them. Without it, Word applies columns to the whole page and your masthead splits into thirds.
| Layout Choice | Best For | Watch Out For |
|---|
| One column | Director letters, long stories | Wide lines are hard to read |
| Two columns | Mixed text and photos | Needs balanced story lengths |
| Three columns | News briefs, event lists | Narrow columns break long words |
| Two plus sidebar | Calendar and donor lists | Requires a text box or table |
Use a Table for the Sidebar
A sidebar built from a borderless table is much more stable than a floating text box. The table grows with the text and never drifts over other content when someone adds a line.

Rebuild the Design with Styles
Styles are the single biggest advantage of Word over a hand-built Publisher file. Define them once and every future issue stays consistent.
Create Your Heading Styles
Open the Styles pane and modify Heading 1, Heading 2 and Normal. Assign your brand font and color to each. Headlines become one click instead of three formatting steps, and your accessibility checker recognizes the structure.
Save Brand Colors as a Theme
Go to Design, then Colors, then Customize Colors. Enter the hex codes you noted during the audit. Name the theme after your organization. Now every shape, table and chart pulls from the same palette.
Pick Fonts That Travel
If your brand font is not installed on a volunteer's computer, Word will substitute another one and the layout will shift. Use fonts that ship with Office, or embed fonts through File, Options, Save, Embed fonts in the file.
| Font Setup | Pros | Cons |
|---|
| Office default fonts | Always available | Looks generic |
| Licensed brand font, embedded | Matches your brand | Larger file size |
| Google font, installed per computer | Free and distinctive | Volunteers must install it |
⚠️ Warning: Embedding fonts does not work on every Word version for Mac. Test the file on a second computer before you share the template.
Move Content and Photos Over
Now the fun part. Resist the urge to copy everything at once. Work story by story.
Paste Text as Plain Text
Copy a story from the old file, then use Paste Special, Unformatted Text. This strips hidden Publisher formatting that causes odd spacing. Apply your Word style afterward.
Place and Wrap Photos
Insert each photo with Insert, Pictures, then set Wrap Text to Square or Top and Bottom. Avoid In Front of Text unless you really need an overlay. Compress images with Picture Format, Compress Pictures so the file stays light.
Add Alt Text to Every Image
Right-click a photo, choose View Alt Text and describe what is shown in one sentence. This helps screen reader users and gives search engines context if you publish the newsletter online.
A Quick Real-World Example
A food bank with a four-page monthly newsletter followed this order: masthead, director letter, volunteer spotlight, pantry hours sidebar, then a donation block. The rebuild took one afternoon. The next issue took forty minutes because the styles and sections were already in place.
Turn the File into a Reusable Template
A rebuilt newsletter is good. A rebuilt template is better. Spend ten extra minutes now and save hours every quarter.
Replace Real Content with Placeholders
Delete the current issue text and replace it with short placeholder sentences such as "Story headline goes here." Keep the photos as gray placeholder boxes or sample images.
Save as a Word Template
Choose File, Save As, then select Word Template (*.dotx). Store it in a shared drive folder called "Newsletter Template." New issues start from a copy, so the original stays safe.
Write a One-Page Checklist
Add a final page, or a separate document, with the production steps: update date, swap photos, run spell check, export PDF, send proofs. Volunteers follow it without asking you.
| Task | Owner | Time Needed |
|---|
| Collect stories and photos | Program staff | 1 week |
| Paste and style content | Communications lead | 2 hours |
| Proofread | Second reviewer | 1 hour |
| Export and publish | Communications lead | 30 minutes |

Check Quality Before You Send
Word is forgiving, but a few quick checks catch the mistakes readers notice first.
Run the Accessibility Checker
Go to Review, Check Accessibility. Fix missing alt text, low contrast and blank table headers. A nonprofit serving a wide community should publish files everyone can read.
Proof the Printed Version
Even if you plan to send the newsletter by email, print one copy. Hold it at arm's length. Can you spot the headline, the donation button and the date in under five seconds? If not, increase sizes.
Review the Page Breaks
Turn on Show/Hide ¶ to see paragraph marks and section breaks. Stray empty paragraphs are the most common cause of a story jumping to the next page.
✅ Best practice: Always have a second person read the PDF, not the Word file. Layout problems only show up in the exported version.
Publish It as an Interactive Flipbook
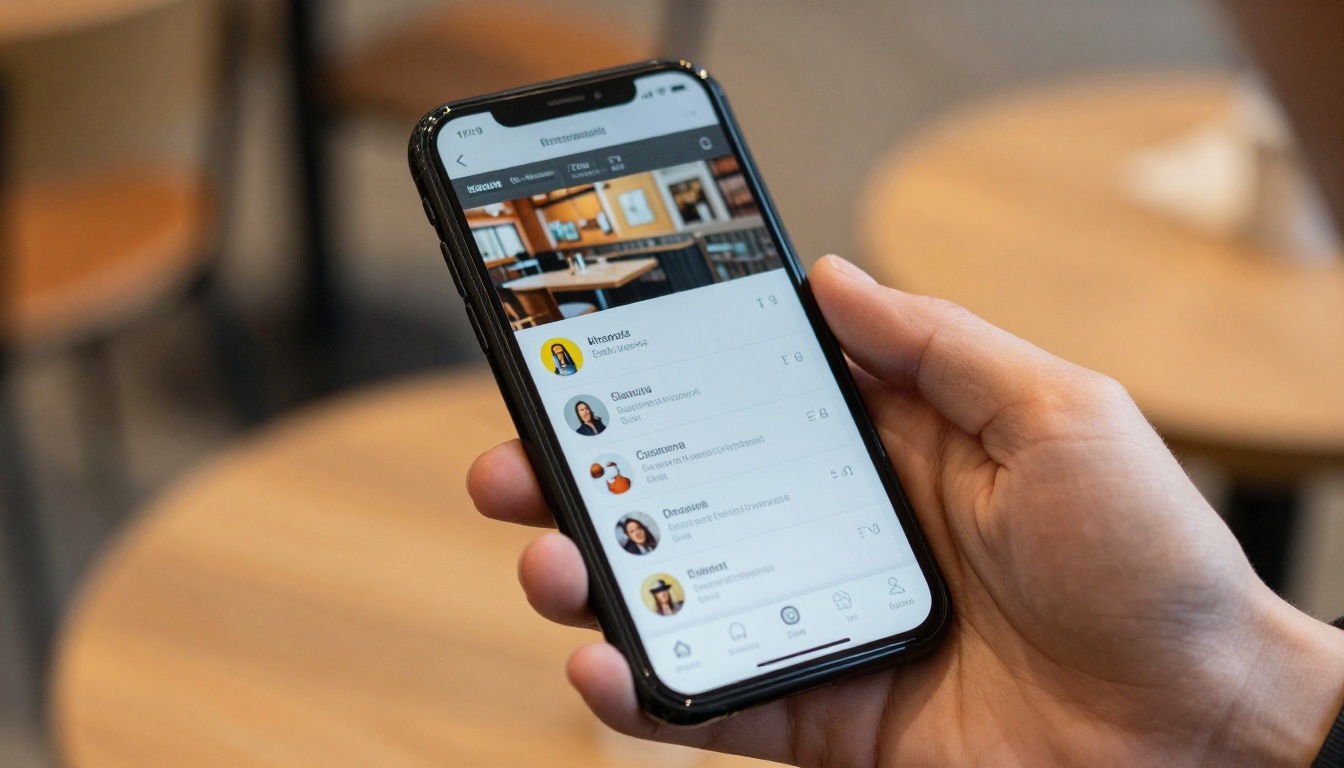
A PDF attached to an email gets downloaded, ignored and lost. A flipbook opens in the browser, turns pages like paper and works on a phone without pinching and zooming.
How to Create a Flipbook with Flipbooks AI
Follow these steps once your Word file is final:
- In Word, choose File, Save As, PDF and select Standard (publishing online and printing).
- Visit Flipbooks AI and create an account.
- Open the Newsletter Flipbook Publisher or the general PDF to Flipbook Converter.
- Upload your PDF. Conversion takes less than a minute for a typical eight-page issue.
- Customize the look: add your logo, choose a background color that matches your brand, and select a page-turn effect.
- Add multimedia such as an embedded video from your director or a link to your donation page.
- Choose how to share: copy a direct link, grab an embed code for your website, or add password protection for a board-only edition. See how to embed a flipbook on your website.
Features Worth Switching On
Flipbooks AI never adds watermarks, so the newsletter looks like yours. Paid plans add analytics and lead capture, which show how many supporters opened an issue and which pages they read. Compare options on the pricing page. You can also allow offline downloads so readers keep a copy.
| Delivery Method | Mobile Friendly | Tracking | Looks Like a Magazine |
|---|
| Printed mailing | No | None | Yes |
| PDF email attachment | Poor | None | No |
| Web page copy | Yes | Basic | No |
| Flipbook link | Yes | Page-level (Professional plan) | Yes |
A Hybrid Approach for Nonprofits
Many organizations keep a small print run for donors who prefer paper and send the flipbook link to everyone else. The same Word file serves both, so you maintain one source of truth. For annual reporting, the Non-Profit Annual Report tool follows the same upload process.
Common Mistakes to Avoid
Teams that rebuild newsletters often hit the same bumps. Here are the five that show up most:
- Copying every Publisher shape. Simplify instead of imitating.
- Skipping styles. Manual formatting makes the next issue harder.
- Using text boxes for body copy. They do not flow between pages.
- Forgetting the PDF check. Fonts and images can shift on export.
- No template. You will redo the work every quarter.
Your Next Issue Starts Here
You now have the whole path: audit the old file, build a stable Word structure, apply styles, move content, save a template and publish a flipbook people actually open. The first rebuild takes an afternoon. After that, each issue is a routine task your whole team can share.
Ready to publish your first issue? Get started for free on Flipbooks AI, browse all flipbook tools for other formats, and compare pricing plans to choose what fits your budget.