You have a stack of printed pages: a family recipe collection, a school project, a portfolio, a handbook your team still hands out on paper. You also have an iPhone in your pocket. That is all you need. With the built-in scanner and a free afternoon, you can turn those sheets into a page-turning flipbook that opens on any phone, tablet or laptop. This tutorial walks through the whole route, from the first scan to a shareable link on Flipbooks AI.
The process has three stages: capture the pages cleanly, combine them into one PDF, and convert that PDF into a flipbook. Each stage is simple. The difference between a mediocre result and a polished one lives in the small details, so we will go through them one by one.
Why Scan to a Flipbook
A loose PDF is fine for storage, but it is not a pleasant reading experience. Readers pinch, scroll and lose their place. A flipbook keeps the familiar feel of turning a page while adding things paper never could: a shareable link, embedded video, search, and zero printing cost.
Here is how the formats compare for a typical scanned document:
| Format | Reading Experience | Sharing | Works on Phones | Page-Turn Feel |
|---|
| Paper stack | Excellent | Hand delivery only | Not applicable | Native |
| Loose photos | Poor | Messy attachments | Yes | None |
| Plain PDF | Average | Email or download | Awkward zooming | None |
| Flipbook | Excellent | One link | Responsive | Realistic |
💡 Pro tip: Think about the destination before you scan. A flipbook for a phone audience needs larger text and tighter margins in your pages than one meant for a desktop monitor.
Who Benefits Most
- Families preserving recipes, letters and photo albums.
- Students sharing handwritten notes or lab reports.
- Small businesses turning printed price lists and brochures into something clickable.
- Artists presenting sketchbook pages without a flatbed scanner.
- Teachers digitizing worksheets and class booklets.
What You Need Before You Scan
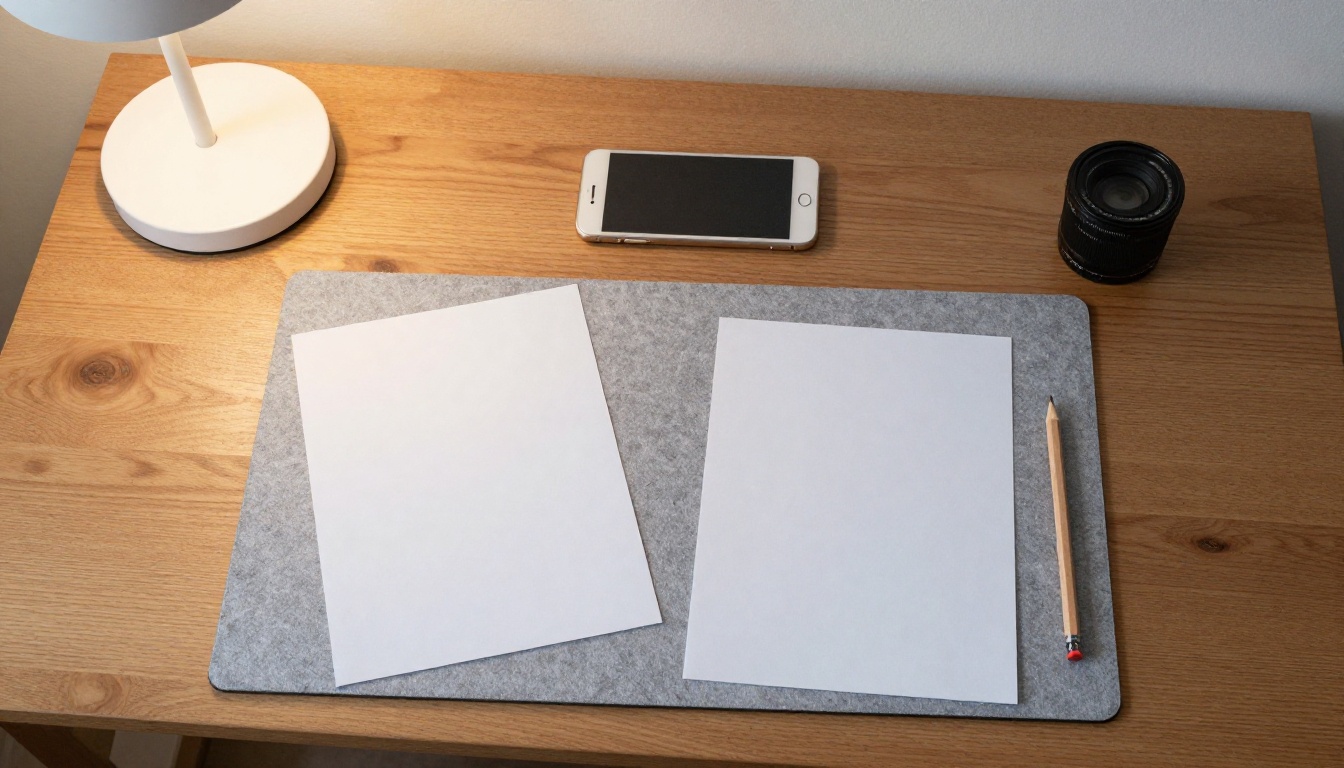
You do not need special gear. Most of the quality comes from light and a flat surface, not from expensive equipment.
The Basic Checklist
- An iPhone running a recent version of iOS (the scanner lives in the Notes and Files apps).
- A flat table with a plain, contrasting surface.
- Soft light from a window or a lamp placed to one side.
- Your pages, in order, with staples and clips removed.
- A few minutes to check each capture before moving on.
Choosing a Backdrop
The scanner finds page edges by contrast. A white page on a white table confuses it. Place the page on something darker, such as a black sheet of card, a dark desk mat or a plain tablecloth.
| Page Type | Best Backdrop | Why It Works |
|---|
| White printed paper | Dark card or felt | Strong edge contrast |
| Dark or colored paper | White sheet | Edge detection stays sharp |
| Glossy magazine page | Matte dark surface | Fewer reflections |
| Old or yellowed paper | Medium gray mat | Keeps warm tones natural |
⚠️ Watch out for shadows. Your own hand and the phone create shadows that darken one corner of a page. Light from the side, not from behind you.
Scan Pages in the Notes App
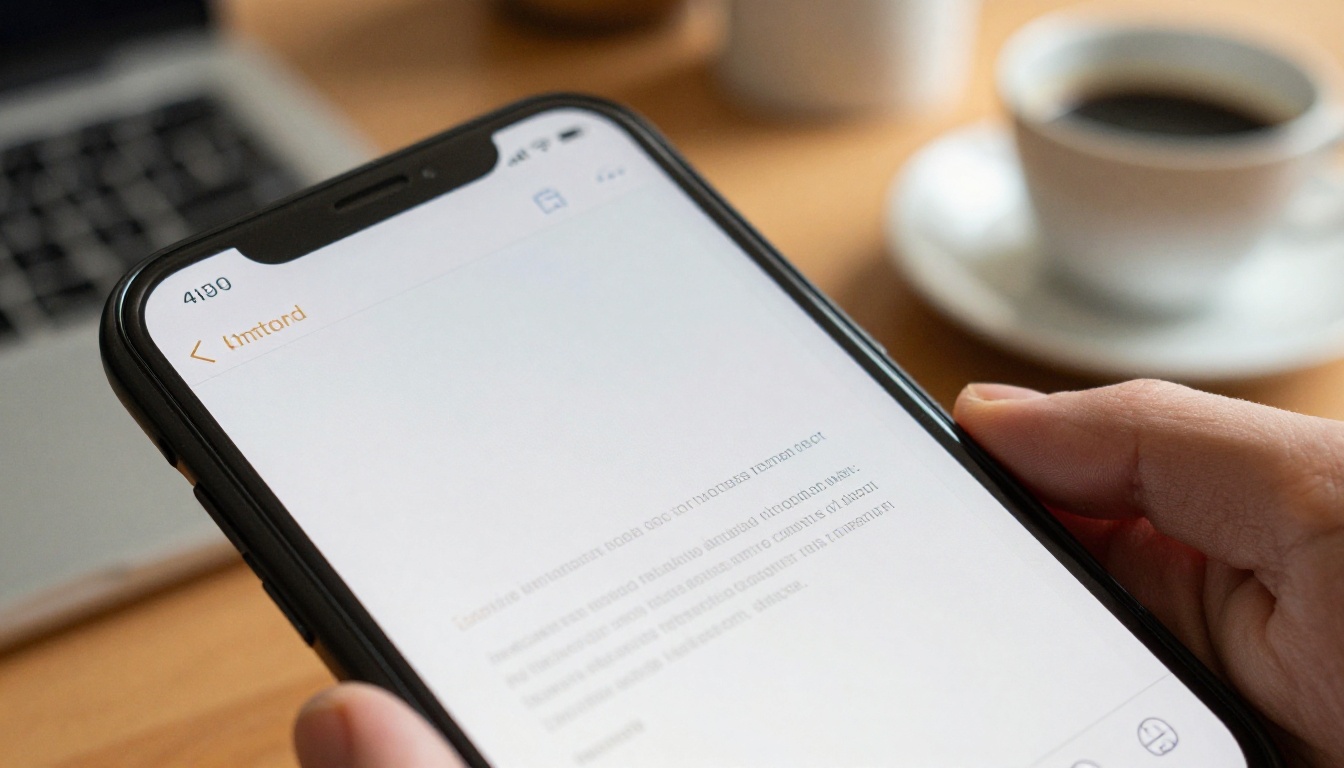
The fastest method needs no download. The Notes app has a document scanner that detects the page, straightens it and cleans the colors.
Step by Step
- Open Notes and start a new note.
- Tap the camera icon above the keyboard or in the toolbar.
- Choose Scan Documents.
- Hold the phone parallel to the page, about 25 to 35 centimeters above it.
- Wait for the yellow outline to snap around the edges. In Auto mode the iPhone captures the page on its own.
- Move to the next page and repeat. All captures stay in one batch.
- Tap Save when the last page is done.
Auto or Manual Capture
Auto mode is quick, but it can grab a frame before you are steady. Manual mode gives you control.
| Mode | Speed | Control | Best For |
|---|
| Auto | Fast | Low | Clean, flat pages |
| Manual | Slower | High | Curled, glossy or tricky pages |
✅ Best practice: Switch to manual for the first three pages, check how they look, then decide whether auto is reliable for the rest.
Scan in the Files App
The Files app offers a nearly identical scanner and has one useful advantage: it saves straight to a PDF in any folder you choose, including iCloud Drive.
- Open Files and browse to the folder where you want the PDF.
- Tap the three dots at the top right.
- Select Scan Documents.
- Capture each page as before.
- Tap Save, name the file and confirm.
This is the quickest path when your goal is a PDF file, because it skips the step of exporting from a note.
Notes or Files: Which One
| Feature | Notes App | Files App |
|---|
| Saves as | Note attachment | PDF file |
| Export step needed | Yes | No |
| Combine with other text | Yes | No |
| Folder control | Limited | Full |
Get Sharp, Even Pages
A scan that looks fine on a phone screen can look soft once it is enlarged in a flipbook viewer. Fixing this at capture time is far easier than fixing it afterward.

Lighting Rules
- Use daylight whenever possible. A bright window beats any lamp.
- Avoid placing a lamp directly above the page, which creates a hot spot.
- Turn off the flash. It flattens detail and bounces off glossy paper.
- Keep the light the same across the whole batch so pages look consistent.
Steadying the Phone
Blur is the most common complaint. Rest your elbows on the table and exhale as the shutter fires. If you have a small stand or a stack of books to lean the phone on, even better.
Handling Books and Bound Pages
Bound books curve near the spine, which bends text. Press the page flat with a clean sheet of glass if you have one, or hold the edges gently with your fingertips. Then crop the fingers out in the editing screen.
💡 Pro tip: If a page keeps curling, scan it in manual mode and place a small weight, such as a pencil, on the far corner just outside the frame.
Fix Problems After Scanning
Every scan batch has a few weak pages. The editing screen lets you repair them before you save.
Common Issues and Fixes
| Problem | Likely Cause | Fix |
|---|
| Page looks tilted | Phone held at an angle | Retake from directly above |
| Shadow across one side | Light from behind you | Move the lamp to the side |
| Washed out text | Overexposed window light | Pull the curtain partly closed |
| Gray, muddy background | Poor lighting | Switch the filter to Color or Grayscale |
| Cropped edge | Auto crop misjudged the page | Drag the corner handles outward |
Choosing a Filter
The iPhone offers four filters: Color, Grayscale, Black and White, and Photo. For flipbooks, use these rules:
- Color for brochures, magazines and anything with pictures.
- Grayscale for text heavy pages with light imagery.
- Black and White for plain typed text, since it gives the smallest file size.
- Photo for old photographs and artwork where you want a faithful look.
Build One PDF From Many Pages
A flipbook needs a single PDF with pages in the right order. If you saved from the Files app, you already have one. If you used Notes, export the note as a PDF through the share sheet.
Reordering and Deleting
Open the PDF in Files, tap the page thumbnail sidebar, and drag pages into position. You can also rotate or remove pages here. Check the order twice. It is much easier than rebuilding the flipbook later.
File Size Targets
Large scans can make a flipbook slow to load. Aim for a balance between sharpness and weight.
| Document Type | Suggested Pages | Typical PDF Size | Recommendation |
|---|
| Recipe collection | 20 to 40 | 8 to 20 MB | Color filter |
| Printed handbook | 30 to 80 | 5 to 15 MB | Grayscale |
| Brochure | 4 to 16 | 3 to 10 MB | Color filter |
| Portfolio | 10 to 30 | 15 to 40 MB | Photo filter |
⚠️ Heads up: If your PDF passes 50 MB, rescan the photo heavy pages in Grayscale or reduce the number of pages in one document.
Turn the PDF Into a Flipbook
This is where the stack of paper becomes something people want to open. The PDF to Flipbook Converter does the heavy lifting, and you can do the entire thing from the same iPhone.

How to Create a Flipbook with Flipbooks AI
- Sign up. Go to Flipbooks AI and create an account. It takes under a minute.
- Upload the PDF. Tap the upload area and choose your scanned file from Files or iCloud Drive. Conversion starts automatically and the pages appear in order.
- Customize. Add your branding, pick background colors, choose a page-turn effect and set the cover. You can also embed videos and audio into individual pages.
- Set sharing options. Copy a direct link, grab an embed code for your website, or add password protection for private material such as family records.
- Publish. Share the link by message, email or QR code.
The platform has no watermarks, and the result is mobile responsive, so it reads well on the same phone you scanned with.
What Plan Fits
| Need | Suggested Option | Notes |
|---|
| One or two personal flipbooks | Entry plan | Good for recipes or photo albums |
| Many flipbooks | Standard plan and above | Unlimited flipbooks |
| Visitor analytics and lead capture | Professional plan | Useful for business catalogs |
Compare the pricing plans to see what fits your project, or browse all flipbook tools for templates built around specific uses.
Real Examples Worth Copying
Scanning is a skill with many applications. Here are scenarios that work well with a phone and a table.
Family Recipe Book
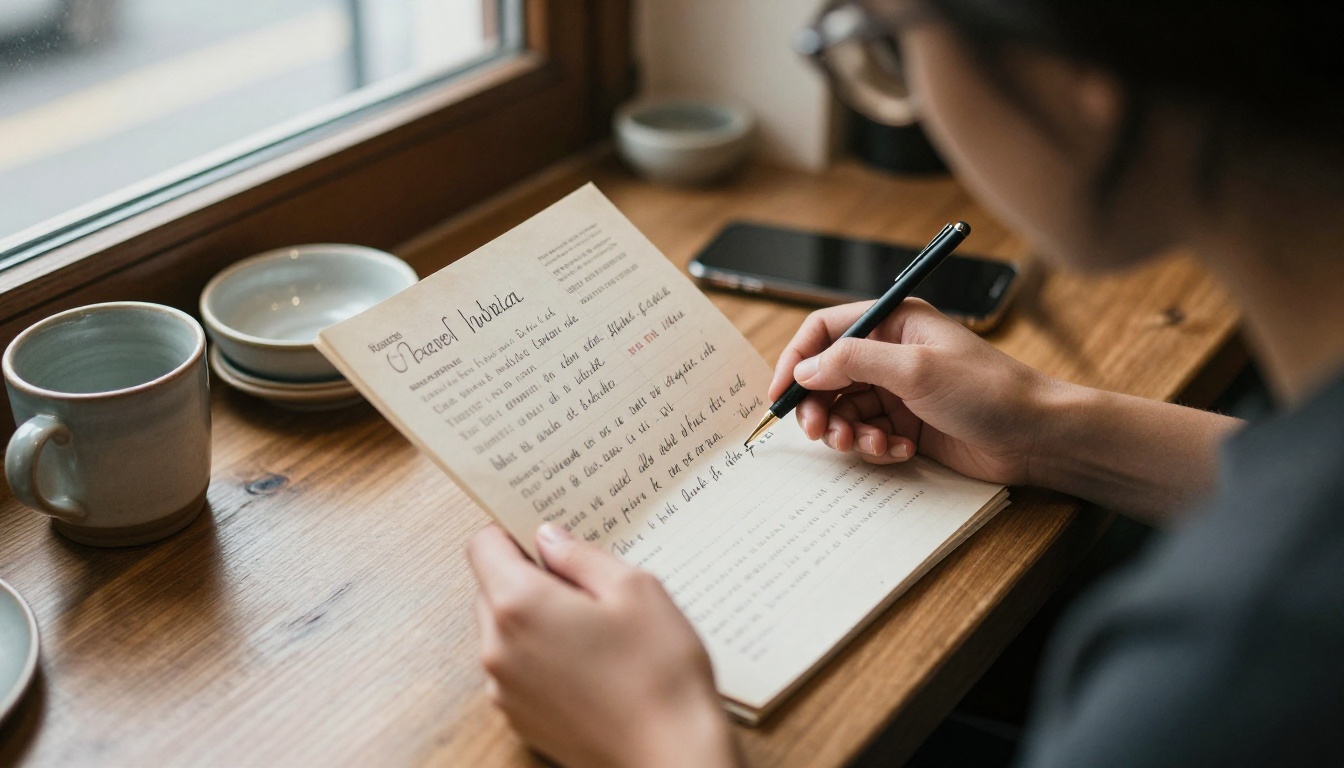
Scan handwritten cards on a dark backdrop, keep the Color filter so the ink and stains look authentic, and publish with the Recipe Book Flipbook tool. Relatives anywhere can flip through grandma's cooking with one link.
Small Business Price List
A shop owner with a printed price sheet can scan it in Grayscale, convert it and share it with customers through the Digital Price List Generator. When prices change, upload a fresh scan and the link stays the same.
Student Portfolio
An art student can photograph sketchbook pages with the Photo filter and present them through the Digital Portfolio Creator, no flatbed scanner needed.
Event Program
Organizers with a printed schedule can digitize it a day before the event and share a single QR code using the Event Program Maker.
Mistakes That Waste Time
Most scanning headaches come from the same few habits. Avoid these and your first batch will already look professional.
- Scanning under a ceiling light. Overhead light creates glare. Move to a window.
- Skipping the order check. Pages scanned out of sequence need to be dragged back one at a time.
- Leaving staples in. Staples lift the page and cast tiny shadows.
- Using the wrong filter. Black and White can wipe out the detail in pictures.
- Rescanning one page at a time. Replace several weak pages in a single pass instead.
Share and Keep It Updated
Once your flipbook is live, you can send the link, embed it in a page, or print a QR code onto packaging or a flyer. Offline downloads let readers keep a copy, and the Professional plan adds analytics so you can see which pages hold attention.
If you ever need to correct a page, rescan only that sheet, swap it into the PDF and re-upload. For website owners, the Embed Flipbook on Website tool shows how to place the viewer on any page.
Your Next Step
Grab the first stack of paper within reach, find a window and scan five pages right now. You will have a clean PDF in minutes and a flipbook in a few more.
Ready to publish? Get started for free on Flipbooks AI, browse the tools and templates for your project, or compare plans to pick the one that suits your volume of pages.



