You have a document full of text and photos, and you want it to look like a real booklet that folds in half and sits neatly in someone's hand. Microsoft Word can do that without any design software, thanks to a setting called Book Fold. Once your booklet is printed, you can also publish the same file online as a page-turning edition with Flipbooks AI, so people who never touch paper can read it too.
This tutorial walks through the whole process: where the setting lives, how to choose page counts, how to fix margins, how to print on both sides, and how to fold and staple the result. Along the way you will find tables, checklists and fixes for the mistakes that ruin most first attempts.
What Book Fold Actually Does
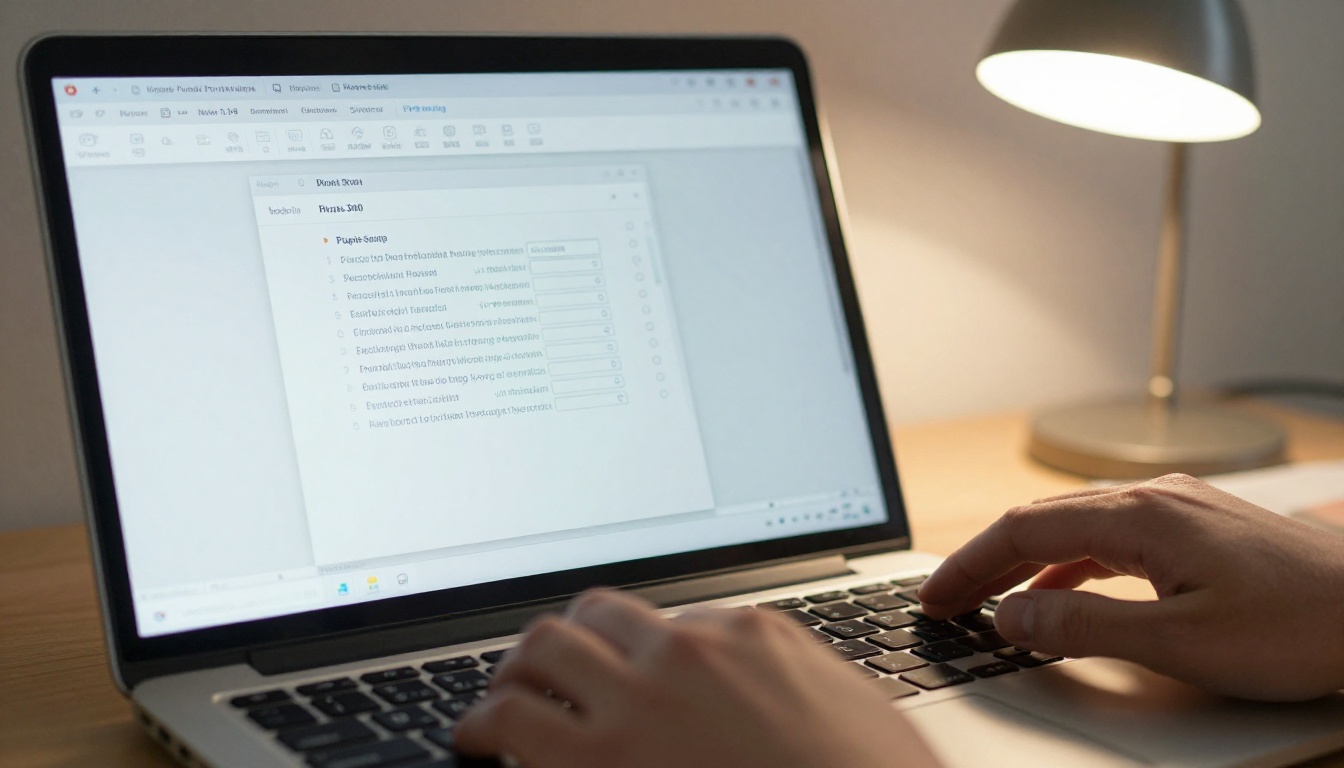
Book Fold tells Word to treat each sheet of paper as two pages side by side. Instead of printing page 1 on one sheet, Word rearranges the pages so that when you print double-sided and fold the stack in half, everything reads in the right order.
Without it, you would have to work out the page order by hand. For a 12-page booklet, the first sheet carries pages 12 and 1 on the outside and pages 2 and 11 on the inside. Word does this math for you.
Book Fold vs Other Layouts
| Layout option | Pages per sheet | Fold needed | Best for |
|---|
| Normal | 1 | None | Letters, reports |
| 2 pages per sheet | 2 | None (cut apart) | Handouts, drafts |
| Book fold | 2 per side, 4 per sheet | Once, in half | Booklets, programs, zines |
| Mirror margins | 1 | None | Bound reports |
💡 Book Fold works best when your final page count is a multiple of four, because each folded sheet makes four pages.
What You Need Before You Start
Gather a few things first so you do not stop halfway:
- Microsoft Word (2016, 2019, 2021 or Microsoft 365 on Windows or Mac)
- A printer that supports double-sided printing, either automatic or manual
- Paper in the size you want for the open sheet, such as Letter or A4
- A ruler, a bone folder (or the back of a spoon) and a long-reach stapler
Choosing Your Paper Size
Here is the part many people get wrong. The paper size you choose in Word is the size of the open sheet, not the folded booklet. A Letter sheet (8.5 x 11 in) set to landscape folds into a booklet with pages of 5.5 x 8.5 in. An A4 sheet folds into A5 pages.
| Sheet size (landscape) | Folded page size | Typical use |
|---|
| Letter, 11 x 8.5 in | 5.5 x 8.5 in | Event programs, short manuals |
| A4, 297 x 210 mm | 148 x 210 mm (A5) | Brochures, workbooks |
| Legal, 14 x 8.5 in | 7 x 8.5 in | Wide-format booklets |
| Tabloid, 17 x 11 in | 8.5 x 11 in | Large magazines, catalogs |
How to Turn On Book Fold in Word
Follow these steps in order. The order matters, because changing the layout after writing can shift your text.
- Open your document, or start a blank one.
- Click the Layout tab (called Page Layout in some versions).
- Click the small arrow in the bottom-right corner of the Page Setup group to open the dialog.
- On the Margins tab, find the Pages section and open the Multiple pages dropdown.
- Choose Book fold.
- Notice that the orientation switches to landscape automatically. Leave it that way.
- Under Sheets per booklet, pick Auto or set a specific number.
- Go to the Paper tab and confirm the paper size.
- Click OK.
Your document now shows pages in a half-sheet width. Each screen page is one booklet page.
⚠️ Set Book Fold before you add photos and tables. Changing it later makes Word resize the page and everything on it reflows.
Sheets Per Booklet Explained
This setting decides how many sheets are nested into one stack before the next one starts.
| Setting | What happens | When to use it |
|---|
| Auto | All pages go into one stack | 8 to 32 pages |
| 4 sheets | Groups of 16 pages | Thick documents you plan to bind |
| 8 sheets | Groups of 32 pages | Perfect-bound books |
| 1 sheet | Single folded sheet, 4 pages | Short flyers or menus |
For a stapled booklet, Auto is almost always the right choice. Anything over about 40 pages gets bulky, and the inner pages start to push out past the cover edge, a problem called creep.
Fix Margins and the Gutter
After you switch on Book Fold, the margin labels change. Instead of left and right, you will see Inside and Outside. The inside margin is the edge near the fold, and the outside margin is the edge that opens.
Recommended Margin Settings
| Margin | Starting value | Why |
|---|
| Top | 0.75 in (19 mm) | Keeps headers away from the trim |
| Bottom | 0.75 in (19 mm) | Leaves room for page numbers |
| Inside | 0.9 in (23 mm) | Compensates for the fold and staples |
| Outside | 0.6 in (15 mm) | Prevents text from being cut by printer limits |
| Gutter | 0.2 in (5 mm) | Extra room at the spine |
Most office printers cannot print to the paper edge. If you see a warning that margins are outside the printable area, click Ignore only after test-printing, or increase the outside margin slightly.
✅ Print one test sheet first. Fold it, hold it, and check that nothing disappears into the spine.
Build the Content Layout
A good booklet is not just text in a smaller page. Treat each half-sheet as a small page with its own rhythm.
- Front page: one strong title, one image, almost no text
- Page 2: often left blank or used for a short note or contents list
- Inner pages: a mix of headings, short paragraphs, and one visual per spread
- Back page: contact details, a link, or a QR code
Text Size That Reads Well
Since the page is half the usual size, text that looks fine on a full page can feel too large. Aim for these starting points:
| Element | Size | Notes |
|---|
| Body text | 10 to 11 pt | Serif or clean sans-serif |
| Headings | 16 to 20 pt | Bold, short |
| Captions | 8 to 9 pt | Italic works well |
| Page numbers | 8 pt | Place on the outside corner |
Add Page Numbers That Make Sense
Go to Insert, then Page Number, and pick a position in the footer. For booklets, outside corners are easiest to scan. Right-aligned numbers on right pages and left-aligned on left pages need Different Odd & Even Pages turned on in the Header & Footer tools.
Print Double-Sided the Right Way
Printing is where most booklets fail. Word creates the page order, but your printer has to flip each sheet correctly.
Automatic Duplex Printing
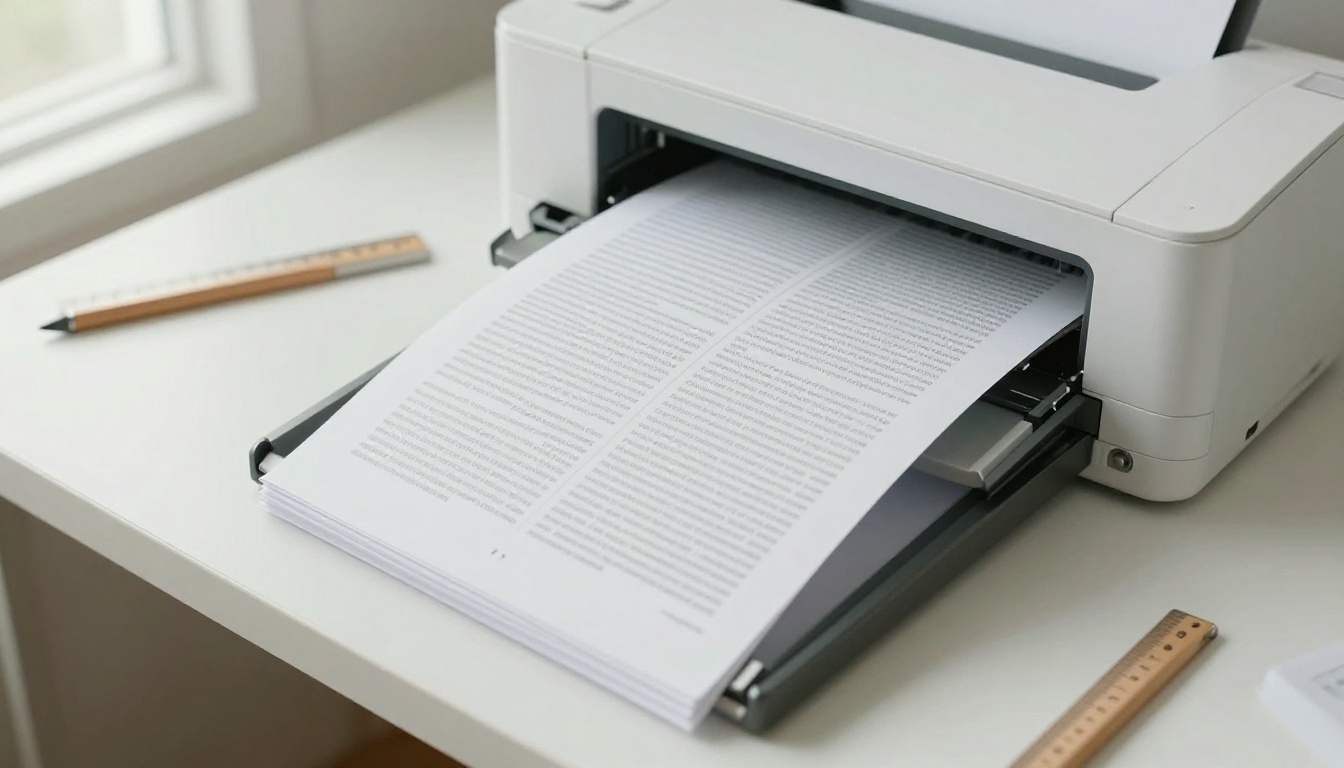
- Go to File, then Print.
- Select your printer.
- Under Settings, choose Print on Both Sides.
- Pick Flip pages on short edge. This one is critical for landscape booklets.
- Print.
If you choose the long edge by mistake, the back of every sheet will appear upside down.
Manual Duplex Printing
If your printer has no duplex unit, choose Manually Print on Both Sides. Word prints the front of every sheet first, then prompts you to flip the stack and reload it.
💡 Check how your printer expects paper to come back. Mark the top of the first sheet with a pencil, run a two-sheet test, and note which way the pencil mark ends up.
Common Printing Problems
| Problem | Likely cause | Fix |
|---|
| Back pages upside down | Flipped on long edge | Switch to short edge |
| Pages in the wrong order | Book Fold not applied | Reopen Page Setup and reselect it |
| Text cut off at edges | Margins too small | Raise outside margin to 0.6 in |
| Text lost in the spine | Inside margin too small | Add 0.1 to 0.2 in of gutter |
| Blank pages at the end | Page count not a multiple of four | Add or remove pages |
Fold, Crease and Staple
Once everything prints correctly, the physical work is quick.
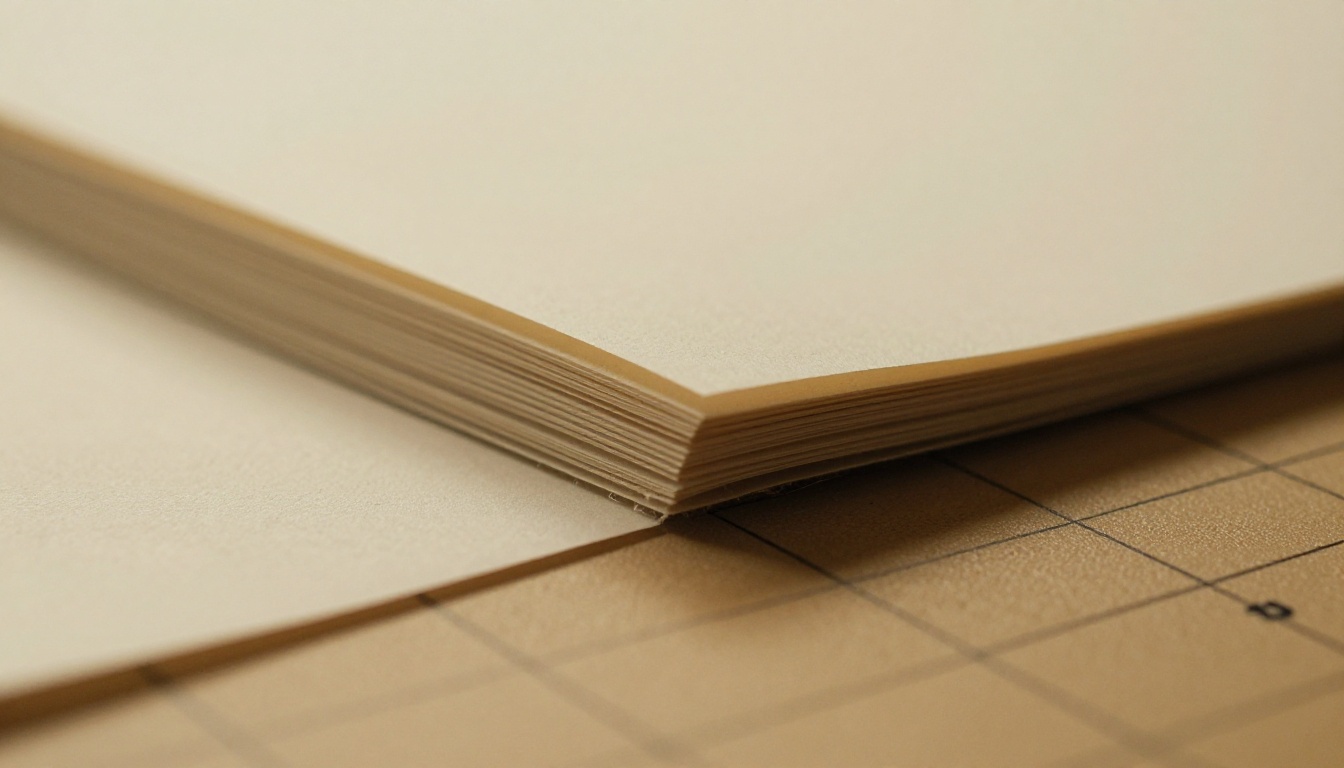
- Collate the sheets in order, with the outer sheet on top and the innermost sheet at the bottom.
- Align the edges by tapping the stack on the table.
- Fold the whole stack in half at once, with the first page facing out.
- Crease the spine with a bone folder, pressing from the center outwards.
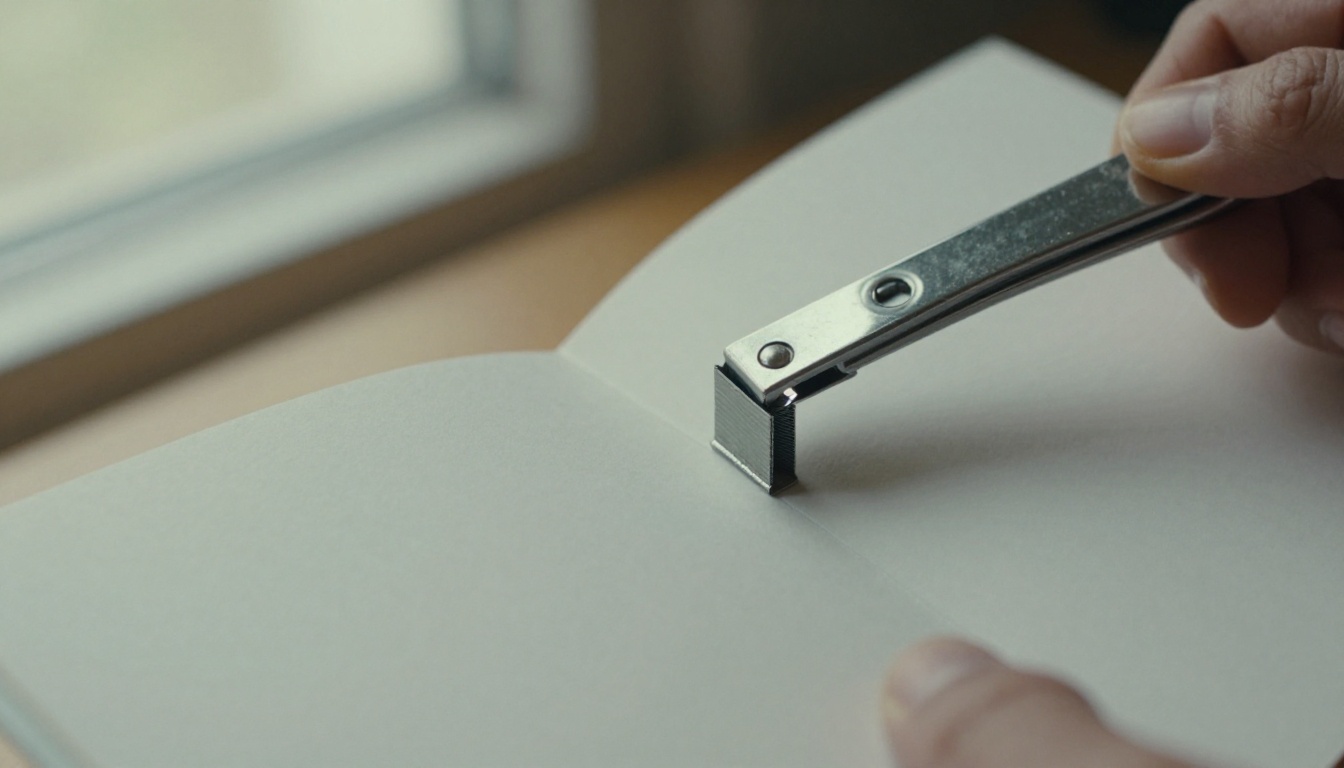
- Staple twice along the fold, about one third in from each end. Open the booklet flat and use a long-arm stapler, or use a regular stapler on a folded towel as a cushion.
Handling Creep on Thicker Booklets
When several sheets are nested, the inner pages stick out slightly past the outer ones. For up to 20 pages, you can ignore it or trim the open edge with a paper cutter. For thicker booklets, increase the outside margin a little, so that trimming does not clip text.
Real-World Uses for Folded Booklets
Booklets are useful in more places than you might expect:
- A café owner prints a four-sheet menu and drink list for tables.
- A teacher assembles a 16-page workbook for a unit and updates it every term.
- A wedding planner produces a short program with the order of the ceremony and a map.
- A real estate agent hands out a property summary at open houses.
- A museum volunteer prepares a visitor leaflet for a single exhibit.
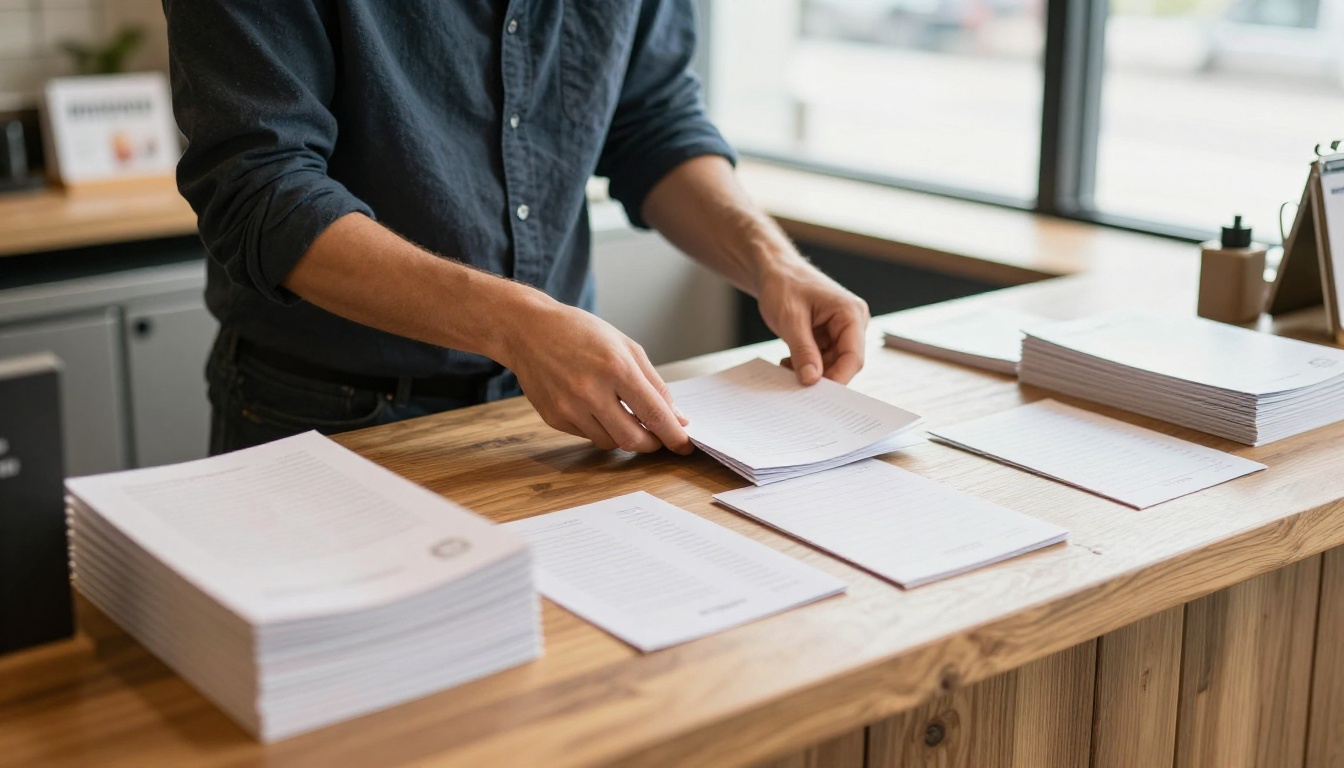
Each of these stays cheap to produce because the only supplies are paper and staples.
Print vs Digital: Do Both
A folded booklet is great for the counter, but you cannot update it after it is printed and you cannot track who reads it. A digital edition solves both problems.
The easiest route is to export your Word file as a PDF (File, Save As, PDF) and upload it to a flipbook maker. Export the normal single-page version, not the Book Fold version, unless you want readers to see two booklet pages per screen page.
Make a Flipbook from Your Booklet
Here is how to do it with Flipbooks AI:
- Create a free account on the account page.
- Upload your PDF using the PDF to Flipbook Converter. Conversion takes only a short while.
- Customize the look: add your logo, choose colors, and pick a page-turn effect.
- Add audio or video to pages that benefit from it.
- Share it with a direct link, or paste the code from the Embed Flipbook on Website tool into your site.
- Protect private versions with a password.
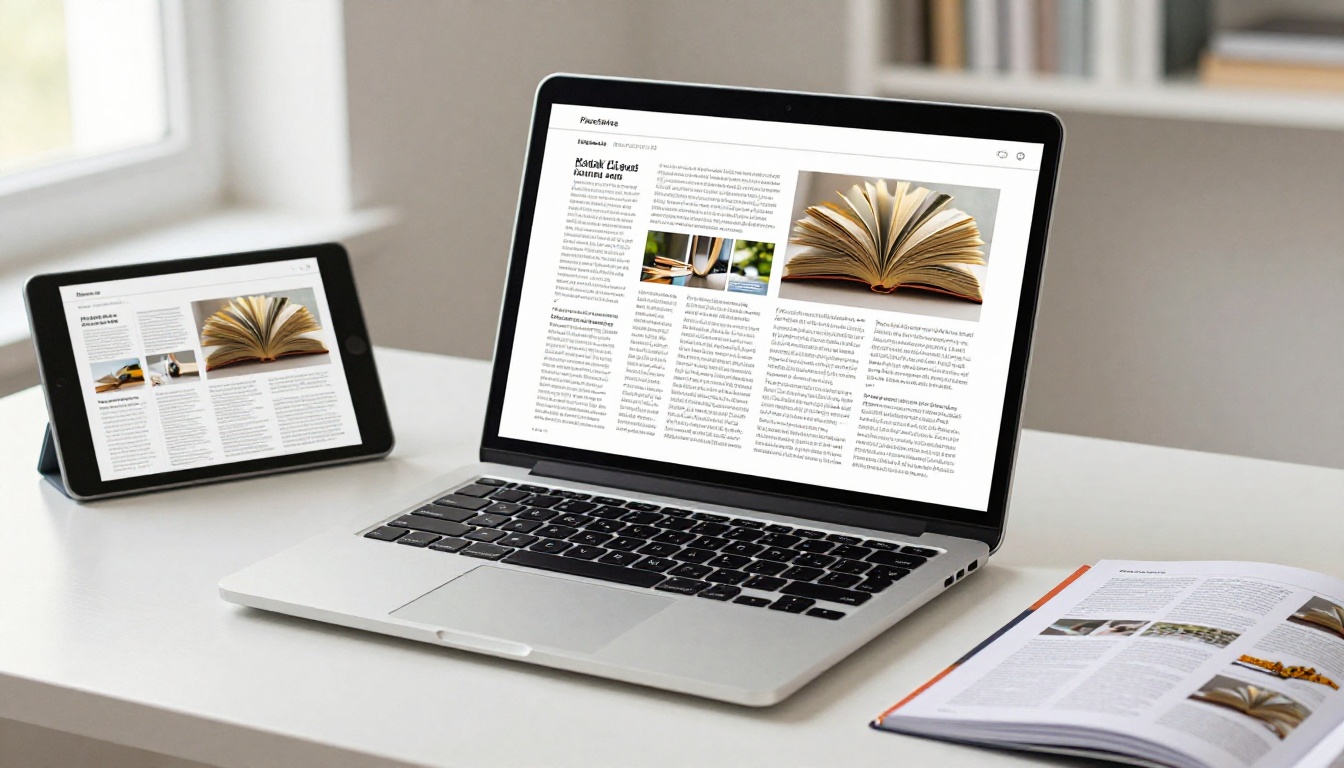
There are no watermarks, and the result works on phones as well as desktops. Professional plan users also get analytics, lead capture and offline downloads. See the pricing plans for details.
Which Tool Fits Your Booklet?
7 Mistakes to Avoid
- Forgetting to count pages. A 10-page file leaves blank pages. Pad it to 12.
- Setting paper size to the folded size. Use the open sheet size.
- Skipping the test print. One wasted sheet saves twenty.
- Using full-bleed images. Most office printers leave a white border. Keep key visuals inside the margins.
- Flipping on the long edge. Always choose short edge for landscape.
- Tiny fonts. Anything under 9 pt becomes hard to read at arm's length.
- Stapling before checking order. Flip through the loose stack first.
Quick Checklist Before You Print
Ready to Share Your Booklet Online?
Print the paper version for people in the room, then publish the digital one for everyone else. Get started for free on Flipbooks AI, browse all flipbook tools to find a layout that suits your project, or compare pricing plans to pick what works for you.



