A student who lands in a new country at 6 a.m. with two suitcases, a dead phone, and no idea where the housing office is will remember that first morning for years. The best international student welcome packs universities send before arrival exist to prevent that morning. They answer questions before anyone has to ask them, and they turn a nervous applicant into someone who already knows the route from the airport to the dorm. In this article we look at what the strongest packs contain, when to send each piece, and how teams can build them as interactive documents with Flipbooks AI instead of 40 page PDF attachments that nobody opens.
Why Welcome Packs Matter

International students make dozens of decisions between acceptance and arrival: visa, flights, housing, health insurance, money, and which course units to pick. Every unanswered question is a chance for a student to defer, drop out of the pipeline, or arrive stressed. A well built pack lowers that risk.
Universities that invest in pre-arrival material usually report the same pattern:
- Fewer repeat emails to the international office in August and September.
- Higher deposit to enrollment conversion, because students feel wanted before they land.
- Smoother first week, with fewer missed registration slots and fewer late arrivals to orientation.
- Better parent confidence, which matters a lot in markets where families fund the degree.
💡 Pro tip: Treat the pack as a sales document and a service document at the same time. It reassures, but it also proves the university is organized.
The Real Cost of Silence
When a student hears nothing for six weeks after paying a deposit, doubt grows. Competing offers, visa delays, and rumors on social media fill the gap. A steady drip of useful material keeps the university present in the student's mind.
Who Reads These Packs
It is not only the student. Parents, sponsors, agents, and sometimes a school counselor read the pack too. Write for a tired 19 year old on a phone, but keep facts precise enough for a parent reading every line.
What Goes Inside the Pack
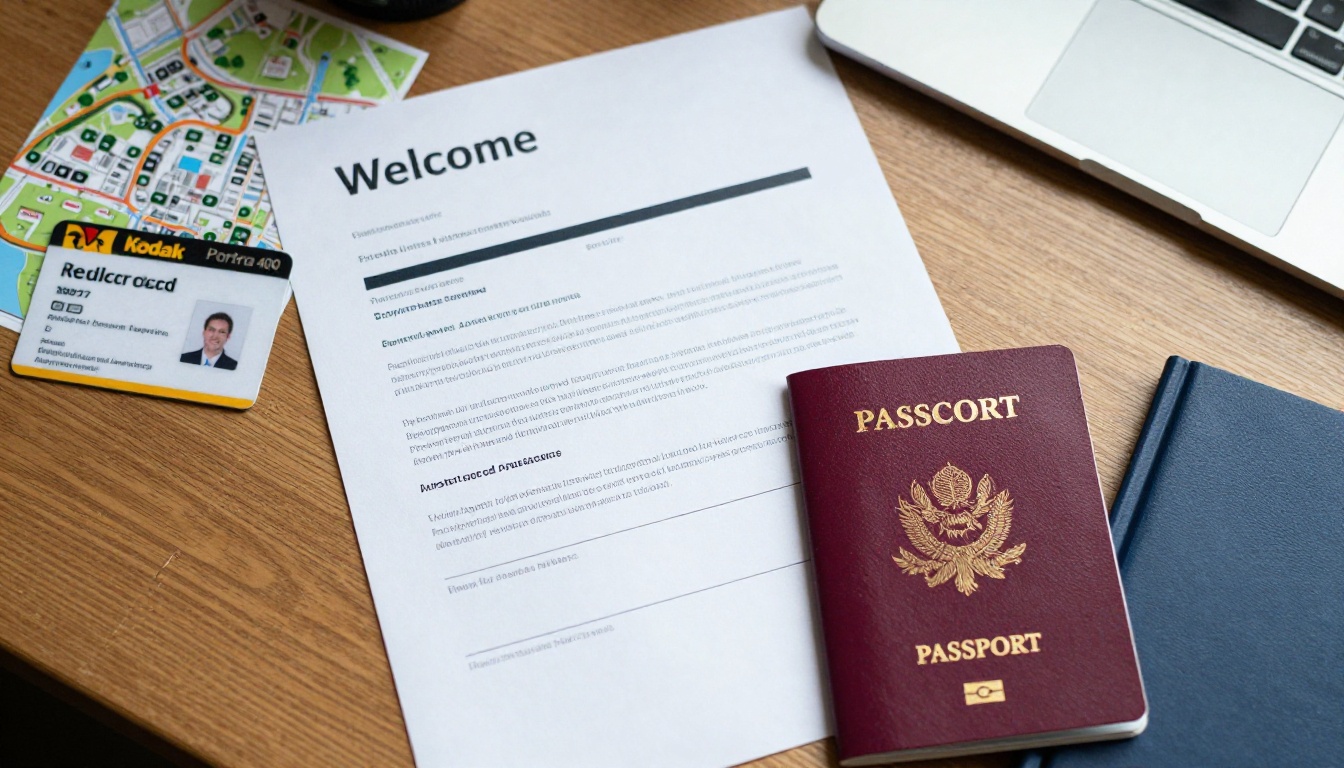
The contents fall into five groups. Skip any of them and the support inbox will tell you about it.
Legal and Visa Basics
This is the part students worry about most. Include a plain language checklist: documents to carry in hand luggage, how to read the acceptance letter, what immigration officers may ask, and the deadline for registering with local authorities.
Travel and Arrival Details
- Airport pickup options with booking links and prices
- Public transport routes from the airport and main train station
- Arrival day opening hours for housing and ID card offices
- An emergency phone number that works from the airport
Housing and Daily Life
Photos of actual rooms beat any marketing text. Add a list of what is provided (bedding, kitchen items) and what to buy locally. A short note on tipping, tap water, plug adapters, and grocery stores saves hundreds of small worries.
Money and Admin
Banks, SIM cards, health insurance, and tax numbers are the four tasks that eat the first two weeks. Explain each one in order, with the documents needed.
Belonging and Community
Student societies, language cafes, faith spaces, and buddy programs belong in the pack, not hidden on a website. This is the section that makes students feel they have a place.
| Pack Section | Main Question Answered | Best Format | Send By |
|---|
| Visa and legal | Can I enter and stay? | Checklist with links | 10 to 12 weeks out |
| Travel and arrival | How do I get there? | Map plus short video | 4 to 6 weeks out |
| Housing | Where will I sleep? | Photo gallery | 8 weeks out |
| Money and admin | How do I pay and connect? | Step by step list | 4 weeks out |
| Community | Who will I meet? | Profiles and events | 2 weeks out |
A Month by Month Timeline
Sending everything on day one overwhelms people. Splitting the pack across the calendar keeps each message relevant.
Three Months Before
Send the visa pack and the housing application reminder. Students who read this one can act on it immediately, and visa timelines are the longest in the process.
Six to Eight Weeks Before
Send housing photos, flight advice, and the health insurance explainer. This is also the moment for a short welcome note from a current student from the same country. Peer voices convert better than official ones.
Two to Four Weeks Before
Send the arrival day guide, the packing list, and the first week schedule. Include a short checklist with a deadline for each item.
The Week of Departure
A short message with the pickup details, the emergency number, and one warm sentence. Keep it tiny. Anything longer will not be read on the way to the airport.
✅ Best practice: Put the arrival day page in a format that works offline. Airport wifi is unreliable, and roaming data is expensive for a student who just arrived.
Paper, PDF, or Interactive Flipbook
Many universities still mail a printed box. That feels special, but international postage is slow, costly, and sometimes blocked by customs. A PDF is cheap, but it is hard to read on a phone, cannot be tracked, and goes stale the moment a phone number changes. An interactive flipbook sits between the two: it feels like a booklet, opens on any device, and can be updated without resending anything.
| Format | Cost per Student | Mobile Friendly | Easy to Update | Tracks Opens |
|---|
| Printed box | High | Not applicable | No | No |
| Plain PDF attachment | Very low | Poor | No | Limited |
| Interactive flipbook | Low | Excellent | Yes | Yes |
The right choice for most teams is a hybrid: a small printed welcome card with a QR code, and a flipbook behind it holding the live content.
Why Updates Matter
Bus timetables change. Office hours change. A banking partner changes its student offer in July. With a flipbook link, you edit once and every student sees the new version.
Why Tracking Matters
If 60 percent of admitted students from one country never open the visa section, you know where to follow up. That insight is impossible with a mailed box.
How to Create a Welcome Pack with Flipbooks AI

If your international office already has the content in Word or a design tool, building the interactive version takes under an hour. Here is the process.
- Create an account. Go to Flipbooks AI and sign up. Compare pricing plans if you plan to build one pack per intake or per country.
- Export your pack as a PDF. Keep one topic per page spread: visa, travel, housing, money, community. Use large type, because most students will read on a phone.
- Upload and convert. Use the PDF to Flipbook Converter. The pages turn into a page flip booklet in seconds.
- Apply your branding. Add the university colors and logo, choose the page effect, and set the cover. There are no watermarks, ever.
- Add multimedia. Embed a campus tour video, an audio greeting from the international director, and links to booking pages.
- Choose sharing options. Share a direct link, embed the flipbook on your website, or print the link as a QR code on the welcome card. Use password protection if the pack includes personal reference numbers.
- Track and refine. On the Professional plan you get analytics and lead generation tools, so you can see which sections are read and who has not opened the pack at all.
If your team publishes other student material, the same workflow applies to a Course Material Publisher project or a Travel Guide Flipbook covering the city itself. You can browse all flipbook tools for related templates.
💡 Pro tip: Make one master pack, then duplicate it for each country and swap only the visa and currency pages. That keeps maintenance low and relevance high.
Real Examples That Work

These are scenarios, not named institutions, but each reflects approaches that international offices use.
The Peer Letter Pack
A mid sized university in the UK pairs every admitted student with a current student from the same region. The pack opens with a short personal letter from that peer, followed by a photo tour of the dorm. Students reply to the peer instead of the office, which cuts the workload and builds friendship before arrival.
The Arrival Day Booklet
A Canadian college sends a separate small booklet, only six pages, for the 48 hours around landing. It includes a map, a bus fare table, and a "first night" checklist. Short, specific, and usable offline.
The Parent Edition
An Australian institution produces a second version for parents in the family's language. It explains fees, safety, and healthcare. Applicants reported that this version helped families accept the offer faster.
| Example | Core Idea | Result Sought |
|---|
| Peer letter pack | Human voice first | Higher reply rate |
| Arrival day booklet | Short and offline | Fewer first day problems |
| Parent edition | Translated, reassuring | Faster family approval |
Design Rules That Help

Good content can still fail if the layout makes it hard to use. Keep these rules in view.
Write in Plain English
Many readers use English as a second or third language. Use short sentences. Avoid idioms such as "hit the ground running" and slang such as "freshers" without a definition. Spell out acronyms the first time.
Put the Next Step on Every Page
Each spread should end with one clear action: book the pickup, upload the form, join the group chat. Pages without an action become decoration.
Use Real Photos
Stock images of laughing strangers feel empty. Photos of the actual residence hall, the actual bus stop, and actual staff feel honest.
Respect Time Zones and Languages
Show office hours in the student's local time as well as campus time. Offer translated key pages for the largest groups in your applicant pool.
⚠️ Warning: Never promise housing or visa outcomes in the pack. State the process and the deadlines, and link to official sources for anything legal.
Mistakes to Avoid

After reviewing how many packs are built, the same errors appear again and again.
- One giant attachment. A 60 page PDF is skipped. Split by topic.
- Outdated information. A wrong phone number is worse than none.
- Only marketing tone. Students want dates, prices, and addresses, not slogans.
- No mobile test. Open the pack on an old phone before you send it.
- Nothing about belonging. Practical tips matter, but so does the invitation to be part of a community.
- No measurement. Without open data, you cannot improve next year's pack.
A Quick Self Check
Before sending, ask a recent international graduate to read the pack and mark every sentence that confused them. Fix those first.
The First Week Checklist
A strong pack ends with a short, ordered checklist for week one. Students can tick it off on a phone as they go.
- Register arrival with the university and collect the student ID card
- Complete the local registration required by immigration rules
- Open a bank account with the documents listed in the pack
- Buy a local SIM card or set up an eSIM
- Activate the university email and learning platform
- Attend the international orientation session
- Meet your buddy or join one student society
| Task | Where | Documents Needed | Typical Time |
|---|
| ID card | Student services | Passport, acceptance letter | 30 minutes |
| Bank account | Partner bank branch | Passport, proof of enrollment | 1 hour |
| SIM card | Mobile shop | Passport | 20 minutes |
| Health cover | Insurance office | Policy number, passport | 45 minutes |
Send the Pack That Gets Read
Students do not need more information. They need the right information, in the right order, in a format that works on a cracked phone at an airport. Build a pack that is short per topic, honest about costs, and easy to update. Then measure what students open and improve it every intake.
Ready to build yours? Get started for free on Flipbooks AI, browse the tools and templates, or compare pricing plans to pick the plan that suits your international office.



