Every year, moms get the same gifts: candles, mugs, a hurried card. Then one of them opens a wobbly little book where a six-year-old wrote that "my mom is 100 years old and she is the best at pancakes," and suddenly nothing else on the table matters. That is the power of Mother's Day book ideas kids can make, and the "All About My Mom" page is the easiest place to begin. You can build one with paper, crayons, and twenty minutes, then turn the finished pages into a digital keepsake with Flipbooks AI so grandparents and cousins can flip through it too.
This article gives you ready-to-use page prompts, age-by-age adjustments, supply lists, and a simple way to preserve the finished book. Whether you are a parent, a teacher with 28 kids, or a grandparent helping out on a rainy Saturday, you will find something that fits.
Why Homemade Books Beat Store Gifts
Store-bought presents get used and forgotten. A child's book gets reread. Handwriting changes every year, so each book becomes a snapshot of who your child was at that exact age.
Here is what makes these books special:
- They capture real voices. A kid's answer to "What does Mom do all day?" is funnier and more honest than any greeting card.
- They cost almost nothing. Printer paper, a stapler, and a box of crayons are enough.
- They build writing and observation skills. Kids practice sentences, spelling, and noticing details about someone they love.
- They work for any family. Swap "Mom" for Grandma, Stepmom, Aunt, or Foster Mom without changing a single layout.
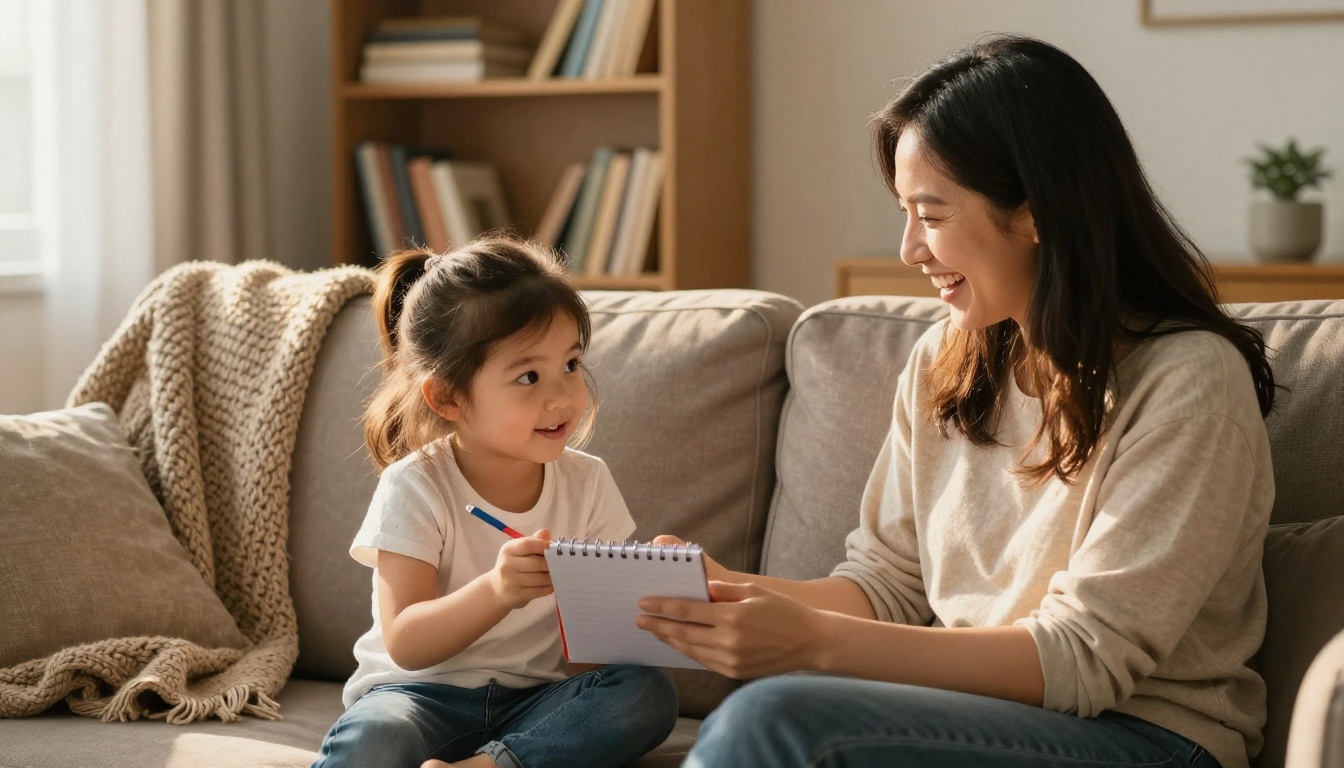
💡 Pro tip: Ask the child to interview Mom first. Kids who hear her answers often write better pages, because they have real details to work with.
The Classic All About My Mom Page
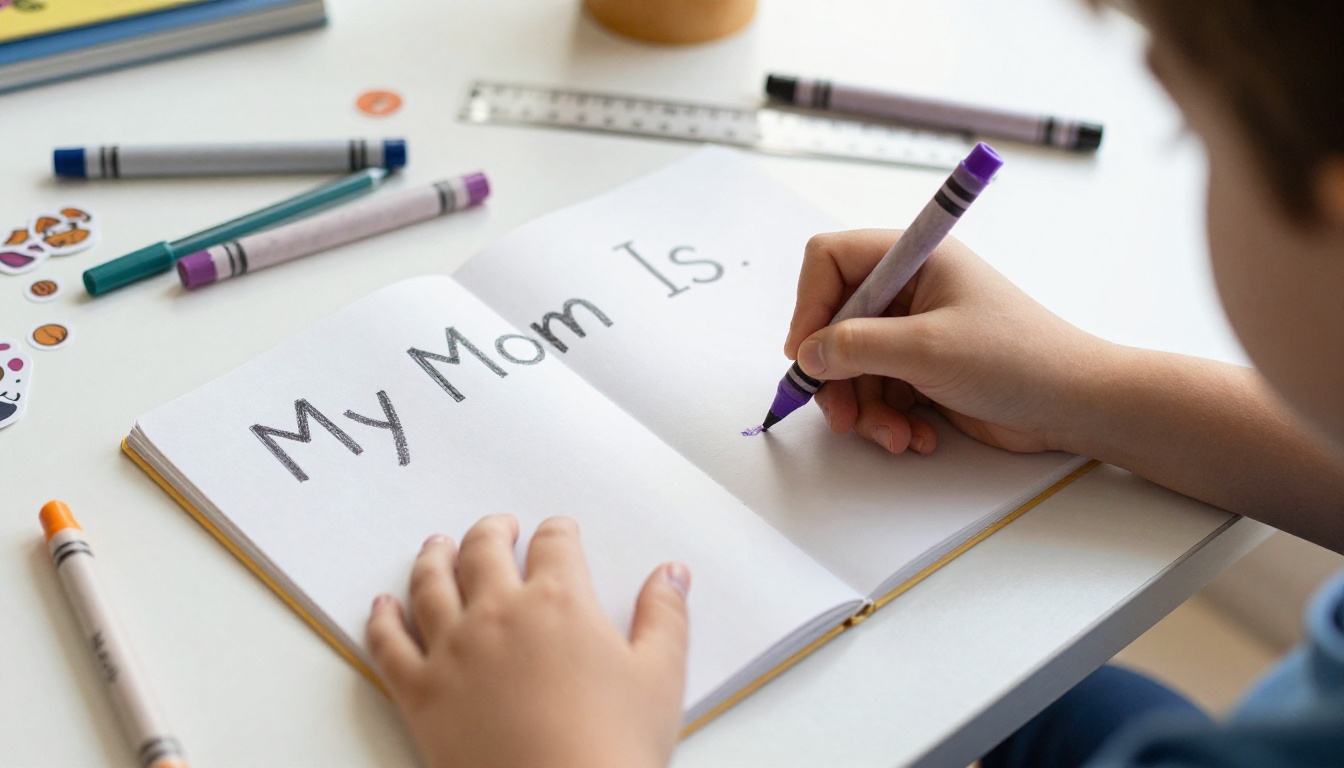
The core idea is a single page of fill-in sentences, paired with a drawing. Kids complete the sentences with their own words, and the result reads like a tiny biography.
Starter sentences that always work
Print or hand-write these at the top of a blank page and leave space for answers:
- My mom's name is ________.
- She is ________ years old. (Kids love guessing here.)
- Her favorite food is ________.
- She is really good at ________.
- She always says ________.
- Our favorite thing to do together is ________.
- When she is happy, she ________.
- I love her because ________.
Add a portrait box
Leave a large rectangle in the middle for a drawing. Little ones draw a stick figure with enormous hair. Older kids sketch a more careful portrait. Both are perfect.
Funny prompts to make Mom laugh
Beyond the sweet questions, a few silly ones add personality:
- If my mom were an animal, she would be a ________.
- Her superpower is ________.
- The thing she says when she cannot find her keys is ________.
- If she ran the world, the first rule would be ________.
Age-by-Age Page Ideas
A four-year-old and a ten-year-old need very different pages. Match the task to the child, and nobody ends up frustrated.
| Age | Page Style | Writing Needed | Best Materials | Time |
|---|
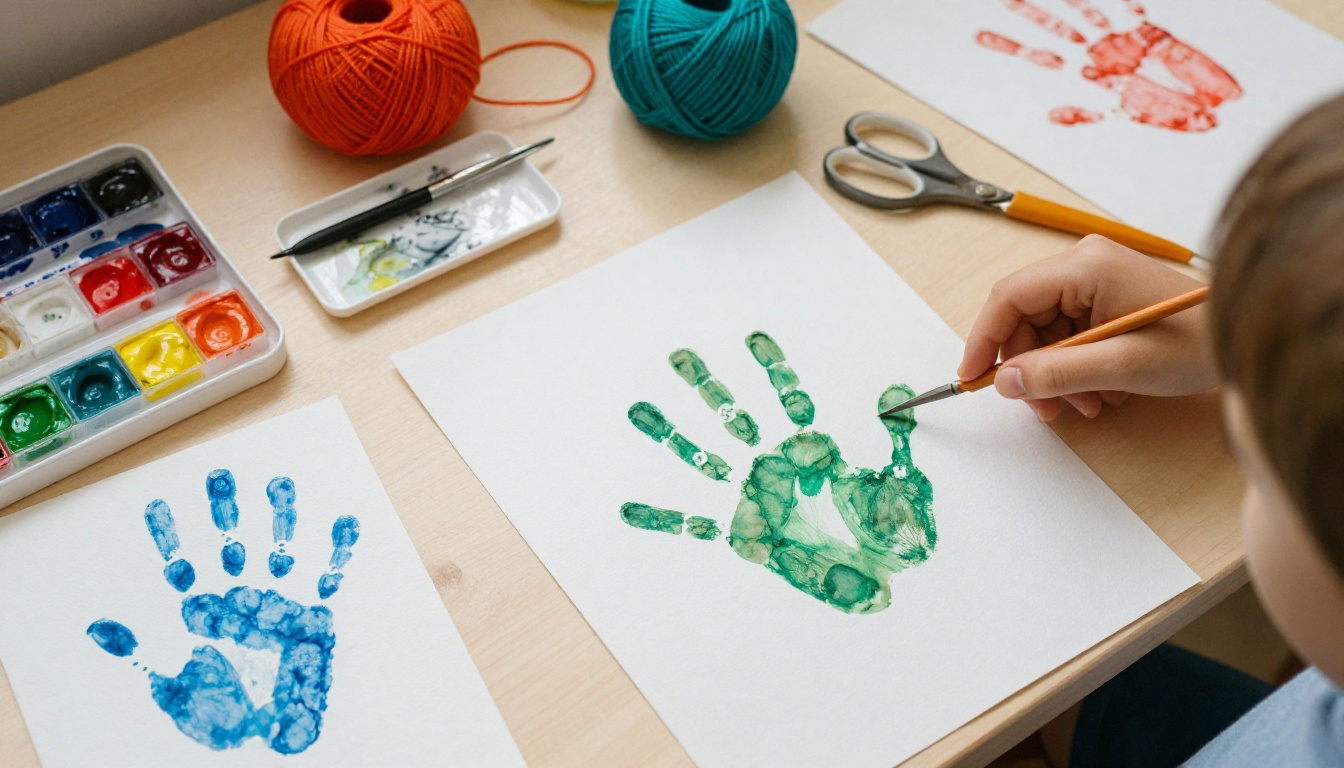
| 3 to 4 | Handprint and scribble portrait | None, parent writes dictated words | Washable paint, thick crayons | 15 minutes |
| 5 to 6 | Fill-in-the-blank sentences plus drawing | One word per line | Pencils, markers, stickers | 20 to 30 minutes |
| 7 to 8 | Short paragraph and "Mom's Top 5" list | Two or three sentences | Colored pencils, glue, magazine cutouts | 30 to 40 minutes |
| 9 to 12 | Multi-page mini biography with timeline | Full paragraphs | Fine-tip pens, watercolor, photos | 60 minutes or more |
✅ Best practice: Never correct spelling on the final page. Misspelled words like "buetiful" are part of the charm, and moms treasure them.
Beyond One Page: Book Ideas Kids Can Make
Once the main page is done, you can grow it into a small book. Pick one theme or combine several.
The twelve-page mini book
Fold three sheets of printer paper in half and staple the spine. You now have twelve pages. A reliable layout looks like this:
- Front page: title and a self-portrait with Mom
- All About My Mom page
- Mom's favorite things
- A recipe Mom makes best
- Things Mom says
- A comic strip of a day with Mom
- Mom's superpowers
- A map of places we go together
- A thank-you list
- A promise page ("I will help with dishes this week")
- A handprint page
- Back page: "The End" and a signature
Coupon book
Kids tear out pages that Mom can redeem: one free hug, one made bed, one breakfast in bed. Make it fun by adding expiry dates and silly fine print.
Alphabet book
Each page is a letter, and the child writes something about Mom for it. "A is for apple pie. B is for bedtime stories. C is for cuddles." Younger kids can do just a few letters and fill the rest with stickers.
Photo and caption book
Print a few family photos, glue one per page, and have the child write a caption. This one pairs well with the interview idea, since captions get more specific when kids ask Mom about the photo.
Then and now book
Mom shares a childhood photo. The child draws Mom as a kid on one page and as a mom on the next. It leads to wonderful conversations.
Craft Supplies and What They Cost
You probably own most of this already. Here is a quick comparison to plan a classroom set or a single home project.
| Supply | Home Project (1 book) | Classroom (25 books) | Notes |
|---|
| Printer paper | 3 sheets | 75 sheets | Heavier cardstock for covers |
| Crayons or colored pencils | 1 box | 8 shared boxes | Pencils hold up better for detail |
| Washable paint | 2 colors | 4 colors with trays | Perfect for handprints |
| Stapler | 1 | 3 | Adult only for younger kids |
| Glue sticks | 1 | 10 | Avoid liquid glue on thin paper |
| Ribbon or yarn | 1 foot | 25 feet | Optional binding |
| Estimated cost | Under $5 | Under $40 | Using basic school supplies |
Step-by-Step: Make the Book in One Afternoon
Here is a simple plan that works for families and classrooms alike.
- Set up the space. Cover the table with butcher paper, lay out supplies, and keep wet wipes close.
- Hold the interview. Five minutes, three questions. Kids can use a small notepad.
- Draft the text. Let the child write answers in pencil first, then trace over in marker.
- Draw the portrait. Encourage details: Mom's glasses, her favorite scarf, her messy ponytail.
- Decorate. Stickers, stamps, pressed flowers, and washi tape all work well.
- Assemble. Staple the pages, fold the cover, and add a title.
- Wrap or hide. A paper bag tied with ribbon is more than enough.
⚠️ Watch out: Do not rush the drawing step. A rushed portrait leaves kids disappointed, while a slow one makes them proud of the final book.
Turn the Paper Book Into a Digital Flipbook
Paper has one flaw: there is only one copy. If it gets creased, spilled on, or left at Grandma's house, it is gone. A digital version solves this and lets far-away relatives enjoy it on Mother's Day itself.
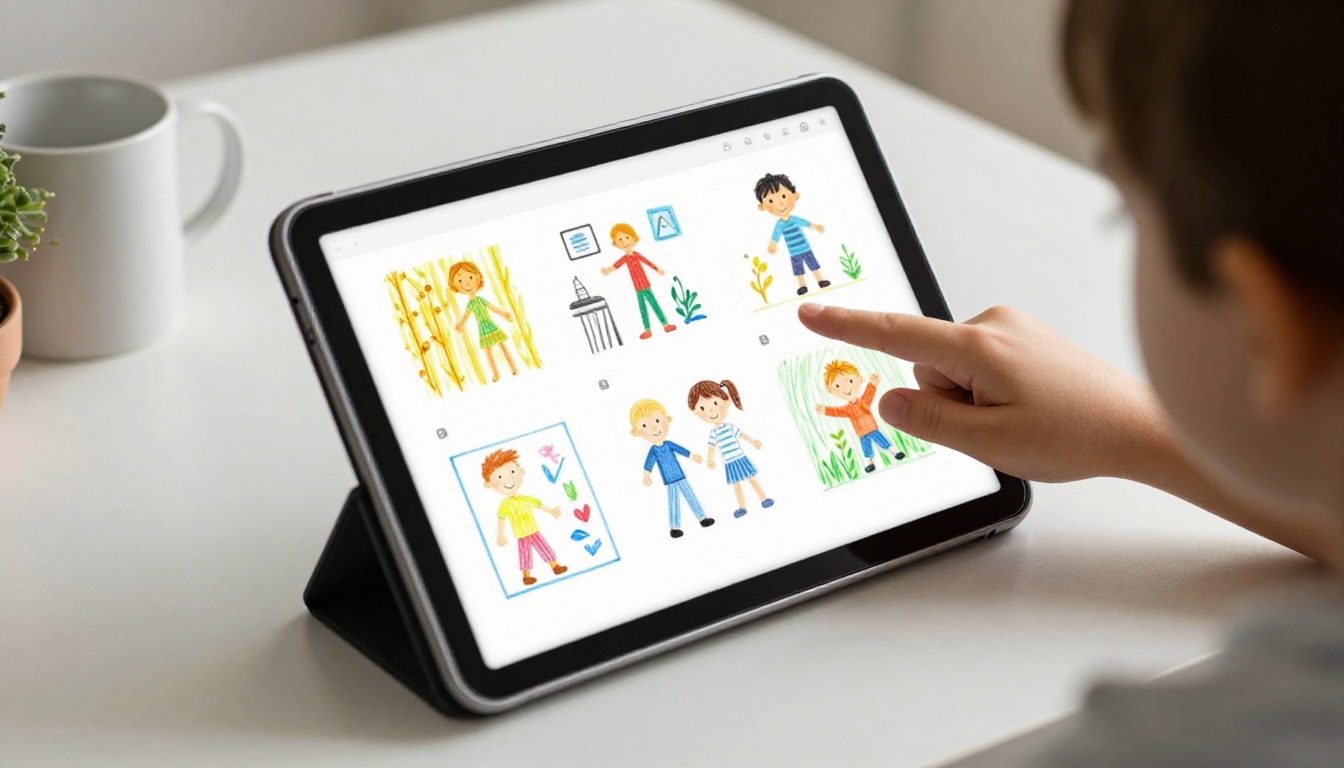
How to create a flipbook with Flipbooks AI
The process takes about ten minutes:
- Scan or photograph each page. Use your phone in bright, even light. Lay the page flat and shoot straight down.
- Combine the images into a PDF. Most phones can export a multi-page PDF directly from the photo or scanner app.
- Create an account. Sign up for free on Flipbooks AI.
- Upload the PDF. The PDF to Flipbook Converter turns it into a page-turning book with realistic flip effects.
- Customize. Choose a background color that matches the cover, add a title, and drop in a short audio message if you want Mom to hear the child's voice.
- Share. Copy the direct link, send it by text, or embed the flipbook on a website or family blog.
- Protect it. Turn on password protection so only your family can open the book.
Other helpful features include no watermarks, mobile-responsive viewing, and the option to embed video or audio clips. Parents who want a polished look can also try the Interactive E-Book Publisher, and teachers who want to share a whole class set can check the Course Material Publisher. If you plan to make several books, compare the pricing plans to see which one gives you unlimited flipbooks.
Paper versus digital: which is better?
You do not have to choose. Most families do both. This table shows what each version does best.
| Feature | Paper Book | Digital Flipbook |
|---|
| Emotional impact on the day | Very high | High |
| Shareable with distant family | No | Yes, by link |
| Survives spills and wear | No | Yes |
| Can include voice or video | No | Yes |
| Can be reprinted later | Hard | Easy |
| Cost | Under $5 | Free to start |
| Best for | Handing over in person | Sharing and archiving |
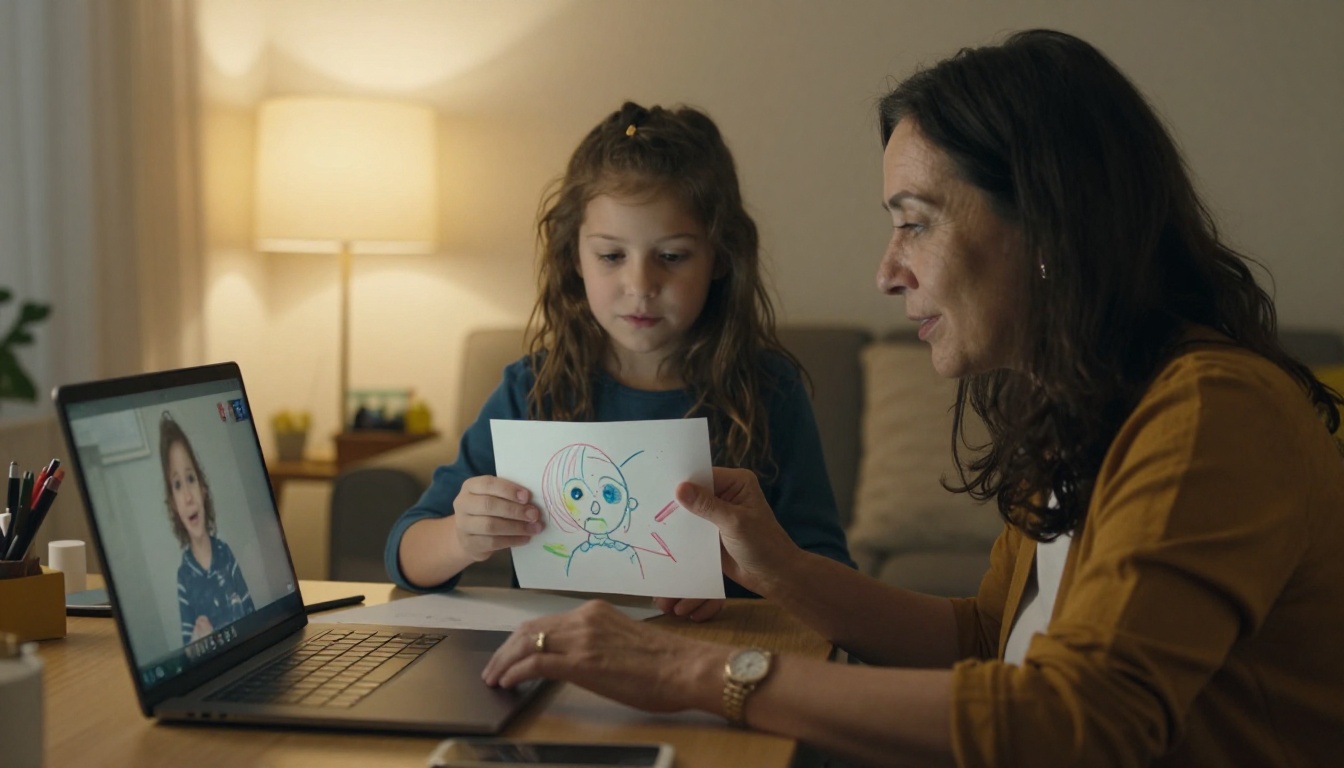
💡 Pro tip: Record the child reading each page aloud. Play the clips as audio in the flipbook, and Mom will hear that tiny voice for years to come.
Ideas for Teachers and Group Projects
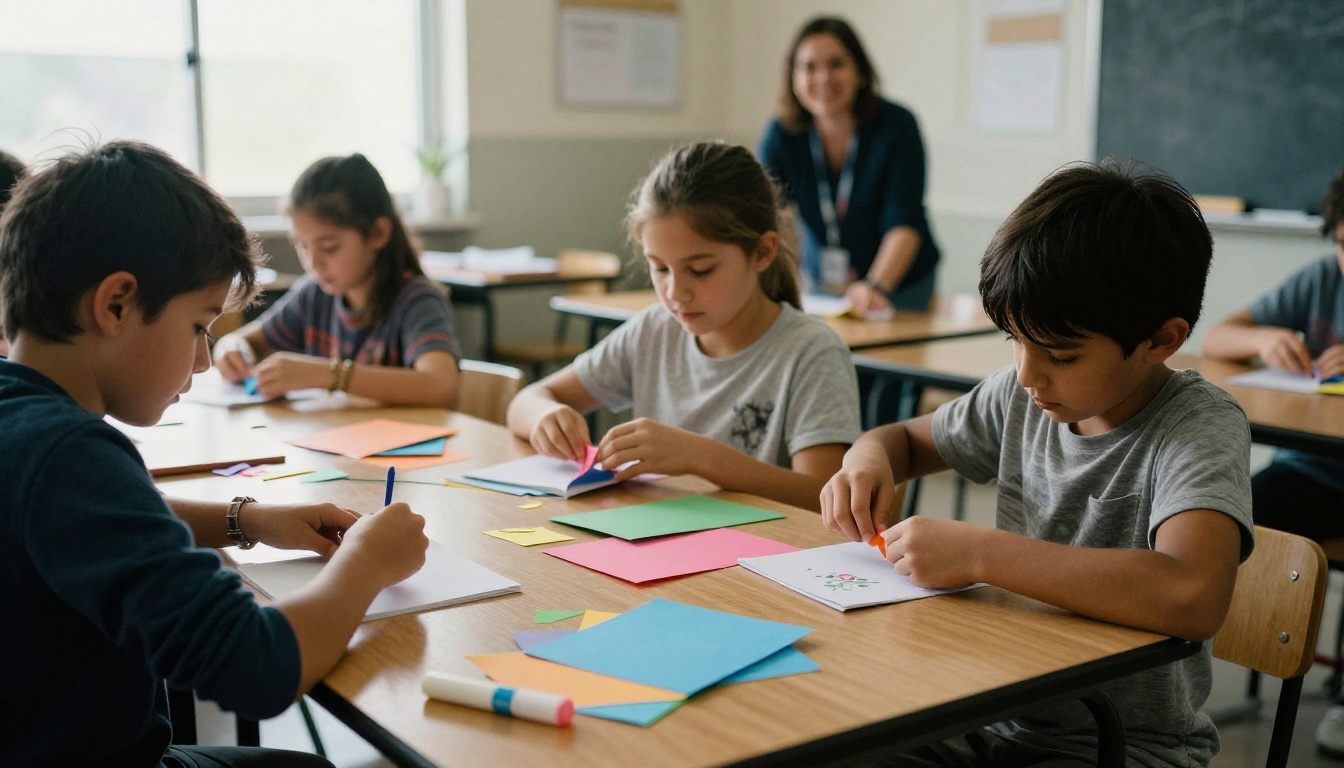
A classroom adds a different energy. Twenty-five kids produce twenty-five very different moms, and that is half the fun.
Make it a school-wide keepsake
Collect one All About My Mom page from every child and combine them into a single class book. Send the link to every family. It works as an emotional end-of-week project and gives parents who cannot attend school events a way to take part. A school can even fold the pages into a seasonal publication using the School Newsletter Creator.
Inclusive options
Not every child has a mom at home. Offer choices such as Grandma, Auntie, Dad, Foster Mom, or "The person who takes care of me." The same prompts work for all of them, and no child feels left out.
Time-saving classroom tips
- Print the page template in advance so the lesson starts quickly.
- Set a timer for each step so artwork does not drag on.
- Pair younger kids with older buddies who can help write.
- Collect the books early and keep them hidden in a box until the big day.
Common Mistakes to Avoid
Even simple projects can go sideways. Here are the most frequent problems and quick fixes.
| Mistake | Why It Hurts | Better Approach |
|---|
| Writing the answers for the child | Loses their voice | Write only what they dictate, word for word |
| Too many pages | Kids lose steam by page six | Start with four to six pages |
| Using thin markers on thin paper | Ink bleeds through | Use pencils or heavier cardstock |
| Leaving it to the last night | Rushed, stressful work | Plan one week early |
| Skipping a backup | One spill ruins everything | Scan or photograph every page |
Final Touches That Make Moms Cry (Happily)
Small details turn a nice gift into a treasured one.
- Add a date on the back page. Moms love looking at old books and seeing exactly how old their child was.
- Include a real handprint or footprint. Nothing tells time like a tiny hand.
- Write one honest sentence. "My mom is tired sometimes, but she still reads me stories." Real beats polished.
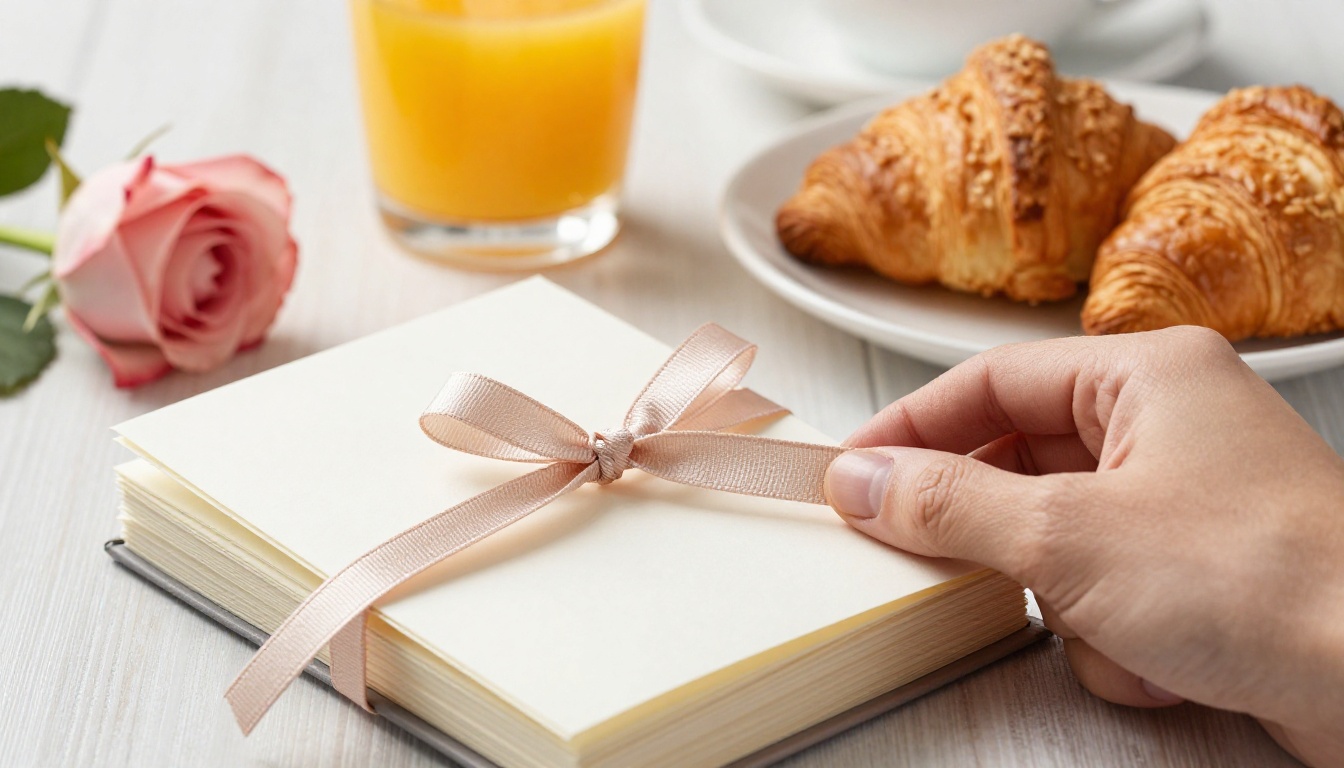
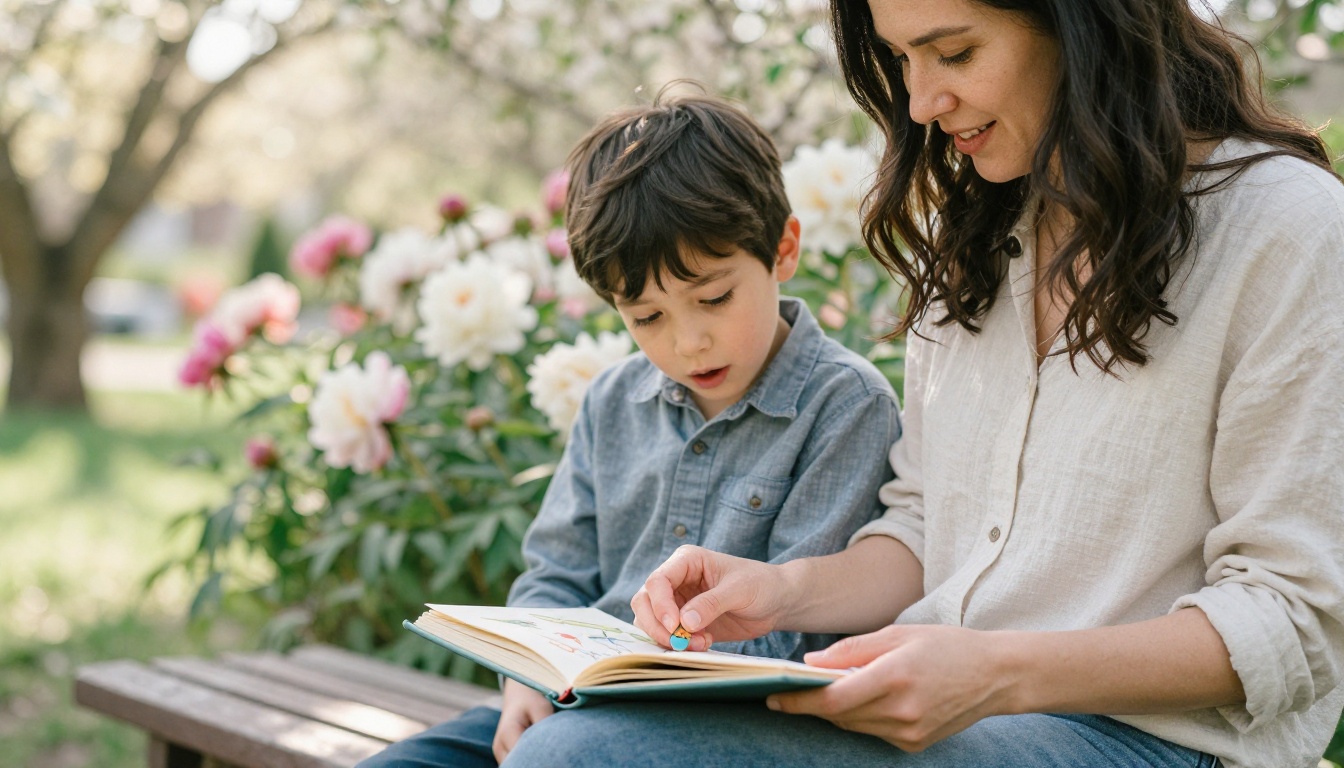
- Present it with care. A breakfast tray, a hand-tied ribbon, or a quiet reading moment on the couch gives the book a proper stage.
Questions Parents Ask Most
How early should we start?
One week before is ideal. That leaves time for drawing, assembling, and scanning without stress.
What if my child refuses to write?
Switch to drawing, stickers, or dictation. A child who says "I love Mom because she makes toast" and has you write it down is still making a real book.
Can the same book work for Grandma?
Absolutely. Make a second copy of the flipbook link, change the title, and send it. Grandmothers often love these even more than moms do.
Is a digital book too impersonal?
Not when it is made from the child's own handwriting and drawings. Scanned pages keep every wobble and crayon stroke. It simply adds a way to share.
Ready to Make Yours?
Pick a page, grab some crayons, and let your child tell Mom what they really think. When the paper version is done, create your free account on Flipbooks AI and turn it into a flipbook anyone can open. Browse all flipbook tools for more ideas, or compare pricing plans when you are ready to build a whole shelf of family memories.



