A car sits on the lift with its wheels off, the customer is waiting, and the box on the counter holds a brake pad set that does not fit. Every repair shop has lived this moment, and in most cases the root problem was not a careless person. It was the parts catalog that person trusted. Outdated pages, vague fitment notes and scattered files quietly push good technicians toward bad orders. Shops that move their catalogs into a searchable flipbook built on Flipbooks AI tend to see wrong orders drop fast, because the right information finally sits in one place and stays current.
This article walks through the most expensive parts catalog mistakes that cause wrong orders at repair shops, what each one costs, and the fix that works in a real shop with real deadlines.
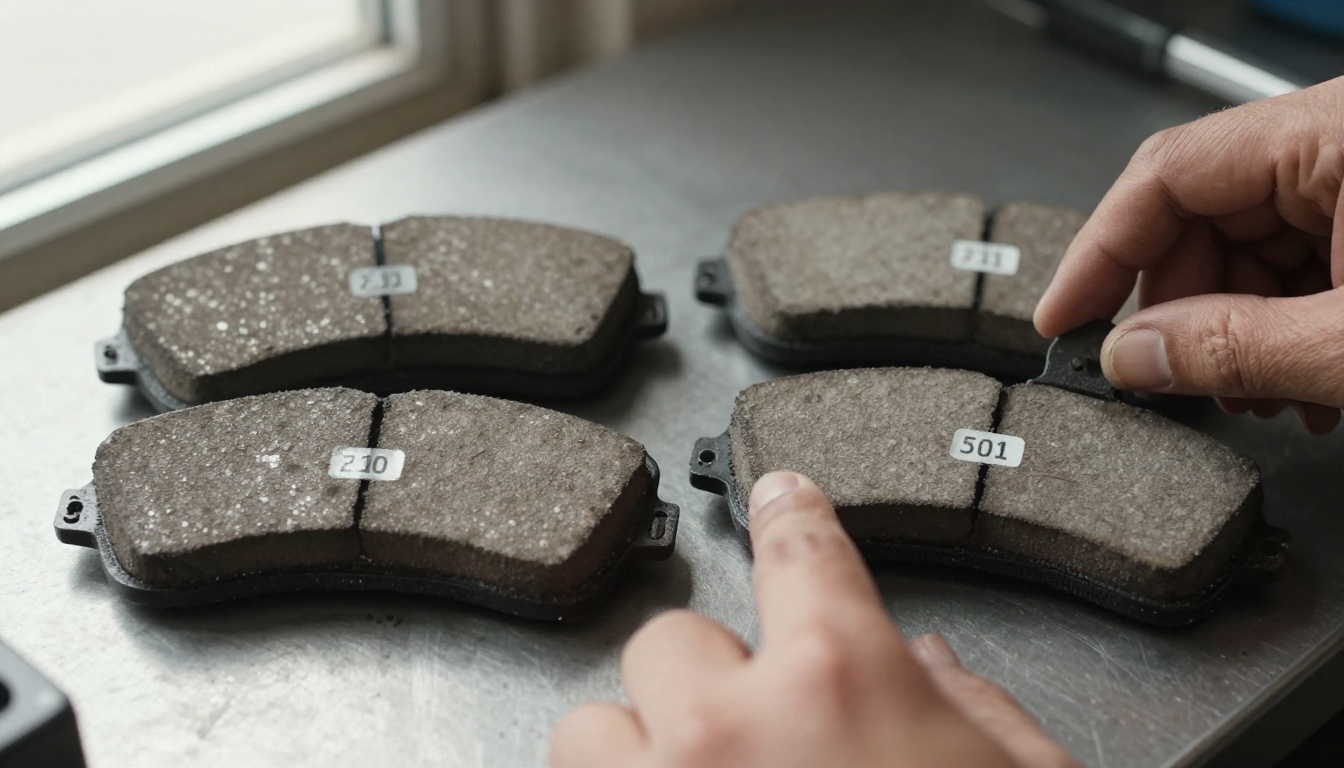
Why Wrong Orders Hurt So Much
A wrong part is never just the price of the part. It is bay time, labor that cannot be billed, a delayed delivery and often a second trip by a driver. Independent shops run on thin margins and tight schedules, so one bad order can erase the profit on two or three good jobs.
Here is what a single wrong order usually triggers:
- Idle bay time: the vehicle stays on the lift while the right part is found.
- Restocking fees: many suppliers charge 15 to 25 percent to take a part back.
- Rework: the technician may have already opened the box or started the install.
- Customer trust: a promised pickup time slips, and the next job goes to a competitor.
💡 Pro tip: Track every return for one month and write down the reason. Most shops find that three or four causes account for the majority of wrong orders, and nearly all of them trace back to catalog problems.
The Real Cost of One Mistake
The table below shows a rough cost model for a single wrong order on a mid-range repair job. Your numbers will differ, but the pattern holds.
| Cost Item | Typical Range | Who Pays |
|---|
| Restocking fee | $15 to $60 | Shop |
| Lost bay time (2 hours) | $120 to $240 | Shop |
| Extra delivery run | $10 to $35 | Shop |
| Customer discount to repair goodwill | $0 to $75 | Shop |
| Total per wrong order | $145 to $410 | Shop |
Ten wrong orders a month can quietly cost a shop between $1,450 and $4,100. That is the budget for a new alignment rack or a full-time hire, spent on mistakes.
Mistake 1: Outdated Catalog Pages
The most common problem is also the simplest. A printed catalog or an old PDF lists a part number that the manufacturer replaced two model years ago. Suppliers revise numbers, merge variants and discontinue parts constantly, and a static file never tells you.

Signs Your Catalog Is Stale
- Technicians say "the book is wrong again" at the counter.
- Supplier invoices show part numbers that do not match your pages.
- Different employees keep different versions on their desktops.
- Nobody can say when the file was last revised.
The Fix
Assign one owner for the catalog, set a monthly review date and publish a single live link instead of emailing attachments. When you update a flipbook on Flipbooks AI, everyone who opens the link sees the new version, so the old file stops circulating. You can start from the Digital Catalog Maker and upload your latest PDF in minutes.
Mistake 2: Missing Fitment Details
A catalog entry that says "Front brake pads, Civic" invites trouble. Which year? Which trim? Which engine? Does the car have the sport package with larger rotors? Fitment data is where wrong orders are born, and it is the detail most often left out.

What Every Entry Should Show
- Make, model and year range, written out in full.
- Engine and trim, because the same model often uses several part variants.
- Position: front or rear, left or right, upper or lower.
- Production date breaks, for example "built before 03/2019".
- Superseded part numbers, so older boxes still map to the right item.
⚠️ Warning: "Fits most models" is not fitment data. If an entry cannot say exactly which vehicles it fits, flag it for review before anyone orders from it.
Before and After: A Brake Pad Entry
| Field | Weak Entry | Strong Entry |
|---|
| Description | Front brake pads | Front ceramic brake pad set, 4 pads |
| Vehicle | Civic | Civic LX and EX, 2016 to 2021 |
| Engine | Not listed | 2.0L 4-cylinder |
| Notes | None | Not for Sport trim with 11.1 inch rotors |
| Supersedes | None | Replaces older pad set numbers 04465 and 04466 |
The strong entry takes thirty extra seconds to write once. It saves hours across every order that follows.
Mistake 3: Skipping the VIN Check
Year, make and model are not enough. Two cars that look identical in the lot can use different brake calipers, different sensors or different wiring harnesses because of a mid-year production change. The VIN decodes those differences, and a catalog that never asks for it lets guesswork in.

A Simple VIN Habit
- Photograph or copy the full 17-character VIN at check-in.
- Paste it into the work order, not a separate note.
- Decode it for engine, trim and build date before ordering.
- Confirm the part against that decoded data, not against the model name.
Add a short VIN checklist page at the front of your flipbook so it is the first thing every advisor sees. A one-page checklist beats a ten-page policy that nobody opens.
Mistake 4: Messy Part Numbers
Part numbers look simple until they are not. Letters that resemble numbers, dashes that appear in one system and vanish in another, and prefixes that vary by supplier all produce typos and failed searches.
| Common Problem | Example | Result |
|---|
| Letter O versus zero | 04465 typed as O4465 | Search finds nothing |
| Missing dash | 15400-PLM vs 15400PLM | Duplicate listings |
| Old and new numbers mixed | Two numbers for one filter | Double stock or wrong pick |
| Supplier prefix confusion | ACD vs AC Delco | Wrong supplier order |
How to Clean Up Numbers
- Pick one format and apply it to every entry.
- Show the OEM number and the aftermarket cross reference side by side.
- Add the supplier code in its own column.
- Use a searchable file so staff can type a partial number and still find the page.
✅ Best practice: Put the most searched numbers, such as oil filters, wiper blades and brake pads, in a quick lookup table on page two. These items drive most of your daily orders.
Mistake 5: Photos That Do Not Match the Part
A photo is the fastest way to catch a mismatch, yet many catalogs use generic stock images or no images at all. When the picture shows a different connector, a different mounting tab or a different bolt pattern, the counter employee cannot compare the box against the page.

Photo Standards That Prevent Errors
- Show the part from the same angle the technician sees it on the car.
- Include a close view of connectors, mounting points and stamped numbers.
- Add an exploded-view diagram for assemblies with many pieces.
- Mark left and right sides clearly on paired parts.
A flipbook handles images well because pages load quickly on a tablet and zoom cleanly. If your catalog started life as a supplier PDF, run it through the PDF to Flipbook Converter and the page images stay sharp on any screen.
Mistake 6: Scattered Versions and No Single Source
Many shops keep one catalog on the front desk computer, another on a technician's phone, a third in a binder and a fourth in a supplier portal. Each one drifts. When two employees check two different sources, they place two different orders for the same job.

Where Versions Usually Hide
| Location | Typical Problem |
|---|
| Email attachments | Old versions saved to desktops |
| Printed binders | Never updated after the first print |
| Supplier portals | Different numbering than your shelves |
| Text messages | Screenshots with no date or source |
| Personal notes | Private shortcuts that others cannot check |
The One Link Rule
Choose a single catalog and make it the only accepted reference. Share it as a link or embed it on your shop intranet page with the Embed Flipbook on Website option. Retire everything else. If a technician finds an error, they report it to the owner, and the fix reaches everyone at once.
Mistake 7: No Feedback Loop From Returns
Shops often process a return, shrug and move on. That wastes the best data they have. Every returned part points to a specific catalog gap, and without a record the same gap produces the same error next month.

Build a Simple Return Log
Record these fields for every wrong order:
- Date and work order number.
- Part ordered and part actually needed.
- Reason: wrong year, wrong trim, typo, outdated page, VIN not checked.
- Which catalog page was used.
- The fix made to the catalog.
After one quarter, sort the log by reason. The top two causes become your priority list. Fix those pages first and watch the return count fall.
A Real-World Scenario
Consider a six-bay independent shop that services mostly Japanese and Korean vehicles. The shop kept four catalog versions across desks and phones, and averaged about nine wrong orders a month. After a month of logging returns, the owner found that most errors fell into three groups: missing trim details on brake parts, typos in filter numbers and an outdated sensor section.
The shop took three steps:
- Rewrote the brake and sensor pages with full fitment data and superseded numbers.
- Added a quick lookup table for the fifty most ordered items.
- Published a single flipbook link and removed older files from shared drives.
Within two months the monthly count dropped to about three. Nothing about the staff changed. The catalog did.

How to Build a Clean Parts Flipbook
If your catalog already exists as a PDF, you can turn it into a searchable, always current flipbook quickly. Here is the process on Flipbooks AI.
Step 1: Create Your Account
Open the Flipbooks AI account page and sign up. The Product Catalog Generator is a good entry point for parts lists, and the Automotive Brochure Generator suits service menus.
Step 2: Upload and Convert
Upload your PDF and the platform converts each page into a turnable flipbook page. Check that part numbers, tables and diagrams render clearly, and fix any blurry pages at the source before re-uploading.
Step 3: Customize the Look
Add your logo, pick colors that match your shop signage and choose the page-turn effect. Keep the layout plain. A catalog is a work tool, so clear type and generous spacing matter more than decoration.
Step 4: Add Media Where It Helps
You can embed short videos or audio notes, such as a thirty-second clip showing how to tell two similar connectors apart. A visual comparison saves more orders than a paragraph of text.
Step 5: Share and Protect
Share a direct link, embed the flipbook on your site, or set a password so only staff and trusted customers can open it. Password protection suits wholesale price pages that you do not want public.
Step 6: Use Analytics
On the Professional plan, analytics show which pages get the most views, which tells you where staff look for answers most often. Those are the pages to polish first. Offline downloads keep the catalog usable in a bay with poor Wi-Fi. See the pricing plans for details, and note that no watermarks appear on any plan.
Comparison: Catalog Formats
| Format | Easy to Update | Searchable | Works on Phones | Single Source |
|---|
| Printed binder | No | No | No | Rarely |
| Emailed PDF | Slow | Partly | Awkward | No |
| Supplier portal only | Yes | Yes | Varies | Not yours |
| Flipbooks AI flipbook | Yes | Yes | Yes | Yes |
A Weekly Habit That Keeps Orders Accurate
Fixing the catalog once helps, but a short weekly routine keeps it that way.
- Monday: review last week's return log and flag the pages involved.
- Wednesday: the catalog owner corrects flagged pages and republishes.
- Friday: a five-minute huddle where staff share any confusing entries.
- Monthly: confirm supplier number changes and retire discontinued items.
💡 Pro tip: Put the return log summary on the first page of the flipbook as a short "watch list" of parts that have caused recent errors. Staff see it before every search.
Checklist Before You Place Any Order
Print this list and tape it by the counter, or place it at the front of your flipbook:
- Is the full VIN on the work order?
- Does the entry list the exact year range, engine and trim?
- Does the photo match the old part on the bench?
- Does the part number match the supplier invoice format?
- Is this the live catalog link, not an old file?
- Has a second person checked orders over a set dollar amount?
Six questions take under a minute. A wrong order takes hours to repair.

Ready to Stop Ordering Wrong Parts?
Wrong orders at repair shops rarely come from carelessness. They come from catalogs that are stale, vague, scattered and disconnected from what happens at the counter. Fix the pages, require the VIN, keep one live source and log every return, and the numbers move quickly.
Ready to build your own? Get started for free on Flipbooks AI, browse all flipbook tools to find the right template, or compare pricing plans to pick the one that fits your shop.



