You have a few hundred good photographs, a hard drive that keeps getting heavier, and one nagging question: do you print a scrappy little zine this month, or commit a year to a proper photo book? The honest answer is that most photographers should make a zine first, but not all of them, and the reasons matter more than the rule. This article lays out cost, time, risk, audience and sequencing side by side so you can decide in an afternoon. Along the way you will see how a digital proof built with Flipbooks AI lets you test either format before a single page hits a printer.
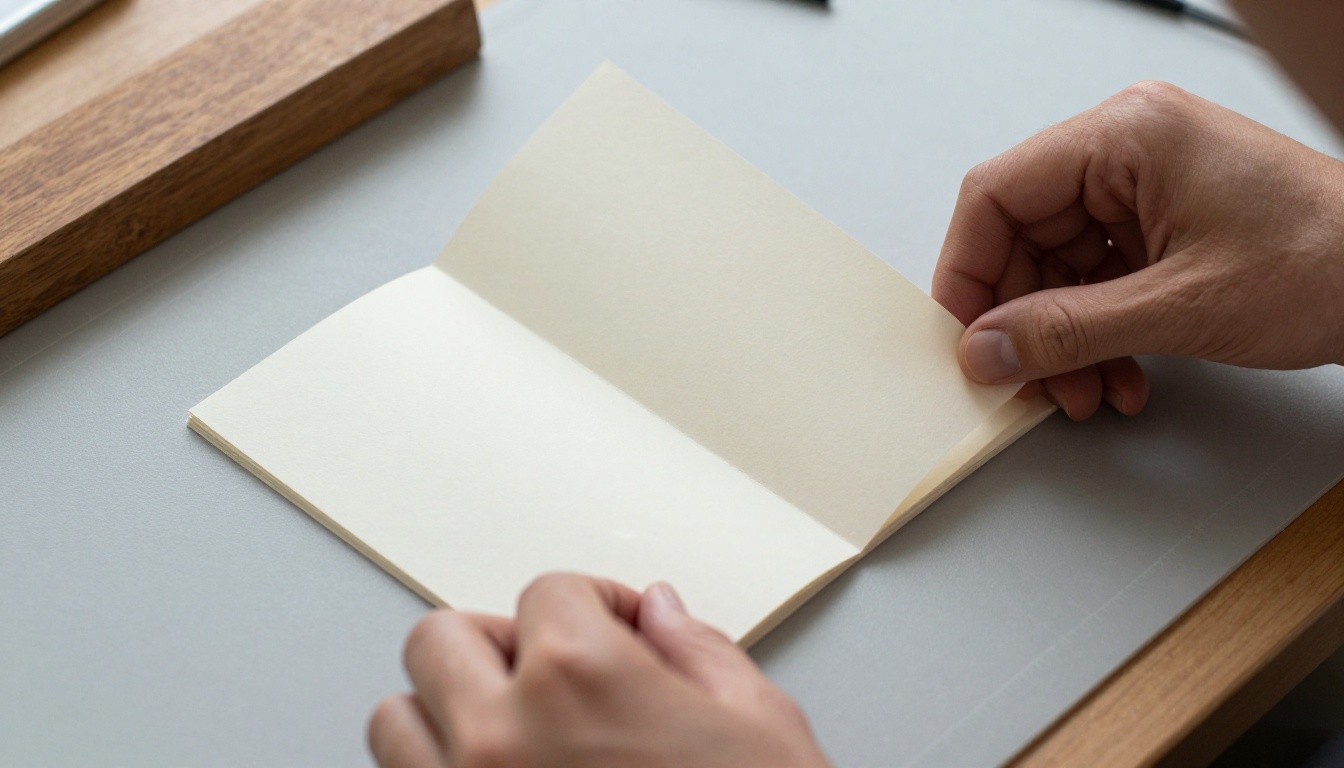
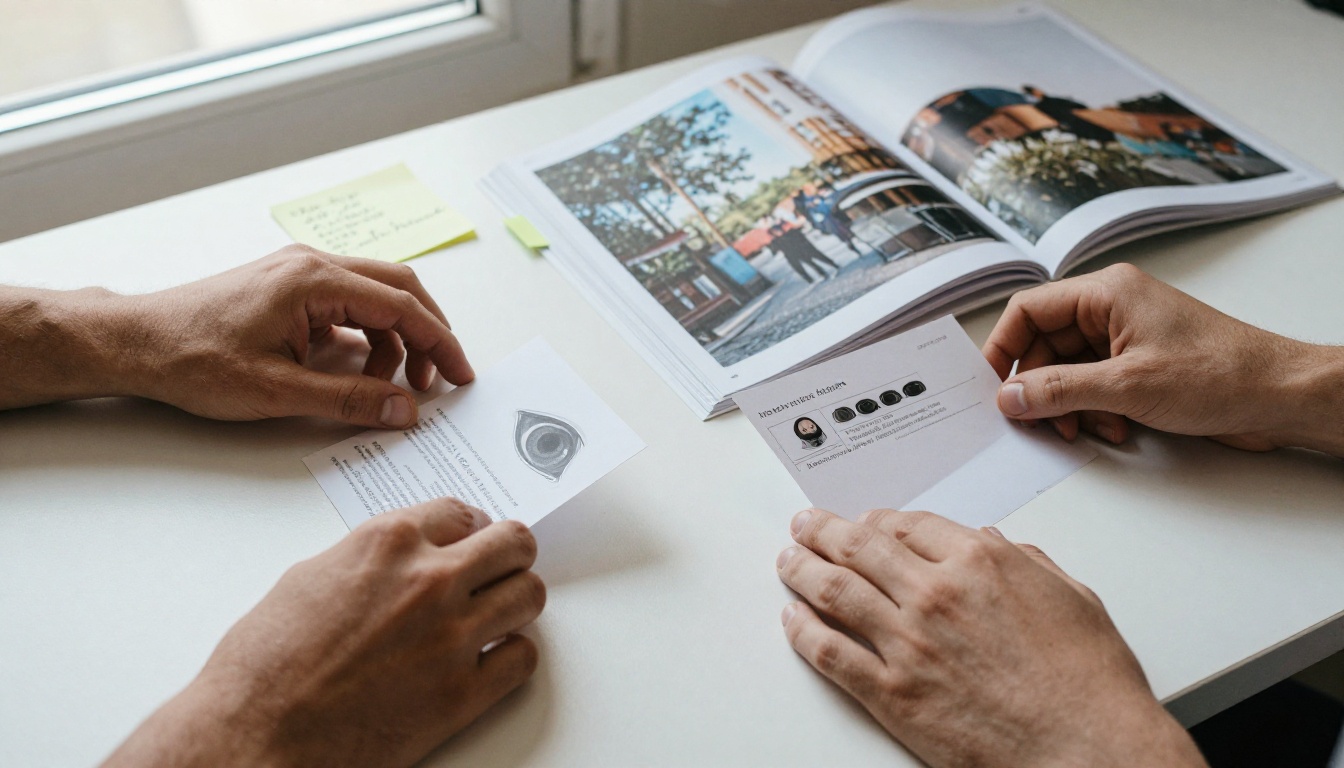
A photo zine is a small, self-published booklet, usually 8 to 40 pages, printed on a copier, risograph or affordable digital press and often stapled or saddle-stitched. It is fast, cheap and meant to be passed around. Think of it as a sketch of an idea, made in public.
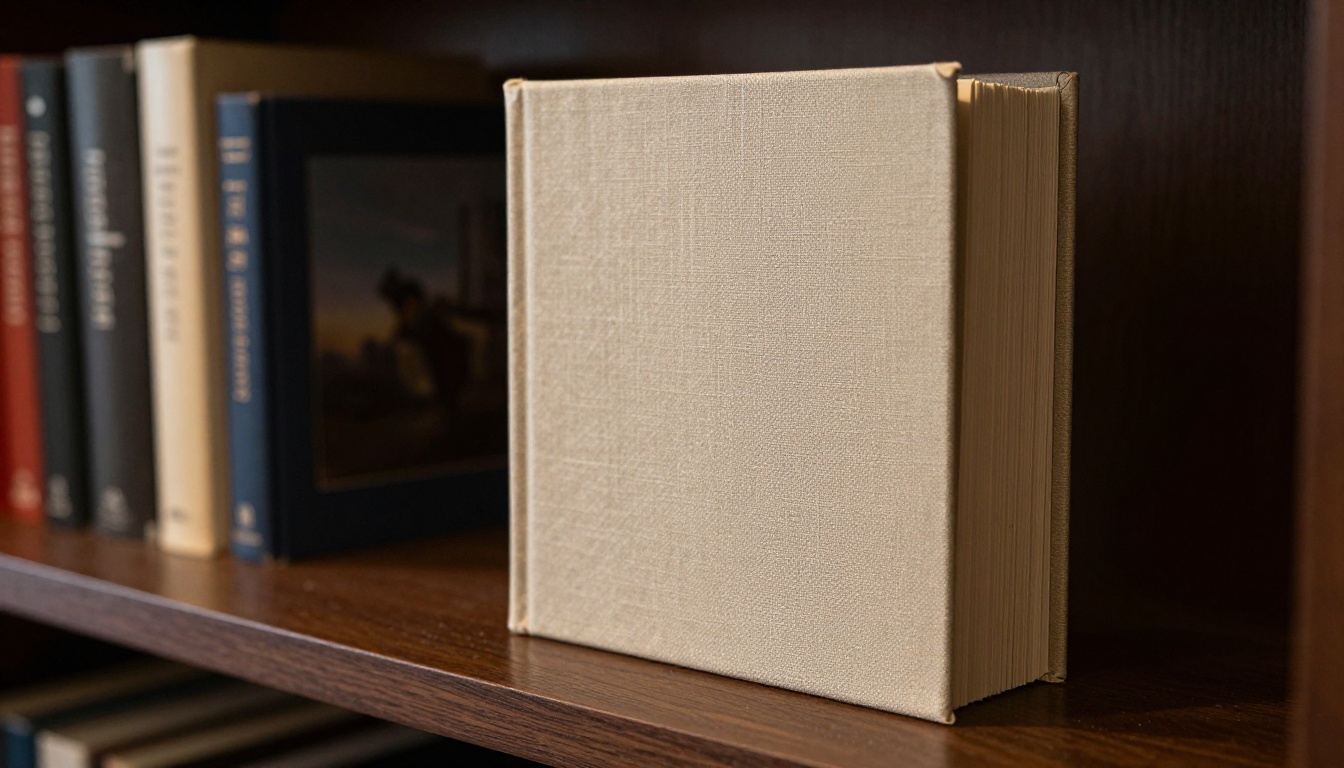
A photo book is a longer, more considered object: typically 48 to 160 pages, with a bound spine, heavier paper, careful color management and a defined edit. It is a statement, and it tends to stay on shelves for decades.
Both are legitimate. They simply answer different questions.
| Feature | Photo Zine | Photo Book |
|---|
| Typical page count | 8 to 40 | 48 to 160 |
| Binding | Staples, folded sheet, simple stitch | Sewn, case-bound or perfect-bound |
| Print run | 25 to 300 | 100 to 1,000 |
| Production time | 1 to 4 weeks | 4 to 18 months |
| Typical budget | $50 to $600 | $2,500 to $15,000+ |
| Price to buyer | $5 to $20 | $40 to $120 |
| Main purpose | Share, test, connect | Define, archive, sell |
The Case for Starting With a Zine
It Is Cheap to Be Wrong
Your first project will have flaws. The sequence will drag in the middle, a favorite image will turn out weaker on paper than on screen, and the cropping will look different at 5 by 7 inches than it did on a monitor. A zine lets you find all of that for the price of a good dinner.
A photo book that goes wrong costs thousands and leaves a pallet of boxes in your closet.
It Forces a Real Edit
Eight pages cannot hold 120 photographs. That limit is a gift. Choosing 12 to 20 images and putting them in a deliberate order teaches you more about your own eye than a year of scrolling your catalog.
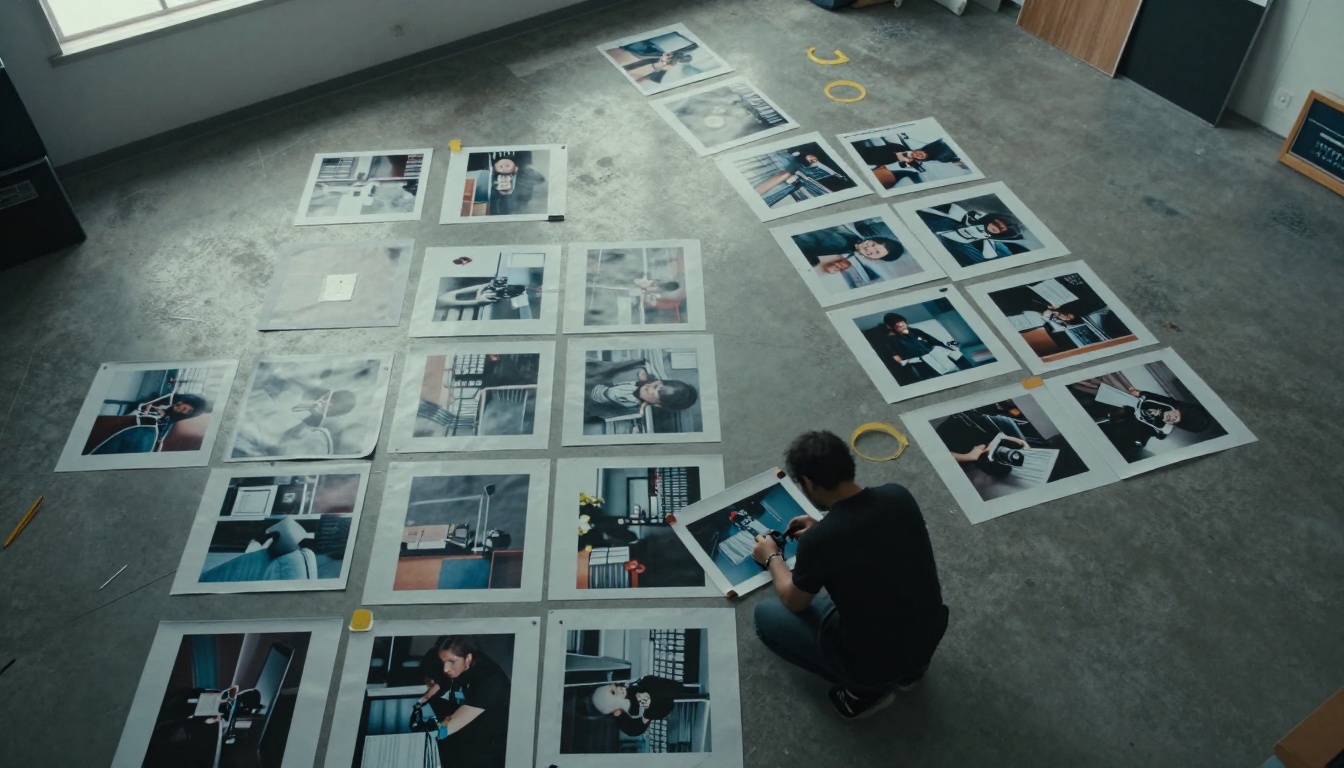
💡 Pro tip: Print every candidate image at 4 by 6 inches, lay them on the floor, and live with them for three days. Swap, remove and reorder before you open any layout software.
It Ships Fast
Most photographers lose momentum on long projects. A zine can go from edit to printed stack in under a month, which keeps the work alive and gives you something to post, mail and sell while the idea is still fresh.
It Builds an Audience for the Bigger Book
Zine buyers are your first collectors. They tell you which images people respond to, they ask when the next one is coming, and they become the pre-order list that makes a future photo book less risky. Publishers and gallerists also take a self-published zine seriously as proof that you finish things.
The Case for Going Straight to a Book
A zine is not always the right first move. Skip it when:
- You have a finished, long-form body of work. Five years on one subject deserves more than 16 pages.
- A commission, grant or exhibition requires it. Some funding and gallery shows expect a catalog.
- Your images depend on print quality. Subtle tonal work, large-format landscapes and fine-art portraits suffer on a copier.
- You already have an audience. If thousands of people follow your work, a book will sell without a warm-up.
- The project is a keepsake. Weddings, family histories and memorial projects are meant to last, not to circulate cheaply.
Cost and Time Compared
Numbers help, so here is a realistic breakdown for a solo photographer in the first year.
| Expense | Zine (100 copies, 24 pages) | Photo Book (300 copies, 80 pages) |
|---|
| Printing | $150 to $350 | $3,500 to $8,000 |
| Design and layout | $0 (DIY) | $0 to $2,000 |
| Proof copies | $10 to $40 | $150 to $500 |
| Shipping supplies | $30 to $60 | $150 to $400 |
| Promotion | $0 to $100 | $200 to $1,500 |
| Approximate total | $190 to $550 | $4,000 to $12,400 |
If the zine sells out at $12 each, you recover your costs and fund the next one. If the book sells half its run at $60, you may still be waiting for payback two years later.
⚠️ Warning: Never base a print budget on hoped-for sales. Budget as if you will give away a third of the run to reviewers, collaborators and friends.
A Decision Table You Can Use Today
Answer the rows below honestly and count which column wins.
| Question | Points to Zine | Points to Book |
|---|
| Is this your first published project? | Yes | No |
| Do you have fewer than 500 followers or mailing list contacts? | Yes | No |
| Is the work still evolving? | Yes | No |
| Do you have more than $4,000 you can lose? | No | Yes |
| Is a deadline under three months away? | Yes | No |
| Do you need a lasting archive? | No | Yes |
| Are you chasing a publisher or gallery? | Either | Yes, after a zine |
Four or more answers in one column is a clear signal. A split result means: make the zine now and plan the book for later.
Sequencing Rules That Work for Both
Good sequencing is what separates a project from a pile. The same principles apply at 12 pages or 120.
- Open with a strong but quiet image. Do not spend your best shot on page one. Earn the viewer's trust first.
- Build rhythm. Alternate wide and tight, busy and calm, color and monochrome if you use both.
- Pair with intent. On a spread, two photographs should speak to each other through color, shape, gesture or contrast.
- Give the middle a breath. A blank page, a full-bleed image or a short text can reset the reader's attention.
- End on resonance, not a recap. The last image should linger.
Test the Flow Before You Print
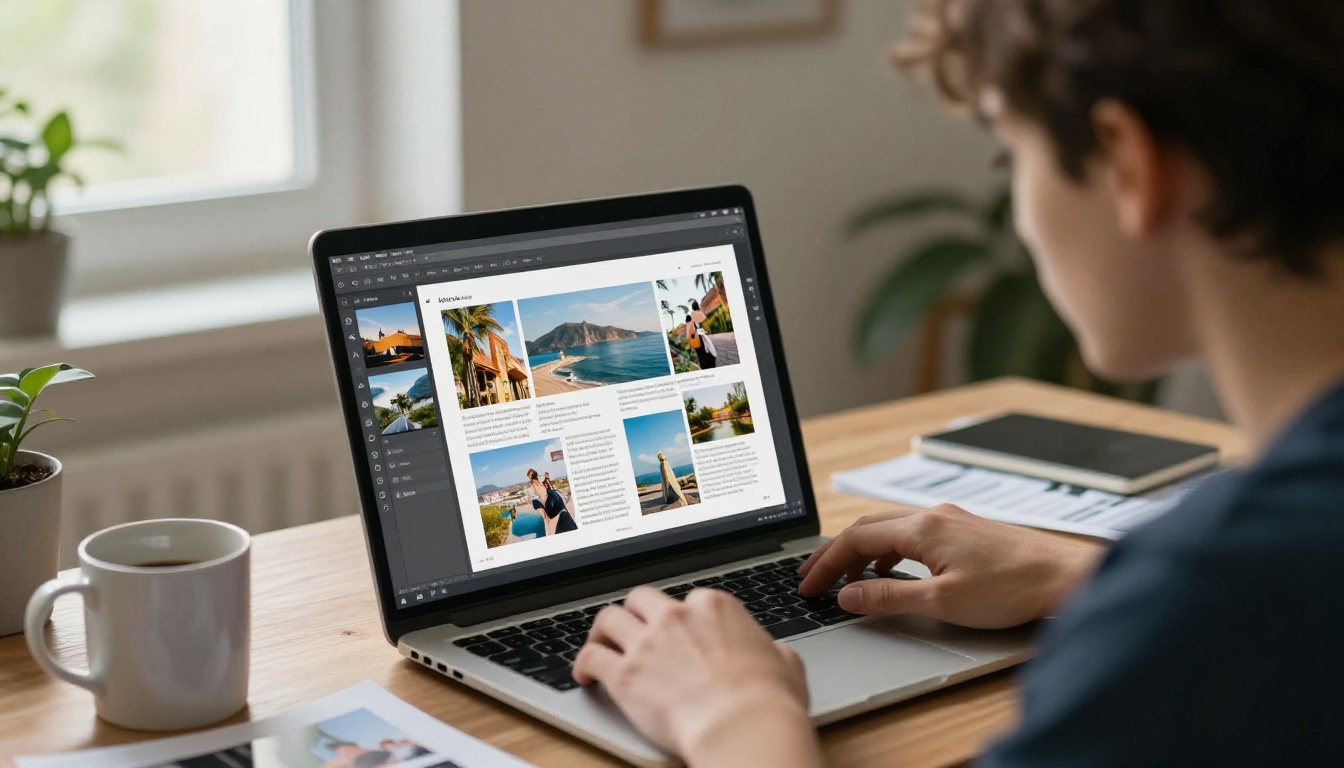
Printing is the expensive way to discover a bad sequence. Build a digital page-turning proof first. With the PDF to Flipbook Converter, you can export your layout as a PDF, upload it, and flip through it exactly as a reader would, spread by spread. Send the link to three trusted friends and watch where they slow down or lose interest.
How to Build a Digital Proof With Flipbooks AI
A digital flipbook is useful at every stage: as a proof, as a portfolio piece, and as a free companion to the printed object. Here is the process.
- Export your layout as a PDF. Use your layout app of choice and export at screen resolution for fast loading. Keep spreads as single pages or facing pairs, whichever matches your design.
- Create an account. Sign up on Flipbooks AI and open the dashboard.
- Upload the PDF. The file converts into a page-turning flipbook in moments, with no watermarks.
- Customize the look. Set a background color that suits your images, add your logo for custom branding and choose the page effect and sound that fit the mood.
- Add multimedia. Embed a short video of the making-of, or audio of an interview with your subject, using the built-in support for videos and audio.
- Choose your sharing options. Copy a direct link, grab an embed code for your site (see Embed Flipbook on Website) or lock the project with password protection while it is still private.
- Track what happens. On the Professional plan you get analytics showing which pages people reach, plus lead generation to capture emails. See the pricing plans for details.
✅ Best practice: Share the password-protected flipbook with a small group, ask them one question ("which three pages do you remember?"), and let their answers guide your final edit.
For work that doubles as a showcase, the Photography Portfolio and Portfolio Flipbook Builder tools are tuned to image-heavy layouts. If your zine is closer to an issue-based publication, the Magazine Flipbook Creator and E-Magazine Publishing Tool fit better.
Real-World Scenarios
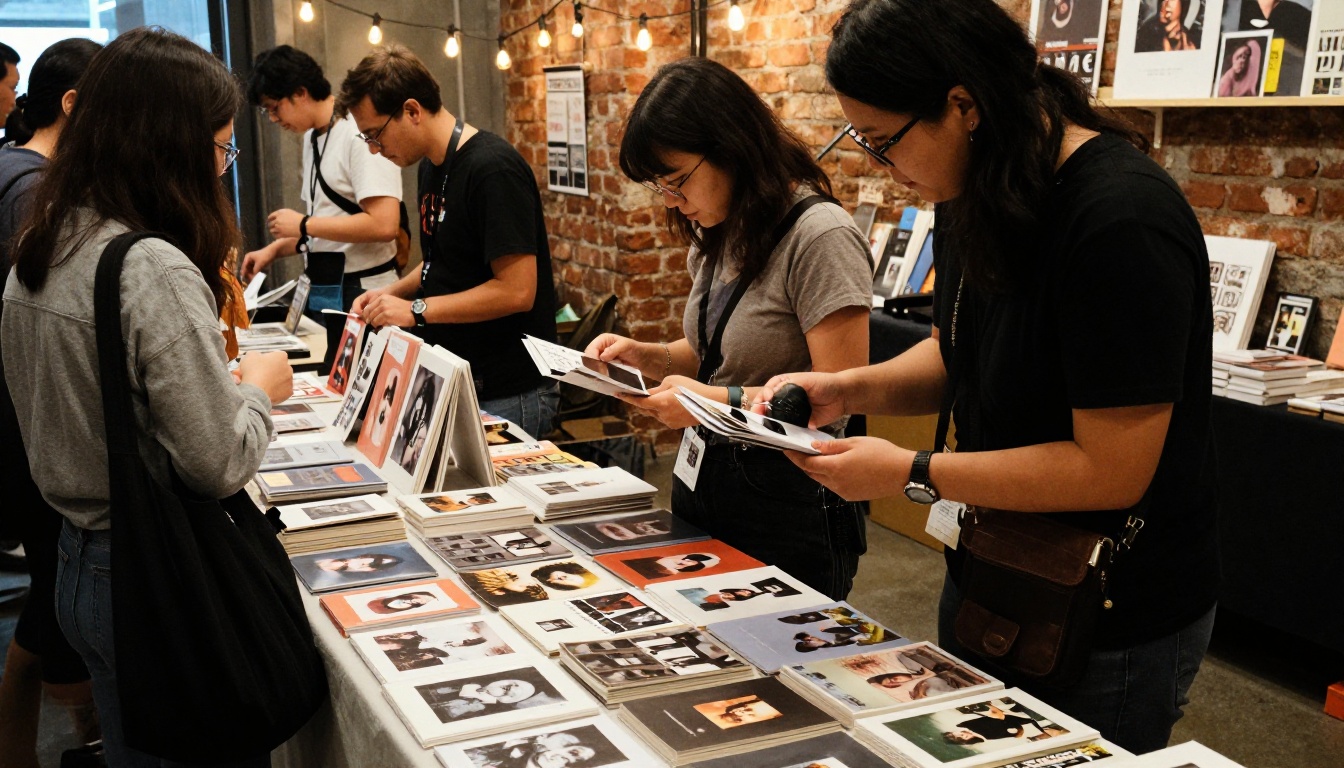
The street photographer. Maya has 400 black and white frames from two years of morning commutes. She picks 18, prints 75 stapled zines at a copy shop and sells out at a local book fair in one afternoon. The buyers' favorite images shape the 60-page book she plans the following year.
The wedding photographer. Daniel wants a premium leave-behind for clients. He skips the zine and builds a small linen-bound album per couple, then publishes a matching Wedding Album Flipbook so relatives abroad can see it too. Here the physical object is the product, so a book is the right call.
The landscape photographer. Priya has a stunning series, but tonal gradients in misty forests fall apart on cheap toner. She makes a small run of digital-press zines for friends, then commissions a book printed offset with a proofing session. The zine paid for the proof run.
The emerging documentary photographer. Tomás is chasing a publisher. He assembles a 24-page zine, adds a short text, and mails 30 copies to editors and festival curators with a link to a digital version. Two replies come back within a month.
Common Mistakes to Avoid
Treating the Zine as a Throwaway
Cheap does not mean careless. Check your margins, test your print on the exact paper, and proofread every caption. People judge the book you might make by the zine you did make.
Putting Too Many Images In
More pages rarely mean more impact. A tight 16 pages beats a baggy 48.
Ignoring Distribution
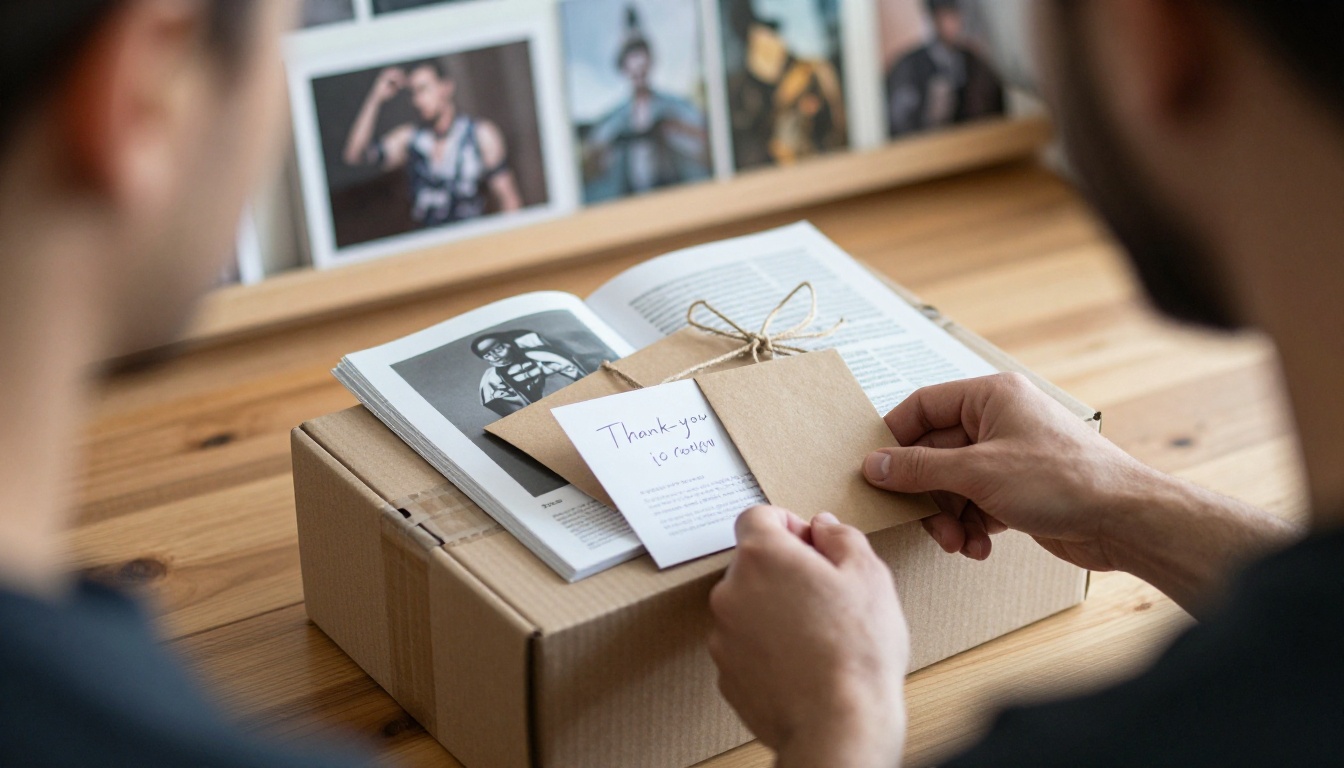
Printing is half the work. Decide before you print where copies go: your online shop, local bookstores, art fairs, subscribers, curators. Pack, sign and ship in a way that feels personal.
Skipping the Digital Version
A printed object reaches the people in front of you. A digital version reaches everyone else. Publishing both costs almost nothing extra and doubles the life of the project.
Choosing Format by Ego
A book feels more important, so many photographers jump to it and stall. A finished zine beats an unfinished book every single time.
A Simple Path From Zine to Book
If you are still undecided, follow this sequence and you will rarely regret it.
- Month 1: Edit 12 to 24 images and sequence them on paper.
- Month 2: Build a digital proof, gather feedback and print a small run of 50 to 100 zines.
- Months 3 to 6: Sell, mail and show the zine. Record which images people comment on.
- Months 6 to 9: Make a second zine or extend the series. Note recurring themes.
- Months 9 to 18: Combine the strongest material into a book, backed by an existing audience and a clear idea of what works.
| Stage | Output | Risk | Learning Value |
|---|
| Digital proof | Flipbook link | Very low | High |
| First zine | 50 to 100 copies | Low | Very high |
| Second zine | 100 to 200 copies | Low to moderate | High |
| Photo book | 300 to 1,000 copies | High | Moderate, but lasting |
Make Your First Move Today
Pick a theme, choose 16 images and export a draft PDF this week. Get started for free on Flipbooks AI, turn that PDF into a shareable page-turning proof, and send it to three people whose taste you trust. Browse all the flipbook tools to find the layout that suits your project, and compare pricing plans when you are ready for analytics and unlimited flipbooks.
Make the zine if you are unsure. Make the book if you are certain. Either way, make something this month, because a printed or published project teaches you what a hard drive full of photographs never will.



