You finished your design in Canva, the pages look perfect, and now you want to turn the PDF into a page-turning publication on Flipbooks AI. Then you notice a small checkbox during export that says Flatten PDF, and you freeze. Should you tick it or leave it alone? The short answer: in most cases, do not flatten. The longer answer depends on what your document contains, and that is what this article sorts out.
Flattening is not a quality boost. It is a trade, and for flipbooks the trade often goes the wrong way. Below you will see exactly what changes inside the file, how it affects clickable links and text sharpness, and which export settings give the best result.
What Flattening Actually Does
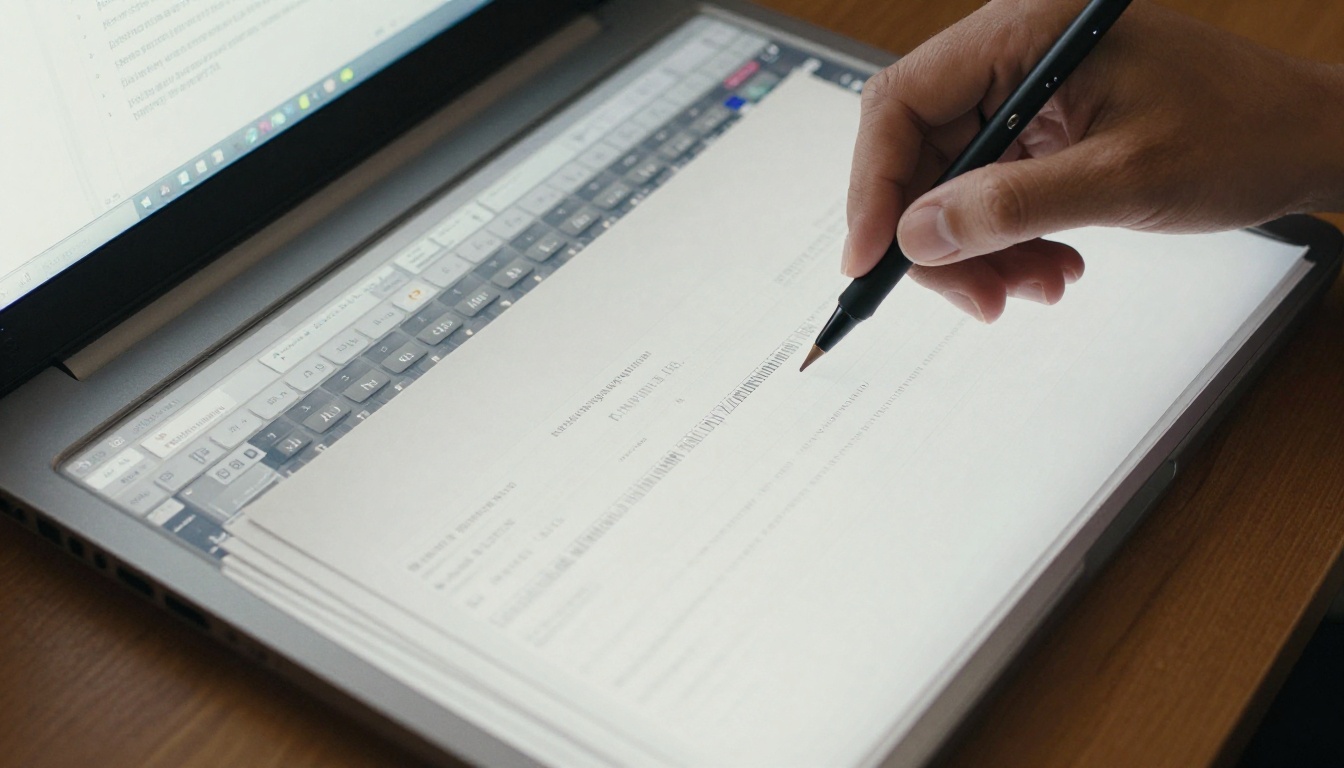
A normal PDF from Canva is built from separate objects. Text stays as real text, shapes stay as vector paths, photos stay as embedded images, and links stay as clickable annotations. Each element sits on its own layer in the page structure.
When you flatten, those objects are merged into a single layer. In practice, the exporter turns the page into one picture-like block. Depending on the tool, text may be converted to outlines or to pixels, transparency effects get baked in, and interactive parts are stripped out.
💡 Pro tip: Think of flattening like laminating a document. It looks identical on the surface, but you can no longer edit, select, search or click anything inside it.
Layers, Transparency and Effects
Shadows, gradients, blend effects and semi-transparent shapes are the usual reason people flatten. Some older viewers render these inconsistently, so flattening "locks" the look. Modern flipbook engines handle transparency well, so that reason has mostly disappeared.
What You Lose
- Live links: buttons and text links stop working.
- Selectable text: readers cannot copy a phone number or address.
- Search: in-flipbook search has nothing to index.
- Accessibility: screen readers cannot read the page.
- Sharpness: pixelated text appears when readers zoom in.
Flatten or Not: Quick Comparison
| Factor | Standard (unflattened) PDF | Flattened PDF |
|---|
| Text sharpness when zooming | Razor sharp at any zoom | Can blur or pixelate |
| Clickable links | Preserved | Usually removed |
| Text search and copy | Works | Does not work |
| File size | Often smaller for text-heavy pages | Often larger for text-heavy pages |
| Complex shadows and effects | Rendered by the viewer | Locked in place |
| SEO and accessibility value | High | Very low |
| Best for | Brochures, catalogs, menus, reports | Rare effect-heavy artwork |
The table makes the pattern clear. Flattening wins only in the "locked look" row. Everything else favors keeping the file live.
Why Flipbooks Prefer Live PDFs
A flipbook is not a printout on a screen. It is an interactive reading experience. Readers zoom into a price list, tap a button, search for a word and share a page. All of that depends on the PDF keeping its structure.
Zoom Quality Matters Most
Flipbook readers pinch and zoom constantly, especially on phones. A live PDF keeps vector text, so letters stay crisp at 400 percent. A flattened page is a raster image at a fixed resolution. Zoom in far enough and you see jagged edges.
Links Turn Pages Into Funnels
Think about a restaurant that exports its menu from Canva. Each dish can link to an ordering page, and the footer can link to a booking form. Flatten that file and every link dies. The flipbook looks the same, yet it no longer sells anything.
The same happens with a real estate brochure. Agents rely on buttons such as "Book a viewing" or "Call now". A flattened brochure turns those buttons into decoration.
Search and Accessibility
A live PDF lets visitors search for a word like "warranty" or "vegan". It also lets assistive tools read the content aloud. A flattened file offers neither.
⚠️ Warning: If your flipbook is public and you want it to reach every reader, a flattened PDF quietly excludes people who use screen readers.
When Flattening Is Actually Smart
There are a few honest cases where flattening helps. They are the exception, but they do exist.
Heavy Effects That Misbehave
If your design stacks many blend modes, masked photos and soft shadows, and the exported PDF looks different in different viewers, flattening can fix the mismatch. Test first. Open the unflattened PDF in two or three viewers before you decide.
Protecting Content From Copying
Some creators flatten to stop people from copying text or lifting vector artwork. That works only partly, since a screenshot still exists. It also costs you every benefit listed above, so weigh it carefully.
Artwork Sold as Images
A photography portfolio or an illustration book is mostly pictures. Text carries little weight there, so losing selectable text hurts less. Even so, links to a store or contact page are worth keeping.
| Situation | Flatten? | Reason |
|---|
| Menu with ordering links | No | Links drive revenue |
| Product catalog with price tables | No | Search and zoom clarity |
| Annual report with charts | No | Accessibility and copy support |
| Photo-only portfolio | Maybe | Text is minimal |
| Artwork with stacked blend effects | Test first | Viewer rendering varies |
| Content you must protect | Maybe | Reduces text copying |
The Best Canva Export Settings
Skip the checkbox and focus on the choices that really change the result. Canva's download panel offers several PDF options, and the names can shift as the app updates, so check your own screen.
Standard Versus Print
- PDF Standard: smaller file, RGB color, ideal for screens and flipbooks.
- PDF Print: larger file, higher resolution, optional crop marks and CMYK, built for printers.
For a flipbook, PDF Standard is almost always the right pick. Reserve PDF Print for the physical copy you send to the print shop.
Settings Worth Checking
- Select all pages unless you want a partial export.
- Choose PDF Standard for web reading.
- Leave flatten unchecked.
- Skip crop marks and bleed for digital use.
- Keep embed fonts active so typography stays identical.
- Download and open the file once before uploading.
| Export Choice | Recommended for Flipbook | Why |
|---|
| PDF Standard | Yes | Light file, screen-ready color |
| PDF Print | Rarely | Heavy file, print-focused |
| Flatten PDF | Usually no | Removes links and text |
| Crop marks and bleed | No | Adds unwanted margins |
| Color profile CMYK | No | Screens use RGB |
✅ Best practice: Export two files. Keep a Standard PDF for the flipbook and a Print PDF for the printer. Never reuse one for the other.
How to Make the Flipbook Step by Step
Once your Canva file is exported the right way, the flipbook takes only a few minutes. Here is the full process with Flipbooks AI.
Step 1: Create Your Account
Head to Flipbooks AI and sign up. You can begin on a free plan and check the pricing plans later when you need more.
Step 2: Upload the PDF
Open the PDF to Flipbook Converter and drag in your unflattened Canva PDF. The platform reads the pages, keeps the links alive and builds a page-turning layout.
Step 3: Customize the Look
Adjust the background color, add your logo, pick page-turn effects and set the cover. Branding stays yours, and there are no watermarks, ever.
Step 4: Add Multimedia
Drop in videos or audio where they help. A product demo beside a catalog page sells better than static text alone.
Step 5: Share It
You have several options:
- A direct link you can paste into emails and social posts.
- An embed code for your site. See how to embed a flipbook on a website.
- Password protection for private material.
- Offline downloads for readers on slow connections.
Step 6: Track Results
On the Professional plan you get analytics and lead generation, so you can see which pages hold attention and who is reading. Review the options on the pricing page.
💡 Pro tip: After uploading, click a few links inside the flipbook before sharing. It takes thirty seconds and confirms that nothing was lost during export.
Real-World Examples
A Small Restaurant
A bistro designs its menu in Canva with seasonal dishes and a reservation button. Exported as a standard PDF, the Restaurant Menu Creator turns it into a flipbook where the button still opens the booking page. Guests scan a QR code and zoom into dish descriptions without blur.
A Furniture Seller
A shop owner builds a lookbook with dozens of products. Using the Furniture Catalog Maker, each product photo keeps its link to the checkout page. Had the file been flattened, buyers would have to type product names into the site by hand.
A Freelance Photographer
A photographer exports a portfolio that is mostly full-bleed images. Flattening is harmless here, though keeping the contact link still helps. The Photography Portfolio tool displays the images in large format.
A Training Team
An HR team writes a handbook in Canva and wants staff to search for policies. A live PDF lets people search for "holiday" and land on the right page. With the Training Manual Flipbook tool, that search stays available.
Common Mistakes to Avoid
Mistake 1: Using the Print PDF for the Web
The print version is big and carries marks you do not want. Pages load slowly, and the flipbook feels heavy.
Mistake 2: Flattening to Shrink the File
People assume flattening cuts file size. For text-heavy pages the opposite often happens, because text becomes pixels. If size is the concern, compress the images inside Canva or reduce the page count.
Mistake 3: Forgetting to Test Links
Open the exported PDF, click a link, then repeat inside the flipbook. A broken link is easier to fix before you share.
Mistake 4: Low-Resolution Photos
A sharp PDF cannot rescue blurry source images. Upload photos at good quality before you place them in Canva.
Mistake 5: Uploading a Screenshot PDF
Some people print the page to PDF from a browser and end up with a rasterized file. It behaves like a flattened one, so export directly from Canva instead.
| Mistake | Result | Fix |
|---|
| Print PDF for web | Slow loading | Export PDF Standard |
| Flatten to save space | Bigger file, no links | Compress images instead |
| Skipping link tests | Dead buttons | Click each link once |
| Low-quality photos | Soft visuals | Use sharper originals |
| Screenshot to PDF | Rasterized text | Export from Canva |
A Simple Decision Checklist
Run through these questions before you export.
- Does the document contain links, buttons or a table of contents? Do not flatten.
- Do readers need to search or copy text? Do not flatten.
- Will people read on phones and zoom in? Do not flatten.
- Does the design look broken in another viewer? Test, then consider flattening.
- Is the file nearly all photography with no links? Flattening is optional.
If you answered yes to any of the first three, the decision is made. Keep the PDF live.
✅ Best practice: When in doubt, upload the live version first. You can always re-export a flattened copy later, but you cannot bring links back into a flat file.
Ready to Publish Yours?
The best flipbooks start with a clean, unflattened PDF from Canva, exported in Standard mode with fonts embedded. That single choice protects your links, your search, your sharpness and your readers' experience.
Ready to see it in action? Get started for free on Flipbooks AI, browse all flipbook tools to find the right template for your project, and compare pricing plans when you want analytics and lead generation. Your Canva design deserves a format that keeps every link alive.