You grabbed your phone, clicked a few shots, and ended up with something that looks flat, dark, and nothing like the scene you actually saw. It happens to everyone, and it has nothing to do with how expensive your camera is. Most photos look cheap because of avoidable mistakes: bad lighting, cluttered backgrounds, and skipping a few basic edits. Fix those three things, and your "cheap" photo becomes something you'd actually be proud to show. Flipbooks AI helps photographers at every level turn their best shots into stunning digital portfolios worth sharing, but first, let's get those photos looking their best.
The Real Problem with Budget Photos
Cheap-looking photos are almost never about the camera. A $50,000 professional shoot can produce terrible images, and a smartphone can produce magazine-worthy ones. The gap is almost always in the fundamentals: light, composition, and post-processing. Once you see where these go wrong, fixing them becomes automatic.
Bad Lighting Is the #1 Culprit
Overhead fluorescent lights, harsh midday sun, and dark rooms all flatten an image. They kill dimension, muddy skin tones, and create unflattering shadows that make any subject look tired and dull. The good news? The fix costs nothing at all.
Composition Errors That Stick Out
Centering every subject, tilting the horizon, and leaving distracting clutter in the background signal "amateur" to any viewer. These errors are invisible once you know what to look for, and correcting them takes about three seconds before you press the shutter button.
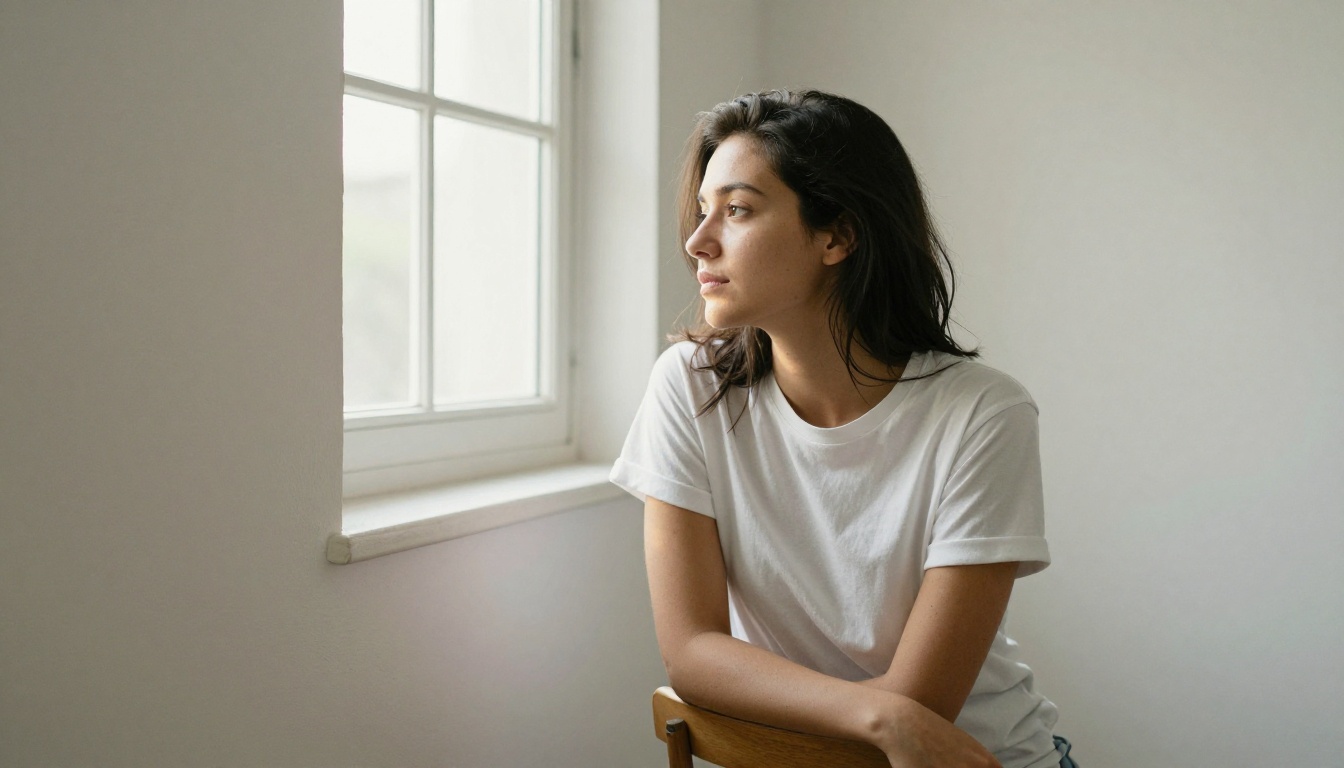
Fix Lighting Without Buying Anything
The most expensive studio lighting rigs are just trying to mimic what the sun already does for free. You don't need equipment. You need positioning.
Window Light Is Free
Stand your subject at a 45-degree angle to a large window. The window acts as a massive, diffused softbox. The light wraps around the face, creates natural catchlights in the eyes, and produces a soft gradient shadow that adds dimension. Pull back any sheer curtains to diffuse harsh direct sunlight, or hang a white bedsheet over the window frame for the same effect.
💡 Pro tip: The larger the window relative to your subject, the softer the light. A floor-to-ceiling window beats a small bathroom window every time.
Avoid overhead lighting and lamp light whenever possible. Both create downward shadows that age subjects and flatten facial features. If you're stuck in a room with only overhead lights, turn them off and use the window exclusively. Your images will improve immediately.
Golden Hour Shots Cost Nothing
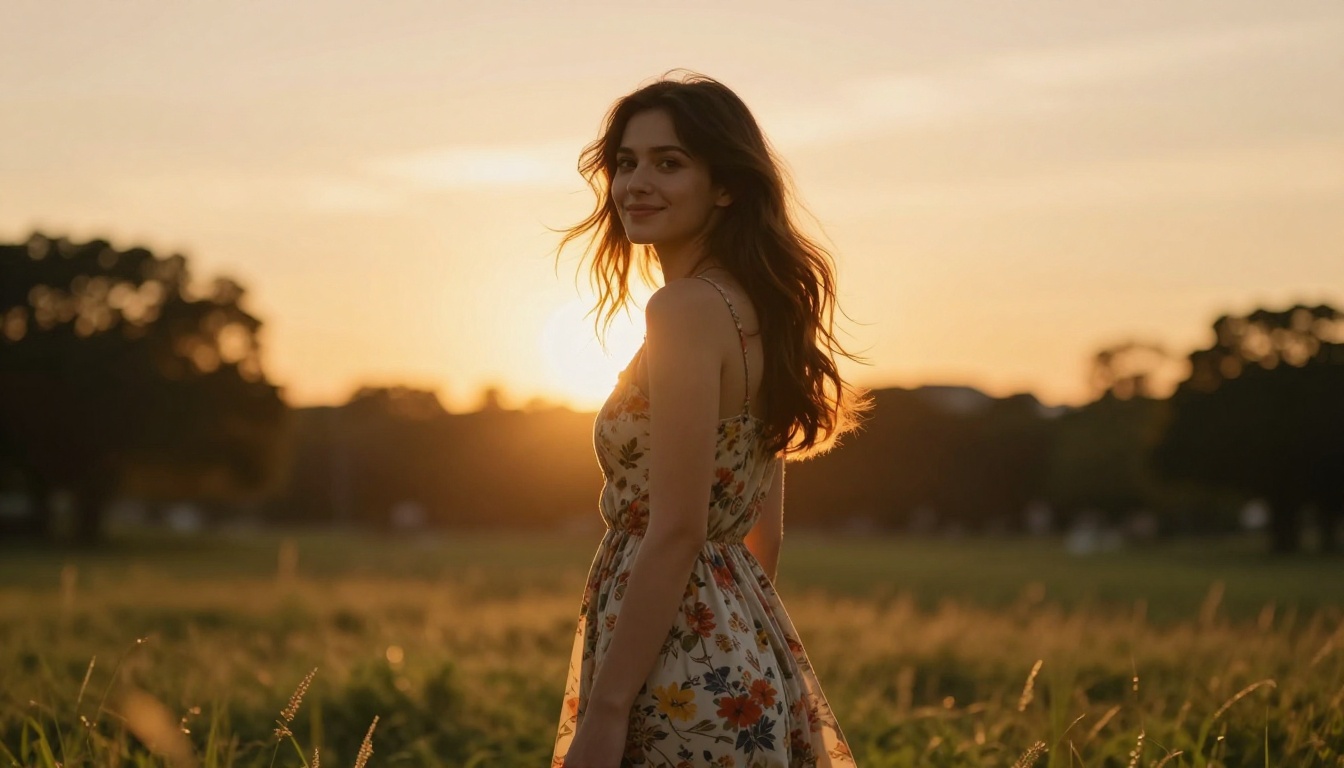
Outdoors, the 30 minutes after sunrise and the 30 minutes before sunset are free gifts to photographers. The sun sits low, light travels through more atmosphere, and every scene turns warm, directional, and cinematic. Skin looks healthy, colors saturate naturally, and even mediocre compositions look intentional.
Shoot with the sun behind your subject for a glowing rim-light effect. This creates a luminous halo around hair and separates the subject from the background without any artificial lighting setup.
Lighting Situations and Free Fixes
| Lighting Situation | What Goes Wrong | The Free Fix |
|---|
| Overhead fluorescent office light | Downward shadows, yellow tint, flat | Turn off; use nearby window instead |
| Harsh midday sun outdoors | Hard shadows, squinting, blown sky | Find shade or face subject away from sun |
| Dark indoor room at night | Noise, blur, muddy colors | Add a lamp behind camera; raise ISO |
| Cloudy day outdoors | Flat, low contrast, lifeless | Position near a white wall as reflector |
| Golden hour | Warm, directional, cinematic | Shoot within 30 minutes; use backlight |
Simple Edits That Make a Big Difference
No editing skill required. The edits below take under five minutes and require only free tools you already have access to.
Crop and Straighten First
Before touching any other slider, crop the image. Most smartphone photos need a tighter frame. Cut dead space above heads, remove distracting objects at the edges, and straighten any tilted horizons. Use the rule of thirds: place your subject on one of the four intersection points of the grid rather than dead-center.
✅ Best practice: Shoot slightly wider than you think you need, then crop in post. You'll always have room to reframe without losing resolution.
Fix Exposure and Contrast
A dark photo is not a lost photo. In any free editing app, drag the Exposure/Brightness slider up until the subject looks naturally lit, then bring the Highlights slightly down to recover blown-out areas. Add Contrast (+10 to +20) to give the image depth. Pull the Blacks down slightly to make shadows richer and deeper.
This sequence alone fixes 80% of cheap-looking photos.
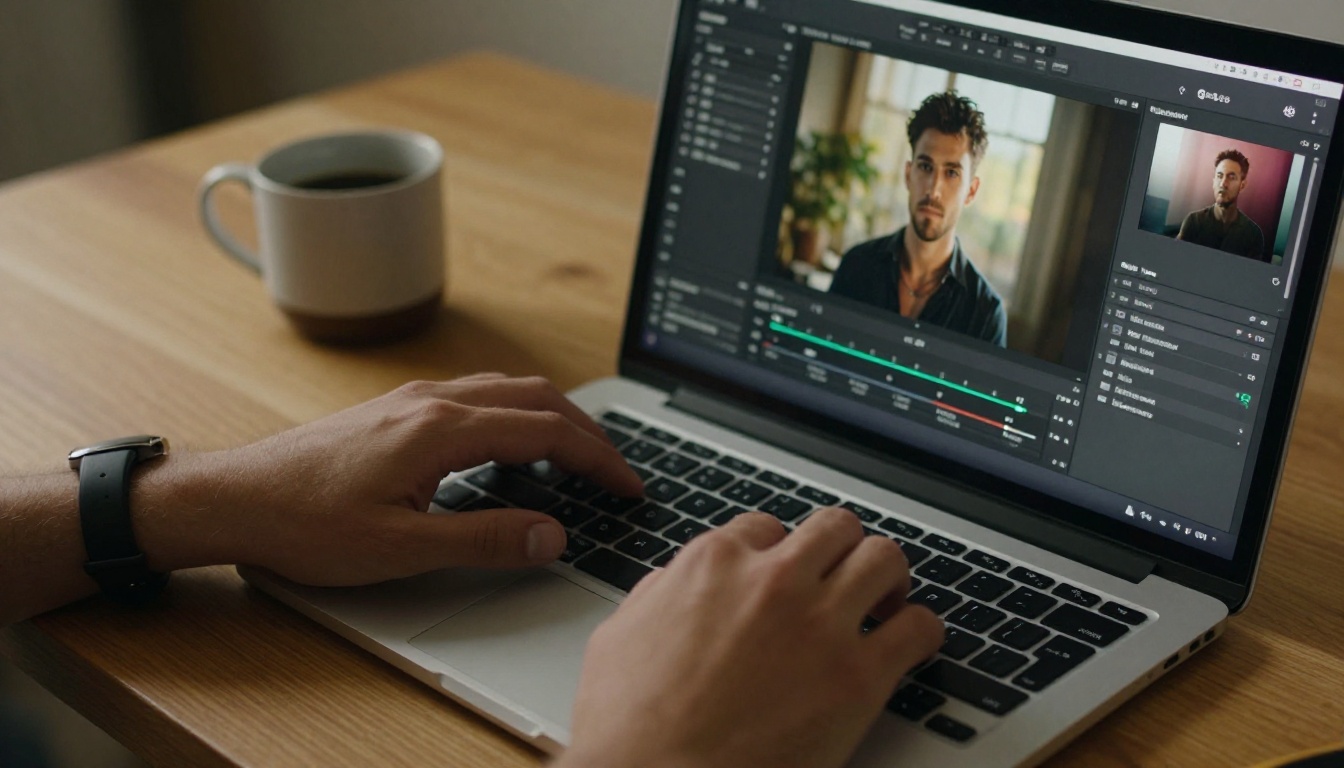
Color Correction in 3 Steps
- Fix white balance first: If skin tones look orange or green, drag the Temperature slider until they look neutral and natural. Slightly warm tones (toward orange) are almost always more flattering than cool blue tones.
- Boost Saturation slightly: A +10 to +15 increase is usually enough. Going beyond +20 makes images look over-processed and artificial.
- Add a subtle vignette: A gentle darkening of the corners draws the eye toward the center and adds a cinematic quality that costs absolutely nothing.
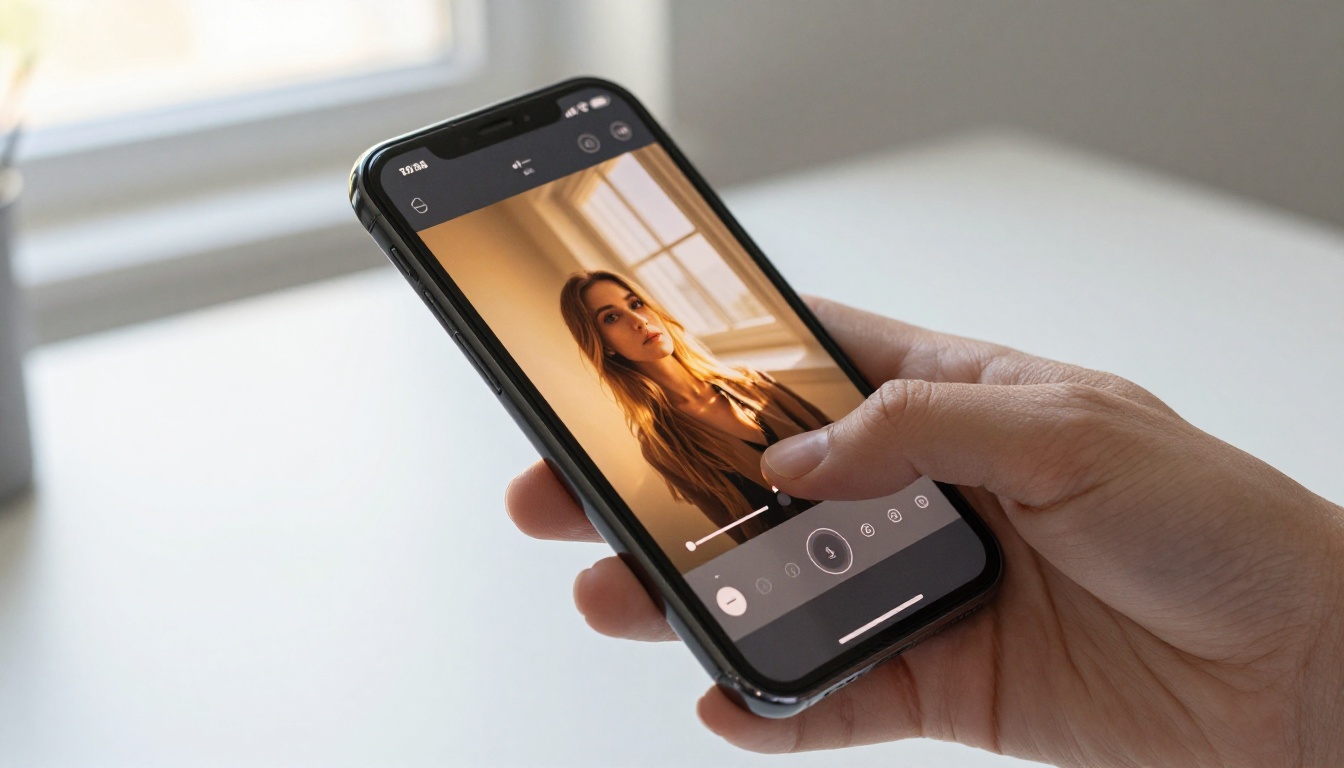
You don't need Photoshop. These free tools handle everything from basic edits to background removal, and most of them run on the same device you already used to take the photo.
Best Free Apps for Mobile Editing
| App | Platform | Best For | Cost |
|---|
| Snapseed | iOS, Android | Full editing suite, selective adjustments | Free |
| VSCO | iOS, Android | Film presets, consistent visual style | Free (basic) |
| Lightroom Mobile | iOS, Android | Professional-grade color editing | Free (basic) |
| Remove.bg | Web, iOS | Background removal in one tap | Free |
| Facetune | iOS, Android | Portrait retouching | Free (basic) |
Best Free Desktop Options
| Software | Platform | Best For | Cost |
|---|
| GIMP | Windows, Mac, Linux | Full layer-based editing | Free |
| Photopea | Browser | Photoshop files, no install needed | Free |
| Canva | Browser | Quick edits, layouts, collages | Free |
| darktable | Windows, Mac, Linux | RAW processing, Lightroom alternative | Free |
| Pixlr E | Browser | Layer editing, fast and lightweight | Free |

Background Tricks for Cleaner Shots
A distracting background ruins an otherwise good photo faster than almost anything else. The fix doesn't require a studio, a backdrop stand, or any real investment.
Remove Clutter Before You Shoot
Walk around the scene before pressing the shutter. Remove any objects that don't add to the story: charger cables, random clothing, empty cups, anything that clutters the visual field. What you remove before the shot takes two seconds. What you try to edit out afterward takes twenty minutes.
For product photography, a clean desk surface and a blank wall is all you need. For portraits, position the subject so windows, clean walls, or natural outdoor foliage fill the background naturally.
DIY Backdrop Ideas Under $5
- White bedsheet: Pin to wall or hang from a curtain rod. The fabric texture adds subtle authenticity without being distracting.
- Foam board (from any dollar store): Lay flat as a reflective white surface for product and still-life shots.
- Colored paper roll: Art supply stores sell large rolls for under $5. A solid dark green or warm cream background changes any object shot instantly.
- Blank wall: Walk through your home and find a clean stretch of painted wall. Every home has at least one that works.
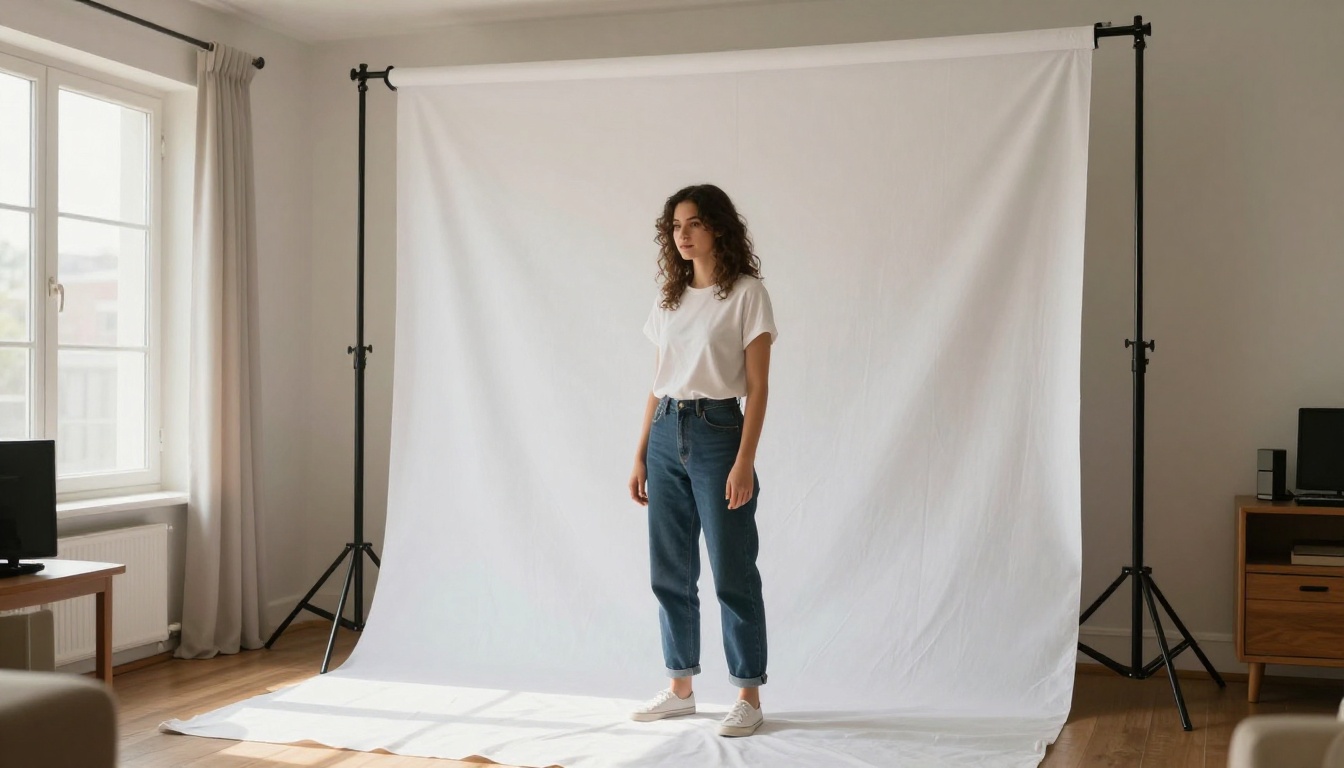
⚠️ Warning: Avoid patterned or heavily textured backgrounds for portraits. The eye is drawn to high-contrast patterns and away from the subject. Neutrals almost always win.
Before vs. After: What a Few Edits Actually Do
People consistently underestimate what five minutes of editing can accomplish. The image below shows two prints from the same scene, photographed with the same phone, with one left unedited and the other processed using only free mobile tools:
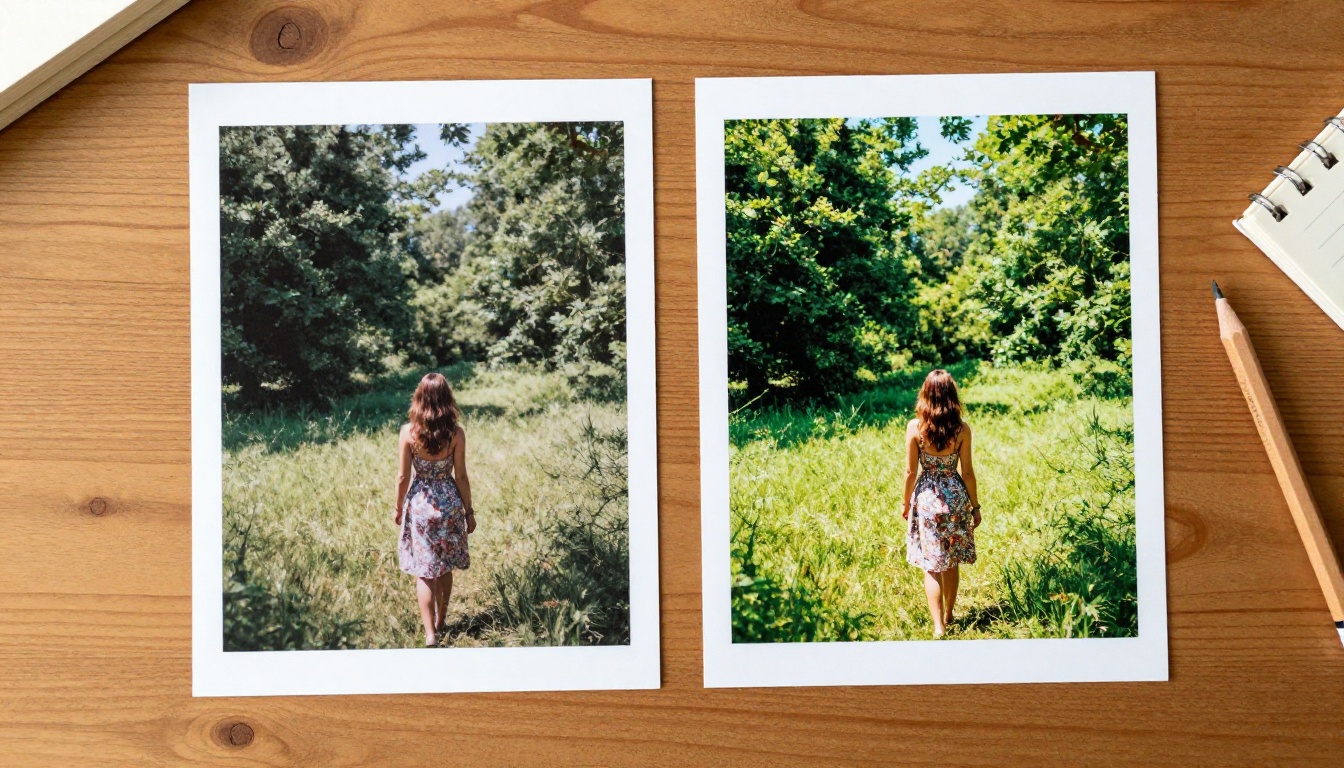
The edited version used only these adjustments:
- Exposure +25 to lift shadows and recover detail
- Highlights -30 to recover the bright sky
- Contrast +20 for overall depth and punch
- Temperature -5 to neutralize an orange color cast
- Saturation +10 for richer, more natural greens
- Vignette -15 to draw the eye toward the center
Total time: 4 minutes. No paid software. No prior experience required.
Clean Shots Look More Expensive
There is a reason minimalist photography looks premium even when nothing in the frame costs money. Simplicity signals intentionality. When you strip away everything that doesn't need to be there, what remains looks deliberate and considered.
Less Is Always More
One subject. One light source. One background. That formula works 90% of the time. Resist the urge to add props or visual context for the sake of it. The more elements competing for attention in a frame, the cheaper the image reads to a viewer.
The "White Wall" Test
Can your image tell its story with a clean white wall as the only background? If yes, it's a strong composition. If you feel the need to add visual noise to make it interesting, the subject itself needs more attention, not the background.

Mistakes That Make Cheap Photos Look Cheap
| Mistake | Why It Hurts | Quick Fix |
|---|
| Subject dead-center | Feels static, no visual interest | Rule of thirds: off-center placement |
| Shooting in auto white balance | Inconsistent color across a set | Lock white balance or fix in post |
| Too much digital zoom | Pixels smear, all detail lost | Move physically closer; crop in post |
| Shooting in harsh midday sun | Hard shadows, squinting, overexposure | Shoot in shade or wait for golden hour |
| Skipping straightening | Tilted horizon signals carelessness | Use the grid overlay in your camera app |
| Flash at night | Flat, harsh light, kills atmosphere | Use a lamp or window; raise ISO instead |
| Skipping edits entirely | Raw camera output is almost always flat | Five minutes in Snapseed changes everything |
Show Your Photos in a Portfolio That Matches Them
Once you've applied these methods and built a set of improved photos, the next step is presenting them in a way that does the work justice. A folder of JPEGs on a hard drive is not a portfolio. A beautifully interactive, page-turning digital flipbook is.
Flipbooks AI offers a Photography Portfolio Flipbook tool that converts your PDF portfolio into an interactive digital experience with realistic page-turn animations, mobile-responsive layouts, and sharing options that work on any device.
Build Your Portfolio in 7 Steps
-
Arrange your best photos in a PDF. Tools like Canva or Google Slides let you create a clean visual layout for free, then export directly to PDF.
-
Create your account at flipbooksai.com/account. No credit card required to start.
-
Upload your PDF using the PDF to Flipbook Converter. The platform processes it and produces the interactive flipbook within seconds.
-
Personalize your flipbook: Add your name as the brand, choose a color scheme that fits your style, and adjust the page layout. The Standard plan and above includes unlimited flipbooks with no watermarks, ever.
-
Enable password protection for private client work not meant for public viewing. This keeps your portfolio visible only to people you authorize directly.
-
Share or embed: Copy a direct link to share anywhere, or use the embed code to drop the interactive flipbook into your personal website. Clients see a polished presentation without downloading anything.
-
Track performance: With the Professional plan at flipbooksai.com/pricing, access analytics showing which pages viewers spend the most time on, plus lead generation tools to capture contact info from interested clients.
💡 Pro tip: Organize your portfolio by shooting style (portraits, events, products) rather than chronologically. Clients hiring for a specific job want to see relevant work immediately, not a timeline.
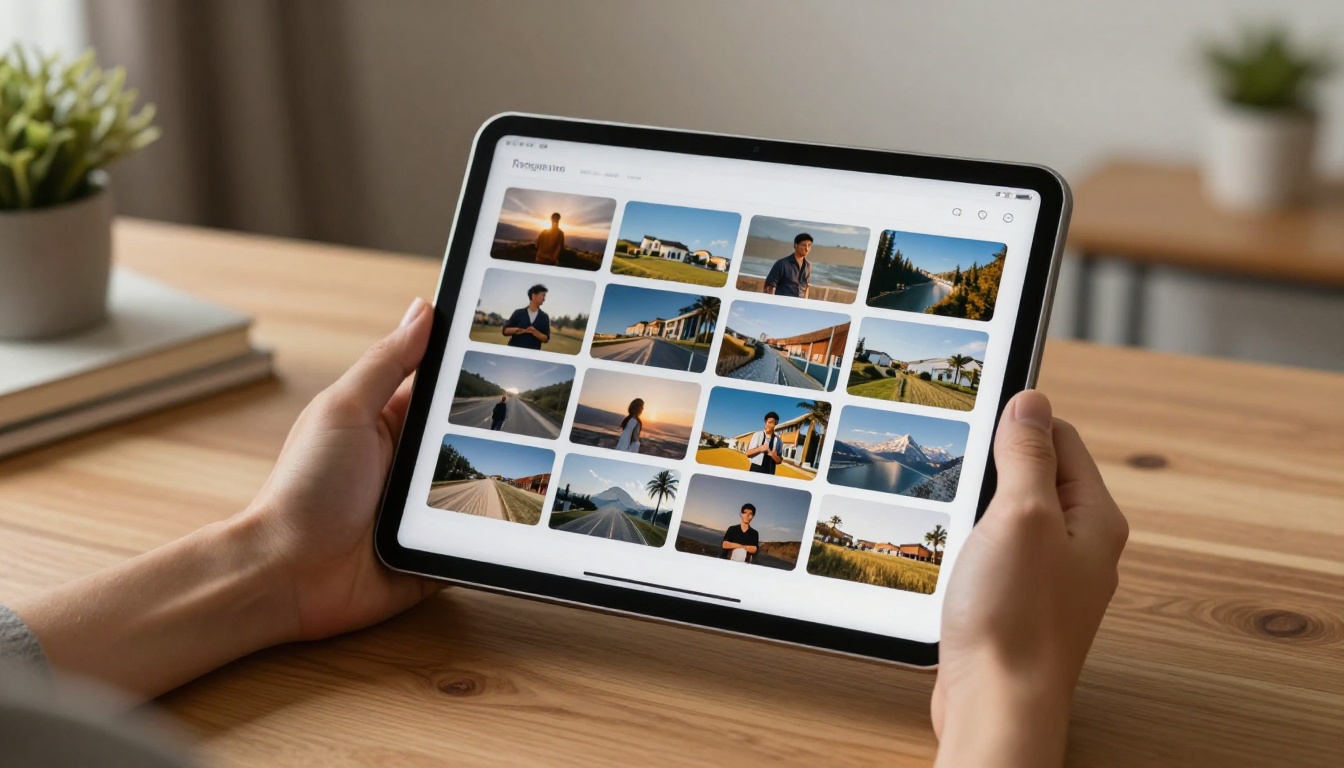
You can also use the Digital Portfolio Creator for a broader creative presentation, or the Interactive Lookbook Designer if your work spans fashion or editorial directions. Browse all available flipbook tools to find the format that fits your presentation style.
3 Habits That Separate Good Budget Photographers
These are not editing tricks. They are mental habits that change how you shoot before you ever open an editing app.
Shoot more, keep less. Take 50 shots of a single scene. You'll get two or three genuinely excellent ones. Professional photographers do this at every budget level. Volume improves your odds without costing anything.
Revisit your rejects. Photos you dismissed a month ago often read differently with fresh eyes. Some of your "bad" shots are actually interesting images you simply didn't recognize in the moment.
Edit in batches. Editing one photo at a time kills consistency. Shoot a session, pick your best 10, then edit all 10 at once using the same adjustments. The result is a cohesive, professional-looking set rather than a random collection of different visual styles.
Taking a great photo on a budget is more about what you do with what you have than what you spend. Free light, free tools, and five minutes of editing close most of the gap between a cheap photo and a professional one. Once you have images worth showing, get started for free on Flipbooks AI and present them in a format that does them real justice. Check pricing plans when you're ready to remove watermarks and access full analytics.



