The webinar is over, the registration numbers look decent, and then silence. Most hosts treat the hours after a live session as a breather, but those hours decide whether your audience remembers you next week. A tight webinar follow-up checklist turns a one-hour event into a pipeline. In this post you will get the exact sequence of messages to send attendees the next day, plus a simple way to package your slides and resources with Flipbooks AI so people actually open them.
Why the Next Day Matters
Interest fades fast. Right after a session, attendees remember your name, your main example and the question they wanted answered. Twenty-four hours later, that memory is still warm. Three days later, you are competing with a full inbox and a new set of priorities.
Sending your follow-up the next morning gives you three advantages:
- Recall is high. People still remember the topic and why they signed up.
- Intent is visible. Clicks and replay views tell you who is leaning toward a purchase.
- You look organized. A prompt, useful email signals that your brand delivers on what it promises.
💡 Pro tip: Schedule the email before the webinar even starts. Write a draft with placeholders, then fill in the details while the session is fresh.
The 24-Hour Window
Think of the day after your webinar as a short sprint with a fixed order. Morning is for attendees and no-shows. Midday is for sales conversations. Evening is for reviewing numbers while the details are fresh.
Who Actually Needs a Message
Not everyone who registered deserves the same email. Splitting your list is the single biggest improvement you can make.
| Segment | Who they are | What they need |
|---|
| Attended live | Watched most or all of the session | Thanks, slides, next step |
| Left early | Joined but dropped before the end | Short recap, replay link |
| Registered, no show | Signed up but never joined | Replay, one-line summary |
| Asked a question | Used chat or Q&A | Personal reply, resource link |
The Next-Day Checklist
Here is the full list, in the order you should work through it. Print it, pin it, or copy it into your project board.
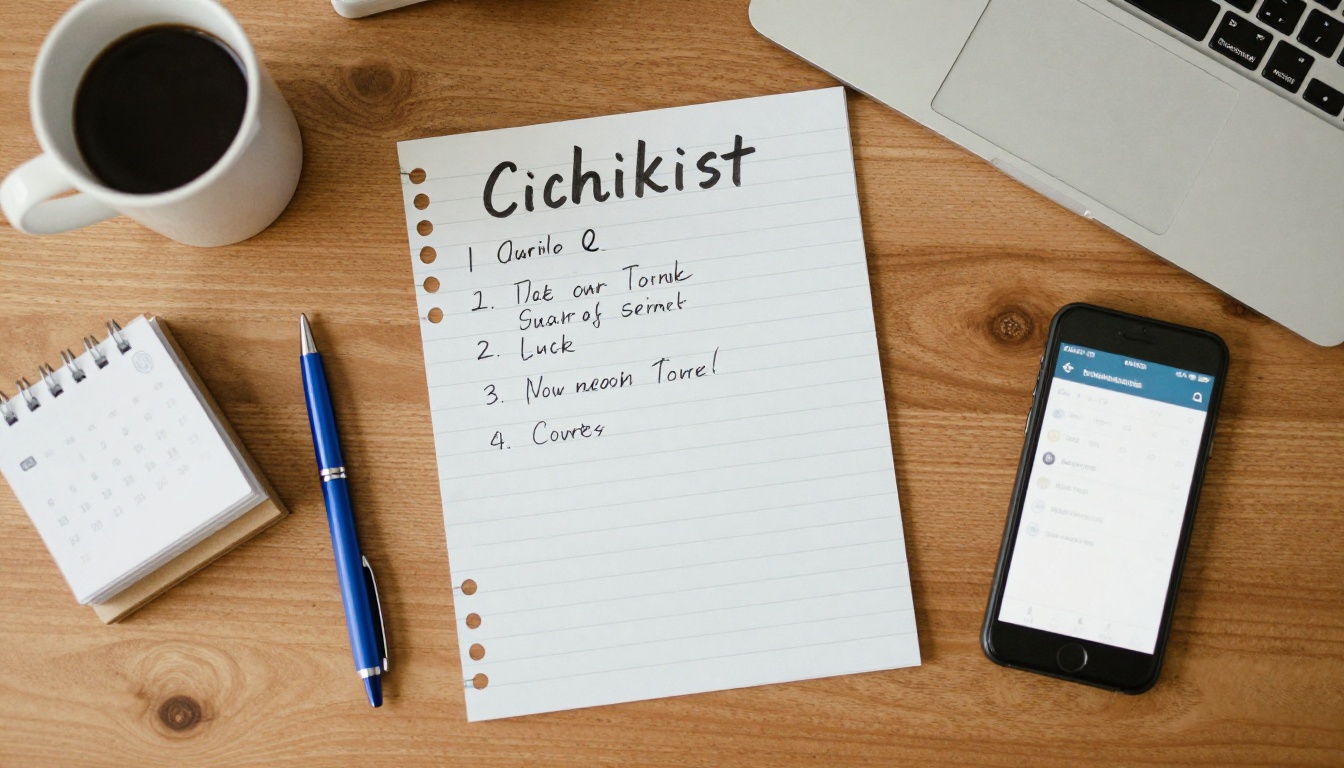
- Export the attendee and no-show lists from your webinar platform.
- Tag each contact with the right segment.
- Upload the replay and confirm the link works on mobile.
- Package slides and extras into one shareable file.
- Send the main thank you email before 10 a.m. local time.
- Reply personally to everyone who asked a question.
- Send the no-show version with a shorter message.
- Book follow-up calls for hot leads.
- Review the numbers and write down three lessons.
- Plan the next date and announce it.
Step 1: The Thank You Email
Keep it short. Your subject line should say what is inside, not that you are grateful. A clear promise beats polite filler.
Good subject lines:
- Your slides and replay from yesterday
- The checklist we mentioned, ready to download
- 3 answers to questions we ran out of time for
What to include in the body:
- A one-sentence thank you
- The replay link
- A link to your slides or resource pack
- One clear next step, such as booking a call or starting a trial

Step 2: Replay and Slides
Most hosts send a raw video link and a slide deck attachment. That works, but attachments get lost and videos get skipped. A better move is to bundle everything into a single interactive document. People open one link and find the replay, the slides, the worksheet and the offer in the same place.
✅ Best practice: Put the replay link in the first screen of your resource pack. Attendees who missed part of the session will thank you.
Step 3: Share a Resource Pack
A resource pack is any short document that extends your talk. It could include a slide recap, a checklist, a glossary, a template or a list of links you mentioned. The best packs are scannable, branded and mobile-friendly.
With the PDF to Flipbook Converter, you can turn your slide deck into a page-turning flipbook that opens in any browser. No download is needed, and there are no watermarks.

What to Send, Compared
Different formats serve different goals. Use this table to pick the right one for each segment.
| Asset | Best for | Effort | Open rate impact |
|---|
| Replay link only | No-shows | Low | Moderate |
| Slides as PDF attachment | Note takers | Low | Low to moderate |
| Slides as flipbook | Everyone | Medium | High |
| Resource pack with replay | Hot leads | Medium | High |
| Personal video reply | Question askers | High | Very high |
Matching Format to Intent
If someone watched the whole session, they want depth. Give them the resource pack. If someone skipped it, they want a reason to care. Give them a two-line summary and the replay.
What About the Chat Questions
Questions are gold. Export them and answer every one, even if only with a sentence. A short list of answers can become a standalone FAQ page that you reuse in the next campaign.
How to Build a Follow-Up Flipbook
If your slide deck is the main asset, a flipbook is the easiest way to make it feel like a premium handout. Here is the quick process using Flipbooks AI.
- Create your account. Sign up for free and open your dashboard.
- Upload your PDF. Export your slides from PowerPoint, Keynote or Google Slides as a PDF, then upload the file. Conversion takes seconds.
- Customize the look. Add your logo, pick brand colors, choose a page-turn effect and set the background.
- Add media. Embed the webinar replay or a short audio note directly inside a page.
- Set sharing options. Copy the direct link, grab the embed code, or turn on password protection for a gated offer.
- Paste the link into your email. One link replaces three attachments.
💡 Pro tip: If you sell training or courses, the Course Material Publisher is a handy shortcut for turning a webinar into a lasting handout.
Features Worth Turning On
| Feature | Why it helps after a webinar | Plan |
|---|
| Embedded video and audio | Replay lives inside the document | All plans |
| Password protection | Reward attendees with a gated bonus | All plans |
| Custom branding | Looks like your company, not a template | All plans |
| Analytics | See who opened and how far they read | Professional |
| Lead generation | Capture emails before the download | Professional |
| Offline downloads | Attendees keep a copy | All plans |
Analytics and lead capture are part of the Professional tier. You can compare options on the pricing page.
A Real-World Example
A small software company runs a monthly product demo. Previously, they emailed a slide PDF and a video link. Open rates on the second link were weak. Now they send a single flipbook with the replay on page one, a feature recap on pages two through six and a trial offer on the last page. Because analytics show who reached the offer page, the sales team calls those contacts first.
The Second Message: No-Shows
People who registered but never joined are still warm. They raised their hand once. Do not scold them and do not repeat the entire invitation.
A simple no-show template:
- Subject: Missed it? Here is the 10-minute version
- Body: One sentence on what you covered, three bullet points of takeaways, the replay link
- CTA: Watch the replay or open the resource pack
Timing and Frequency
| Message | When to send | Goal |
|---|
| Thank you with replay | Next morning | Deliver value |
| No-show recap | Next morning, later send | Re-engage quietly |
| Reminder of offer | Day 3 | Nudge hot leads |
| Final reminder | Day 5 to 7 | Close the loop |
Avoid sending more than four messages in the first week. Past that point, you risk unsubscribes.
Mistakes to Skip
- Sending only a thank you. Gratitude is nice, but it gives people nothing to do.
- Attaching a huge file. Heavy attachments hit spam filters and slow mobile users.
- Hiding the replay. If the link is buried, nobody finds it.
- Using one email for everyone. Segmenting takes five minutes and doubles relevance.
- Skipping the call to action. Every email needs exactly one next step.
⚠️ Warning: Do not promise a bonus unless you have it ready. Missing a promised resource damages trust faster than not sending a follow-up at all.
Turn Interest Into Conversations
Email is the opener. Real conversations close deals. Look at who clicked the replay, who opened the resource pack and who asked questions. Those people are ready for a personal note.

A Short Outreach Script
Keep it human. Something like:
"Hi Sam, thanks for joining yesterday. You asked about onboarding timelines, so I recorded a quick answer in the resource pack, page 4. If it helps, I am free Thursday for a 15-minute call."
That message is specific, useful and low pressure.
Scoring Your Leads
You do not need fancy software. A simple scoring sheet works.
| Action | Points |
|---|
| Attended live | 2 |
| Stayed to the end | 2 |
| Asked a question | 3 |
| Opened the resource pack | 2 |
| Reached the offer page | 4 |
| Clicked the booking link | 5 |
Contacts above ten points get a personal email. Contacts below that stay in the regular nurture sequence.
Tools That Fit the Job
Different outputs need different formats. A few options worth a look:
Review the Numbers
By afternoon, the data is in. Do not skip this step. A short review now improves every future event.

Metrics Worth Tracking
| Metric | Healthy range | What it tells you |
|---|
| Registration to attendance | 35% to 50% | Reminder quality |
| Average watch time | 60% or higher | Content pacing |
| Follow-up open rate | 40% or higher | Subject line strength |
| Replay view rate | 20% to 30% | Interest from no-shows |
| Call bookings | 2% to 5% of attendees | Offer clarity |
These ranges vary by industry, so treat them as starting points and compare against your own history.
Write Down Three Lessons
Before you close your laptop, write three bullet points: what worked, what dragged and what you will change next time. Keep the note in a shared folder so the team can refer to it when planning the next session.
Plan the Next Date
The best moment to announce your next webinar is right after the last one. Add a line at the bottom of your follow-up email with the new date. Even a rough month is enough to get people to mark their calendar.
Your Ready-to-Use Template
Copy this and adapt it.
Subject: Your slides and replay from yesterday
Body:
Hi [First name],
Thanks for joining [webinar title]. Here is everything in one place:
- Watch the replay: [link]
- Open the resource pack: [flipbook link]
- Book a 15-minute call: [link]
If you have a question we did not get to, just reply to this email. I read every message.
Talk soon,
[Your name]
✅ Best practice: Keep the email under 120 words. Short messages get read on phones, and phones are where most opens happen.
Send It Tomorrow Morning
A strong follow-up does not need a big budget or a long design process. It needs a clear list, a clean resource and a prompt send time. Build your pack today, schedule your email, and let the checklist do the rest.
Ready to package your slides? Get started for free on Flipbooks AI and turn your next webinar deck into a flipbook in minutes. Browse all flipbook tools to find the right format, or compare pricing plans to pick the tier that includes analytics and lead capture.



