You open the PDF you spent all afternoon polishing, and there it is: your logo, sitting inside a hard black rectangle. On your screen the design looked perfect, with the logo floating cleanly over a photo. In the exported file, the transparency is gone. This is one of the most common PDF export bugs, and it hits brochures, catalogs, menus and reports alike. If you plan to turn that file into a page-turning publication with Flipbooks AI, a black box on page one is not the first impression you want.
The good news: the problem is predictable. It comes from a handful of causes, and each one has a clear fix. Let's go through them in order, starting with what transparency actually is inside an image file.
What Transparency Really Is
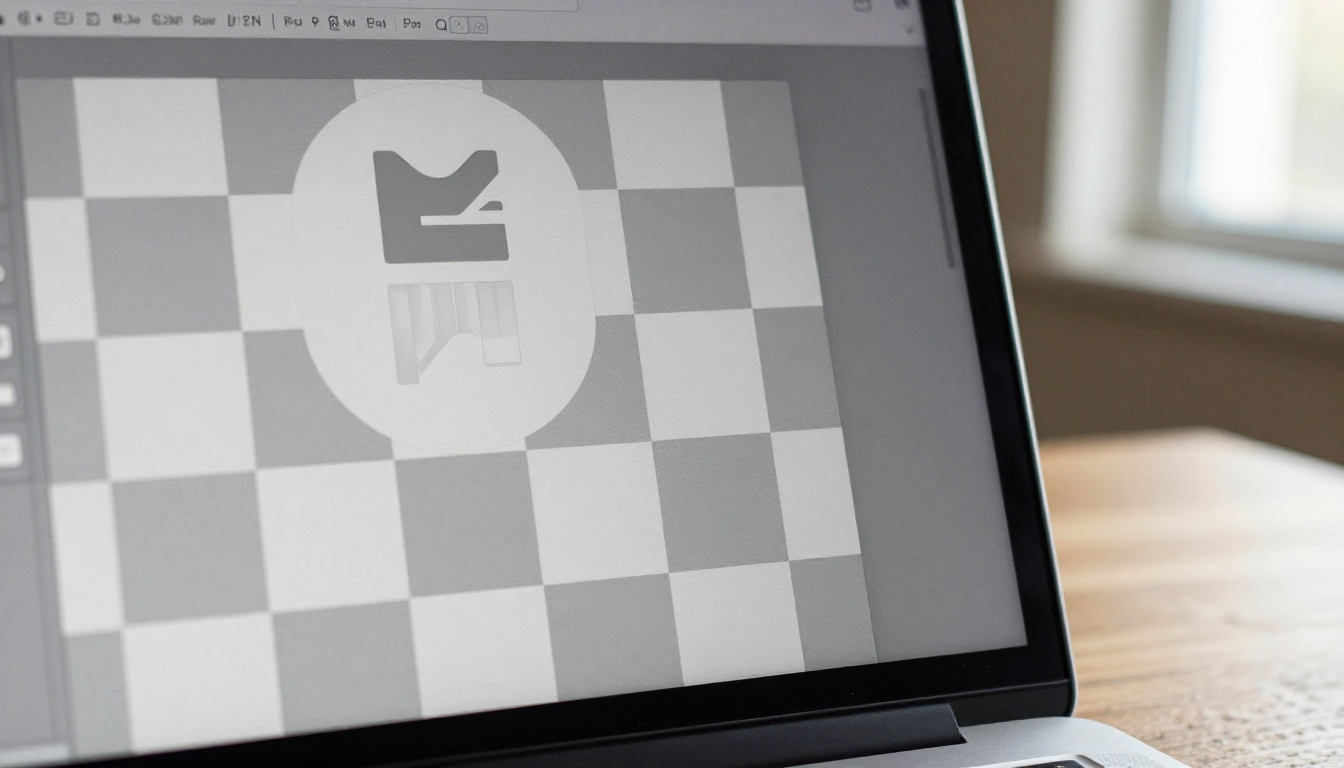
A transparent image is not a picture with "nothing" in some pixels. It is a picture with an extra layer of data called the alpha channel. Every pixel carries four values: red, green, blue, and alpha. The alpha value says how opaque that pixel should be, from 0 (invisible) to 255 (solid).
The checkerboard pattern you see in design tools is just a visual hint. The pixels under it still have color values, and very often those hidden values are black.
That detail matters. If any step in your export chain throws away the alpha channel, the software still has the red, green and blue values left. Those "invisible" pixels suddenly become visible, and they are often black. That is your box.
Formats That Carry Alpha
Not every format can store transparency. Here is where people get tripped up:
| Format | Supports Alpha | Typical Result in PDF |
|---|
| PNG-24 / PNG-32 | Yes, full 256 levels | Fine if the exporter keeps the soft mask |
| PNG-8 (indexed) | One transparent color only | Jagged edges, sometimes a solid fill |
| GIF | One transparent color only | Halo or black fill |
| JPEG | No | Transparent areas become black or white |
| WebP | Yes | Often dropped by older PDF tools |
| SVG | Yes (vector) | Safe in most modern exporters |
A quick rule: if your logo was ever saved as a JPEG, even once, the transparency is gone for good. No PDF setting can bring it back.
How PDF Stores Transparency
PDF does not store alpha inside the image the way PNG does. Instead, it splits the image in two: the color data, and a separate grayscale image called a soft mask (SMask). The viewer combines them on the fly.
This design is clever, but it creates a weak spot. Any tool that handles only the color half and ignores the soft mask will show the raw pixels underneath. That is the black box.
The Five Usual Suspects
Most black-box problems trace back to one of five causes. Check them in this order, because the first two account for the majority of cases.
1. The Source File Was Flattened Early
Before blaming the PDF, open the original image. Place it over a bright color in your design tool. If the background is already black, the transparency was lost earlier, perhaps when someone pasted the logo from a slide deck, took a screenshot, or exported a JPEG from a brand portal.
💡 Pro tip: Drop the file onto a bright magenta layer. Magenta makes leftover black or white fringes obvious in two seconds.
2. The Exporter Targets an Old PDF Version
Transparency arrived in PDF 1.4. If your export preset targets PDF 1.3, or a strict print standard like PDF/X-1a, the exporter must flatten transparency. Flattening merges overlapping objects into opaque pieces. When it goes wrong, shadows, glows and soft edges turn into boxes.
Here is how common presets behave:
| Preset | PDF Version | Transparency Handling |
|---|
| Smallest File Size / Web | 1.6 or higher | Kept live |
| High Quality Print | 1.6 or higher | Kept live |
| PDF/X-1a | 1.3 | Flattened, risk of boxes |
| PDF/X-4 | 1.6 | Kept live |
| Press Quality (legacy) | 1.3 or 1.4 | Depends on settings |
3. A "Print to PDF" Shortcut
Using a virtual printer, such as the generic "Print to PDF" option, rasterizes or re-draws the page. Many virtual printers do not pass soft masks through correctly. The same document exported with a proper "Save as PDF" command often looks fine.
4. A Color Mode Conversion
Converting from RGB to CMYK during export sometimes rebuilds the image and drops the mask. This happens most often with older software and with online converters that process each image separately.
5. A Converter That Does Not Read the Mask
Some command-line tools and free converters decode the color layer and skip the SMask. Ghostscript with certain flags, older versions of image libraries, and a few cloud compressors fall into this group. They can look fine on the surface while quietly damaging the file.
How to Diagnose Your File Fast
Before changing settings at random, narrow the cause down. This takes five minutes and saves hours.
- Open the PDF in two different viewers. Try a browser and a desktop reader. If the box shows in only one, the file is fine and the viewer is the problem.
- Check the source image on a colored background. Black fringes mean the transparency was lost before export.
- Export a test page. Make a one-page document with only the logo on a colored rectangle. If that works, the issue is a specific layer or effect, not the whole export.
- Change one setting at a time. Switch the PDF version, then the color mode, then the compatibility level. Keep notes.
- Check the file after every compression step. If the PDF is fine until you run it through a compressor, you have found the culprit.
⚠️ Warning: Do not "fix" a black box by placing a white rectangle behind the logo. It works only on white pages, and it breaks the moment you change the page color or add a background photo.
A Quick Symptom Table
| What You See | Most Likely Cause | First Fix to Try |
|---|
| Solid black box around logo | Alpha channel dropped | Re-export with PDF 1.6 or higher |
| White box around logo | Source was a JPEG or flattened | Get the original PNG or SVG |
| Black edges only (fringing) | Premultiplied alpha or bad matte | Re-save the PNG with no matte color |
| Box appears only after compression | Compressor ignores soft mask | Compress with a different tool |
| Box only in one viewer | Viewer rendering bug | Update the viewer, test another |
| Shadow turns into a gray block | Flattener at low resolution | Raise flattener resolution |
The wording changes from app to app, but the idea stays the same: keep transparency live, do not flatten, and do not rasterize.

Adobe InDesign and Illustrator
- Choose Adobe PDF (Interactive) or a high-quality preset with Acrobat 5 (PDF 1.4) compatibility or higher.
- Under Advanced, set the Transparency Flattener to "High Resolution" only if you must support PDF 1.3.
- Avoid PDF/X-1a unless your printer demands it. Pick PDF/X-4, which keeps transparency intact.
Canva and Browser-Based Editors
- Download as PDF Standard instead of PDF Print when the file is for screens.
- Turn on the option to keep the background transparent only for PNG exports, not for PDF pages.
- If an element still shows a box, replace it with an SVG version from the same library.
Microsoft Word and PowerPoint
- Use File, Save As, PDF rather than the print dialog.
- In Options, choose "Standard (publishing online and printing)" instead of "Minimum size".
- Do not tick "ISO 19005-1 compliant (PDF/A)" unless you must, because that mode can restrict transparency.
Affinity, Figma and Sketch
- In Figma, export frames as PDF and keep effects as vectors when possible.
- In Affinity Publisher, pick a PDF (digital) preset, not PDF/X-1a.
- Rasterize only as a last resort, and then at 300 PPI with the alpha channel enabled.
✅ Best practice: When in doubt, keep logos as SVG inside your layout. Vectors have no alpha channel to lose, and they stay sharp at any zoom.
Fixing It After the PDF Already Exists
Sometimes you only have the finished PDF and no source file. You still have options.
- Open it in a PDF editor and look at the image object. If the soft mask is still there, re-save with a modern compatibility level.
- Replace the box. Delete the black image and place a fresh PNG or SVG of the logo in the same position.
- Re-render from the original design file if you can find it. This is almost always faster than repairing a damaged PDF.
- Avoid recompressing the damaged file. Every pass can bake the black pixels in deeper.
The Flatten-to-White Trick, and When to Use It
There is one situation where flattening on purpose is the smart choice: when your page background is a single solid color and the file will only be viewed on screen.
In that case, place the logo on a layer filled with the exact page color, then export that one element as a regular opaque image. The black box cannot appear because there is no transparency left to lose.
| Approach | Best For | Downside |
|---|
| Keep transparency live (PDF 1.6+) | Photos behind logos, gradients, shadows | Needs a modern viewer |
| Flatten to page color | Plain solid backgrounds | Breaks if the background changes |
| Use SVG | Logos, icons, simple shapes | Complex photos do not convert well |
| Rasterize at 300 PPI with alpha | Soft shadows and glows | Larger file size |
A Pre-Export Checklist
Print this and keep it near your desk. It prevents most of the headaches before they start.
- Confirm every logo and icon exists as a PNG-24 or SVG, never a JPEG.
- Test each transparent asset over a bright color.
- Pick a PDF preset that keeps transparency: PDF 1.6 or higher, or PDF/X-4.
- Export with "Save as PDF", not the print dialog.
- Open the result in at least two viewers.
- Zoom to 400 percent on logo edges to look for fringes.
- Compress only with a tool you have already tested on a transparent sample.
- Keep the layered original file next to the final PDF.

Real-World Examples
Seeing how this plays out helps you spot it in your own work.
A restaurant menu. A cafe owner exports a menu with a wooden-texture background and a transparent logo on every page. The PDF comes out with black squares because the export used PDF/X-1a. Switching to PDF/X-4 and re-exporting solved it in one pass. The finished file then works well as a restaurant menu flipbook.
A real estate brochure. An agent places a semi-transparent agency badge over each property photo. A free online compressor strips the soft masks, and every badge gets a dark box. Using a different compressor, or skipping compression altogether, keeps the badges clean. Agents who publish listings often use the real estate brochure creator after fixing the source PDF.
A product catalog. A seller sends a 60-page catalog where product cutouts sit on colored panels. The designer exported the cutouts as JPEGs by mistake, so the black corners were permanent. The fix was to pull the original PNGs and rebuild the layout. The catalog then became a smooth digital catalog.
Checking the Result Inside a Flipbook
Once your PDF looks right in a desktop reader, the last test is how it behaves in a page-turning viewer. A flipbook converter reads each page, renders it, and serves it to phones, tablets and laptops. A clean source file gives clean pages everywhere.

Here is a simple way to run that test with the PDF to Flipbook Converter:
- Create a free account at Flipbooks AI and open the dashboard.
- Upload your fixed PDF. The upload and conversion take a short time for most files.
- Flip through the pages and look closely at every logo, icon and badge.
- Open the flipbook on your phone to confirm the edges look the same on a small screen.
- Customize the colors, branding and page effects to match your brand.
- Share it with a direct link, an embed code on your website, or password protection for private content.
The platform adds no watermarks, and the result is mobile-responsive, so a logo that looks right in the PDF will look right in the flipbook. Teams on the Professional plan also get analytics and lead generation, so you can see which pages hold attention. You can compare options on the pricing page.
Common Mistakes to Avoid
- Trusting the preview. The thumbnail in a file manager may hide the problem. Always open the full file.
- Exporting from screenshots. Screenshots capture the background color, not the alpha channel.
- Mixing color profiles. An odd ICC profile can shift edges and create halos.
- Resizing in the layout. Scaling a small PNG way up reveals fringing that was invisible at the original size.
- Skipping the second viewer. A single test hides viewer-specific bugs.
Ready for a Clean Publish
A black box around a transparent image is almost never a mystery. It means the alpha channel or its soft mask got lost somewhere between your design tool and the final file, and now you know how to find the exact step. Start with the source file, pick a PDF version that keeps transparency, avoid the print dialog, and test with more than one viewer.
When your PDF finally looks right, put it to work. Get started for free on Flipbooks AI, turn the file into an interactive flipbook, and browse all the flipbook tools to find the format that fits your project. If you need analytics, lead capture or unlimited flipbooks, compare the plans and choose what works for you.



