You spent hours perfecting every page of your PDF, only to upload it and find the result looks nothing like what you designed. The images are soft, the text feels mushy, and colors look washed out compared to your original. This happens to nearly every first-time digital publisher, and every single cause has a specific, fixable solution. Flipbooks AI processes uploads from thousands of users, and these quality issues follow predictable patterns you can correct right now.
What Happens to Your File During Upload
Most people assume uploading a PDF is like emailing an attachment: the file goes in, the same file comes out. That is not what happens.
The Conversion Pipeline
When you upload a PDF to any flipbook platform, the file passes through a multi-step conversion process. The platform's rendering engine reads the PDF, interprets every element (vector shapes, rasterized images, embedded fonts, color profiles), and converts it into web-optimized image assets for each page. Those page assets are then assembled into the interactive flipbook viewer.
Each of those steps is a potential quality loss point. If your source file already has low-resolution images embedded in it, the platform has nothing to work with. If the conversion engine applies its own JPEG compression on top, you lose another generation of quality.
Where Quality Actually Drops
Quality loss during upload typically happens at three distinct moments:
- When the PDF was exported from your design software with incorrect settings
- During rasterization when the platform converts vector and mixed pages into fixed-resolution page images
- During compression when the platform optimizes the output for fast web loading
Understanding which stage is causing your problem tells you exactly where to apply the fix.
5 Reasons Your Flipbook Looks Blurry
Not all quality issues come from the same root cause. These five are responsible for the vast majority of complaints.
Low DPI in the Source PDF
DPI (dots per inch) is the density of pixels in your images. For print, 300 DPI is the standard. For screen display, many designers assume 72 or 96 DPI is fine because "screens are only 72 DPI anyway." That assumption is outdated and wrong.
Modern retina displays operate at 144 to 227 PPI. When your flipbook's page image gets displayed on a 2x retina screen, the platform stretches a 72 DPI raster to fill that space. The result looks blurry because there literally aren't enough pixels. For flipbooks, 150 DPI minimum, 200 to 300 DPI recommended for image-heavy pages.
Wrong Export Settings From Your Software
Adobe InDesign, Canva, PowerPoint, and Illustrator all have different default export behaviors. Most of them default to "screen" or "smallest file size" presets which aggressively compress images during export. Your PDF might look perfectly sharp in Acrobat because Acrobat renders it at full fidelity, but it contains heavily compressed image data that only becomes visible once the flipbook platform rasterizes those pages.
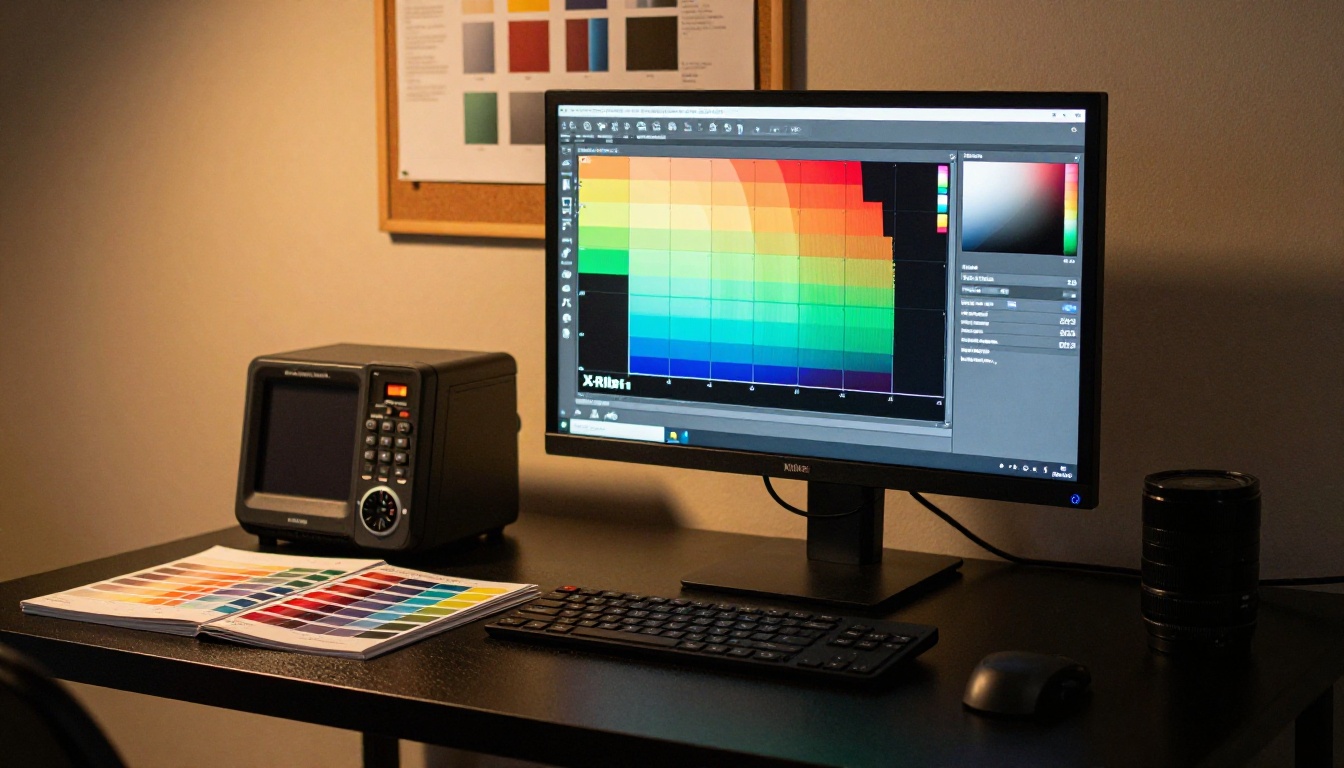
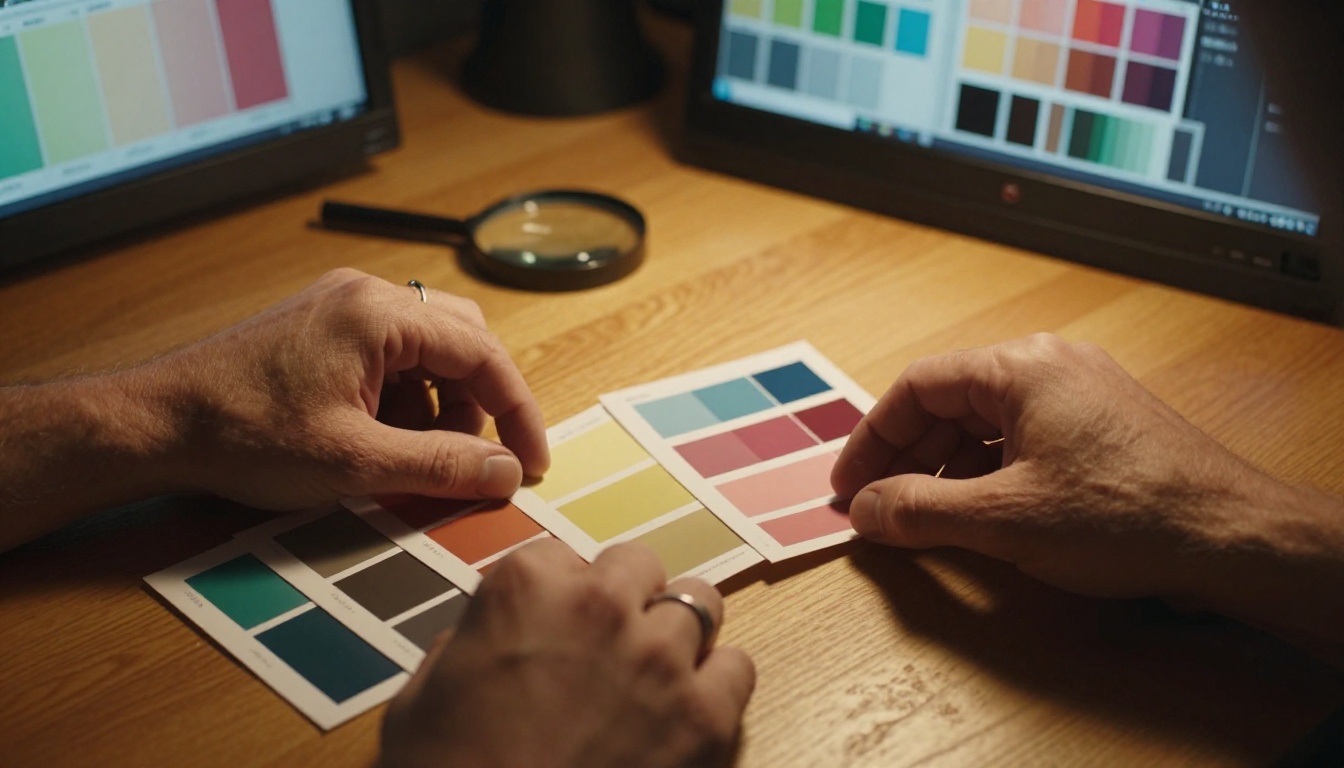
Color Space Mismatch
PDFs designed for print use CMYK color space. Screens render in RGB. When a CMYK PDF gets converted to web page images, the conversion algorithm has to translate every color value. Some platforms do this well; others produce washed-out, muddy, or slightly off-hue results. If your flipbook's colors look flat compared to your original, color space conversion is the culprit.
File Size Compression Kicking In
Some platforms apply their own secondary compression to keep load times fast. If you upload a 200MB PDF, the platform may automatically recompress its output to reduce storage and bandwidth costs. This is a second generation of lossy compression applied on top of whatever compression was already in your PDF, which compounds quality loss significantly.
Screen Resolution vs Print Resolution
This is the most counterintuitive issue. Designers who work exclusively in print mode set up their documents at physical sizes (8.5x11 inches) with print-optimized color profiles. When that document is rasterized to a screen-friendly image, the output resolution depends on how the DPI was set. A print document at 300 DPI converts to a large, high-resolution page image. The same document accidentally set to 72 DPI converts to a small, soft image that the viewer then upscales to fill the screen.
DPI Explained Simply
DPI trips up a lot of designers. Here's the practical breakdown you actually need.
What 72 DPI Actually Means Online
The "72 DPI is enough for screens" rule dates from the early 1990s when monitors had physical pixel densities of approximately 72 pixels per inch. Contemporary displays have moved far beyond that. A 27-inch 4K monitor has a physical pixel density of around 163 PPI. Mobile retina screens exceed 400 PPI.
When a flipbook platform rasterizes your pages, it creates fixed-size images. If those images were generated from 72 DPI source data, zooming in on the flipbook reveals the degradation immediately.
The Right Numbers for Digital Publications
| Content Type | Minimum DPI | Recommended DPI | Notes |
|---|
| Text-heavy pages | 150 DPI | 200 DPI | Fonts need sharp edges |
| Photography and images | 200 DPI | 300 DPI | More pixels = more detail |
| Mixed content pages | 150 DPI | 250 DPI | Balance text and images |
| Full-bleed spreads | 200 DPI | 300 DPI | First impression matters |
| Simple graphics and icons | 150 DPI | 200 DPI | Vectors scale cleanly |
💡 If your PDF contains mostly vector graphics and embedded fonts with no rasterized photography, DPI matters less because vectors render at any resolution. The problem is almost always rasterized images embedded inside the PDF.
PDF Export Settings That Matter
The single most impactful fix happens before you ever upload anything. Getting your PDF export settings right eliminates most quality issues at the source.
Exporting From Adobe InDesign
InDesign gives you the most control of any design application. Use the PDF (Print) export option, not PDF (Interactive). In the export dialog:
- Set Compatibility to Acrobat 5 or later
- Set Compression for images to JPEG (Maximum) or ZIP (lossless)
- Set Resolution to 150 ppi minimum for sampled images
- Check Crop Image Data to Frames to reduce file size without quality loss
⚠️ The "Smallest File Size" preset in InDesign drops images to 72 PPI and uses low-quality JPEG. Never use this preset for flipbook uploads.
Exporting From Canva
Canva's PDF export has two modes: PDF Standard and PDF Print. Always choose PDF Print. This preserves higher image quality and avoids the aggressive compression Canva applies to Standard exports. If your Canva design uses photography, the Print setting preserves the original resolution of those images.
Exporting From Illustrator
Illustrator defaults to preserving vector content at full fidelity, but embedded raster images (photos placed inside Illustrator) export at whatever resolution they were embedded. Before exporting, check Document Raster Effects Settings under the Effect menu and set it to High (300 PPI) before creating any effects.
| Software | Best Export Setting | Quality Level | Compression Type |
|---|
| Adobe InDesign | PDF (Print) High Quality | Excellent | JPEG Max or ZIP |
| Adobe Illustrator | Save As PDF, Press Quality | Excellent | ZIP lossless |
| Canva | PDF Print | Good | Proprietary |
| Microsoft PowerPoint | Export PDF, Best Quality | Fair | JPEG Medium |
| Google Slides | Download as PDF | Poor | Heavy JPEG |
| Affinity Publisher | PDF (for Digital) | Very Good | ZIP or JPEG High |
✅ Open your exported PDF in Adobe Acrobat Reader and zoom to 200%. If text looks crisp and images look sharp at that zoom level, your export quality is sufficient for flipbook upload.

How to Fix It Before You Upload
Now that you know what causes quality loss, work through this troubleshooting matrix systematically.
| Problem | Likely Cause | The Fix |
|---|
| Blurry images throughout | Low DPI in export | Re-export at 150 to 300 DPI |
| Blurry text only | Font rasterization issue | Use PDF Print preset, check compatibility |
| Washed-out colors | CMYK to RGB conversion | Export in RGB color space for digital |
| Muddy photography | Double JPEG compression | Use ZIP or lossless export, JPEG only once |
| Sharp on desktop, blurry on mobile | Upscaling for retina screens | Increase export DPI to 200 or above |
| File rejected or oversized | Unoptimized source file | Optimize images before placing in layout |
| Sharp cover, blurry inside pages | Inconsistent embedded image quality | Audit and replace low-res images in layout |
💡 Use Adobe Acrobat's Document Properties panel (File menu) to check the actual resolution of embedded images in your PDF before uploading. Images listed at 72 PPI are the problem files.
Pre-Upload Checklist
Before uploading any PDF to a flipbook platform, run through these four checks:
- Open the PDF at 200% zoom in Acrobat. If anything looks soft, fix the export settings.
- Check the color mode via File > Properties > Description. Look for "RGB" not "CMYK" for digital publications.
- Verify the file size is reasonable. A 20-page image-heavy document should be 5 to 30MB for web use.
- Check embedded image resolutions using Acrobat's Preflight tool or Output Preview panel.
How to Create a Crisp Flipbook on Flipbooks AI
Flipbooks AI is built to preserve the quality of your uploaded PDFs while delivering fast-loading, responsive flipbooks. Here's exactly how to get the sharpest results.
Step 1: Prepare your PDF using the settings above
Before touching the upload button, export your PDF at 200 DPI minimum using a Print or High Quality preset. If you're working in Canva, use PDF Print. If you're in InDesign, use the High Quality Print preset and verify image compression is set to JPEG Maximum or ZIP.
Step 2: Create your account and start a new flipbook
Go to flipbooksai.com/account and create your free account. From your dashboard, click "Create New Flipbook" and name your project.
Step 3: Upload your PDF
Use the PDF to Flipbook Converter to upload your file. Flipbooks AI processes the PDF server-side and preserves the quality of your embedded content during rasterization. Larger files up to the plan limit are supported without forced downsampling.
Step 4: Customize your flipbook
After the conversion completes, you can:
- Set your brand colors and logo for a cohesive look
- Enable page turn animations (realistic page flip or slide)
- Add a table of contents for longer documents
- Set a custom domain for sharing
- Enable password protection for private content
Step 5: Share or embed
Flipbooks AI gives you a direct shareable link and a complete embed code for placing your flipbook on any website. The embed flipbook tool generates responsive embed code that works on desktop and mobile without degrading quality.
Step 6: Access analytics on Professional
With a Professional plan, you get page-by-page analytics showing where readers spend time, which pages drive engagement, and lead capture forms you can add directly inside the flipbook.
Features available on all plans:
- No watermarks, ever
- Unlimited flipbooks on Standard and above
- Password protection for private content
- Offline downloads for readers
- Video and audio embeds
- Mobile-responsive design on all devices
- Custom branding throughout
Mistakes People Make Every Time
Quality issues are almost always self-inflicted. These recurring mistakes account for nearly every blurry flipbook complaint.
| Mistake | Why It Causes Problems | What to Do Instead |
|---|
| Using "Save for Web" PDF preset | Drops images to 72 PPI automatically | Use Print or High Quality preset |
| Placing low-res images in layout | Layout can't add pixels that don't exist | Source images at 1200px wide minimum |
| Ignoring color space settings | CMYK looks wrong on screens | Set document to RGB for digital output |
| Uploading PowerPoint-exported PDFs | PowerPoint uses low-quality JPEG internally | Redesign in InDesign or Canva for better control |
| Not checking the exported file before upload | Problems go undetected until live | Always proof at 200% zoom before uploading |
| Using raster logos instead of vector | Logos get blurry at size variations | Replace PNGs with SVG or EPS logos |
| Uploading gigantic unoptimized files | Platform may apply its own compression | Optimize to 5 to 50MB before upload |
Sometimes you've done everything right and the quality still degrades. This points to how the platform processes your upload on its end.
Different flipbook platforms use fundamentally different rendering approaches. Some rasterize pages at 96 PPI regardless of what you upload. Others preserve vector content natively and only rasterize when necessary. Some apply fixed JPEG compression to every page; others use adaptive compression that detects page content type.
⚠️ Free and low-cost flipbook platforms often apply heavy compression to reduce storage costs. This compression is invisible during upload but becomes apparent when readers zoom in or view on high-resolution displays.
When evaluating any flipbook platform, test these things:
- Does the platform preserve vector text? Sharp text at all zoom levels means vectors are intact.
- What output format does page rendering use? PNG preserves more quality than JPEG for pages with text.
- Does zooming in show pixel artifacts? Heavy JPEG compression shows visible blocks when zoomed.
- How does it look on a retina screen? The real quality test is an iPhone or MacBook Retina display.
Flipbooks AI renders pages at quality settings optimized for modern retina displays, preserving the fidelity of your source PDF as much as network optimization allows.
Fix It Once, Publish With Confidence
Quality loss after upload is never random. Every blurry flipbook traces back to one of the fixable issues above: a DPI problem, a wrong export preset, a color space mismatch, or a platform that applies too much compression.
The fastest path to a crisp, professional result is to fix the export settings in your design software, verify your PDF before upload, and use a platform that respects the quality you put into your file.
If you're ready to publish flipbooks that look as good online as they do in print, get started for free on Flipbooks AI. Whether you're creating a digital catalog, an interactive lookbook, a restaurant menu, or a corporate annual report, the platform handles your content with the quality it deserves.
Compare pricing plans to choose the right fit for your publishing volume, or browse all flipbook tools to find the format that matches your project.



