That frustrating moment when you try to upload a PDF and the converter tells you the file is too big, it happens more often than it should. You spent hours building the perfect catalog, brochure, or report, and now a file size limit is standing between you and your digital flipbook. The good news: this is almost always fixable in under 10 minutes, and once you know what actually causes PDF bloat, you will never run into the same wall twice.
What "File Too Large" Actually Means
Size limits are not random
Every PDF-to-flipbook converter sets a maximum upload size. These limits exist for practical reasons: processing a 500 MB PDF takes enormous server resources, degrades conversion quality, and creates slow loading experiences for end readers. Most platforms cap uploads somewhere between 50 MB and 200 MB, though limits vary widely by pricing tier.
The number on your file is the symptom. The real question is why your PDF ended up that size to begin with.
Why oversized PDFs fail conversion
Large PDFs do not just hit size limits. They create a chain reaction of problems:
- Slow processing: Conversion engines time out on enormous files
- Memory errors: Server-side RAM limits cause silent failures
- Poor output quality: Rushed compression on a bloated file produces blurry flipbook pages
- Reader frustration: Even if conversion works, a poorly optimized flipbook loads slowly on mobile
Knowing the root cause matters because different causes require different fixes.
The Real Causes of Bloated PDFs
High-resolution embedded images
This is the single biggest culprit. When a designer exports a PDF from Adobe Illustrator or InDesign, images are often embedded at 300 DPI or higher because that resolution is needed for professional printing. For a screen-based flipbook, anything above 150 DPI is wasted data.
A single full-bleed 300 DPI CMYK image can weigh 25 MB or more. Multiply that across 20 pages and you have a 500 MB PDF from a document that should be under 30 MB.
💡 Pro tip: When exporting a PDF for digital use, target 96-150 DPI for screen and set JPEG compression to 60-80 quality. You will see 60-80% file size reduction with no visible quality loss on screen.
Embedded fonts and duplicates
Fonts embedded inside a PDF add file weight. The problem compounds when a document uses many font families, or when the same font gets embedded multiple times across referenced assets. Some design software also embeds entire font files when only a subset of characters is needed.
A single font family with four weights (regular, bold, italic, bold italic) can add 1-4 MB to a PDF. Multiply across 10 font families and you have added 40 MB before a single image appears.
Hidden layers, annotations, and markup
PDFs created from design tools often contain:
- Layers: Even hidden layers are stored in the file
- Comments and annotations: Review markup from team collaboration
- Form fields: Interactive elements not needed in the final output
- Overprint settings: Complex print production settings irrelevant for digital
Flattening these before export can cut file size dramatically.
Scanned pages and unoptimized OCR
PDFs created by scanning physical documents are among the most bloated files you will encounter. Each page is essentially a high-resolution photograph. A 50-page scanned report at 300 DPI, saved as TIFF internally, can easily reach 200-400 MB.
When OCR (Optical Character Recognition) is applied, a text layer is added on top of the image layer, adding more data without reducing the underlying scan quality.
Color space mismatches
PDFs built for print often use CMYK color space, which stores more color data than the RGB space used by screens. Converting CMYK to RGB during PDF export reduces file size by roughly 25% while improving on-screen color accuracy.
How to Measure the Problem
Analyze before you compress
Before blindly compressing your PDF, it helps to know what is taking up the most space. Several tools give you a detailed breakdown:
| Tool | Platform | What It Shows | Cost |
|---|
| Adobe Acrobat (PDF Optimizer) | Desktop | Image sizes, fonts, objects | Paid |
| PDF Squeezer | Mac | Compression preview | Paid |
| Smallpdf Compress | Web | File size reduction estimate | Freemium |
| ilovepdf.com | Web | Basic compression | Free |
| QPDF (command-line) | All | Detailed object analysis | Free/Open Source |
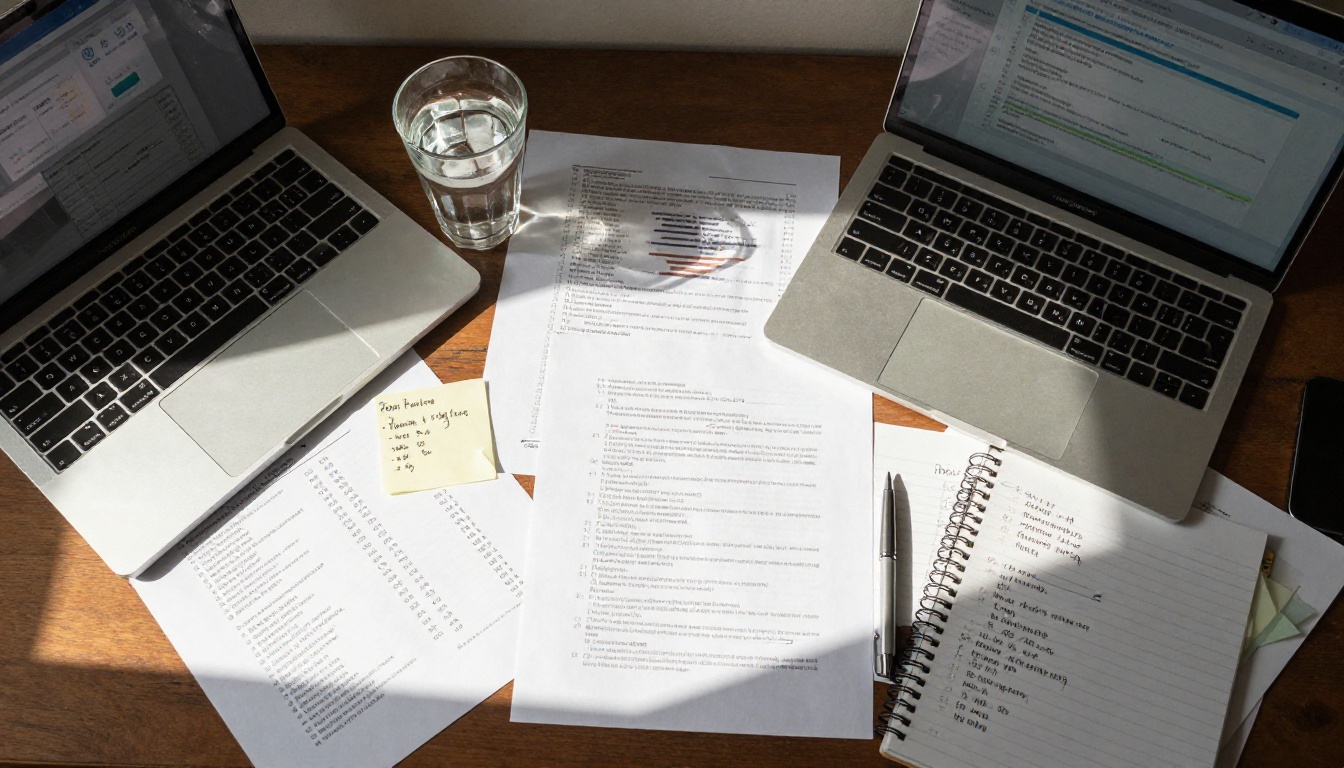
Adobe Acrobat Pro's PDF Optimizer is the most thorough option. Under "Advanced Optimization," it shows you exactly how many MB each component, including images, fonts, and streams, contributes to the total. This tells you exactly where to attack.
What to look for in a PDF audit
Run a quick audit by asking:
- Are images stored at 300 DPI or higher?
- Does the file use CMYK color space?
- Are there more than 5 font families embedded?
- Does the PDF contain hidden layers?
- Was this PDF created from scanned pages?
If the answer to any of these is yes, that is your starting point.
7 Ways to Reduce PDF Size Before Converting
1. Re-export from the source application
The cleanest method is always going back to the original file and exporting a new PDF with screen-optimized settings. In Adobe InDesign, choose File > Export > Adobe PDF (Print) and then switch to the "Smallest File Size" preset. In Illustrator, use Save As > Adobe PDF and select "Smallest File Size."
This approach preserves quality because you control the compression at the source, rather than recompressing an already-compressed file.
2. Compress images to screen resolution
If you do not have the source file, use Acrobat's PDF Optimizer (Tools > Optimize PDF) to downscale images to 96-150 DPI and apply JPEG compression. This single step typically reduces file size by 60-80%.
For scanned PDFs, reduce scan resolution to 150 DPI and apply DCT (JPEG) compression at medium quality.
3. Remove unused fonts and subset embedded fonts
In Acrobat's PDF Optimizer, check "Discard Objects" and select "Discard embedded print settings" and "Discard private data of other applications." Under fonts, ensure only subsets (the characters actually used) are embedded, not full font files.
⚠️ Warning: Do not unembed fonts entirely unless you are certain the recipient has them installed. For flipbook conversion, embedded subsets are fine and much lighter.
4. Flatten layers and transparency
Under "Discard Objects" in PDF Optimizer, select "Flatten all layers." For transparency, use "Acrobat 6 (PDF 1.5) and later" flattening to merge transparent objects into the page. This eliminates hidden complexity that bloats the file without affecting anything visible.
5. Strip metadata and hidden data
PDF files accumulate metadata: author information, creation history, revision data, embedded thumbnails, and more. None of this is visible to your flipbook readers, but all of it adds file weight. In PDF Optimizer, under "Discard User Data," remove all metadata, comments, annotations, form fields, and private data.
6. Convert color space from CMYK to RGB
If your PDF uses CMYK, convert it to RGB before uploading. In Acrobat Pro: Edit > Convert Colors > Convert to sRGB. This typically reduces file size by 20-25% and ensures colors look correct on screen, since monitors cannot display CMYK natively.
7. Split large PDFs into smaller sections
If your document is genuinely massive (200+ pages), consider splitting it into logical sections. A product catalog could be split by category. A training manual could be split by chapter. Many flipbook platforms, including Flipbooks AI, handle multiple uploads gracefully and can present them as a multi-part publication.
Knowing what limits you will face helps you set the right compression target before you start.
| Platform | Free Plan Limit | Paid Plan Limit | Notes |
|---|
| Flipbooks AI | 50 MB | 200 MB | Unlimited flipbooks on Standard+ |
| Issuu | 100 MB | 500 MB | PDF only |
| Flipsnack | 50 MB | 200 MB | Limited free flipbooks |
| Publuu | 50 MB | 100 MB | Limited customization on free |
| Yumpu | No limit | No limit | Ads on free tier |
| Calaméo | 100 MB | 200 MB | Limited on free |
✅ Best practice: Target 20-50 MB for any PDF you plan to convert. This ensures fast conversion, quick loading on mobile, and compatibility with virtually all platforms on any plan.
How to Convert Your PDF to a Flipbook with Flipbooks AI
Once your PDF is optimized, converting it into a professional digital flipbook takes about two minutes on Flipbooks AI. The platform handles everything from page rendering to mobile responsiveness automatically.
Step 1: Create your account
Go to flipbooksai.com/account and sign up. The free plan lets you create flipbooks immediately with no credit card required.
Step 2: Upload your optimized PDF
From the dashboard, click Create Flipbook and drag your PDF into the upload area. The platform accepts PDFs up to 200 MB on paid plans. Conversion typically takes 30-90 seconds depending on page count.

Step 3: Customize your flipbook
After conversion, you can:
- Apply your brand colors and custom logo
- Add a background texture or color
- Enable realistic page-flip sound effects
- Add a table of contents for easy navigation
- Embed video and audio into specific pages
- Set a password for private or sensitive documents
Step 4: Choose your sharing method
Flipbooks AI gives you multiple ways to distribute your flipbook:
- Direct link: Share a URL on social media or via email
- Embed code: Drop an
<iframe> snippet into any website
- Password protection: Restrict access to authorized viewers
- Offline download: Let readers save the flipbook for offline viewing
Step 5: Analytics and lead generation (Professional plan)
On the Professional plan, you get reader analytics (page views, time on page, geography) and lead generation forms. This turns your flipbook from a passive document into an active marketing asset.
For specific use cases, browse the dedicated tools:
💡 Pro tip: Use the Embed Flipbook on Website tool to place your flipbook directly into a landing page, product page, or blog post with a single line of code.
When Your PDF Converts but Still Looks Wrong
Sometimes the file size is fine but the output quality is not. Here are the two most common post-conversion problems.
Blurry images after compression
If you compressed too aggressively (below 72 DPI or JPEG quality under 40), images will look soft or pixelated in the flipbook. The fix is straightforward: recompress at a higher quality setting (try 96 DPI, JPEG quality 70) and reconvert.
The goal is the smallest file where images still look sharp on a 1080p monitor. That sweet spot is almost always between 96 DPI at JPEG 70 and 150 DPI at JPEG 80.
Missing or substituted fonts
If text in your flipbook looks different from the original PDF, embedded fonts may have been stripped incorrectly. The safest fix is to flatten text to outlines in the source application before exporting (in Illustrator: Type > Create Outlines). This converts text to vector shapes, eliminating all font dependency. File size may increase slightly, but font rendering will be perfect every time.
Compression Quality Comparison
| Compression Level | Target DPI | JPEG Quality | Approx File Size (20-page doc) | Visual Quality |
|---|
| Print-ready (original) | 300 DPI | 100 | 180-500 MB | Perfect |
| High screen | 150 DPI | 85 | 25-60 MB | Excellent |
| Standard screen | 96 DPI | 75 | 8-20 MB | Very Good |
| Aggressive compression | 72 DPI | 60 | 3-8 MB | Acceptable |
| Over-compressed | 48 DPI | 40 | 1-3 MB | Poor |
For most flipbook use cases, Standard screen settings hit the perfect balance. Readers on mobile devices and laptops will see crisp, sharp pages at a fraction of the original file weight.
Real-World Scenarios
Real estate brochures: A 40-page property brochure with full-bleed photography typically starts at 120-200 MB. Optimizing images to 96 DPI JPEG 75 and flattening layers brings this to 12-18 MB, converting cleanly and loading fast on mobile. The Real Estate Brochure Creator is built for exactly this use case.
Restaurant menus: A 12-page menu with food photography at print resolution can hit 80-120 MB. Optimized for screen at 96 DPI, it drops to 4-8 MB, perfect for embedding on a restaurant website. The Restaurant Menu Creator exports screen-optimized PDFs by default.
Corporate annual reports: These often combine charts, photography, and data tables across 50-80 pages. Print-ready versions routinely exceed 200 MB. A proper screen optimization brings them to 15-30 MB, ready for distribution as a corporate report.
Quick-Reference Checklist
Before uploading your next PDF, run through this checklist:
✅ Best practice: Always keep a backup of your print-ready original PDF. Only work from copies when compressing for digital use. Once you re-compress a PDF, you cannot recover the original quality.
Stop Fighting File Size, Start Publishing
You should not have to struggle with a converter telling you your file is too big. Every one of the causes above is fixable without losing visible quality, and in most cases the entire process takes less than 10 minutes.
Once your PDF is optimized, the real work begins: turning it into a flipbook that actually gets read. Flipbooks AI makes that conversion fast, the output mobile-responsive, and the sharing frictionless, whether you are publishing a product catalog, a training manual, or a company magazine.
Ready to publish? Create your account on Flipbooks AI and convert your first PDF today. Compare pricing plans if you need analytics, lead generation, or higher file size limits. Browse all flipbook tools to find the right template for your content type.
Your PDF is not broken. It just needs the right preparation before it becomes something people actually want to read.



