Scans that come out crooked are infuriating. You spend time organizing your documents, feed them through the scanner, and open the result to find every page tilted at an angle that makes the text look like it's sliding off the screen. If you've ever tried uploading a scanned PDF to a platform like Flipbooks AI and wondered why your flipbook pages look off, the problem usually starts long before the upload. This article digs into every real reason your scanned pages look crooked and gives you the exact fixes to straighten them out for good.
Why Scans Go Crooked in the First Place
Crooked scans are not random. Every tilted page has a specific cause, and once you know what you're looking at, fixing it becomes fast and repeatable. The problem falls into three main buckets: physical placement errors, hardware limitations, and software-level issues. Most people only consider the first one and miss the other two entirely.
The Paper Placement Problem
The most common reason your scanned pages look crooked is the simplest: the paper wasn't placed straight on the scanner glass. Flatbed scanners have alignment guides, usually small arrows or ruled markings along two edges of the glass frame. Most people drop the document somewhere roughly in that area and close the lid. Roughly is the operative word. Even a two-degree tilt is enough to make text lines visibly diagonal in the final scan.
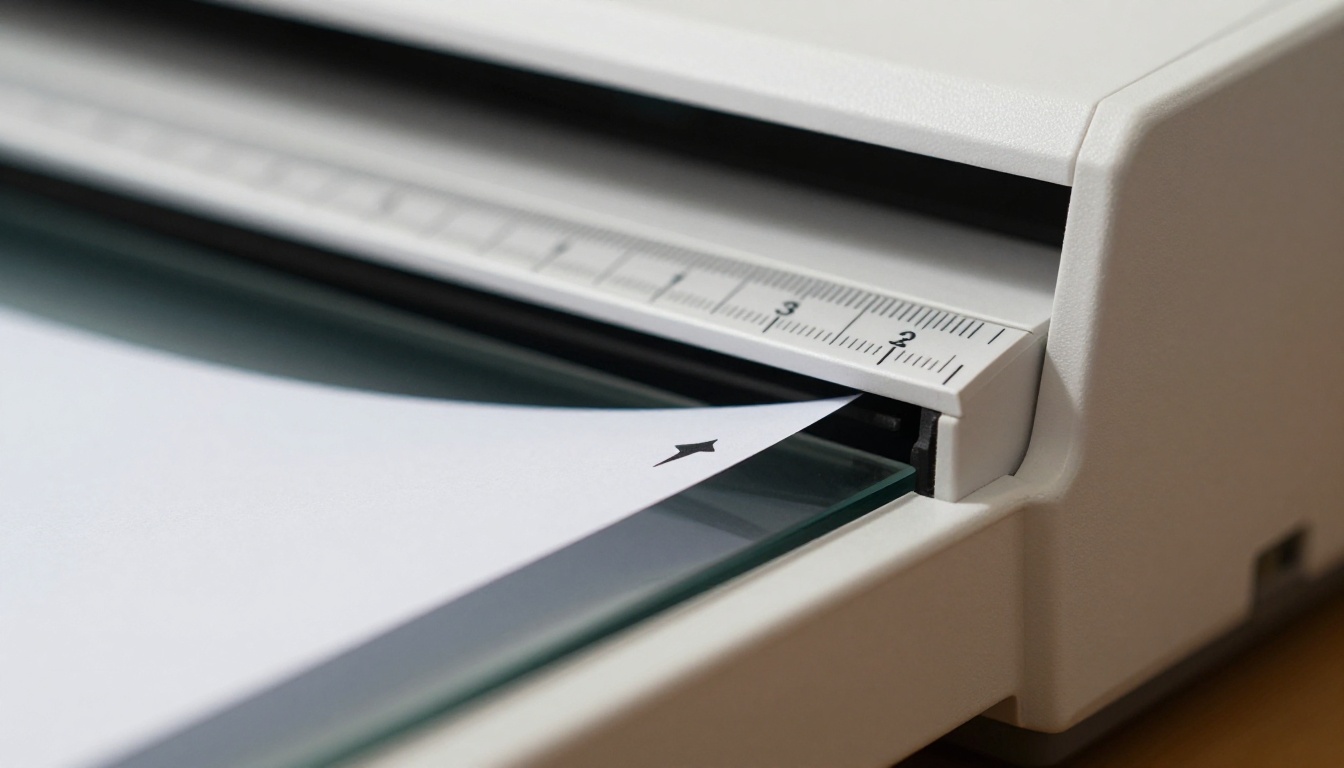
The issue compounds when the scanner lid presses down and traps the paper at a slight angle. Once the scan starts, nothing moves, so the tilt bakes into every pixel of the output. The fix is slower than you'd think, because "close enough" placement usually isn't.
💡 Always place the corner of your document in the corner of the alignment guide, not just near it. The corner is the only reliable reference point.
Your ADF Is Not Your Friend for Precision
Automatic Document Feeders are built for speed, not accuracy. When you feed a stack of pages through an ADF, each sheet enters the paper path at a slightly different angle depending on how the paper was loaded, how worn the feed rollers are, and whether any page has a slight curl from storage or humidity. ADF-caused skew is particularly frustrating because it varies from page to page within the same document, making batch correction much harder than a uniform tilt.
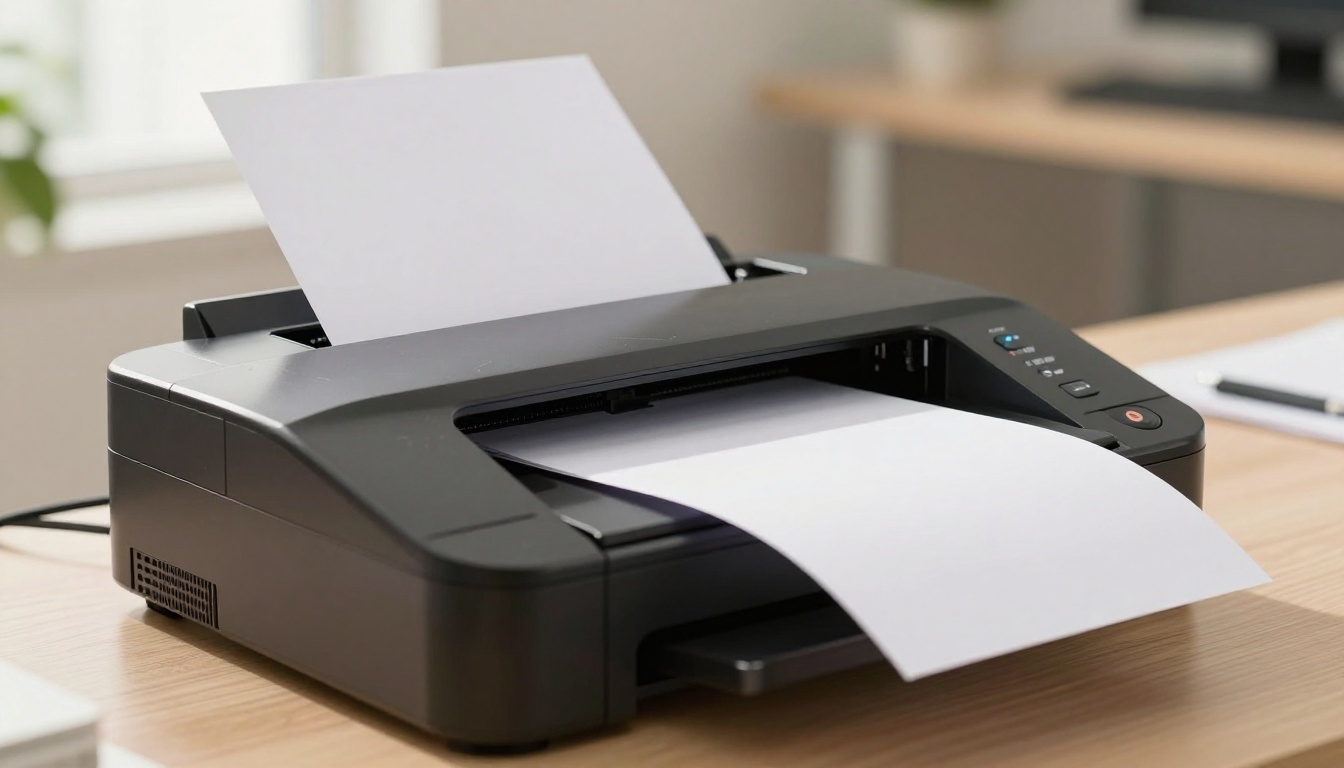
ADF skew typically ranges from 0.5 to 3 degrees per page. That's invisible to the naked eye when looking at the paper itself but shows up clearly in the digital output, especially when you zoom in or try to run OCR on the result.
Scanner Calibration Drift
This one catches people off guard. Scanners are mechanical devices, and over time the components that hold the scan head in alignment wear down or shift. A scanner that produced perfectly straight scans two years ago may now introduce a consistent 1.5-degree slant across every single scan. This is calibration drift, and it's especially common in older or heavily-used units.
You can identify calibration drift by scanning a page with a perfectly straight printed grid or ruled lines. If the lines appear consistently tilted in every scan you produce, the problem is the hardware, not the user.
Hardware Causes You Can't Ignore
Beyond placement and drift, specific hardware configurations create persistent crooked-scan problems.
Flatbed vs. ADF Scanners
The scanner type you use has a direct impact on how straight your output pages will be.
| Scanner Type | Skew Risk | Best For | Worst For |
|---|
| Flatbed | Low (user-controlled) | Single pages, books, fragile docs | High-volume batches |
| ADF (Single-Pass) | Medium | Fast multi-page batches | Curled or irregular paper |
| ADF (Duplex) | High | Two-sided documents at speed | Precise alignment requirements |
| Sheet-fed (portable) | Very High | On-the-go scanning | Any document needing straight output |
| Smartphone scan apps | Variable | Quick informal captures | Professional document quality |
Flatbed scanners give you the most control because you're physically placing each page. ADF scanners prioritize throughput over precision. If your primary complaint is crooked scans in a multi-page PDF, switching from ADF to flatbed for critical documents is often the fastest solution available.
Worn Feed Rollers
Inside every ADF is a set of rubber rollers that grab paper and pull it through the scan path at a consistent speed and angle. As these rollers wear down, they lose grip uniformity. One side of the roller degrades faster than the other, pulling the paper through at a slight diagonal. The result is a consistent lean in one direction across all your ADF scans.
Most manufacturers recommend cleaning ADF rollers every 3,000 to 5,000 scans and replacing them every 20,000 to 30,000 scans. Many users never do either.
Glass and Platen Issues
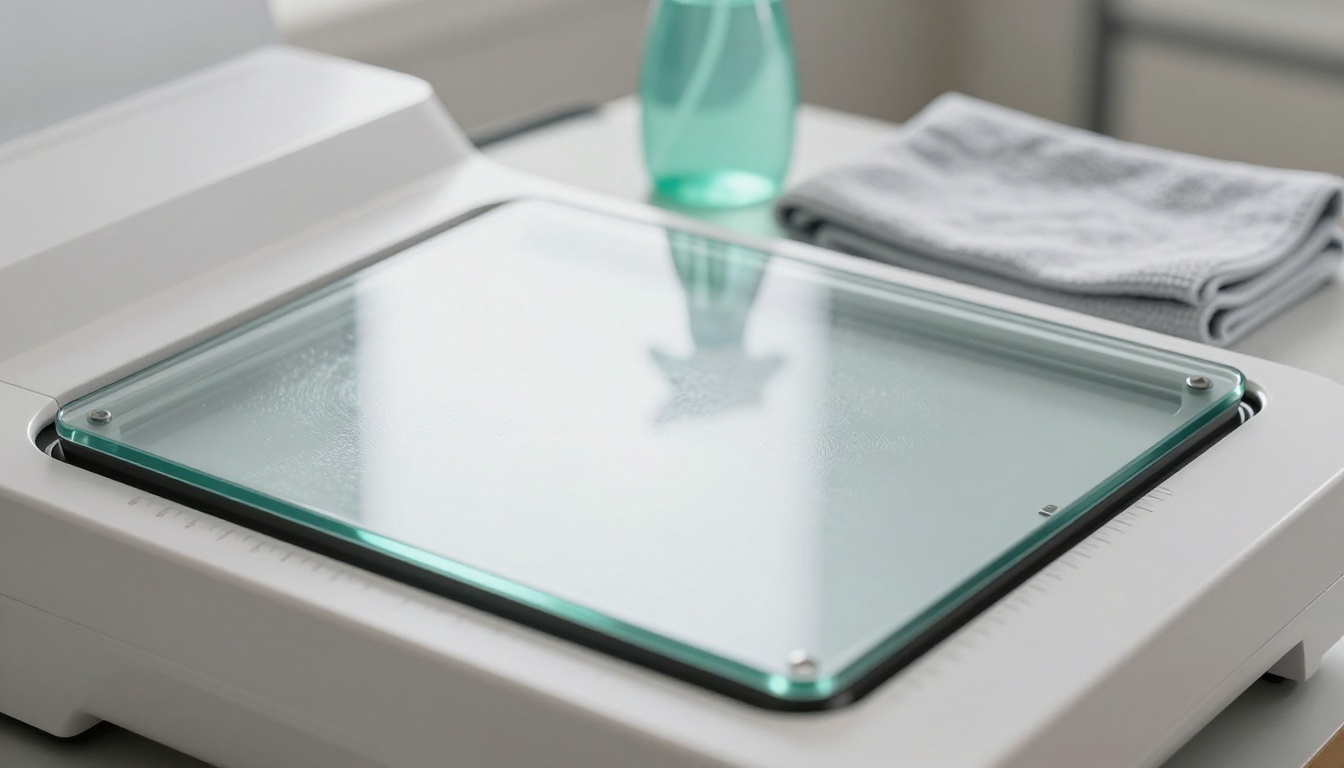
On a flatbed, the glass platen itself can be a source of problems. Small debris particles trapped under the document, microscopic glass surface irregularities near the edges, or a warped platen cover that doesn't press the paper flat can all introduce or worsen tilt. Even a single grain of dust under a corner of the paper lifts that corner enough to create shadow artifacts and slight positional errors in the scan.
Software-Side Culprits
The scanner hardware gets most of the blame, but software causes a surprising number of crooked-page complaints.
Driver Default Settings
Most scanner drivers ship with automatic image processing enabled by default. Some of these settings, particularly auto-crop and auto-rotate, can actually introduce tilt if they're not working correctly. When the driver tries to automatically detect page boundaries and fails, it may crop or rotate the image to a slightly incorrect angle based on a misread of where the page edges are.
Disabling automatic adjustments in your scanner driver and handling all corrections manually gives you direct control over the final output. It takes more time but eliminates a whole category of software-introduced error.
PDF Reader Display Quirks
Sometimes your scanned pages aren't actually crooked in the file. They only look crooked in a particular PDF reader. Some older PDF applications apply their own display scaling or rotation preferences that can visually distort a correctly-scanned page. Before spending time fixing a scan, open the same PDF file in a second application, or check the actual image data directly. If the page looks straight in one app but crooked in another, the file is fine.
OCR Processing Side Effects
Optical Character Recognition software sometimes reorders or rotates page content during processing. When you use an OCR tool to convert a scanned image PDF into a searchable text PDF, the OCR engine may reinterpret page orientation based on text direction detection. If the text direction detection fails (common with pages that have mixed content or heavy graphics), the result can be a page that's been rotated to a wrong angle by the software.
⚠️ Always keep a backup of your original scanned PDF before running any OCR processing. OCR can silently alter page orientation in ways that are difficult to reverse.
5 Proven Ways to Fix Crooked Scans
Knowing the cause narrows down the fix. Here are the most effective solutions, in order of effort required.
1. Slow Down the Placement
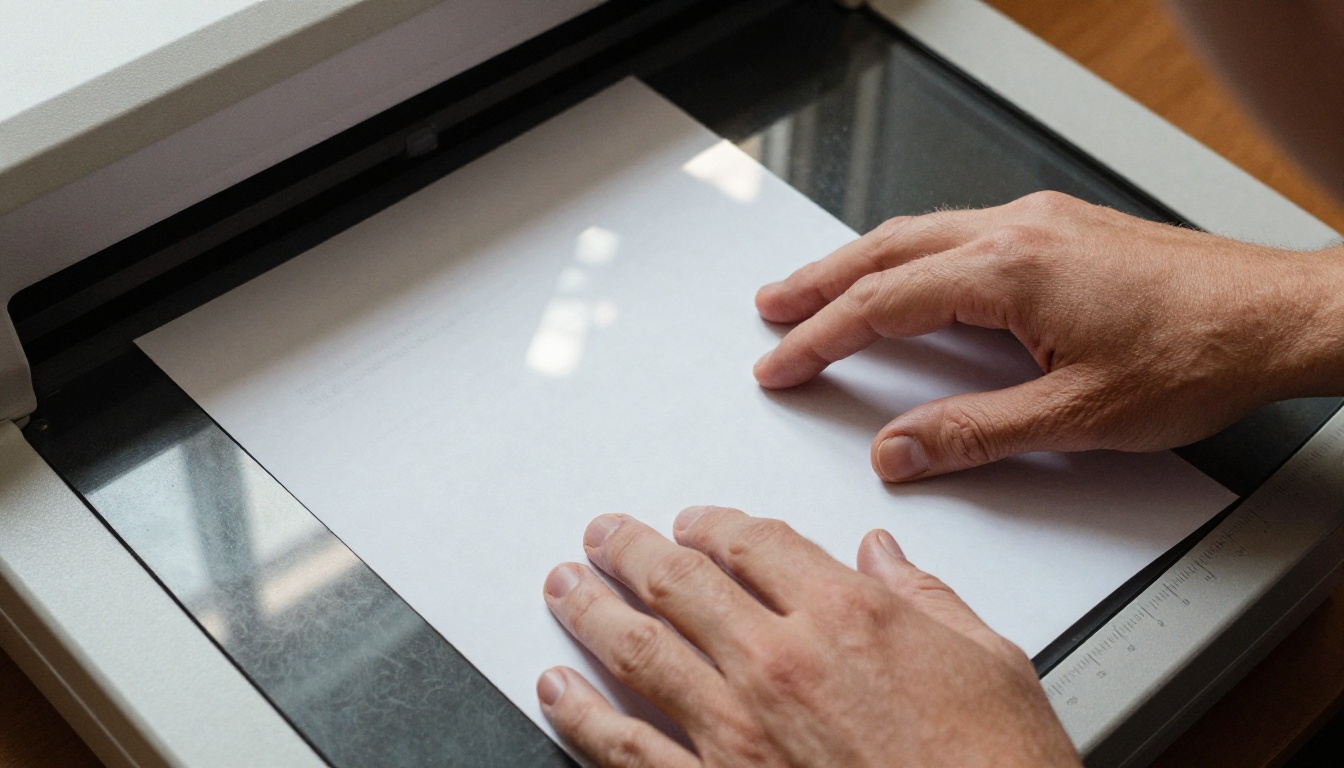
The highest return-on-effort fix for flatbed users is simply taking three extra seconds to align the document properly. Place the top-left corner of your document precisely into the corner of the scanner's alignment marker. Use both the top edge and left edge of the scanner frame as references. Once the document is in the corner, smooth it flat before closing the lid.
The alignment checklist:
- Corner of document sits in corner of scanner alignment marker
- Both edges of the document run parallel to the scanner frame edges
- Document lies completely flat with no curl
- Lid closes without shifting the paper
2. Square Your Paper Stack Before ADF Feeding
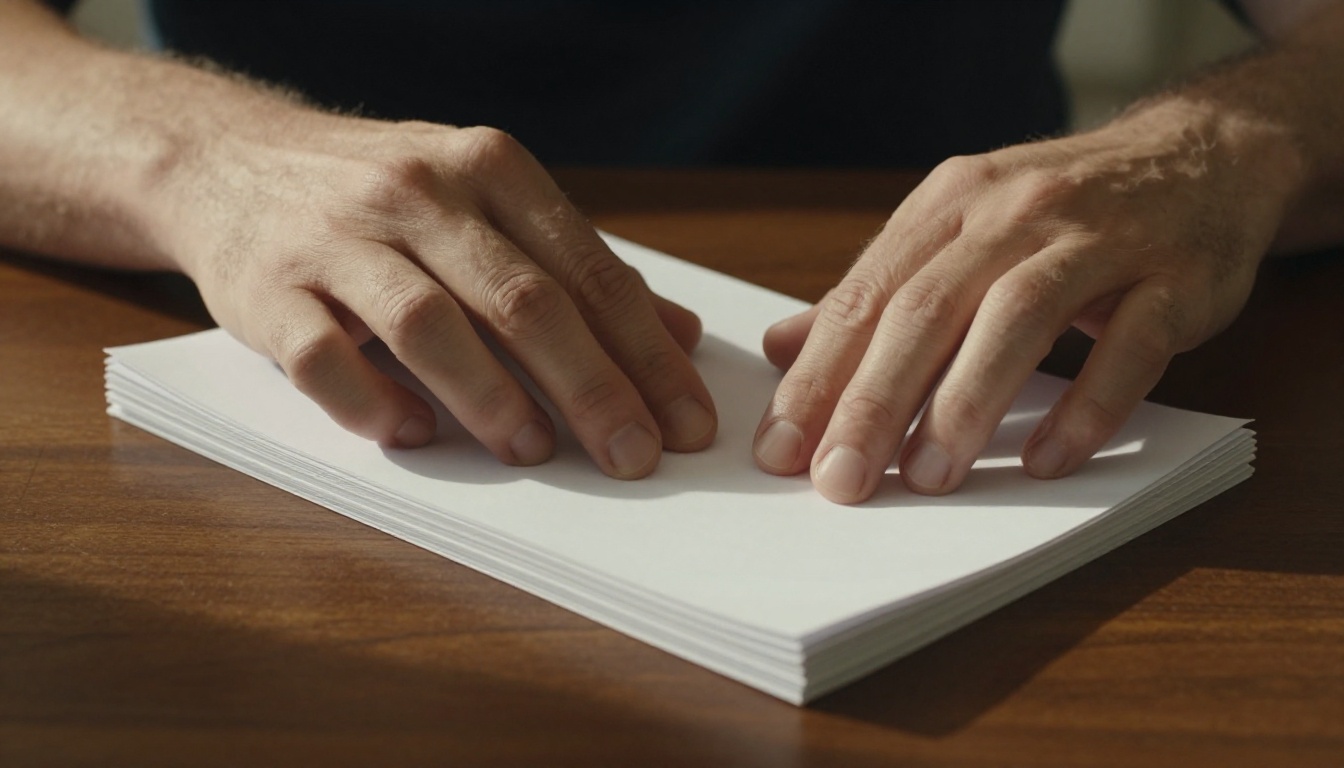
For ADF scanning, the quality of your paper preparation before feeding determines how straight the output will be. Tap all four edges of your paper stack against a flat surface to square the pages before loading them into the ADF tray. Fan the pages first to separate them, which prevents multi-page feeds that cause jams and diagonal pulls.
✅ Load only up to 80% of the ADF tray's rated capacity. Overloading increases page skew significantly.
3. Use Deskew Software After Scanning
If you're working with existing crooked scans, deskew software can correct the tilt automatically. Most corrections are handled at the PDF editing or image processing stage.
| Tool | Platform | Deskew Method | Cost |
|---|
| Adobe Acrobat Pro | Win/Mac | Automatic and manual rotation | Subscription |
| ABBYY FineReader | Win/Mac | AI-based auto-deskew during OCR | One-time or subscription |
| ScanSoft PaperPort | Windows | Batch deskew tool | One-time |
| Scan Tailor | Win/Mac/Linux | Manual crop and deskew per page | Free |
| GIMP | Win/Mac/Linux | Manual rotate tool | Free |
| iLovePDF Rotate | Web | Manual page rotation | Free or subscription |
| Smallpdf | Web | Page rotation tool | Free or subscription |
For batch deskew without spending money, Scan Tailor is the most capable free option, though it requires processing each page individually. For quick fixes on a few pages, any web-based PDF rotation tool works fine.
4. Clean the Scanner Glass
Debris on the glass platen is a silent cause of subtle tilt and image distortion. A microfiber cloth with a small amount of isopropyl alcohol (70%) removes fingerprints, dust, and thin films that interfere with image capture. Clean the underside of the scanner lid as well.
Cleaning sequence:
- Power off the scanner completely
- Open the lid fully
- Wipe the glass in a single direction with a lint-free microfiber cloth
- Use a second dry cloth to remove any streaks
- Check the lid's white backing pad for debris and wipe it as well
- Let everything dry for two minutes before scanning
5. Recalibrate or Replace the Scanner
If you've identified calibration drift as the issue, check your scanner manufacturer's website for a calibration utility. Most modern scanners include one in the driver package or as a standalone download. Run the calibration with the provided calibration sheet if one came with the scanner, or print a high-resolution grid pattern on plain paper and use it as a reference.
If the scanner is old enough that calibration utilities aren't available and the drift is consistent and significant, replacement is often faster and cheaper than continued workarounds.
Common Mistakes That Make Skew Worse
| Mistake | Why It Causes Problems | Better Approach |
|---|
| Scanning at very low resolution (72-100 DPI) | Low resolution hides skew during scanning but makes it obvious in the final output | Scan at minimum 200 DPI; 300 DPI for text documents |
| Stacking documents loose before ADF feeding | Pages enter at random angles when not squared | Always tap-square the stack before loading |
| Relying entirely on auto-deskew in driver | Driver algorithms fail on low-contrast or graphic-heavy pages | Verify every scan visually before finalizing |
| Ignoring scanner maintenance | Dust and worn rollers compound over time | Clean monthly; inspect rollers every six months |
| Applying OCR before fixing skew | OCR fails on tilted text, producing garbage output | Correct skew first, then run OCR |
| Not checking PDF in multiple viewers | Display quirks can make straight files look crooked | Verify in two different PDF applications |
| Saving at compressed JPEG quality | JPEG compression artifacts at low quality mask alignment edges | Save scan output as PNG or high-quality JPEG at 90% or above |
How Flipbooks AI Handles Your Scanned PDFs
When you convert a scanned document into a digital flipbook using Flipbooks AI, the quality of your input PDF directly determines how your flipbook looks and reads. A crooked scan becomes a crooked flipbook page, so fixing alignment before upload is worth the time.
Here's exactly how to use Flipbooks AI with scanned documents for the best results.
Step 1: Prepare Your Scanned PDF
Before uploading, check every page of your scanned PDF in a viewer that shows the actual pixel content. Look for:
- Pages with text running at any visible angle
- Pages with dark borders from scanner edges
- Pages with significant brightness variation across the surface
Correct any tilted pages using the rotation tools in your PDF editor, or run the entire document through a deskew tool. If you're dealing with a large document, ABBYY FineReader's batch processing or Scan Tailor can handle this at scale.
Step 2: Upload to Flipbooks AI
Head to Flipbooks AI and create an account or sign in if you already have one. From the dashboard, click to create a new flipbook and drag your prepared PDF into the upload area. The PDF to Flipbook Converter handles documents of all sizes, converting each page into a high-quality flipbook spread with a smooth page-turn animation.
💡 If your document is a two-sided printed report or catalog, make sure your PDF has pages in the correct reading order before uploading. Flipbooks AI renders pages sequentially, so a misordered PDF produces a misordered flipbook.
Step 3: Customize Your Flipbook
Once the conversion completes, you can set:
- Brand colors for the flipbook player interface
- Page background (white, dark, or custom) to match the scanned paper
- Page shadows and effects for the reading experience
- Logo placement for your organization's identity
For scanned documents in particular, the white page background option works best since it matches the paper color of physical documents and makes any remaining minor scanning artifacts less visible.
Step 4: Share It
Flipbooks AI gives you multiple sharing options once your flipbook is ready:
- Direct link for sharing via email or messaging
- Embed code to place the flipbook on any website
- Password protection for internal or confidential documents
- Offline downloads for access without internet
If you're sharing a report or portfolio that needs to stay private, the password protection feature available across all plans keeps access controlled without any technical setup. Analytics and lead capture are available on the Professional plan if you want to track who's reading your document.
What Flipbooks AI Does Well With Scanned Content
| Feature | Benefit for Scanned Documents |
|---|
| No watermarks, ever | Your corrected scans display cleanly without platform branding |
| Mobile-responsive player | Scanned pages display correctly on all screen sizes |
| Unlimited flipbooks (Standard and above) | Convert large scan archives without per-document limits |
| Offline downloads | Share fixed documents even without internet access |
| Custom branding | Match your organization's identity in the flipbook player |
The Right Workflow for Consistently Straight Scans
Getting consistently straight scans is a process, not a one-time fix. The fastest way to build that process:
For new scanning sessions:
- Clean the glass before every significant scanning session
- Square all paper stacks before ADF loading
- Use corner alignment markers for every flatbed placement
- Preview the first scan before committing to a batch
- Scan at 300 DPI minimum for any document you plan to share or archive
For fixing existing crooked PDFs:
- Open in Adobe Acrobat or a free alternative like PDF24
- Use the page rotation tool to correct obvious tilts
- For subtle skew, use Scan Tailor or a dedicated deskew tool
- Verify the result in two different PDF viewers before finalizing
- Save as a new file, keeping the original intact
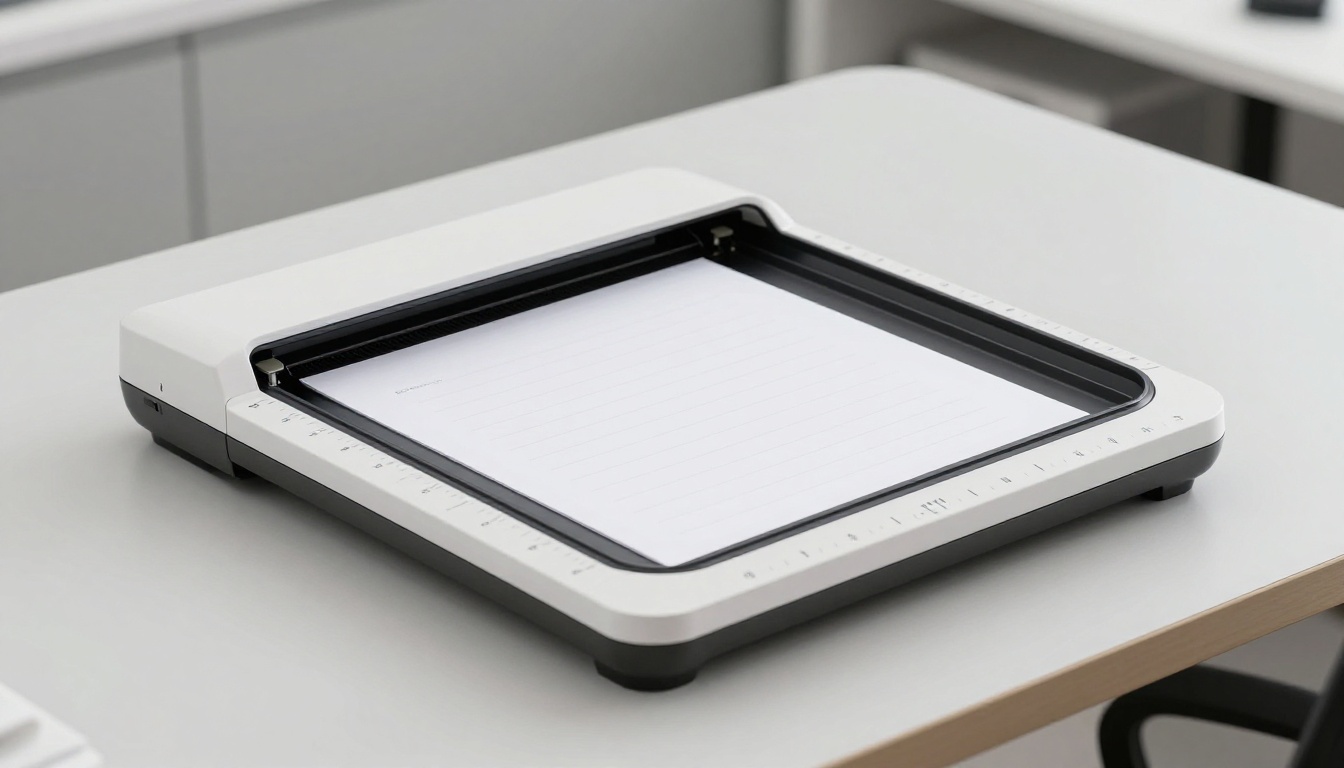
The split-second you spend squaring a document before scanning is worth far more than the minutes you'll spend correcting skew after the fact.
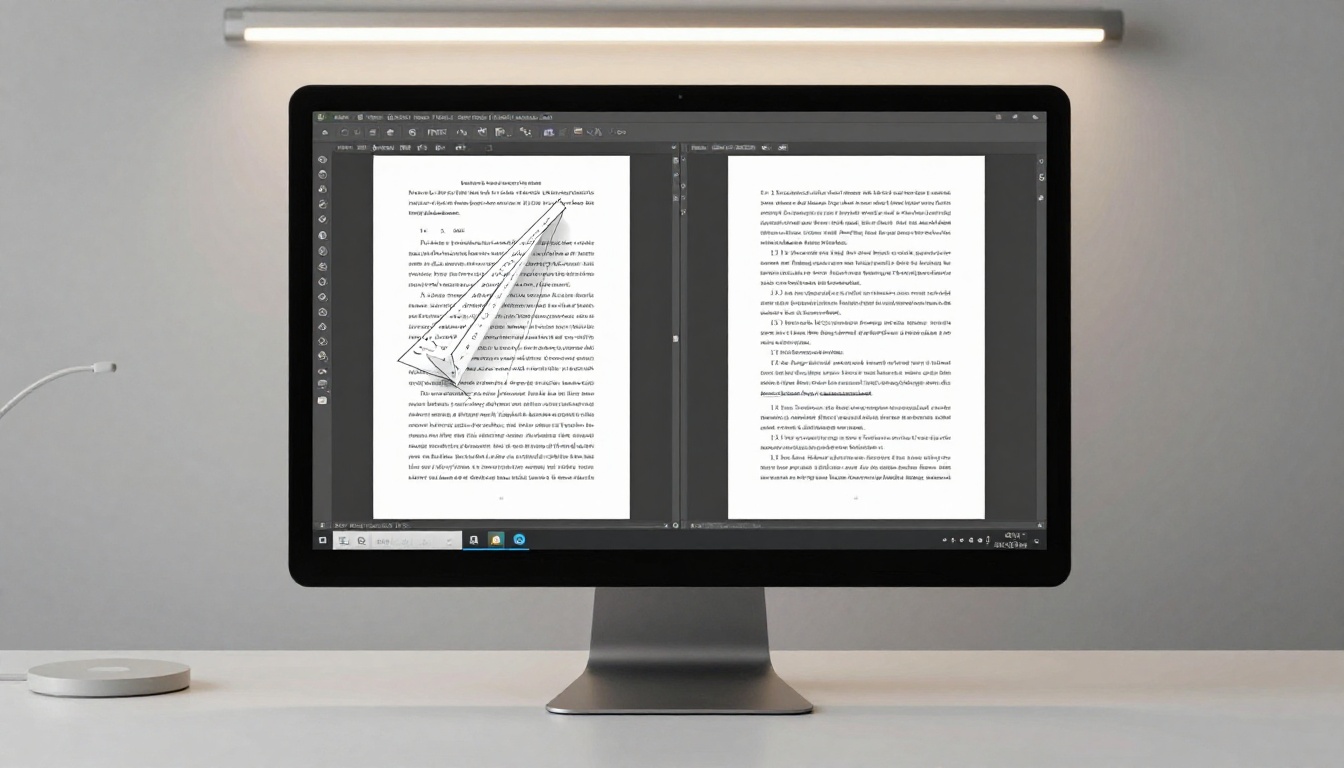
Straight scans are the foundation of any clean digital document workflow. Whether you're converting old paper archives, building a product catalog, or preparing a report for a presentation, a crooked PDF undermines everything that follows. Fix the alignment at the source, correct it in software when needed, and your digital documents will look exactly as professional as the content they contain.
Ready to turn your straightened PDFs into polished digital publications? Get started for free on Flipbooks AI and see how fast a clean scan becomes a beautiful flipbook. Browse all available tools to find the right format for your content, or compare pricing plans to find what works for your workflow.



