You spent an hour on a design, hit download, and the photo looks like it was smeared with a thumb. It happens to almost everyone who uses Canva, and the cause is rarely a bug. It is usually a mix of small source files, the wrong export format and compression applied after you leave the editor. This tutorial walks through the exact pixel sizes, export settings and free tools that fix it, and shows how to keep the sharpness once your design becomes a PDF or an online flipbook on Flipbooks AI.
Short answer: upload images that are at least as large as the space they fill (ideally 2x for screens, 300 DPI for print), export as PNG for graphics or PDF Print for documents, and run weak photos through a free upscaler before you place them in the design.
Why Canva Images Look Blurry
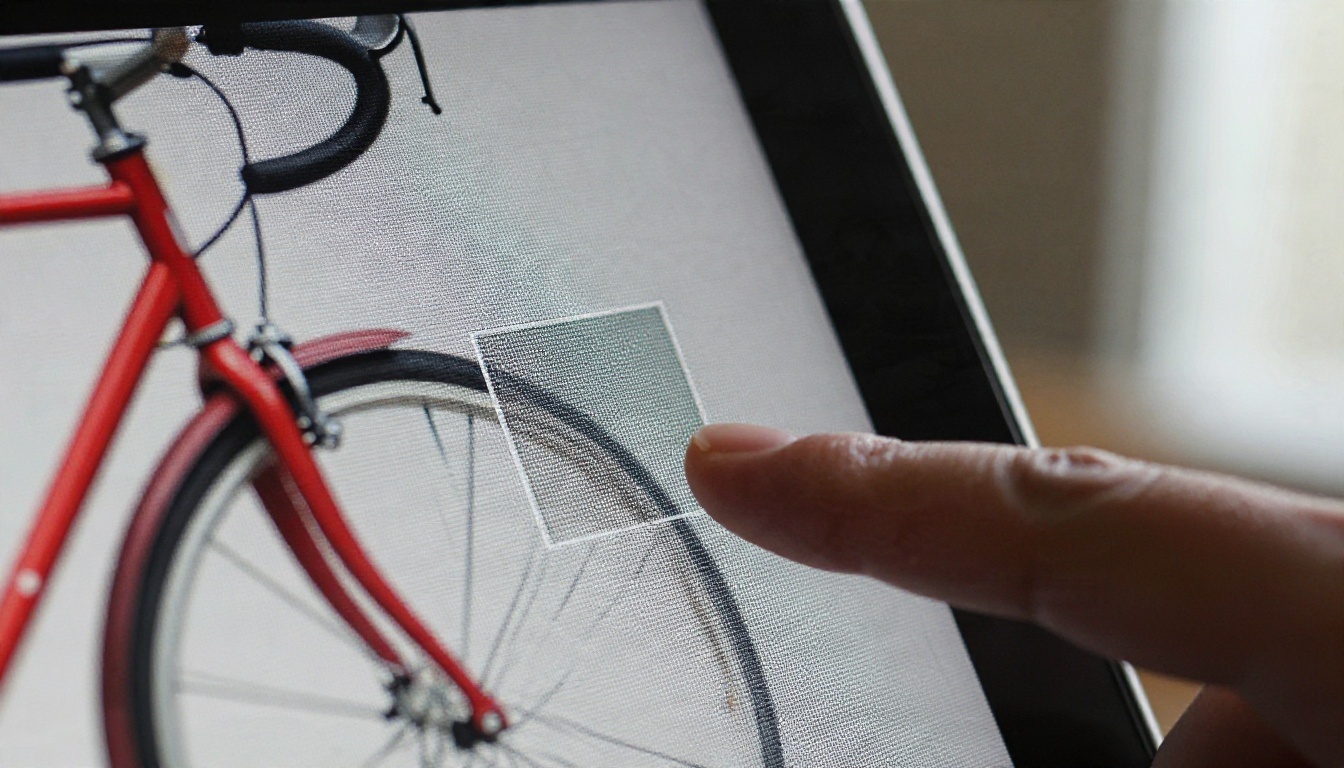
Blur is a resolution problem in disguise. A screen or printer needs a certain number of pixels to draw an image cleanly. When the file has fewer pixels than the space demands, the software stretches it, and stretching invents soft, smudged detail.
Low-Resolution Source Files
The most common culprit is a small photo. A 600 px wide picture saved from a website looks fine as a thumbnail, but drag it across a full A4 page in Canva and it is being enlarged by roughly four times. Canva will not warn you. It simply scales the file and lets you export the damage.
Images pulled from social media, messaging apps and screenshots are the worst offenders because those platforms shrink and compress files before you ever download them.
Compression After Export
Even a sharp export can get blurry later. Instagram, WhatsApp, email clients and many website builders recompress images. A JPG that was already compressed once loses detail again each time it is saved or uploaded. If the final platform recompresses, you need to start with more pixels than you think you need.
Wrong Export Format
Choosing the wrong file type also softens results:
- JPG is lossy. Fine for photos, but text and thin lines pick up fuzzy halos.
- PNG is lossless. Better for logos, screenshots and graphics with text.
- PDF Standard compresses images for small file sizes, which is where many "my PDF is blurry" complaints start.
- PDF Print keeps higher image quality and is built for 300 DPI output.
💡 Pro tip: Zoom to 200% inside Canva before exporting. If a photo already looks soft at 200%, it will look soft everywhere. Fix the source now instead of after the download.
Best Upload Size for Canva
Canva accepts common formats such as JPG, PNG, HEIC, WebP and SVG, and it allows large uploads (around 25 MB per image at the time of writing). The upload limit is rarely your problem. The pixel dimensions are.
Pixel Dimensions That Work
Use this table as a starting point. The right column is what you should aim for in your source photo if it will fill the whole design.
| Use case | Canva design size | Recommended source image |
|---|
| Instagram post | 1080 x 1080 px | 2160 x 2160 px or larger |
| Instagram story / Reel cover | 1080 x 1920 px | 2160 x 3840 px |
| YouTube thumbnail | 1280 x 720 px | 2560 x 1440 px |
| Presentation slide | 1920 x 1080 px | 3840 x 2160 px for full-bleed photos |
| A4 flyer or brochure page (print) | 2480 x 3508 px at 300 DPI | 2480 x 3508 px minimum |
| A4 PDF read on screen | 1240 x 1754 px at 150 DPI | 2480 x 3508 px for safe zooming |
| Website banner | 1920 x 600 px | 3840 x 1200 px |
The 2x rule for screens exists because phones and laptops with high-density displays use two or three physical pixels for every design pixel. A 1080 px image on those screens is being stretched before anyone even zooms in.
File Size Limits and Quality
Do not shrink files just to make them lighter. Aim for a balance:
- Photos for screens: 300 KB to 1.5 MB per image is usually plenty.
- Photos for print: 1 MB to 10 MB, depending on size.
- Full-page hero images: let them be larger, then compress at the very end.
Resize Before You Upload
If a file is far too large (say 8000 px wide from a camera), Canva may downscale it in its own way. You get more predictable results by resizing it yourself to about 2x the final display size, then uploading. A free editor like Photopea or GIMP does this in seconds.
Best Export Settings in Canva
Canva's export panel has fewer controls than a design app, but a few choices make a visible difference.
PNG, JPG, PDF or SVG?
| Format | Best for | Sharpness | Typical file size | Watch out for |
|---|
| PNG | Logos, text-heavy graphics, screenshots | Excellent | Large | Heavy files with big photos |
| JPG | Photo-based posts and web images | Good (quality dependent) | Small | Fuzzy edges on text |
| PDF Standard | Documents shared by email | Medium | Small | Aggressive image compression |
| PDF Print | Brochures, catalogs, anything printed | Excellent | Large | Needs compression for web sharing |
| SVG | Icons, logos, vector shapes | Perfect at any size | Tiny | Only works for vector content, and needs a paid plan in Canva |
Step-by-Step Export for Maximum Sharpness
- Open your design and zoom to 200% to check each photo.
- Click Share, then Download.
- Choose the file type: PNG for graphics, PDF Print for documents, JPG for photo-only posts.
- If your plan offers it, raise the Size slider (for example 2x) so the file has extra pixels.
- On JPG exports, push the Quality slider toward the top if your plan includes it.
- For PDFs, tick Flatten PDF only if you need to lock elements, and avoid it if you want selectable text.
- Select the pages you need and click Download.
- Open the downloaded file at 100% zoom on your computer. Judge sharpness there, not in a preview thumbnail.
⚠️ Warning: The export-size multiplier and quality slider are paid features in Canva. On a free account, compensate by starting with larger source images and choosing PNG or PDF Print.
Mistakes That Cause Blur
- Screenshotting a design instead of downloading it. Screenshots capture screen pixels, not design pixels.
- Exporting at the default size and then enlarging the result in another app.
- Using JPG for logos with text. Switch to PNG or SVG.
- Re-uploading downloaded JPGs into other designs over and over. Each round loses a little.
- Letting a photo sit under a crop. Cropping zooms in. A heavily cropped image has far fewer visible pixels than the file suggests.
If you cannot get a bigger original, a free tool can rescue many images before they ever enter Canva.
AI Upscalers
AI upscalers add pixels intelligently instead of just stretching them. They work best on photos, less well on tiny, heavily damaged files.
| Tool | Type | Cost | Best for |
|---|
| Upscayl | Desktop app (Windows, Mac, Linux) | Free, open source | Batch upscaling photos 2x to 4x |
| waifu2x | Web tool | Free | Illustrations and graphics |
| Photopea | Browser editor | Free with ads | Manual resizing and sharpening |
| GIMP | Desktop editor | Free | Precise resampling and unsharp mask |
| Squoosh | Browser compressor | Free | Final compression with a visual preview |
Free web tools can change their limits at any time, so check each one's current terms before relying on it for client work.
Compression Without Visible Loss
After upscaling, you may end up with huge files. Run them through Squoosh, set the format to a modern one like WebP for web use, or MozJPEG for maximum compatibility, and slide quality to 80 to 85. The difference is almost invisible, but file sizes often drop by half.
A Simple Rescue Workflow
- Take the soft photo and upscale it 2x or 4x with Upscayl.
- Apply a light sharpen in Photopea (amount around 20 to 40 percent, never more).
- Upload to Canva and place it in your design.
- Export as PNG or PDF Print.
- Compress at the end only if the file is too heavy to share.
💡 Pro tip: Never sharpen aggressively. Over-sharpened images show bright outlines around edges, which looks worse than slight softness.
Fix Blurry Text and Graphics
Photos are not the only things that blur. Text, icons and logos can too.
Use Vector Elements
Canva's own icons, shapes and text are vectors, so they stay sharp at any size. Problems begin when you upload a PNG logo that is too small. Ask for an SVG or a large PNG (at least 1000 px wide) from whoever made the logo.
Avoid Scaling Small Graphics
Dragging a corner handle to make a graphic bigger enlarges the pixels. Instead, replace the element with a larger version. If you are working with a logo you only have in tiny form, a vector tracer such as Inkscape (free) can rebuild it as a clean SVG.
Check Text in Photos
Text baked into a screenshot will always be blurry once enlarged. Retype it as live text in Canva so it renders at the full export resolution.
Keep PDFs Sharp in a Flipbook
Many designers stop at the download button, but the sharpness fight continues when you share the file. Large PDFs are slow to open, get blocked by email limits, and look flat on a phone. Turning your Canva export into a page-turning flipbook solves all three, and it keeps images crisp because pages are rendered at high quality instead of being recompressed by a messaging app.
How to Create a Flipbook with Flipbooks AI
Here is the process using your freshly exported, sharp PDF:
- Start your account. Go to Flipbooks AI and sign up. You can try the platform before committing to a plan on the pricing page.
- Export from Canva correctly. Use PDF Print for the sharpest pages. Keep the file under a few hundred MB if you can.
- Upload the PDF. Drag it into the PDF to Flipbook Converter. Conversion takes a short while, and each page becomes a flippable spread.
- Customize the look. Add your logo, pick background colors and choose page-turn effects. Custom branding and no watermarks are part of the platform.
- Add multimedia. Embed videos and audio where they help, such as a product demo on a catalog page.
- Share it. Copy the direct link, or use the embed option to put the flipbook on your website. Protect private documents with a password.
- Track results. On the Professional plan you get analytics and lead generation, so you can see which pages people read. Offline downloads are available too.
✅ Best practice: Flipbooks are mobile-responsive, so check the first page on your own phone before you send the link. If the cover photo looks soft there, go back to the upload size table above.
Real-World Examples
Share Sharp vs Share Soft
| Method | Image quality | Mobile experience | Tracking |
|---|
| Emailing a PDF | Depends on client | Often awkward | None |
| Messaging app | Often recompressed | Poor | None |
| Social media upload | Heavily compressed | Cropped | Platform stats only |
| Flipbook link | High quality pages | Responsive | Analytics on Professional plan |
Quick Fix Checklist
Run through this list whenever a design looks soft:
- Is the source photo at least 2x the size of its space in the design?
- Did you zoom to 200% in Canva and check?
- Did you export PNG, PDF Print or high-quality JPG instead of a screenshot?
- Did you avoid cropping so tightly that few pixels remain?
- Is the logo a vector or a large PNG?
- Will the destination platform recompress? If so, upload a bigger file.
- Did you open the final file at 100% on a real screen?
Troubleshooting by Symptom
| Symptom | Likely cause | Fix |
|---|
| Photo looks pixelated | Source too small | Upscale with Upscayl, re-upload |
| Text has fuzzy edges | Exported as low-quality JPG | Export PNG or PDF Print |
| PDF blurry when zoomed | PDF Standard compression | Use PDF Print |
| Print looks soft | Under 300 DPI | Use 2480 x 3508 px for A4 |
| Looks sharp in Canva, blurry on Instagram | Platform recompression | Upload at 2x size, as PNG |
| Logo jagged | Small PNG | Replace with SVG |
Ready for Sharper Designs?
Blurry images are fixable once you know where the pixels went missing. Check your source size, export with the right format, and rescue weak photos with free upscalers. Then give your work the presentation it deserves.
Ready to publish your sharp Canva PDF? Get started for free on Flipbooks AI, browse all flipbook tools to find the right template, or compare pricing plans to see which one fits your workflow.


